
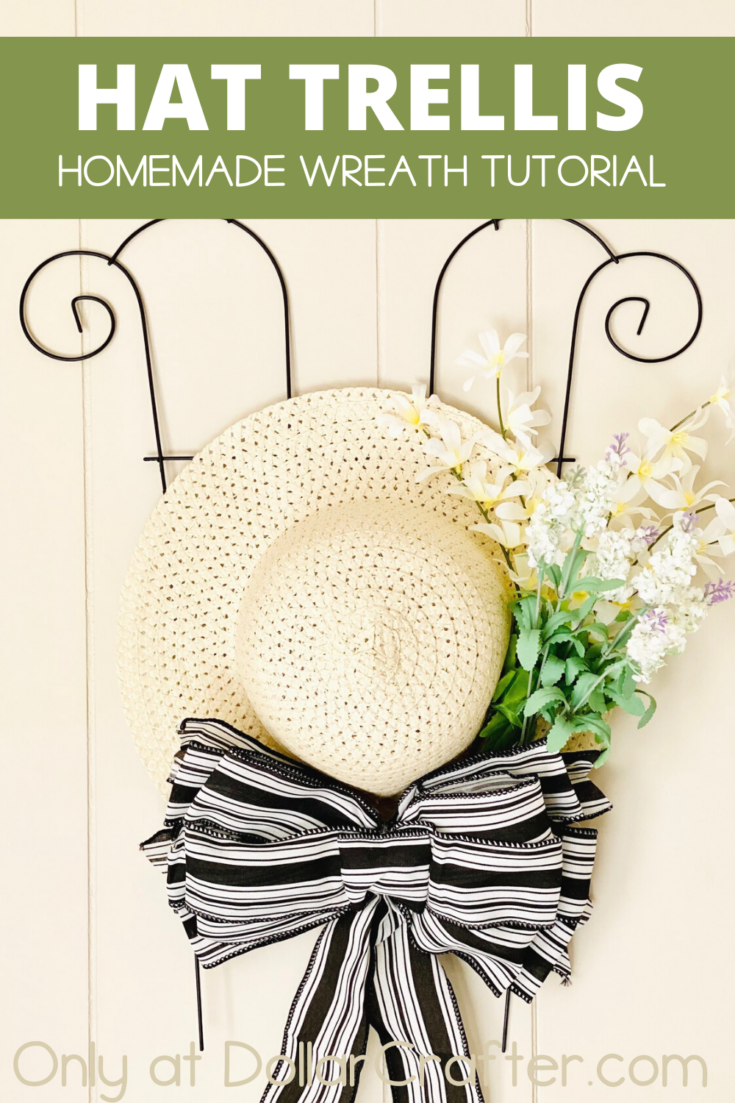
A trellis caught your eye in the dollar store, but you don’t know quite what to do with it- no worries, we got you! Create a Homemade Hat Trellis in less than 10 minutes. This craft would look amazing in your entryway.

To create this charming Hat Trellis Wreath, you don’t need much, and most of the materials can be found at the Dollar Store. But, did I tell you that this craft can be made for $5- yep, and it will look so good hanging up inside your home.
DIY Hat Trellis Wreath
Supplies
- Dollar Tree Trellis (black)
- Dollar Tree Sun Hat
- Dollar Tree Lavender Flowers
- Dollar Tree Yellow and White Flowers
- Glue sticks
- Black and White Ribbon
- Hot Glue Gun
- Wire Cutters

I have a tip about hot glue- when working with hot glue, you will have to work fast or do small sections at a time because the glue dries super fast on metal. I personally do small sections at a time and make sure you glue down everything.
Now so many people use this trellis from the dollar store to make planters but be different and turn it into a cute hat wreath for your springtime home decor. In conclusion, this craft is super easy and cheap to make so next time you see such at the dollar store- get it!
How to Make a Hat Trellis Wreath
Ready to get crafting? You will find the full tutorial below!
Hat Trellis Wreath
Materials
- Dollar Tree Trellis (black)
- Dollar Tree Sun Hat
- Dollar Tree Lavender Flowers
- Dollar Tree Yellow and White Flowers
- Glue sticks
- Black and White Ribbon
Tools
- Hot Glue Gun
- Wire Cutters
Instructions
- Gather your supplies.
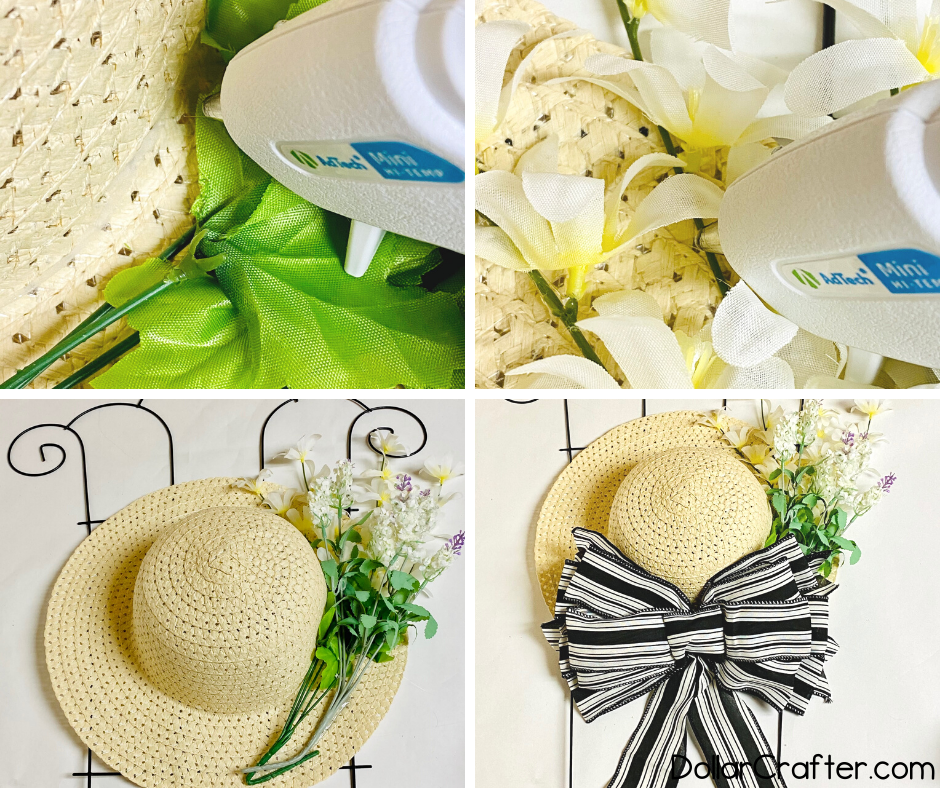
- Add some hot glue to the horizontal metal wires. You need to either work quickly or do small sections of glue at a time as the glue drives very quickly once it has hit the metal.
- Attach the sun hat.
- Bend the flowers to curve around the bottom of the sun hat, or trim them with wire cutters.
- With hot glue, add a few lines along the bottom of the hat and then place the flower stems on top. I added more glue around the stem once it was on the hat to make sure it was in place.
- Attach the tops of the flowers to the hat using hot glue.
- Secure the bow in place.
- Hang up using the top of the trellis and enjoy!
Notes
For more fun crafts visit DollarCrafter.com
More Homemade Wreaths You Will Love!

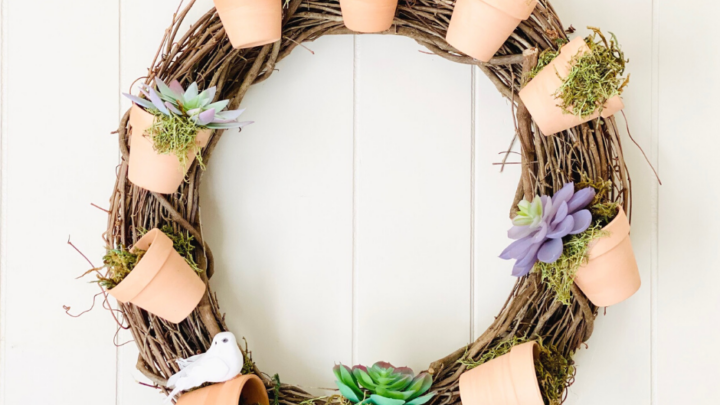
DIY Terracotta Succulent Wreath
What if I told you that you could turn a terracotta pot into an adorable succulent wreath with just a few supplies? And all for less than $10! Well, now you can because it's true!
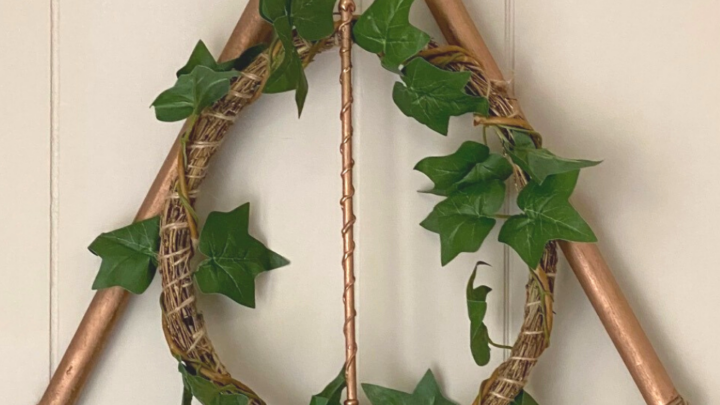
Harry Potter Deathly Hallows Wreath
This Harry Potter Deathly Hallows Wreath is perfect for any fan of the series or anyone looking to give their home some magical flair. Hang this on your door to show off your love of all things Harry potter!
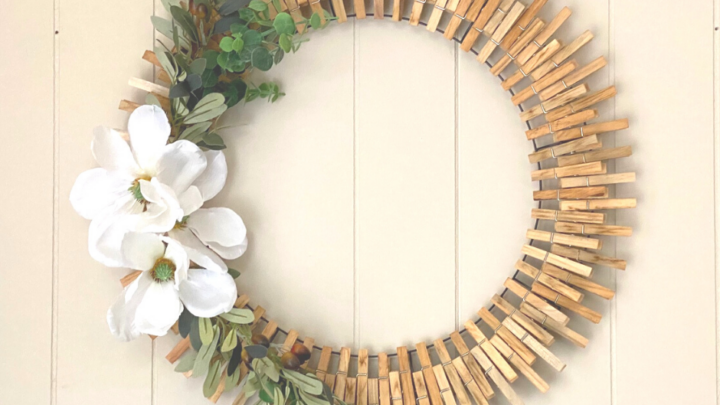
Homemade Clothespin Magnolia Wreath
This beautiful DIY magnolia clothespin wreath looks great from year round and requires next-to-no skill, making it perfect for any beginner.
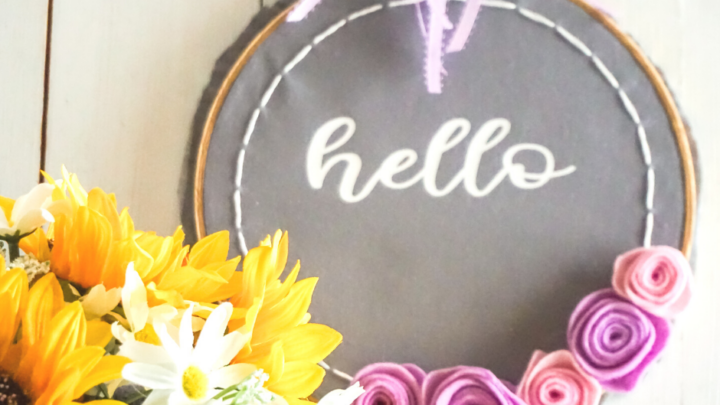
Homemade Hello Spring Embroidery Hoop Wreath
This charming and affordable embroidery hoop wreath is a fun way to welcome Spring on a budget!
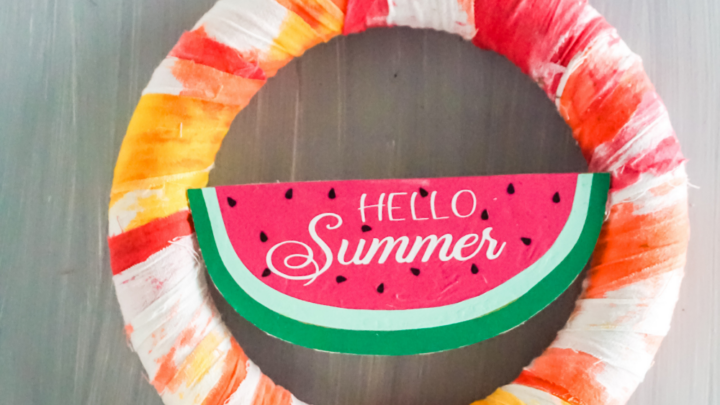
Hello Summer Watermelon Wreath
Bright, simple, and fun! This homemade Hello Summer Watermelon Wreath is the perfect way to welcome summer!
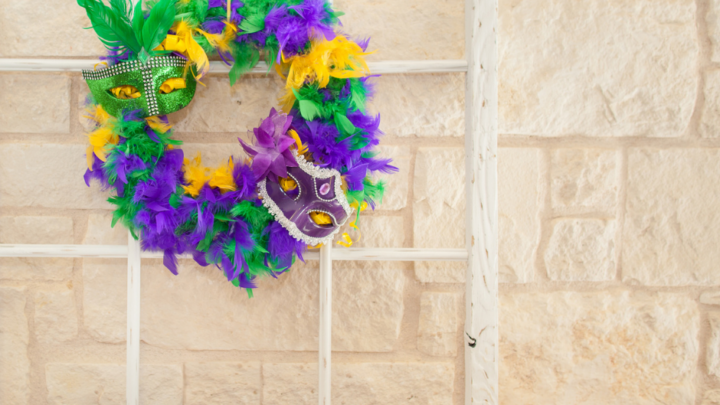
Homemade Mardi Gras Wreath
Mardi Gras is right around the corner and we have a fun wreath that you can make for under $10 that will brighten up your door!

DIY Tie Dyed Welcome Grapevine Wreath
Brighten your door with this beautiful tie dyed Welcome grapevine wreath. This simple DIY wreath tutorial includes the Welcome SVG craft file!

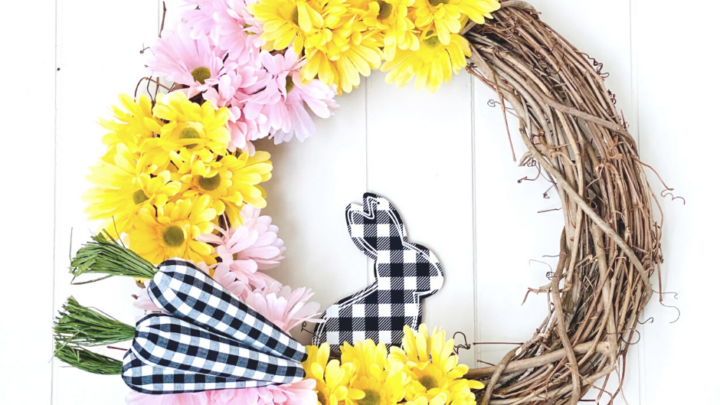
Homemade Easter Lilly Grapevine Wreath
Create a beautiful homemade Easter Lilly Wreath with items you can easily find at your local Dollar Tree!
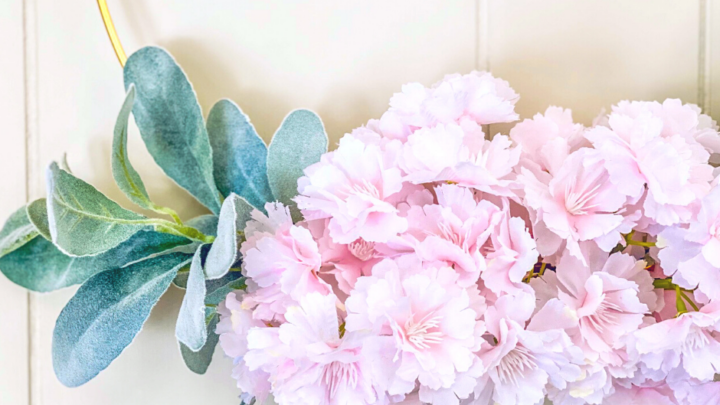
Homemade Cherry Blossom Hoop Wreath
This simple yet elegant homemade cherry blossom hoop wreath will bring a bright burst of spring color to your home décor!
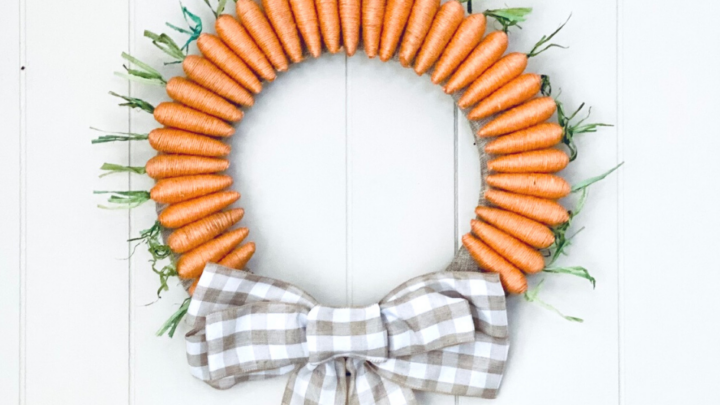
DIY Carrot Wreath
This DIY Carrot Wreath is a super simple and fun way to add a dash of color to your front door or wall for Spring.
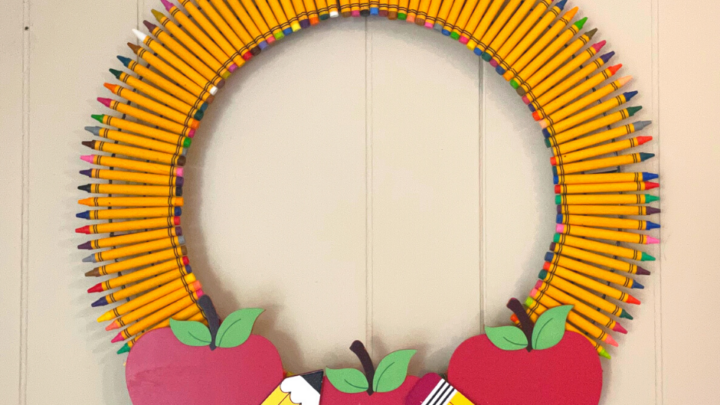
DIY Teacher Crayon Wreath: The Coolest Back to School Gift
The DIY Crayon Wreath is the perfect DIY gift for any teacher. It's a fun, easy and inexpensive way to say "Happy Back-to-School!"
Please Save This to Pinterest
Your shares are how this site grows, and I am sincerely grateful. Know a friend who’d like this? Please share it on Facebook or save it to your favorite crafts board on Pinterest.