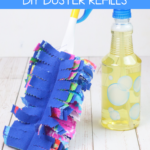
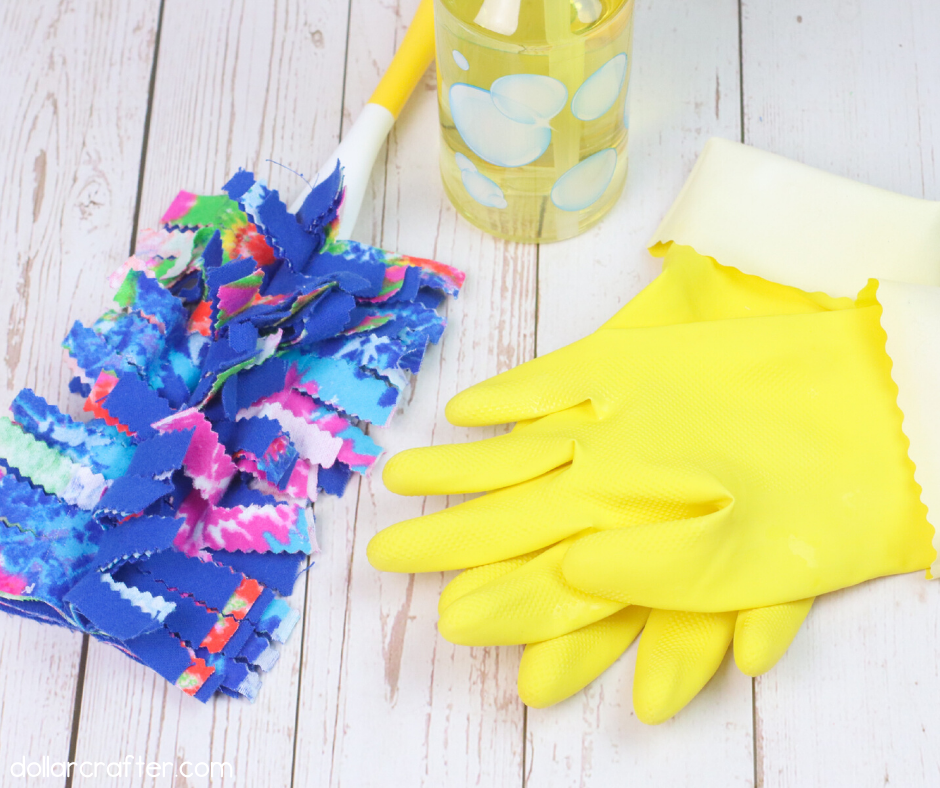
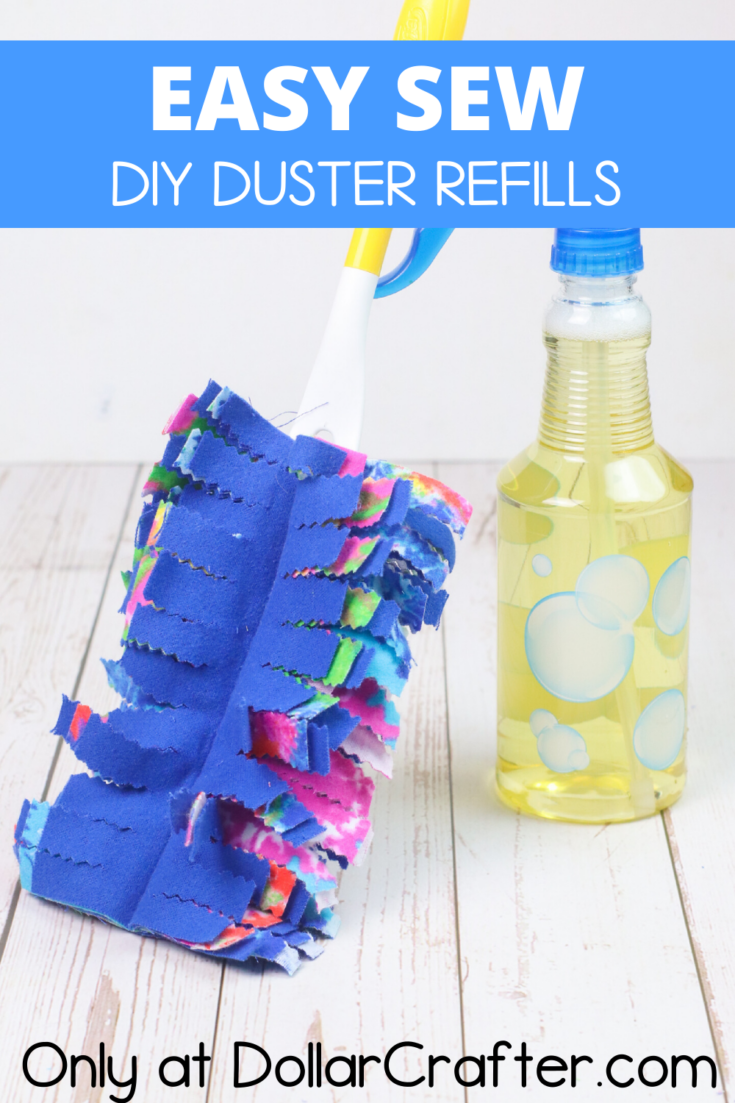
I love keeping the house clean, but sometimes it’s not easy. Having a Swiffer Duster comes in handy because they’re great for dusting, and I save money by making my own cloths with this DIY craft!
Plus, making your own reusable Swiffer duster cloths is better for you, your family, and the environment. They’re easy to make; you can even customize them with your favorite fabrics.
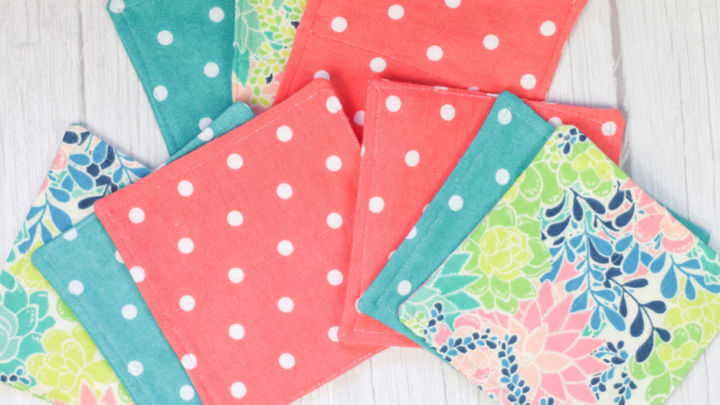
DIY Reusable Microfiber Cloths for Swiffer Duster
Supplies:
- ¼ yard of flannel fabric
- Matching thread
- Fabric marking pen
- Sewing Machine
- Sewing pins or clips
- Standard sewing scissors
- Pinking shears
- Cutting mat and ruler, measuring tape or ruler
Tips for Making Reusable Swiffer Cloths
You will need a Fabric Marking Pen to create this reusable Swiffer cloth because you’ll be drawing several lines.
Want to keep your fabric from fraying after you wash it?
Cut on the 45-degree angle or the bias, and to make this process even easier for you – use a mat! There are already lines marked for these angles, so all that’s left is just following them while using one of these special techniques.
When your cloth gets dirty, you can toss them in your regular laundry with one of our DIY Laundry Pods.
How to Make a Reusable Swiffer Duster
Let’s get crafting! Below is our written tutorial.
DIY Swiffer Duster Refills
Materials
- ¼ yard of flannel fabric
- Matching thread
- Fabric marking pen
Tools
- Sewing Machine
- Sewing pins or clips
- Standard sewing scissors
- Pinking shears
- Cutting mat and ruler, measuring tape or ruler
Instructions
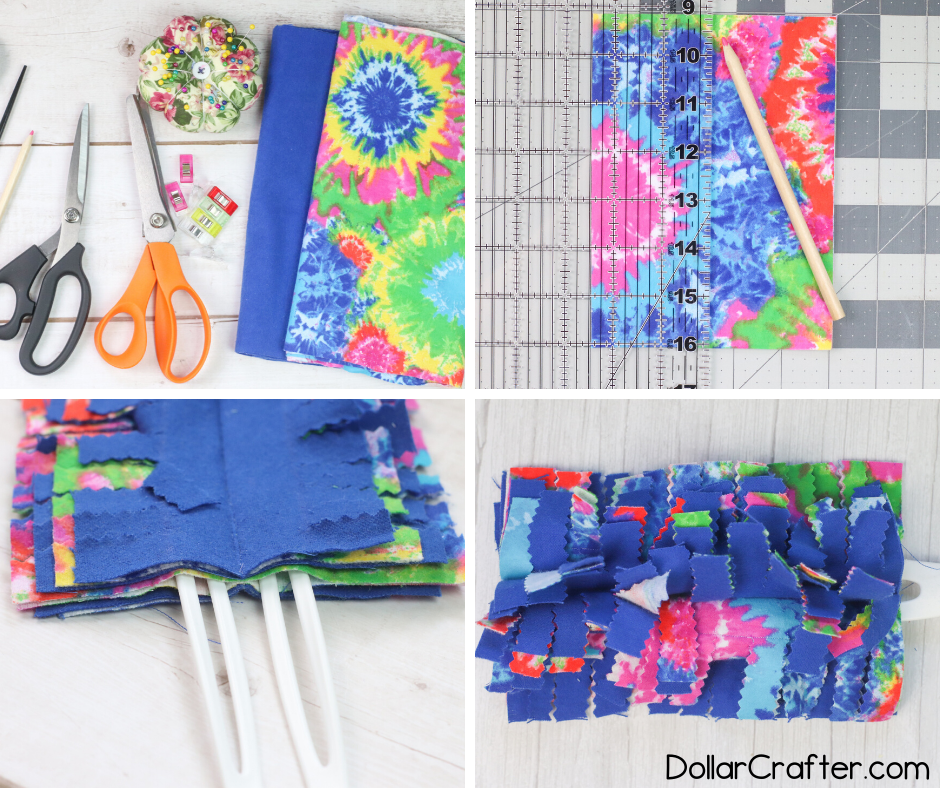
- Step 1: Cut the following pieces from your fabric (2) 5” x 7”, (2) 4 ½” x 7”, (2) 4” x 7” and (2) 3 ½” x 7”
- With wrong sides facing, place the two 5” x 7” pieces together. Using a fabric marker and ruler, draw a line down the center. Next, draw a line that is ¾” on either side of the center line. Pin in place and sew a straight stitch down each marked line. This will form the pockets your handle will slide into.
- Place your 5” x 7” piece on your work surface and center one of the 4 ½” x 7” pieces on top. Next, center one of the 4” x 7” inch pieces on top of that. Finally, center one of the 3 ½”x 7” pieces on top of that. Flip and repeat with the remaining pieces, largest to smallest.
- Using your fabric marker, draw a line down the center of your stack. Pin in place and sew a straight stitch down through all the layers on the marked line.
- Using your fabric marker, draw a line that is ¾” on either side of the center stitch you just made. This is your guide that you don’t want to cut into on step 11.
- This step is optional, but I found it helpful. Using your fabric marker, mark at ½” increments across each side.
Step 10: You can feel there are two layers. Lift the “top” layer and you will see where you stitched your 3 lines in Step 4. Using your pinking shears, cut ½” slits on each side, just shy of the stitched lines on either side. - Now you are going to do the same thing with the rest of the layers, being careful not to cut through the center line you stitched.
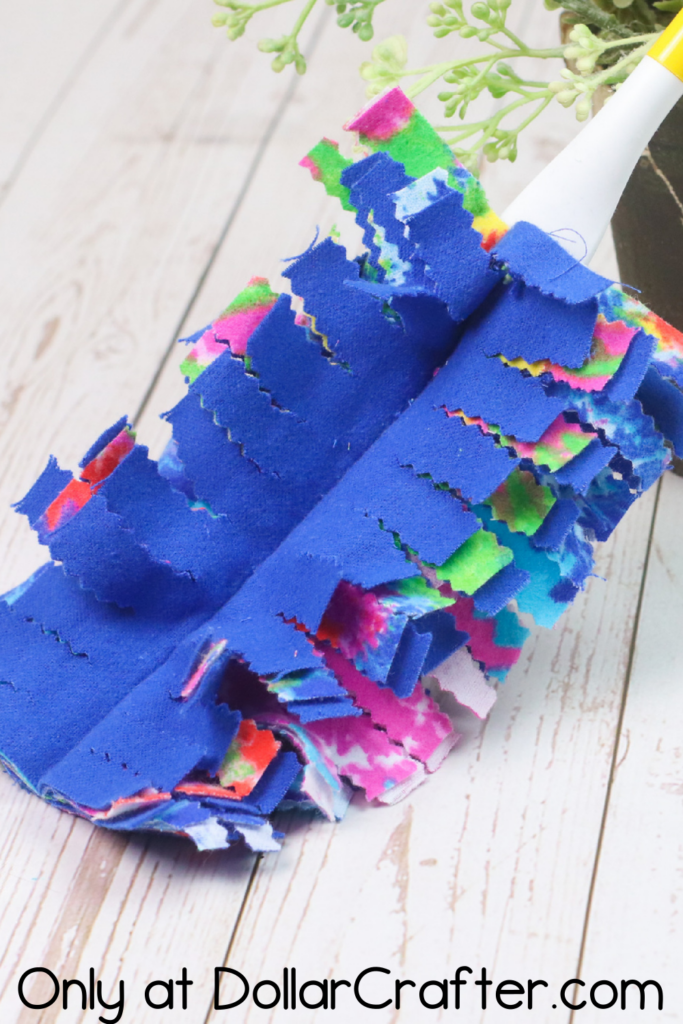
- Insert the duster handle into the pockets you’ve created. Fluff the slits that you cut, and you are ready to use your Easy DIY Reusable Duster Cloth! When your cloth gets dirty, you can just toss in your regular laundry!
*To keep your fabric from fraying when you wash it, you will cut on the bias or on a 45-degree angle to the selvage edge. When using a cutting mat, you will already have bias lines marked for you to make this easier to follow!
You can use this without a handle, too! Works great as a dusting cloth, too. - Step 9: This step is optional, but I found it helpful. Using your fabric marker, mark at ½” increments across each side.
Step 10: You can feel there are two layers. Lift the “top” layer and you will see where you stitched your 3 lines in Step 4. Using your pinking shears, cut ½” slits on each side, just shy of the stitched lines on either side.
Step 11: Now you are going to do the same thing with the rest of the layers, being careful not to cut through the center line you stitched.
Steps 12-13: Insert the duster handle into the pockets you’ve created. Fluff the slits that you cut, and you are ready to use your Easy DIY Reusable Duster Cloth! When your cloth gets dirty, you can just toss in your regular laundry!
*To keep your fabric from fraying when you wash it, you will cut on the bias or on a 45-degree angle to the selvage edge. When using a cutting mat, you will already have bias lines marked for you to make this easier to follow!
Notes
For more simple homemade cleaning crafts visit DollarCrafter.com
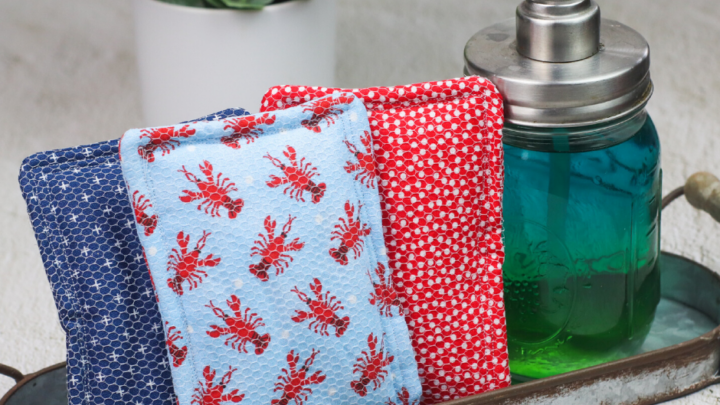
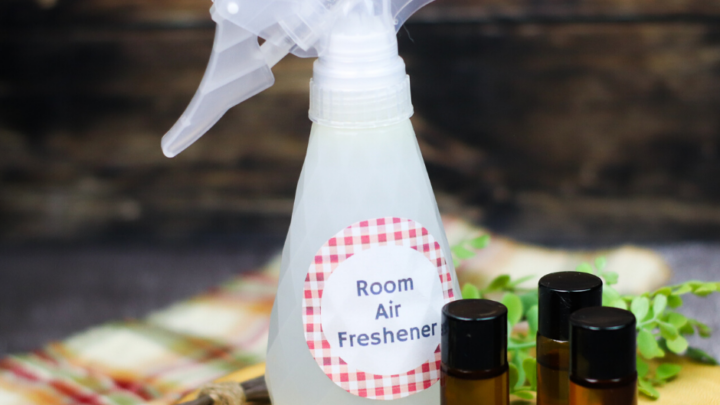
More Homemade Cleaning Ideas You Will Love!
Please Save This to Pinterest
Your shares are how this site grows, and I am sincerely grateful. Know a friend who’d like this? Please share it on Facebook or save it to your favorite craft board on Pinterest.