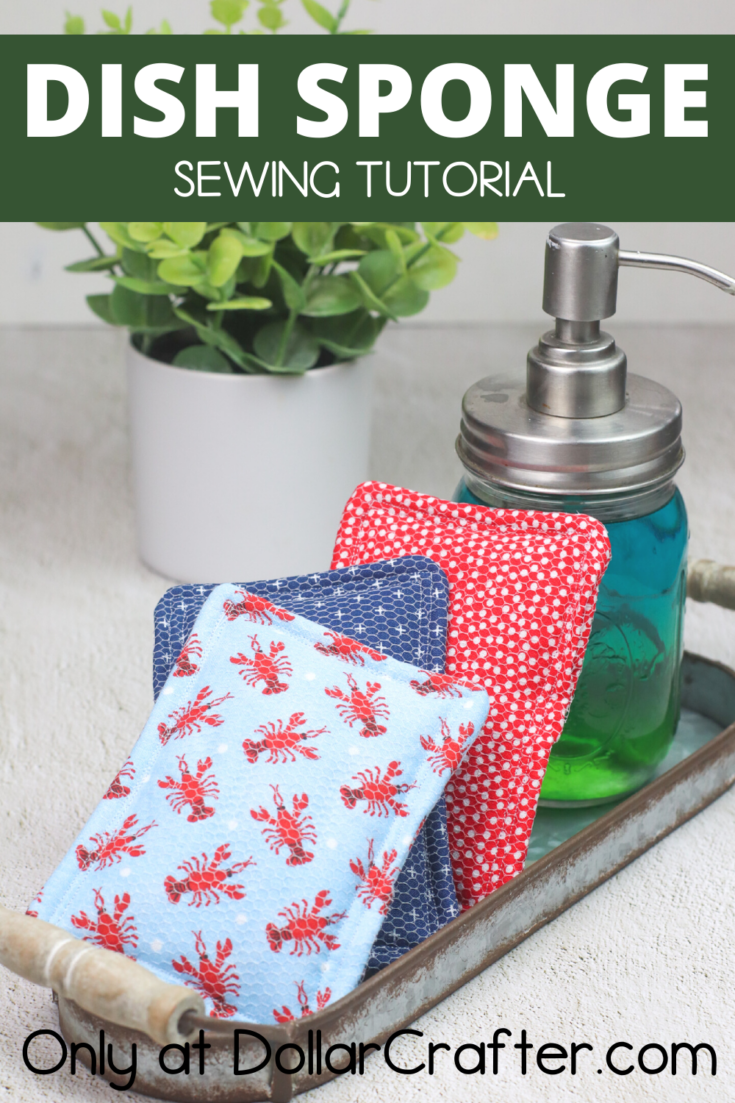
This DIY Sponge Sewing Tutorial will have you washing your dishes with eco-friendly sponges in minutes and under $5 to make. After creating your own sponge, you won’t buy another store brand sponge again- which is best for the environment.
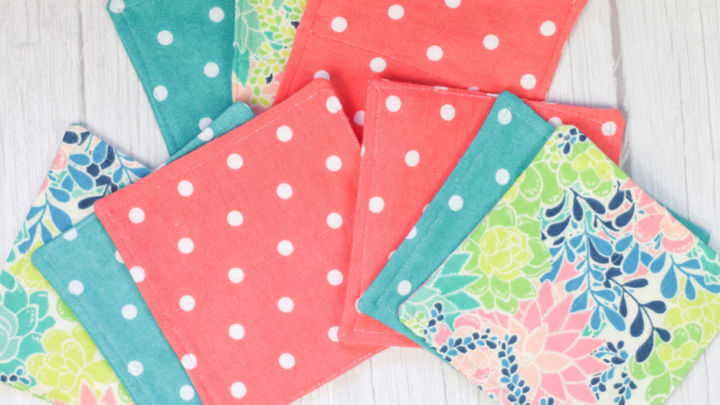
Homemade Sponges
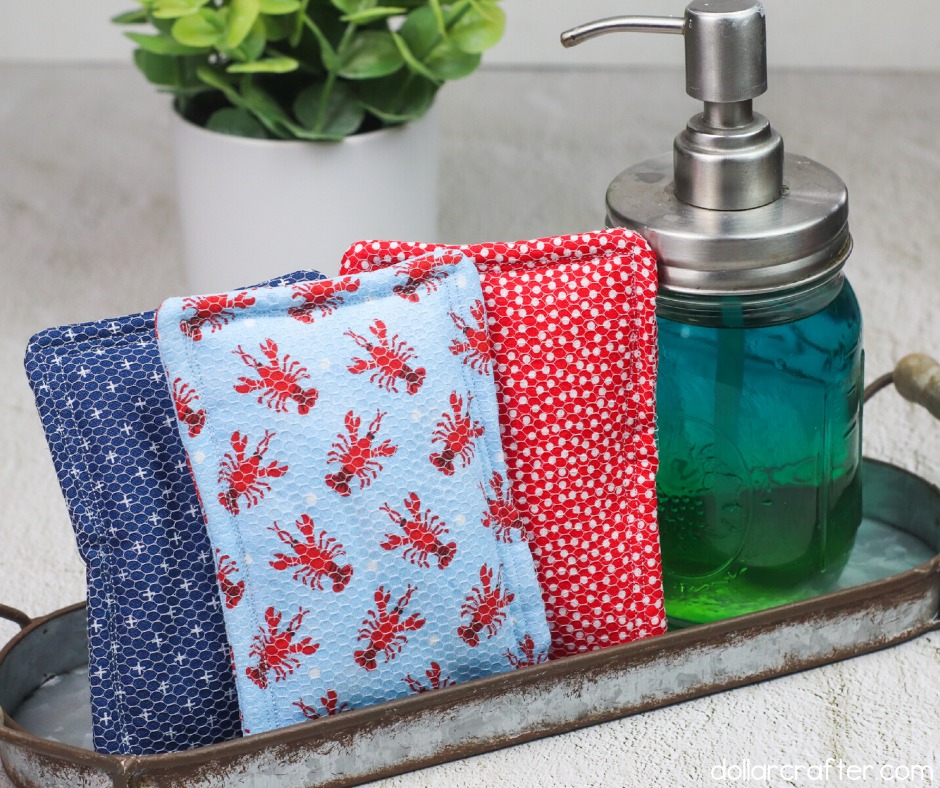
When these homemade sponges get dirty, toss in the washing machine with a load of towels and dry on low.
Supplies:
- ¼ yard mesh fabric
- ¼ yard cotton fabric
- ¼ yard cotton batting
- Matching thread
- Fabric marking pen
- Sewing pins or clips
- Sewing Machine
- Scissors
- Turning tool
- Cutting mat and ruler, measuring tape or ruler
Tips on How to Sew a Reusable Sponge
Instead of buying material, check your sewing scraps for any fabric that might be perfect to use in this project. Maybe you could even ask someone who sews if they have some extra fabric laying around!
If you don’t have a turning tool, the next best thing is a chopstick, and it works just the same.
Another easy craft you might like to try is our DIY Dryer Sheets.
How to Make a Reusable Dish Sponge
Let’s get crafting! Below is our written tutorial.
Reusable Dish Sponge
Materials
- ¼ yard mesh fabric
- ¼ yard cotton fabric
- ¼ yard cotton batting
- Matching thread
- Fabric marking pen
- Sewing pins or clips
Tools
- Sewing Machine
- Scissors
- Turning tool
- Cutting mat and ruler, measuring tape or ruler
Instructions
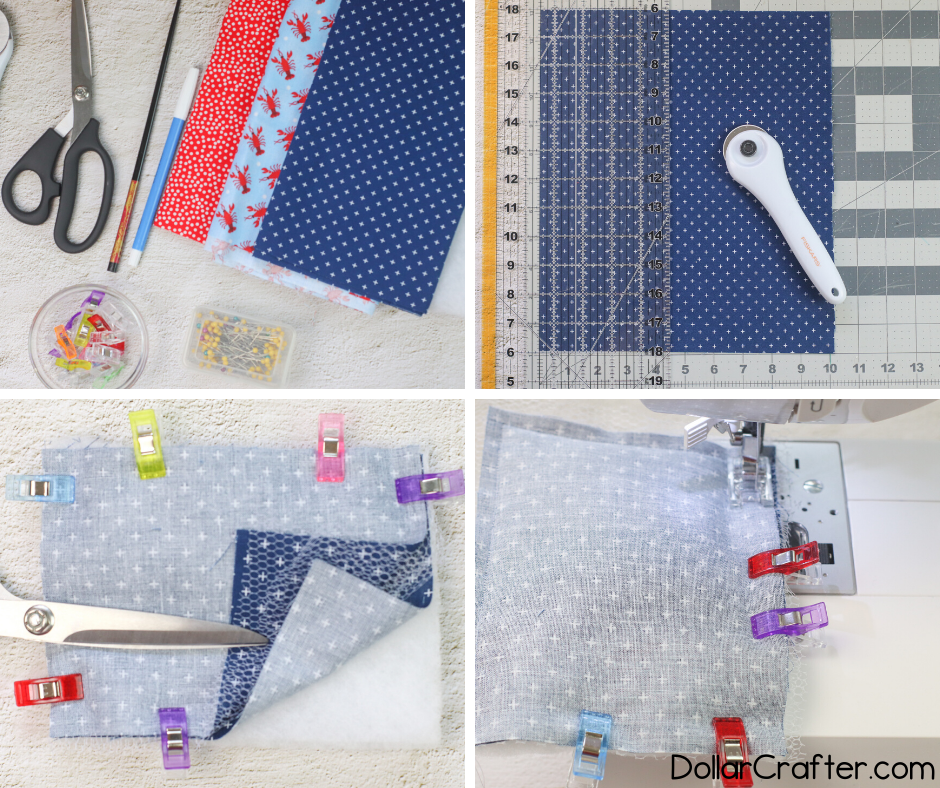
- Cut (2) 4 ½” x 6” pieces from your cotton fabric and mesh fabric. For the cotton batting, cut 2-4 pieces, depending on how thick you want your sponge to be.
- On your flat work surface, layer your pieces as follows: one piece of cotton right side up, the two pieces of mesh next, the other piece of cotton right side facing down and the cotton batting on top. Pin or clip the layers together.
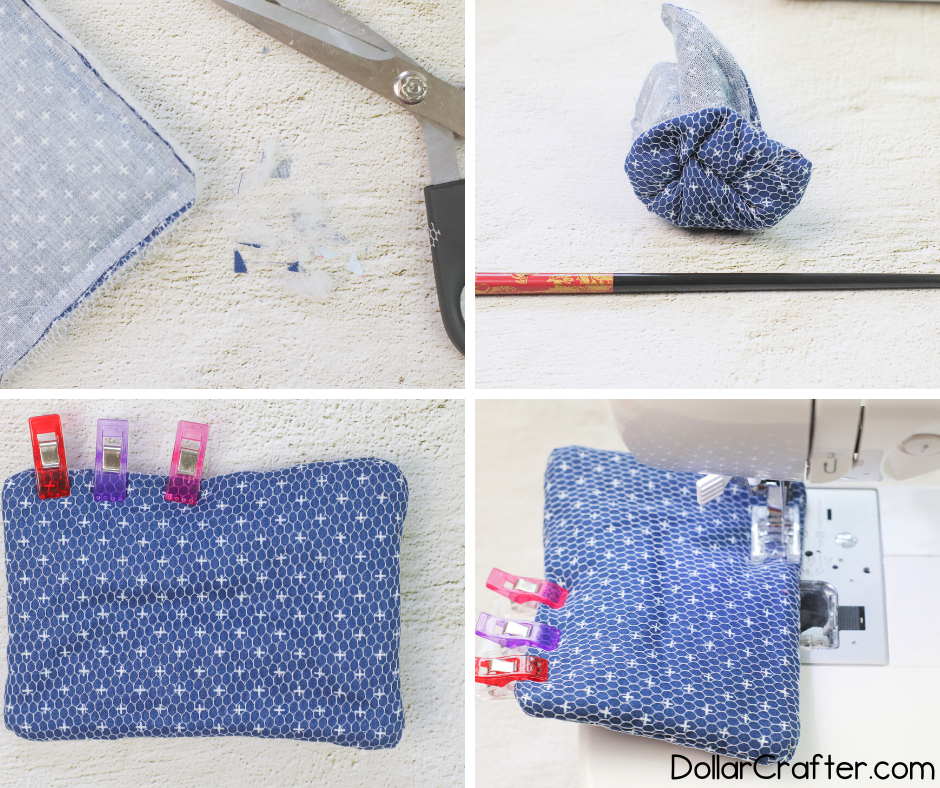
- Using a 3/8” seam allowance, sew all the layers together, leaving a 3-4” gap for turning on one of the long sides. Clip the corners to remove bulk, being careful not to clip through the stitching.
- Using your turning tool, turn right side out between the mesh layers and push out the corners. Tuck in the raw edges of the opening and pin or clip closed.
- Topstitch around the entire sponge. Next, topstitch around the sponge again 1/4-inch to the left from the first topstitch line.
Notes
For more simple home crafts visit DollarCrafter.com
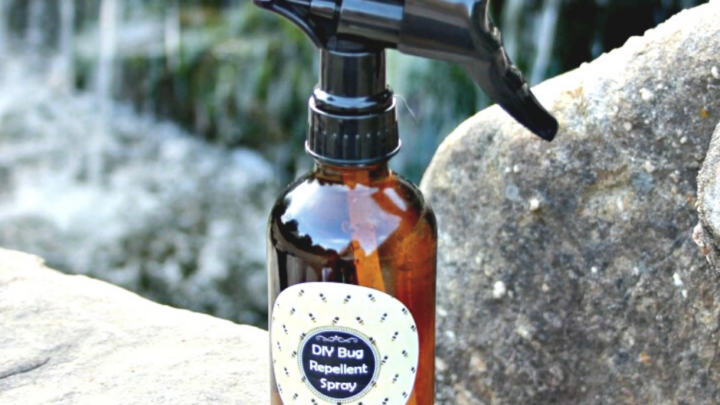
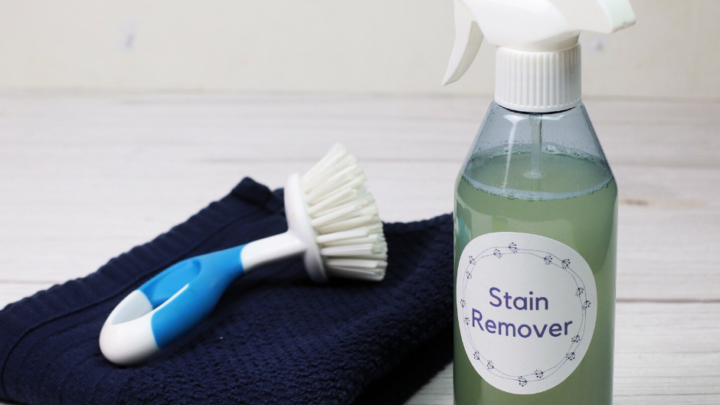
More Homemade Cleaning Ideas You Will Love!
Please Save This to Pinterest
Your shares are how this site grows, and I am sincerely grateful. Know a friend who’d like this? Please share it on Facebook or save it to your favorite crafts board on Pinterest.