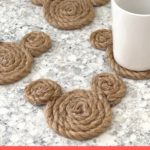
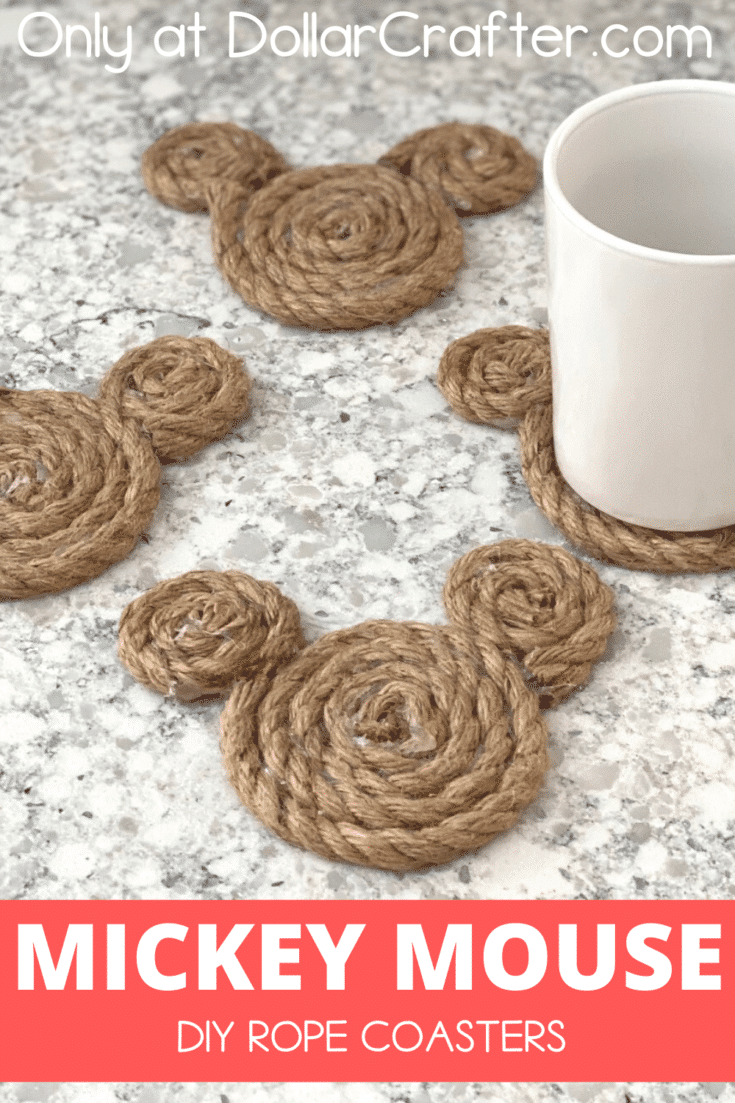
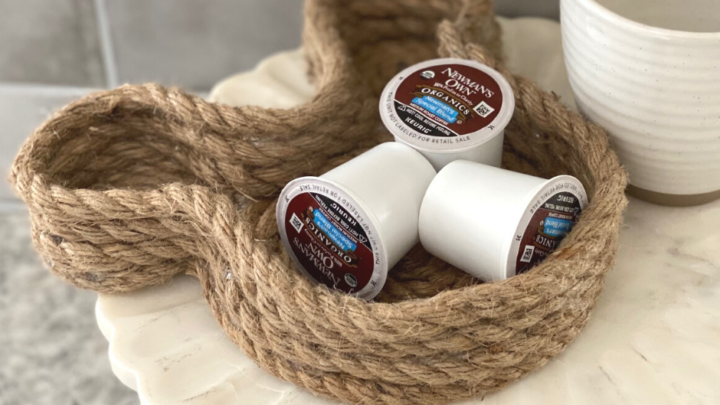
Mickey Mouse is everyone’s favorite Disney character, and now you can make some DIY Mickey Mouse coasters with this simple tutorial! These Disney drink coasters are not only adorable to look at, but they also serve the purpose of protecting your furniture from water rings.
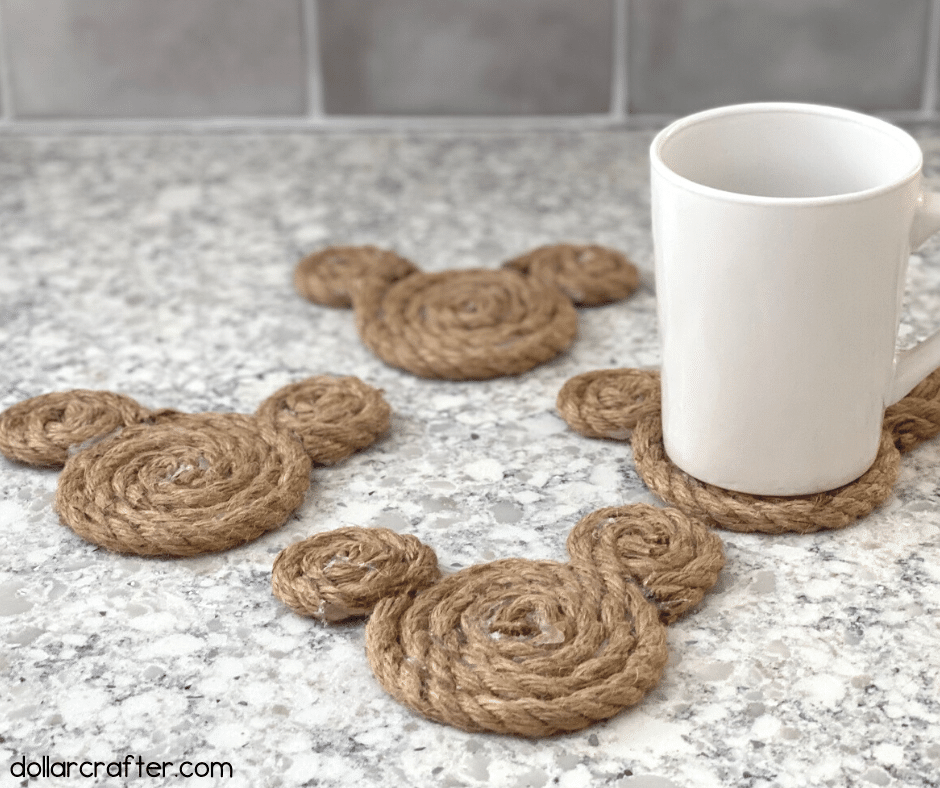
These simple Mickey Mouse DIY rope coasters are the perfect way to add a little Disney magic to your home. Plus you can make this craft for under $5!
Homemade Mickey Mouse Rope Coasters
Supplies Needed:
When it comes to making this craft you really cannot mess up. This is so simple to do you could even make this at home with kids!
In our tutorial below we walk you through how to make 4 rope coasters, but you could easily increase your supplies to make a larger set if needed.
When creating these if you are concerned about making your coasters an uneven size you can create a circle template to work with using a piece of cardboard. I would suggest measuring the circles to your favorite largest coffee cup 😉
I personally think these would make an adorable gift for any Disney cruise lover in your life.
And if you love this craft make sure to swing over and check out our tutorial on how to make Mickey rope baskets!
How to Make Mickey Mouse Rope Coasters
Ready to get crafting? You will find the full tutorial below!
Mickey Mouse Rope Coasters
This tutorial will teach you how to make simple rope coasters perfect for a Mickey Mouse themed party or just gifting as a gift!
Materials
- 2, 8 Foot Nautical Jute Rope - Dollar Tree
- Hot Glue
Tools
- Hot Glue Gun
- Scissors
Instructions
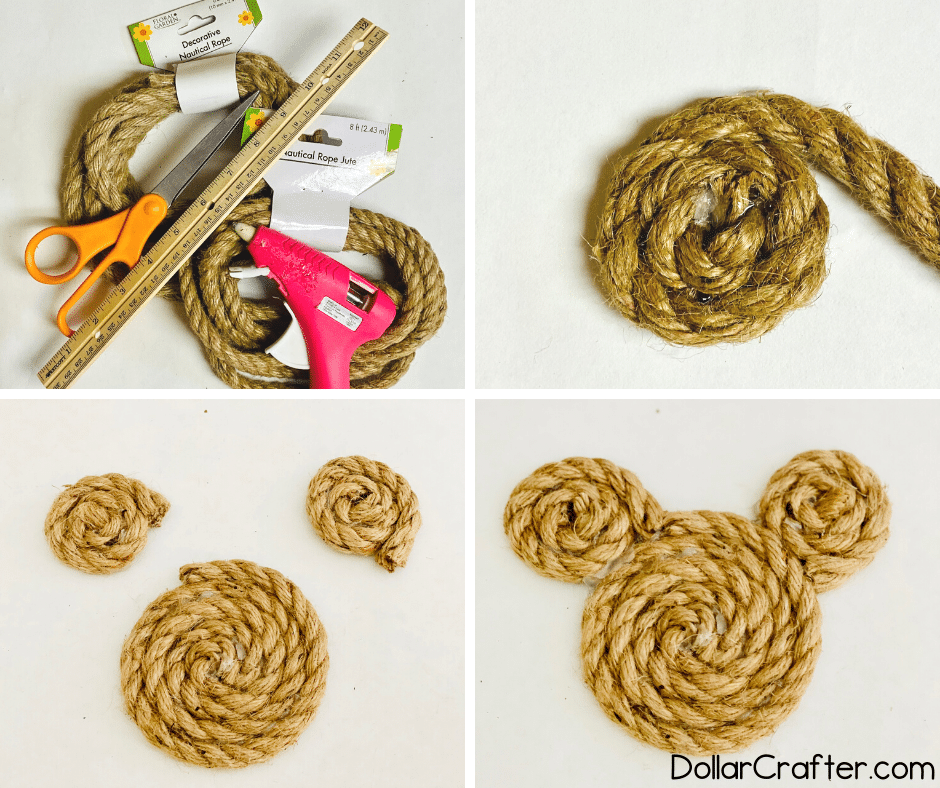
- To make 4 coasters, cut 4 (24 inch) pieces of jute rope and 8 (8 inch) pieces.
- Start by putting a line of hot glue on the rope and then roll/curl the rope around itself, it will look like a snail when you are doing it.
- Repeat this 4 times with the 24 inch pieces to make the mickey heads, and each 8 inch section (these will be the ears).
- Once each piece is complete using hot glue, attach the ears to the main coaster and allow to dry.
Notes
For more easy Disney Crafts visit DollarCrafter.com
More Disney Crafts You Will Love

Please Save This to Pinterest
Your shares are how this site grows and I am sincerely grateful. Know a friend who’d like this? Please share it on Facebook or save it to your favorite crafts board on Pinterest.