
An embroidery hoop wreath is a perfect way to show off your love for spring! This Homemade Hello Spring Embroidery Hoop Wreath can be made quickly and easily, without having an expensive price tag.
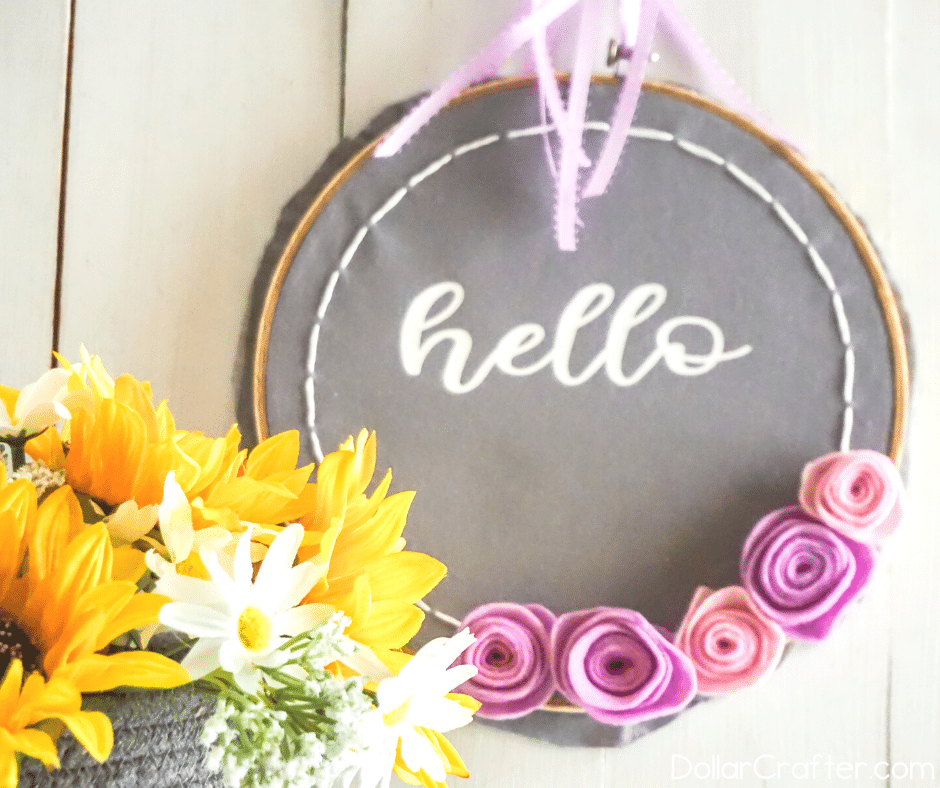
DIY Hello Spring Embroidery Hoop Wreath
This embroidery hoop wreath is a simple and affordable project that doesn’t require many supplies. You can easily customize this to your liking, with the seasons changing at your whim! Plus they make great gifts.
Supplies:
- 1 10-inch Embroidery Hoop
- 14-inch Square Grey Cotton Fabric
- White Heat Transfer Vinyl
- Lavender ¼-inch Ribbon
- Embroidery Thread in White
- Purple and Pink Craft Felt
- Cricut Explore Air 2 or Cricut Maker
- Cricut Easy Press Mini
- Scissors
- Hot Glue Gun & Glue
- Embroidery Needle
Tips to Make This Homemade Embroidery Hoop Wreath
When it comes to purchasing embroidery hoops, they can be pretty spendy at craft stores. Big box retailers such as Amazon or Walmart are better places to find a more affordable price. For this project, my local craft store was selling the same size embroidery hoop for $14 that I snagged from Walmart for $3. It is worth the time to save money and do your price checking.
For felt, outside of the big box stores, you will find better prices at fabric stores than craft stores. However, I tend to grab both my felt and vinyl supplies online, and now and then, I will get lucky and find both at Dollar Tree.
Check out our DIY Terracotta Succulent Wreath for another easy wreath tutorial.
How Do I Make the Embroidery Hoop Wreath?
Let’s get crafting! Below is our written tutorial.
Hello Embroidery Hoop Wreath
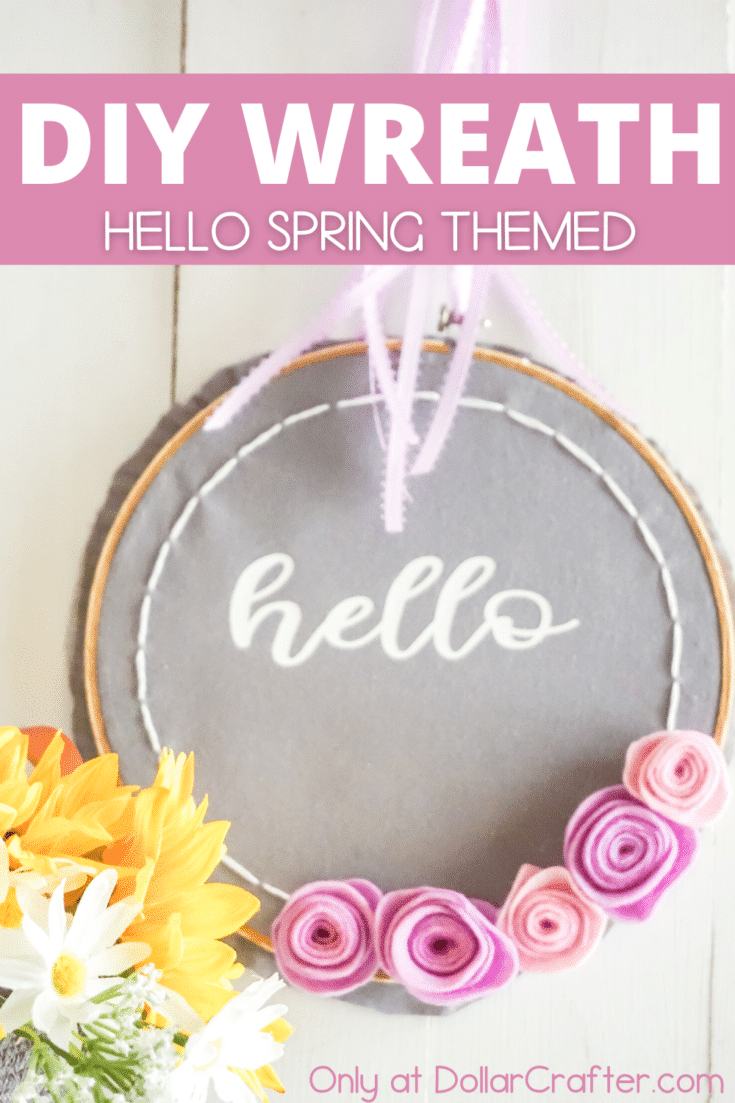
This charming and affordable embroidery hoop wreath is a fun way to welcome Spring on a budget!
Materials
- 1 10-inch Embroidery Hoop
- 14-inch Square Grey Cotton Fabric
- White Heat Transfer Vinyl
- Lavender ¼-inch Ribbon
- Embroidery Thread in White
- Purple and Pink Craft Felt
Tools
- Cricut Explore Air 2 or Cricut Maker
- Cricut Easy Press Mini
- Scissors
- Hot Glue Gun & Glue
- Embroidery Needle
Instructions
- Disassemble the embroidery hoop.
- Place the grey fabric squarely in the center of the embroidery hoop and reassemble the embroidery hoop around the grey fabric, trapping it in between the two rings.
- Using the white embroidery thread and needle, make a running stitch around the outside edge of the grey fabric in ½-inch lengths of thread showing, about ½ inch from the embroidery hoop.
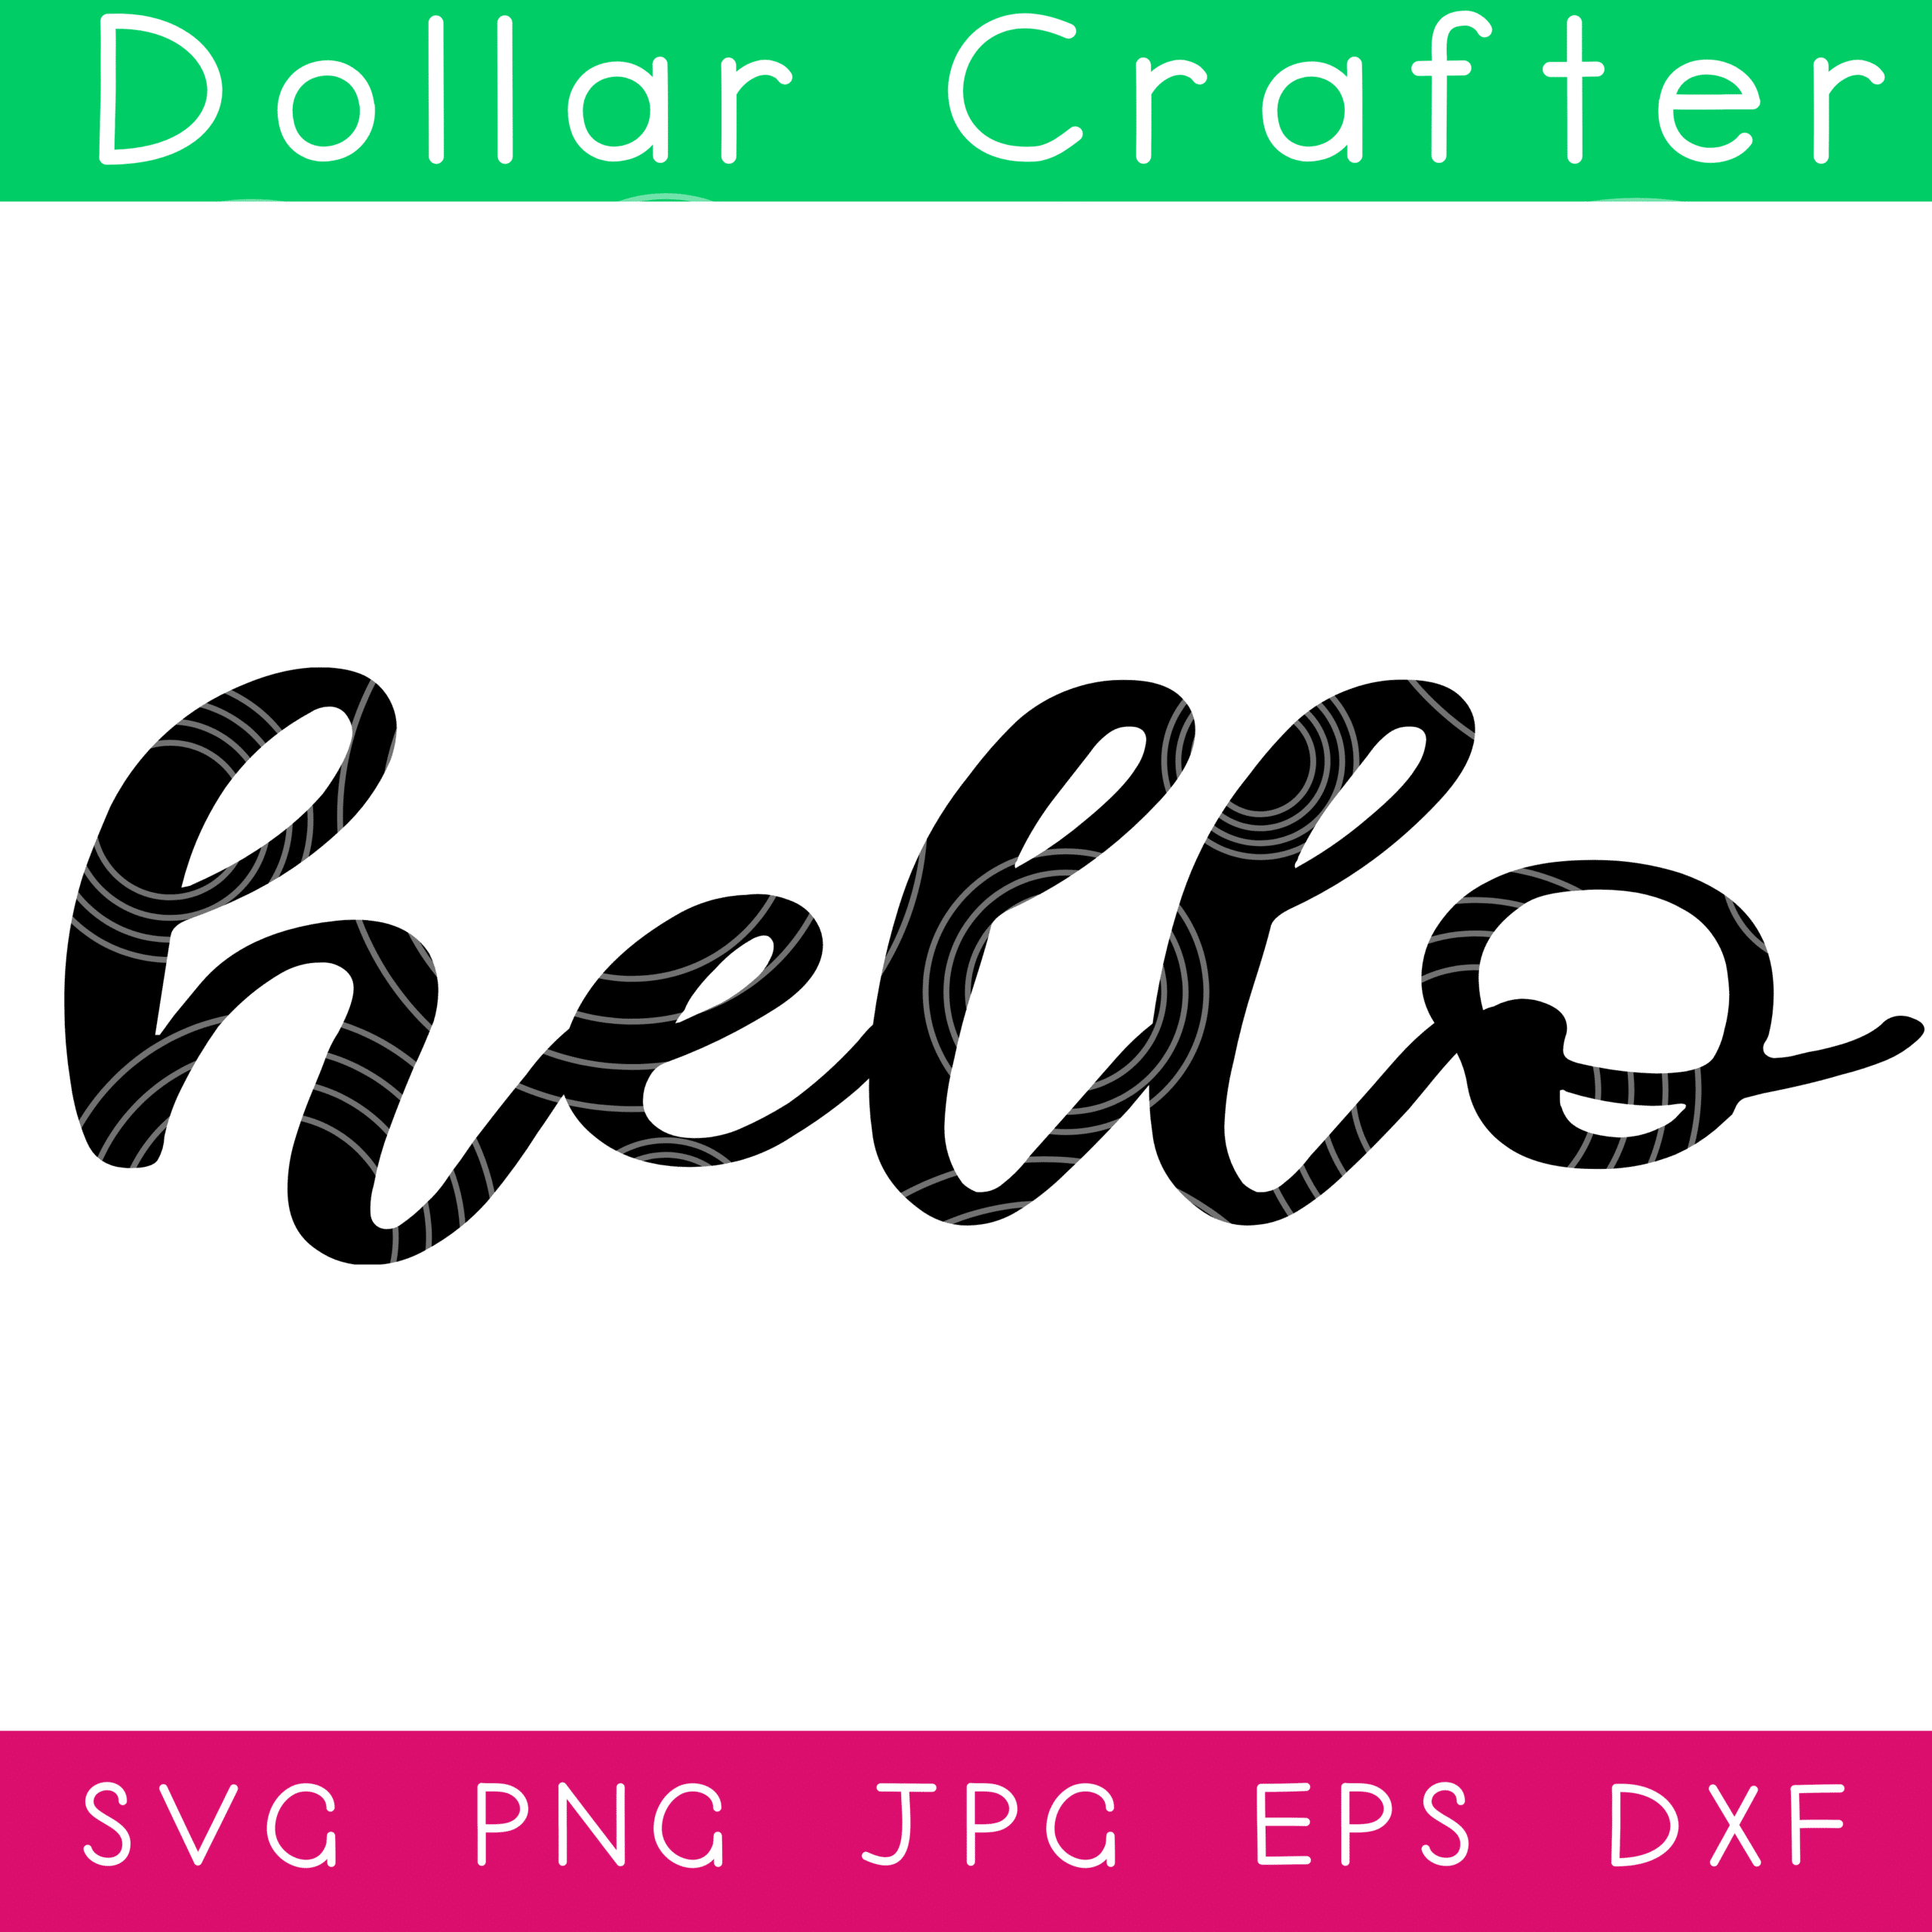
- Download the cut file and upload it to Cricut Design Space. Follow the prompts to cut the lettering from the heat transfer vinyl and 3-4 spiral shapes for flowers from the purple and pink felt. Don’t forget to mirror your lettering design so you don’t waste any vinyl. When you are cutting the felt flower spirals, don’t forget to bond your felt if using a Cricut Explore Air 2 as opposed to the Cricut Maker.
- Make your roses by tightly coiling the spiral shapes in on themselves, making a tight coil. Hot glue the bottom of the coiled rose. Hot glue the roses onto the embroidery hoop on one side along the bottom.
- Weed your lettering design and place it face-down in the center of the cotton fabric square.
- Heat press the design in place, gently removing the backing sheet after the heating process is over and the design has cooled.
- Tie the ribbon onto the top of the embroidery hoop and hang on the door!
Notes
For more fun DIY Wreath ideas visit DollarCrafter.com
Recommended Products
As an Amazon Associate and member of other affiliate programs, I earn from qualifying purchases.
More DIY Wreaths You Will Love

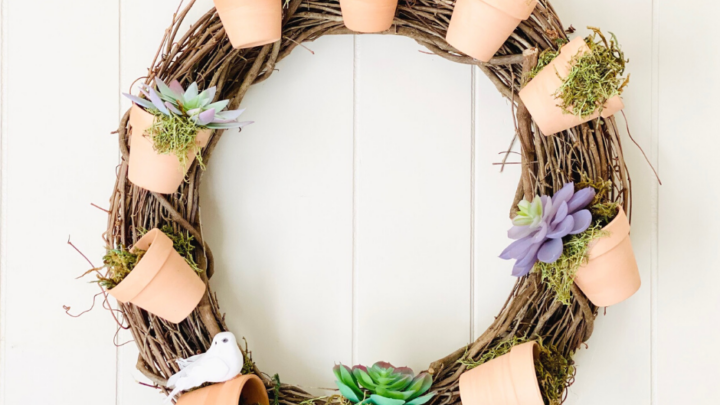
DIY Terracotta Succulent Wreath
What if I told you that you could turn a terracotta pot into an adorable succulent wreath with just a few supplies? And all for less than $10! Well, now you can because it's true!
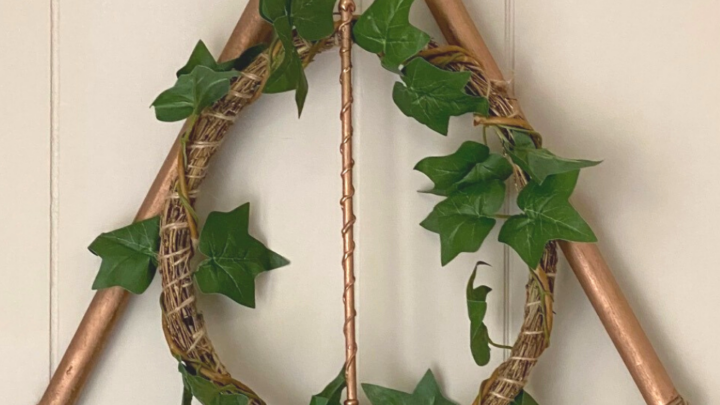
Harry Potter Deathly Hallows Wreath
This Harry Potter Deathly Hallows Wreath is perfect for any fan of the series or anyone looking to give their home some magical flair. Hang this on your door to show off your love of all things Harry potter!
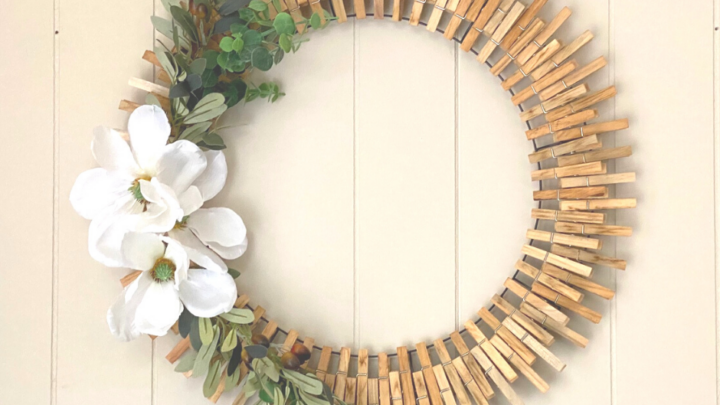
Homemade Clothespin Magnolia Wreath
This beautiful DIY magnolia clothespin wreath looks great from year round and requires next-to-no skill, making it perfect for any beginner.
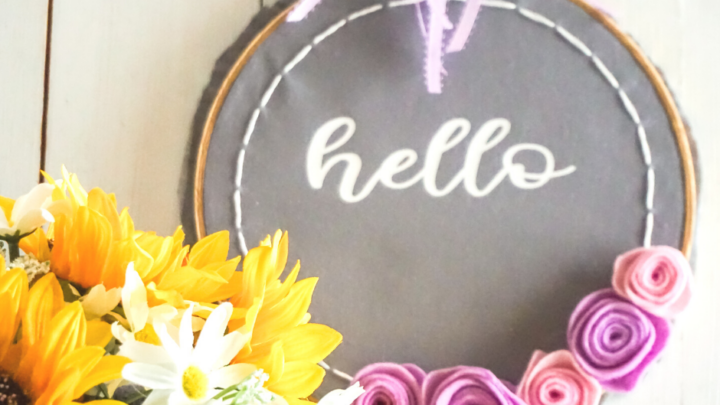
Homemade Hello Spring Embroidery Hoop Wreath
This charming and affordable embroidery hoop wreath is a fun way to welcome Spring on a budget!
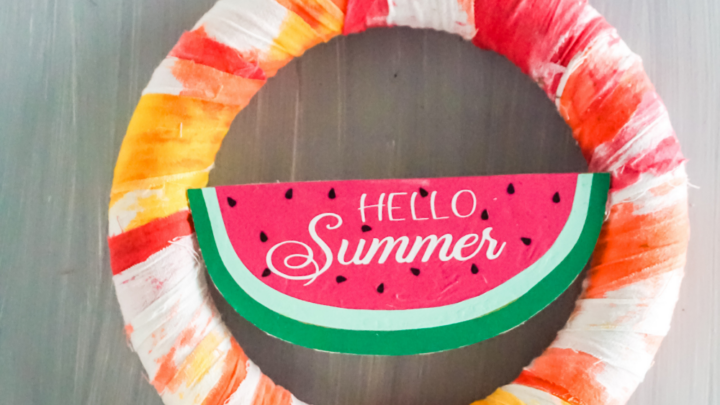
Hello Summer Watermelon Wreath
Bright, simple, and fun! This homemade Hello Summer Watermelon Wreath is the perfect way to welcome summer!
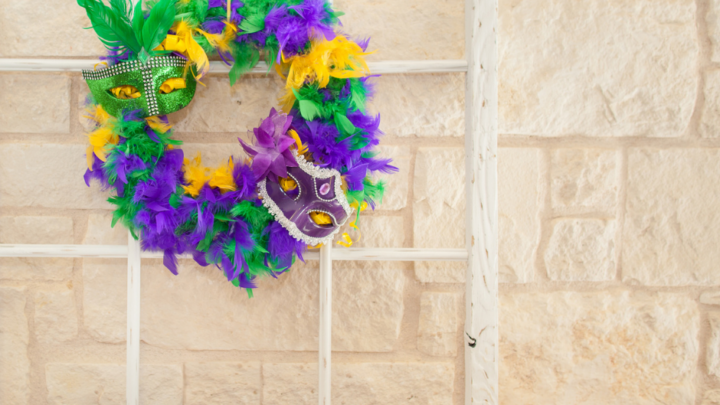
Homemade Mardi Gras Wreath
Mardi Gras is right around the corner and we have a fun wreath that you can make for under $10 that will brighten up your door!

DIY Tie Dyed Welcome Grapevine Wreath
Brighten your door with this beautiful tie dyed Welcome grapevine wreath. This simple DIY wreath tutorial includes the Welcome SVG craft file!

Homemade Easter Lilly Grapevine Wreath
Create a beautiful homemade Easter Lilly Wreath with items you can easily find at your local Dollar Tree!

Homemade Cherry Blossom Hoop Wreath
This simple yet elegant homemade cherry blossom hoop wreath will bring a bright burst of spring color to your home décor!
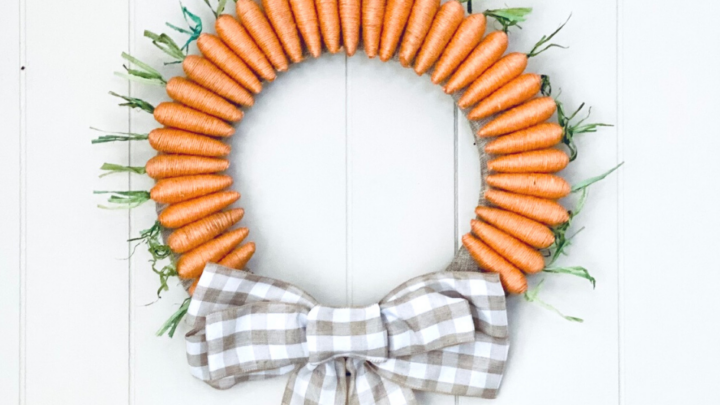
DIY Carrot Wreath
This DIY Carrot Wreath is a super simple and fun way to add a dash of color to your front door or wall for Spring.
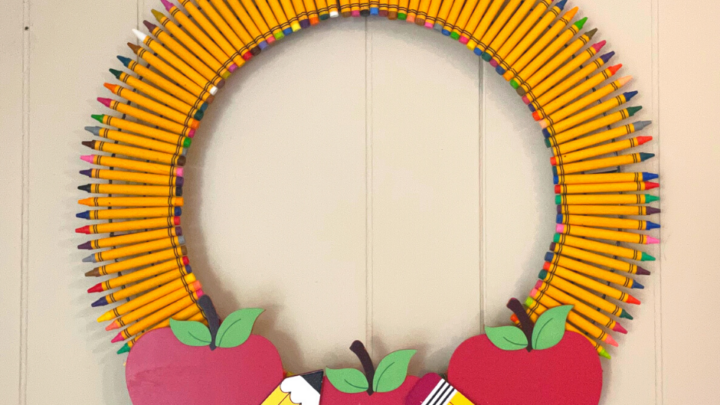
DIY Teacher Crayon Wreath: The Coolest Back to School Gift
The DIY Crayon Wreath is the perfect DIY gift for any teacher. It's a fun, easy and inexpensive way to say "Happy Back-to-School!"
Please Save This to Pinterest
Your shares are how this site grows, and I am sincerely grateful. Know a friend who’d like this? Please share it on Facebook or save it to your favorite holiday crafts board on Pinterest.