When I saw this camping bucket seat, my first thought was, “OMFG! This is genius!” and why didn’t I think of it before? If you are camping in a place where space is limited and it’s best to be as comfortable as possible, this DIY concept is for you.
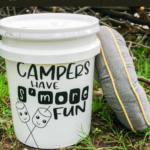
Now let’s take this fun bucket to a new level and give it character with this amazing saying… Campers Have S’more Fun. How cute is that?

Homemade Camping Bucket Seat
Are you ready for some summer camp crafting action? Grab your Cricut, weeding tools, and of course, a bucket plus all other supplies we listed below.
Supplies:
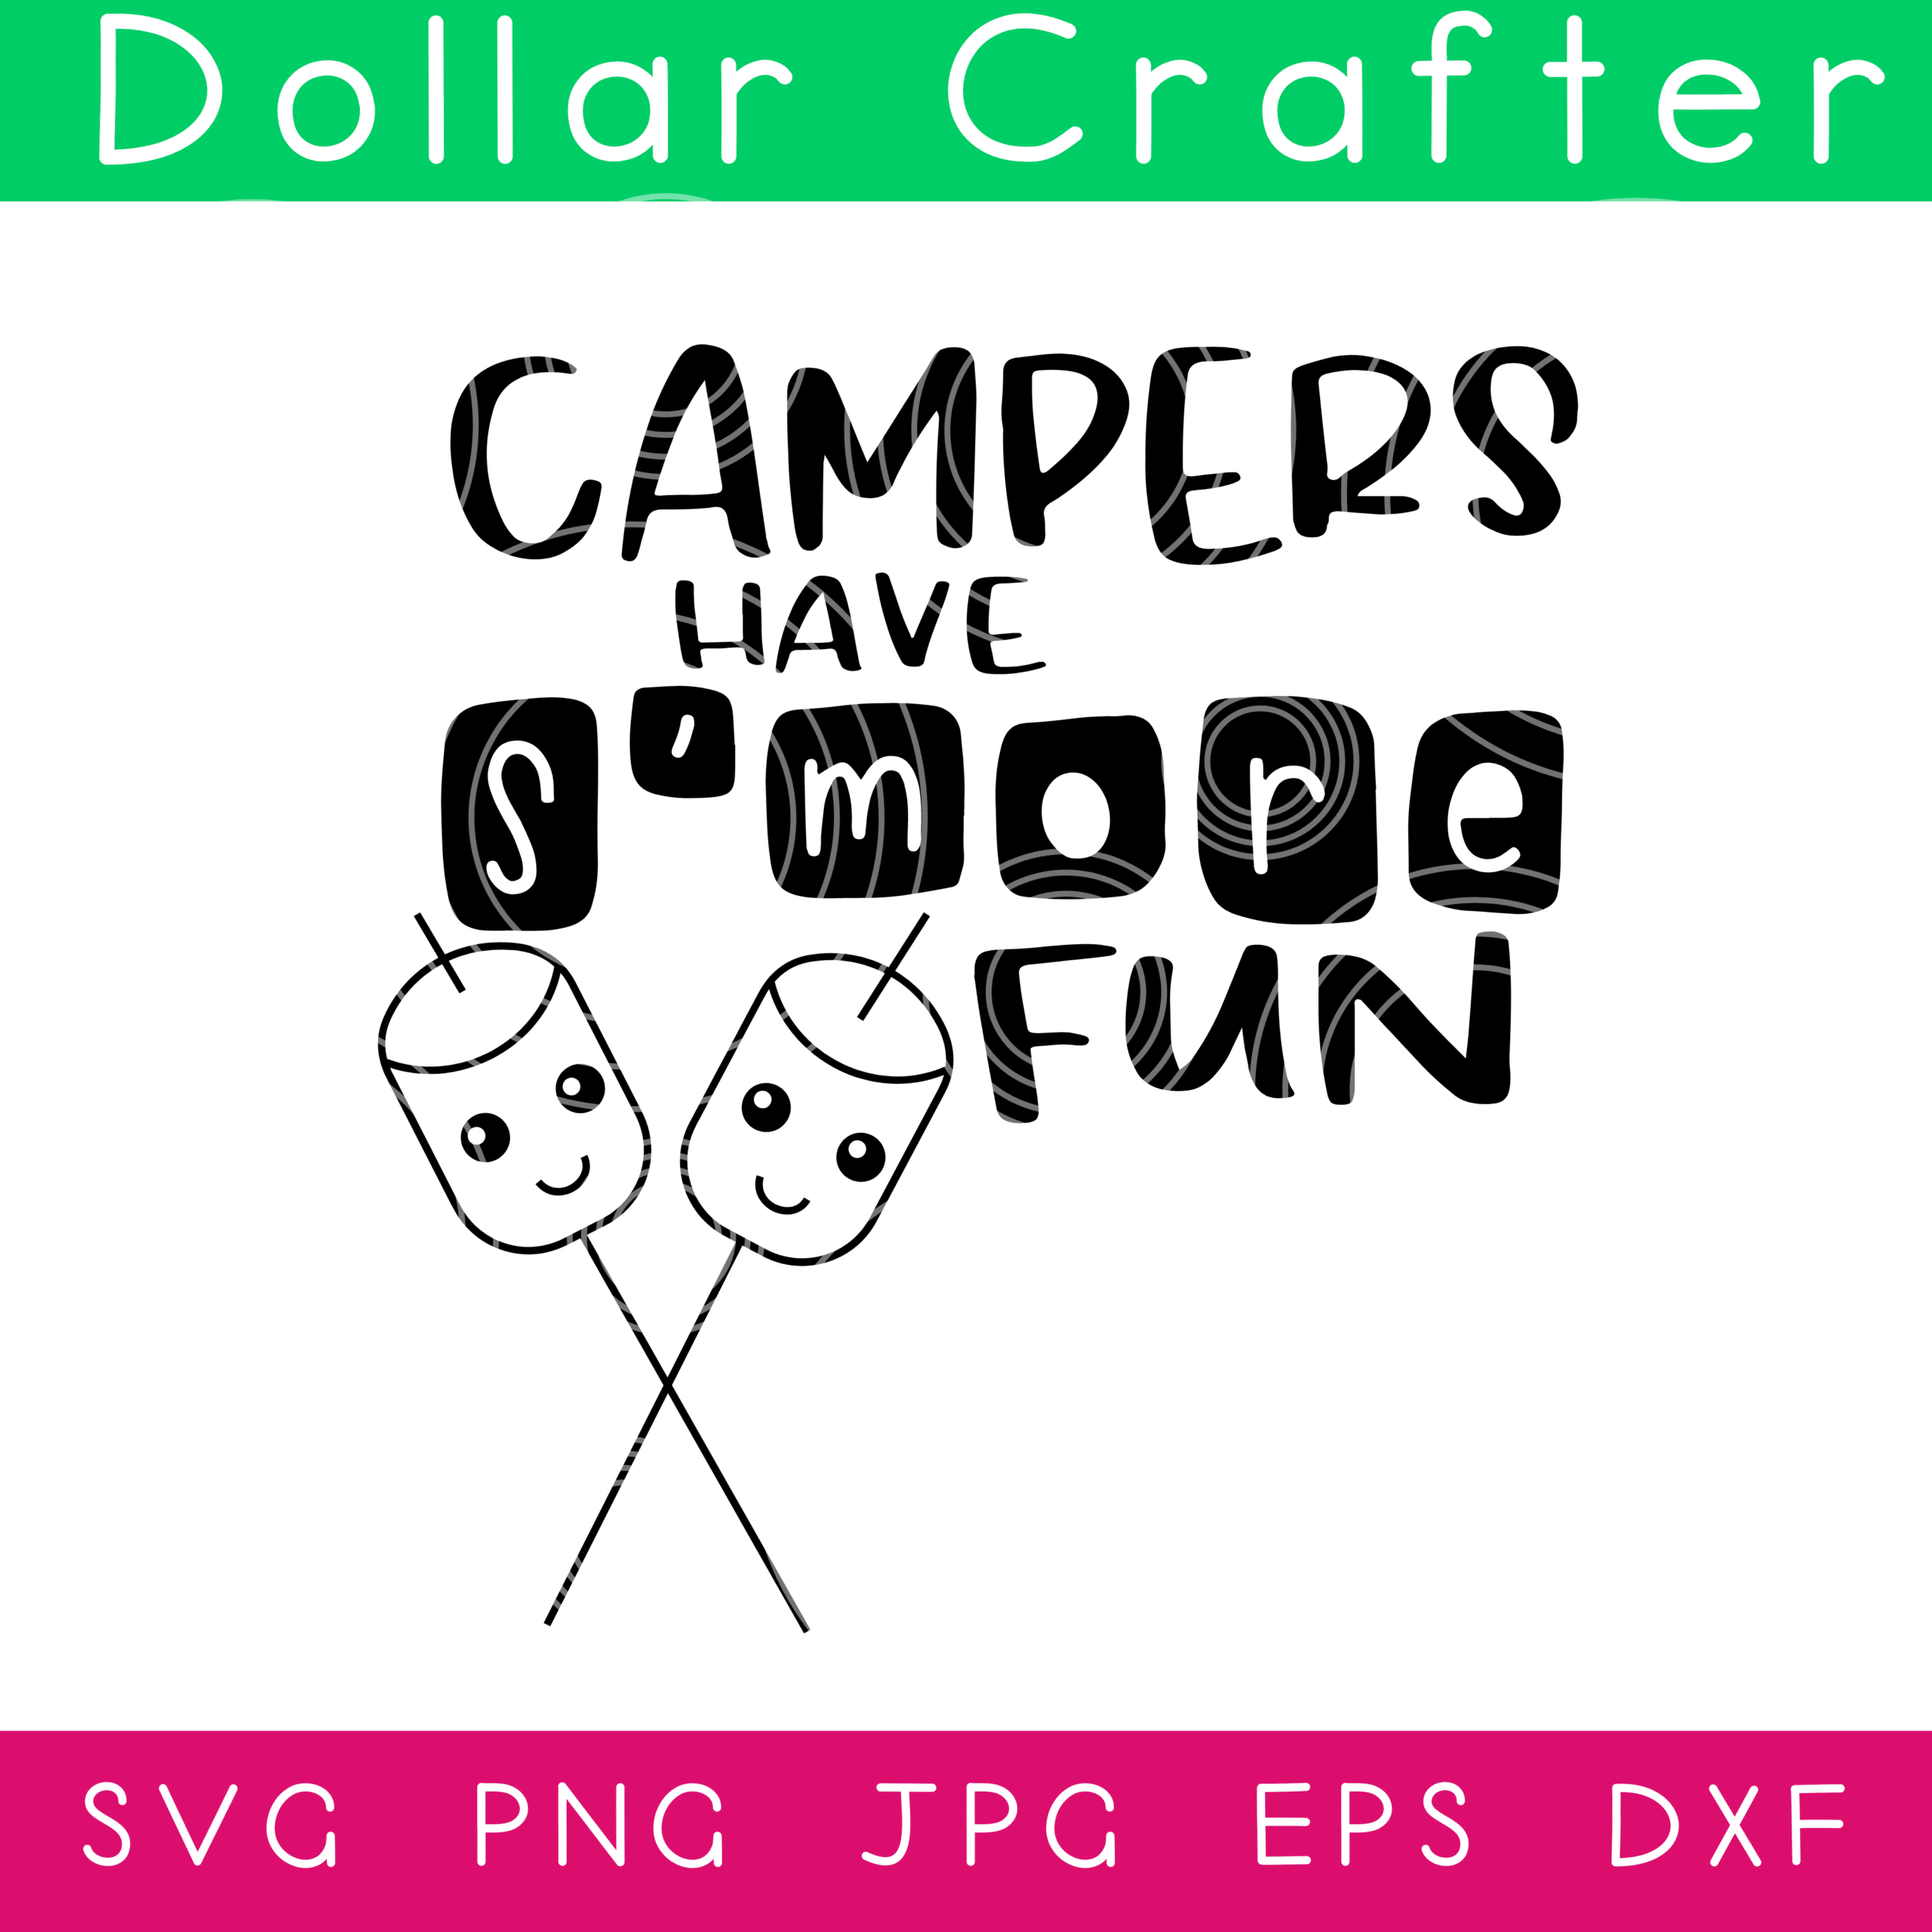
- Campers Have S’more Fun SVG
- 1 White 5-gallon Bucket with Lid
- Black Permanent Vinyl
- Flashlight or LED Multicolor Lights
- Cricut Explore Air 2 or Cricut Maker
- Light Grip Mat
- Transfer Paper (I used Press-n-Seal Wrap)
- Weeding Tools
- Spatula Tool, optional
Tips for Making a Glow in the Dark Camping Bucket Seat
Now you can get to the fun part of making your own personalized bucket! First things first: download the above SVG cut file, upload it onto Cricut Design Space, and size it however big or small you want on your bucket. More detailed instructions are below.
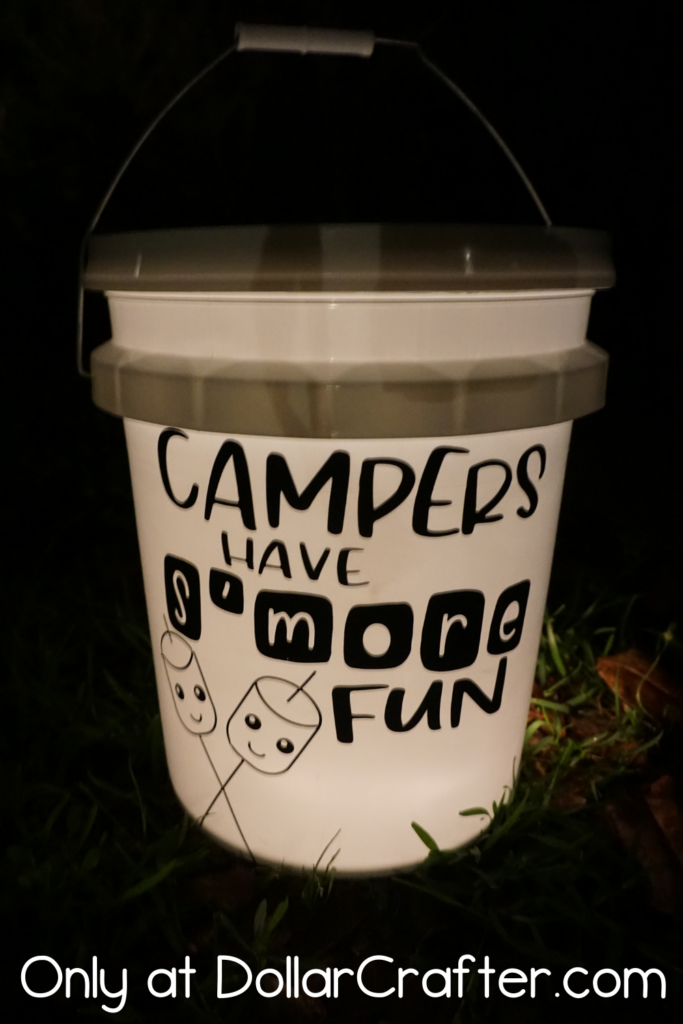
How do you get the bucket to glow?
When it gets dark out, place a flashlight inside the bucket, and close the lid. Then you will see the bucket light up just like this; now, you have a glow in the dark camping seat.
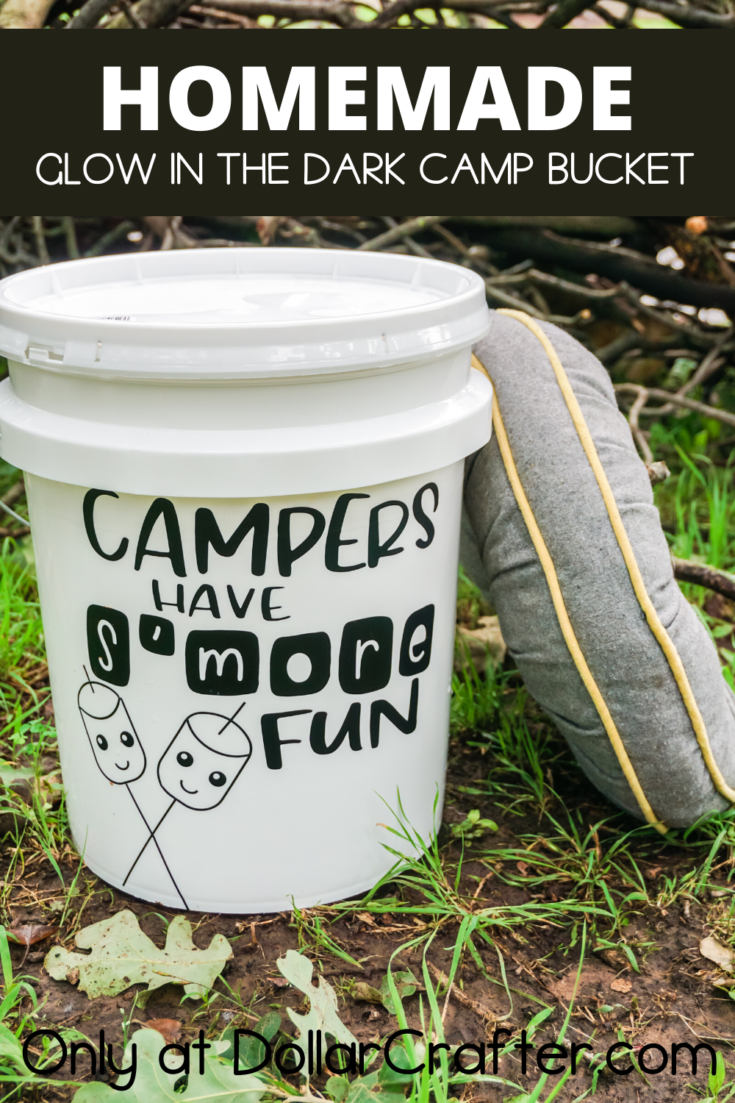
How do you make it into a seat?
Now sitting on the lid won’t be very comfy, so you will need to find a round pillow to fit on top, or if you can sew, make a pillow with foam and attach it to the lid. But the easiest way is to check your local thrift store or the dollar store- because I’ve seen pillows there before.
What do I do with the bucket?
Think of the bucket seat as extra storage when you go camping, store all kinds of things like snacks, s’more items (of course), batteries, flashlights, extra bedding, and the list can go on and on.
Another cool thing is you can use these bucket seats when you are at home around the firepit, utilize what you already have is what my mom taught me.
How to Make a 5 Gallon Bucket Seat at Home
Let’s get crafting! Below is our written tutorial.
Glow in the Dark Camping Bucket Seat
Materials
- 1 White 5-gallon Bucket with Lid
- Black Permanent Vinyl
- Flashlight or LED Multicolor Lights
- Campers Have S’more Fun Cut File
Tools
- Cricut Explore Air 2 or Cricut Maker
- Light Grip Mat
- Transfer Paper (I used Press-n-Seal Wrap)
- Weeding Tools
- Spatula Tool, optional
Instructions
- Download your cut file and upload it to Cricut Design Space. Resize the design to fit the front of the bucket (I measured my bucket front area to be about 9-inches wide). Then, for ease, attach all of the design elements by highlighting all of them in the right tool bar and selecting the “attach” button in the lower right.
- Select the “make” button in the upper right corner and connect your computer to your cutting machine.
- Select the material you are cutting (vinyl) and make sure you have the correct blade in the machine.
- Place the vinyl on your light grip mat and ensure it is face-up, smoothing it down so that portions of the vinyl backing sheet makes contact with the mat so that it will not lift up and mess up the cut.
- Load the mat into the machine and tell Cricut Design Space to proceed with the cut.
- Once the cut has been made, remove the mat from the cutting machine.
- Weed the unnecessary vinyl from the design and discard.
- Remove the design (still attached to the backing sheet) from the mat and place vinyl-side-up on a hard surface like a wood table.
- Cover the design with a sheet of transfer paper with the “sticky side” down. Rub vigorously over the design with a spatula tool or your fingernail to attach the transfer paper to the vinyl design.
- Gently and carefully peel the transfer paper away from the vinyl backing sheet, pulling the vinyl away from the backing sheet with the transfer paper. If you have trouble transferring a piece of the design, just work slowly and go back over it with the spatula tool.
- Using the outer corners of the transfer paper to control the design, position the design onto the side of the bucket where you want it, taking care not to let the vinyl touch the bucket or it will affix permanently. If you find it hard to keep the bucket steady, place the bucket on its side in the floor between your feet. You can hold the bucket steady with your feet, freeing your hands to position the design.
- Once you have the vinyl design in place where you’d like, press the cling wrap down evenly, using the spatula tool to work out any small bubbles and smooth the design around the curve of the bucket.
- Peel away the transfer paper and discard. Your bucket is now ready for use.
- When it’s dark outside, place a flashlight inside the bucket while on, then replace the lid. The bucket will produce a nice glow.
Notes
For more fun Camping Crafts visit DollarCrafter.com
Recommended Products
As an Amazon Associate and member of other affiliate programs, I earn from qualifying purchases.
More Camping Crafts You Will Love!


Please Save This to Pinterest
Your shares are how this site grows, and I am sincerely grateful. Know a friend who’d like this? Please share it on Facebook or save it to your favorite craft board on Pinterest.
Thanks a bunch for this idea! Fam really loves it and it’s super easy to make! Will surely have this again, well done!