
Never forget the birthday of your friends and family with this simple, fun, and beautiful DIY Family Birthday Board. This is one of those crafts you will love to make and display in your home year-round.
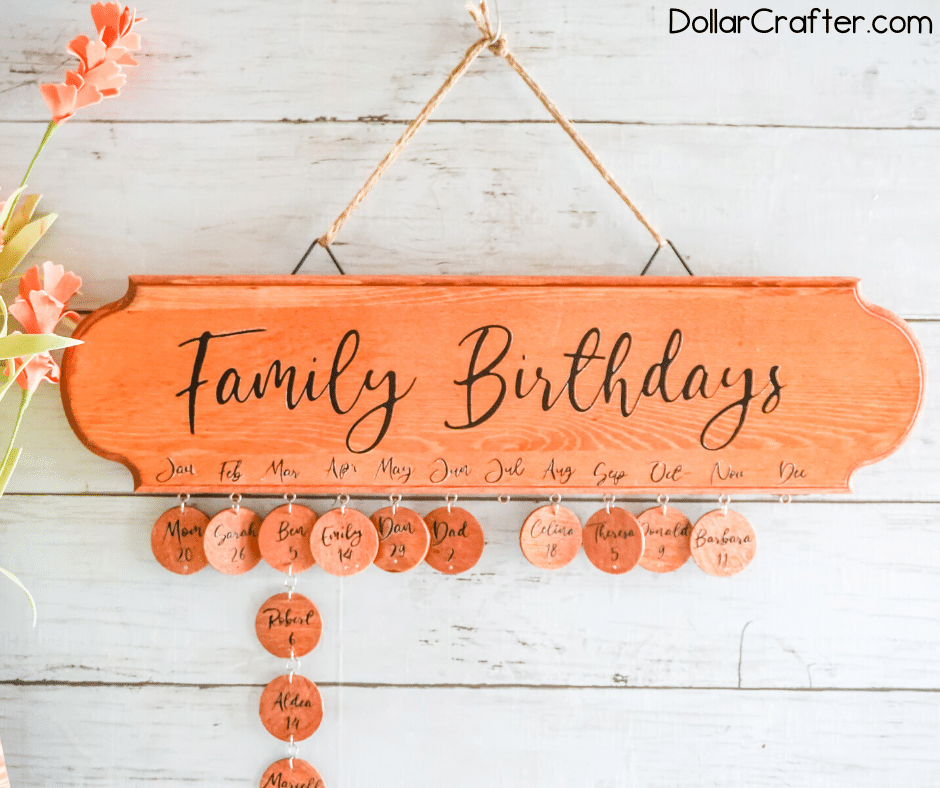
Homemade Family Birthday Board Calendar
When it comes to remembering birthdays, I will admit that I am horrible at it. So when I saw one of these Family Birthday Boards in the store, I just knew I had to have one (I mean, c’mon, they are beautiful AND functional), but I also knew that I wanted to make mine to fit the decor of my home.
Making this DIY Family Birthday Board was so much easier than I expected.
Supplies:
- Wooden Circles with Hole
- 17×6-inch wood plaque
- Black Heat Transfer Vinyl
- Wood Stain (we used a chestnut finish)
- Tiny Eye Hooks
- Tiny Hooks
- Picture hanging hardware
- Mod Podge or other craft sealant
- Cricut Cutting Machine with Fine Cutting Blade and Light Grip Mat
- Clean (but disposable) Rag
- Sponge Brush
- Cricut Easy Press Mini
Tips for Making a Homemade Family Birthday Board
When doing this project, remember that you will need some time to stain your wood pieces and allow the stain + sealant to completely dry. While this project can easily be done in a day, it is not a project to do in a rush.
You can also switch this look up by using paint instead of a stain. I have seen some birthday boards with a weathered/distressed painted look that are also adorable.
Whether you plan to stain or paint your project, make sure that you cover your area before you begin working and that you are working in a well-ventilated space.
You will also want to make sure that you keep your brush strokes going in the same direction. Suppose staining do not forget to wipe off the excess stain with a clean rag. And whether you decide to paint or stain, apply a sealant before adding your vinyl.
I added my tiny hooks to my wood plaque before staining. When measuring out the wood plaque to screw in your tiny hooks, you will want to have a number divisible by 12. Since I used a 17-inch wood plaque, I went 1 inch in on each side to have space on each end of the board, leaving me 15 inches of workspace. I then used a space of 1.25 between each tiny hook (15/12 = 1.25).
Easy peasy, right?
How to Make a Homemade Family Birthday Board
Ready to get crafting? You will find the full tutorial below!
Family Birthday Board
Make this fun wooden family birthday board using your favorite SVG craft machine
Materials
- 1 1/4-inch wood rounds
- 17x6-inch wood plaque
- Black Heat Transfer Vinyl
- Wood Stain (we used a chestnut finish)
- Tiny Eye Hooks
- Tiny Hooks
- Picture hanging hardware
- Mod Podge or other craft sealant
Tools
Instructions
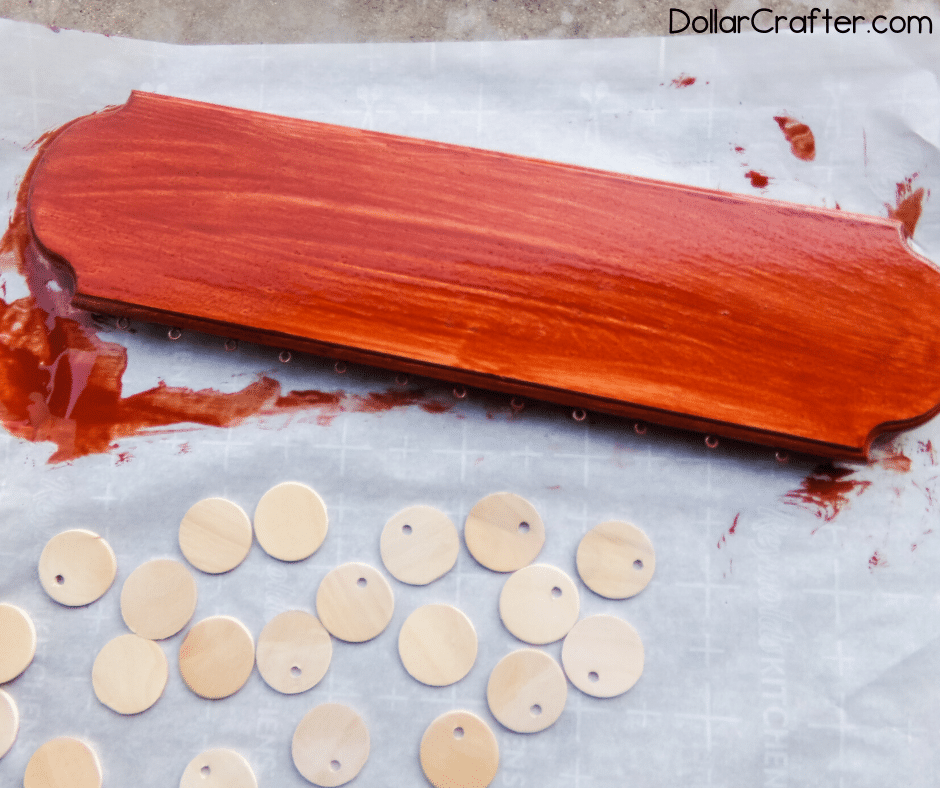
- Start by staining your wood pieces. Apply the stain in smooth, consistent motions, moving the sponge brush with the grain of the wood. Immediately wipe away any excess stain with the rag. Allow the stain to dry completely.
- Apply a coat of Mod Podge or other craft sealant onto the wood pieces. Allow this sealant to dry completely.
- To make your design, open Cricut Design Space and click the “+” button to open a new canvas.
- In the toolbar on the left, select the draw a square button and draw a square on your canvas.
- Click the unlock button on the left side of your square to allow you to resize your square into a rectangle, resizing the square to 5-inches tall by 16-inches wide. This will be your template for the elements to make sure they will fit well on your plaque.
- Using your chosen font (I used this font: https://www.dafont.com/bombinate.font), write ‘Family Birthdays’ of a size to generally fill your rectangle as desired. Write the abbreviation of each month of a size to be no more than 1-inch wide, ensuring that these will sit below the ‘Family Birthdays’ text comfortably on the plaque. Write each of the first names of your family members with the day of their birthday underneath of a size to be no more than 1-inch wide, ensuring that these will sit on the wood rounds comfortably.
- Delete the rectangle template.
- Attach the lettering of each name and birthdate; each month abbreviation; and ‘Family Birthdays’ using the “attach” button in the bottom of the toolbar on the right.
- Click on “Make It” in the top of the toolbar on the right.
- Follow the prompts to mirror your lettering, identify your material as heat transfer vinyl and cut the vinyl.
- Load the heat transfer vinyl, shiny-side-down, onto the light grip mat and load the mat into the cutting machine.
- Tell Cricut Design Space and the cutting machine to cut the design.
- After the design has been cut, weed the design, discarding all of the excess vinyl around the lettering.
- Preheat your Cricut EasyPress Mini.
- Place the design into position on the corresponding wood piece. ‘Family Birthdays’ should be located in the center/top of the plaque with the month abbreviations located along the bottom of the plaque, spaced apart evenly; finally the names and dates should be placed on the wood rounds.
- Using the EasyPress Mini, press the vinyl onto the corresponding wood pieces. Remove the transfer sheet and discard.
- Using the tiny eye hooks, screw one into the top of each of the wood rounds with names.
- Screw one of the tiny hooks (not the eye hooks, the plain hooks) into the bottom of each wood round which will have a second wood round hanging below it.
- Screw one of the tiny hooks (not the eye hooks, the plain hooks) below each of the month abbreviations on the bottom of the plaque.
- Attach the picture hanger(s) on the back of the plaque.
- Hang the plaque on the wall and attach the wood round names on the hooks, as they correspond with each month. Then enjoy!
Notes
For more beautiful SVG Farmhouse Decor Crafts visit DollarCrafter.com
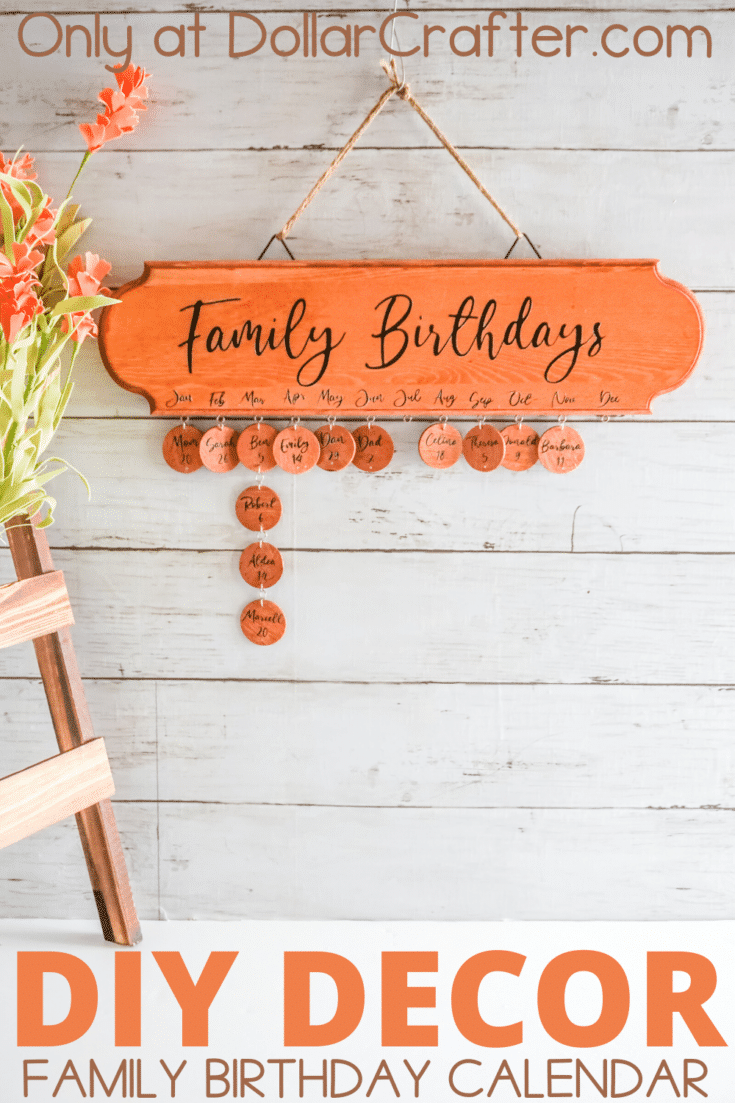
Please Save This to Pinterest
Your shares are how this site grows, and I am sincerely grateful. Know a friend who’d like this? Please share it on Facebook or save it to your favorite holiday crafts board on Pinterest.