
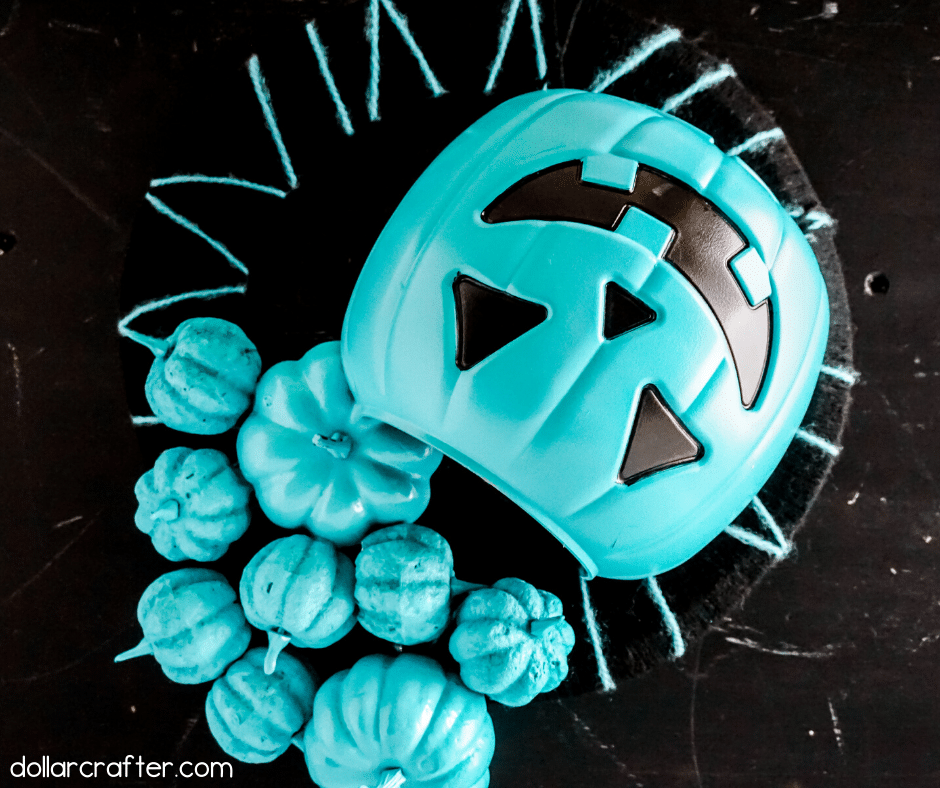
The fall season is quickly approaching and what better way to get in the spirit of Halloween than a homemade teal pumpkin wreath. This project can be done with minimal supplies and it’s sure to last for many, many years! This DIY project will make your home feel cozy and inviting as you enjoy the changing leaves outside.
We have been having a blast creating Dollar Tree Halloween crafts this last month, make sure to swing by and check them all out for more inspiration!
DIY Teal Pumpkin Wreath
One of the things that I absolutely adore about this pumpkin wreath is that not only is it a simple craft to do with kids, it is also a beautiful way to show Trick or Treaters that your household participates in the Teal Pumpkin Project!
Supplies:
- Wire Wreath Form
- Black Yarn
- Teal Blue Yarn
- Orange Pumpkin Bucket (Dollar Store)
- Teal Spray Paint
- Small Pumpkins
- Floral Wire
- Hot Glue Gun & Glue
- Wire Cutters
- Scissors
- Painter’s Tape
What is the Teal Pumpkin Project?
FARE’s Teal Pumpkin Project is a worldwide movement to create a safer, happier Halloween for all kids.
Putting a teal pumpkin on your doorstep means you have non-food treats available, such as glow sticks or small toys. This simple act promotes inclusion for trick-or-treaters with food allergies or other conditions.
Food Allergy Research & Education
What Do You Give Out for Teal Pumpkin?
You can give trick or treaters needing allergy safe items anything that isn’t edible for their teal pumpkins. This means candy-free treats like:
- small toys (bouncy balls, slinkies, etc)
- mini coloring books and crayons
- Chapstick (I made a bunch of these cute Chapstick holders to go with them)
- stickers and temporary tattoos
- plastic rings and necklaces
- stencils
- vampire fangs (I mean, it is Halloween, after all)
- mini notebooks and pencils
- bubbles
- finger puppets
- glow sticks (these are the ones we buy)
- and more!
If you only have a few kids you’re giving treats to, these pop-it keychains are perfect.
On a budget? Us, too! Head over to Amazon or even Oriental Trading and buy dozens of small toys in bulk for a fraction of the cost of shopping at places like Walmart and Target.
How to Make a Teal Pumpkin Wreath at Home
Let’s get crafting! Below is our written tutorial.
Teal Pumpkin Wreath

Pumpkin season is upon us. What better way to welcome the fall than with a handmade teal pumpkin wreath?
Materials
- Wire Wreath Form
- Black Yarn
- Teal Blue Yarn
- Orange Pumpkin Bucket
- Teal Spray Paint
- Small Pumpkins
- Floral Wire
Tools
- Hot Glue Gun & Glue
- Wire Cutters
- Scissors
- Painter’s Tape
Instructions
- Cut the orange pumpkin bucket in half, removing the back portion. Cover the eyes and mouth of the pumpkin, and the nose if your pumpkin has one.
- Using the spray paint, paint the small pumpkins and the front of the pumpkin teal. Allow the paint to dry completely.
- White the paint is drying, wrap the entire wire wreath form with the black yarn. I recommend working in 3-4 foot long lengths so as not to tangle it too much. Secure the yarn with hot glue every 10-15 wraps.
- When the wreath is all completely wrapped in black yarn, secure the black yarn then wrap the teal yarn randomly around the wreath in 5-10 places, just to add a pop of color.
- Using the tip of your hot glue gun, place two holes in the painted pumpkin bucket front on the bottom sides.
- Thread a floral wire through each hole and use these to secure the bottom of the pumpkin to the wire wreath form top/side.
- Starting from the bottom of your wreath, hot glue a small pumpkin onto the wreath form, then hot glue the smaller pumpkins in a pile on top, building on each one to bring the pile of small pumpkins up to the pumpkin bucket, allowing the hot glue to dry completely between each small pumpkin.
- Add a length of yarn to the top of the wreath as a hanger and enjoy!
Notes
For more fun Halloween Crafts visit DollarCrafter.com
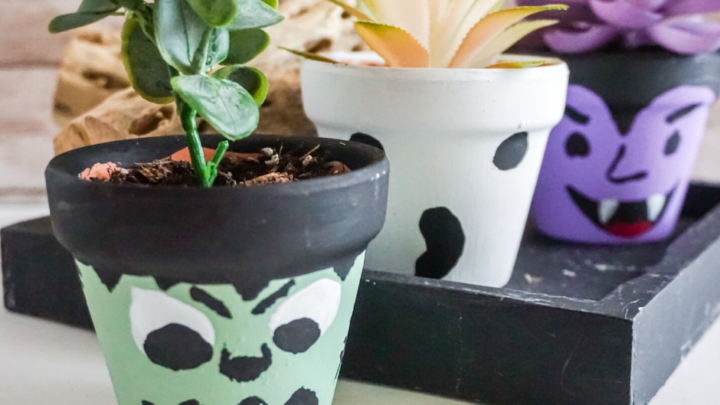
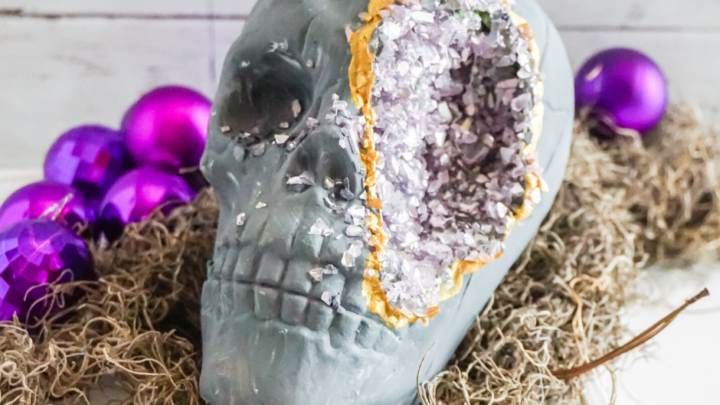
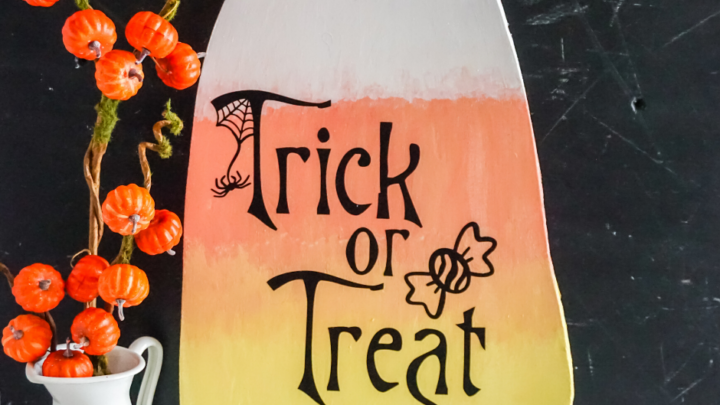
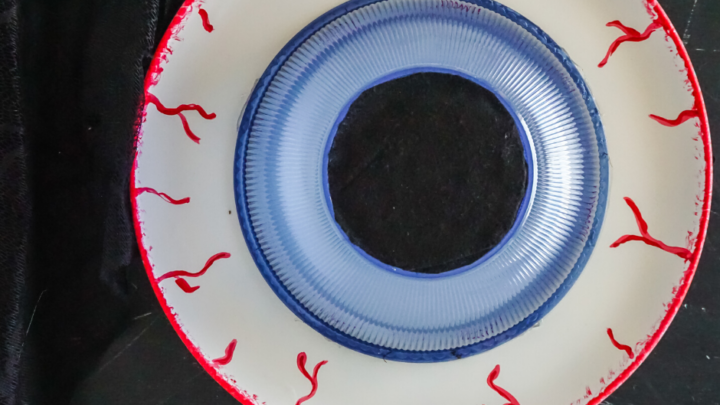
More Halloween Crafts You Will Love!


Please Save This to Pinterest
Your shares are how this site grows and I am sincerely grateful. Know a friend who’d like this? Please share it on Facebook or save it to your favorite Halloween craft board on Pinterest.