
This DIY Trick or Treat Tins project is perfect for the kind of person who likes to create fun, affordable crafts! Tin can art is a great way to utilize an everyday item that might have been thrown in the recycle bin. Halloween crafting is so much fun.
By the way, you will need your Cricut for this fun craft.
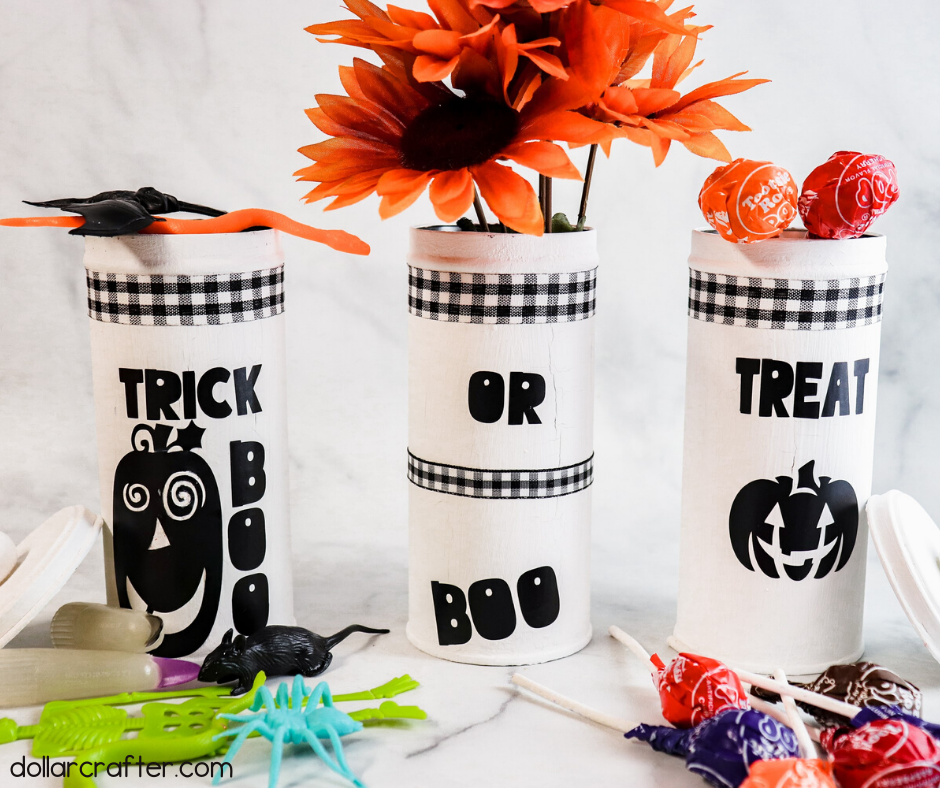
Homemade Trick or Treat Cricut Cookie Tin Craft
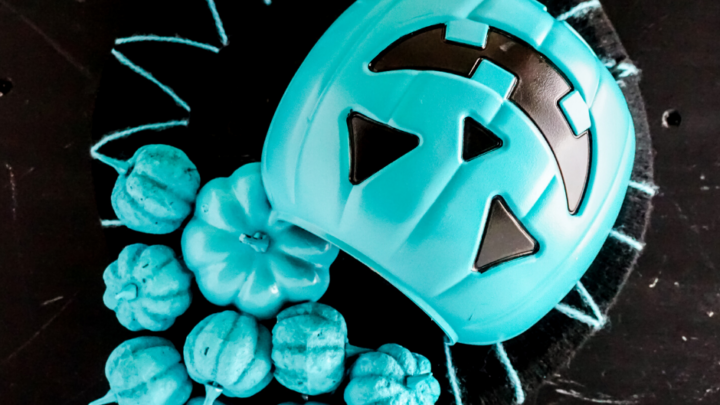
I’m absolutely in love with these Trick or Treat Tins; they are so darn cute. The best thing is to pair this craft with is our Homemade Teal Pumpkin Wreath, which represents that putting a teal pumpkin on your doorstep means you also have non-food treats available, such as glow sticks or small toys.
Supplies Needed:
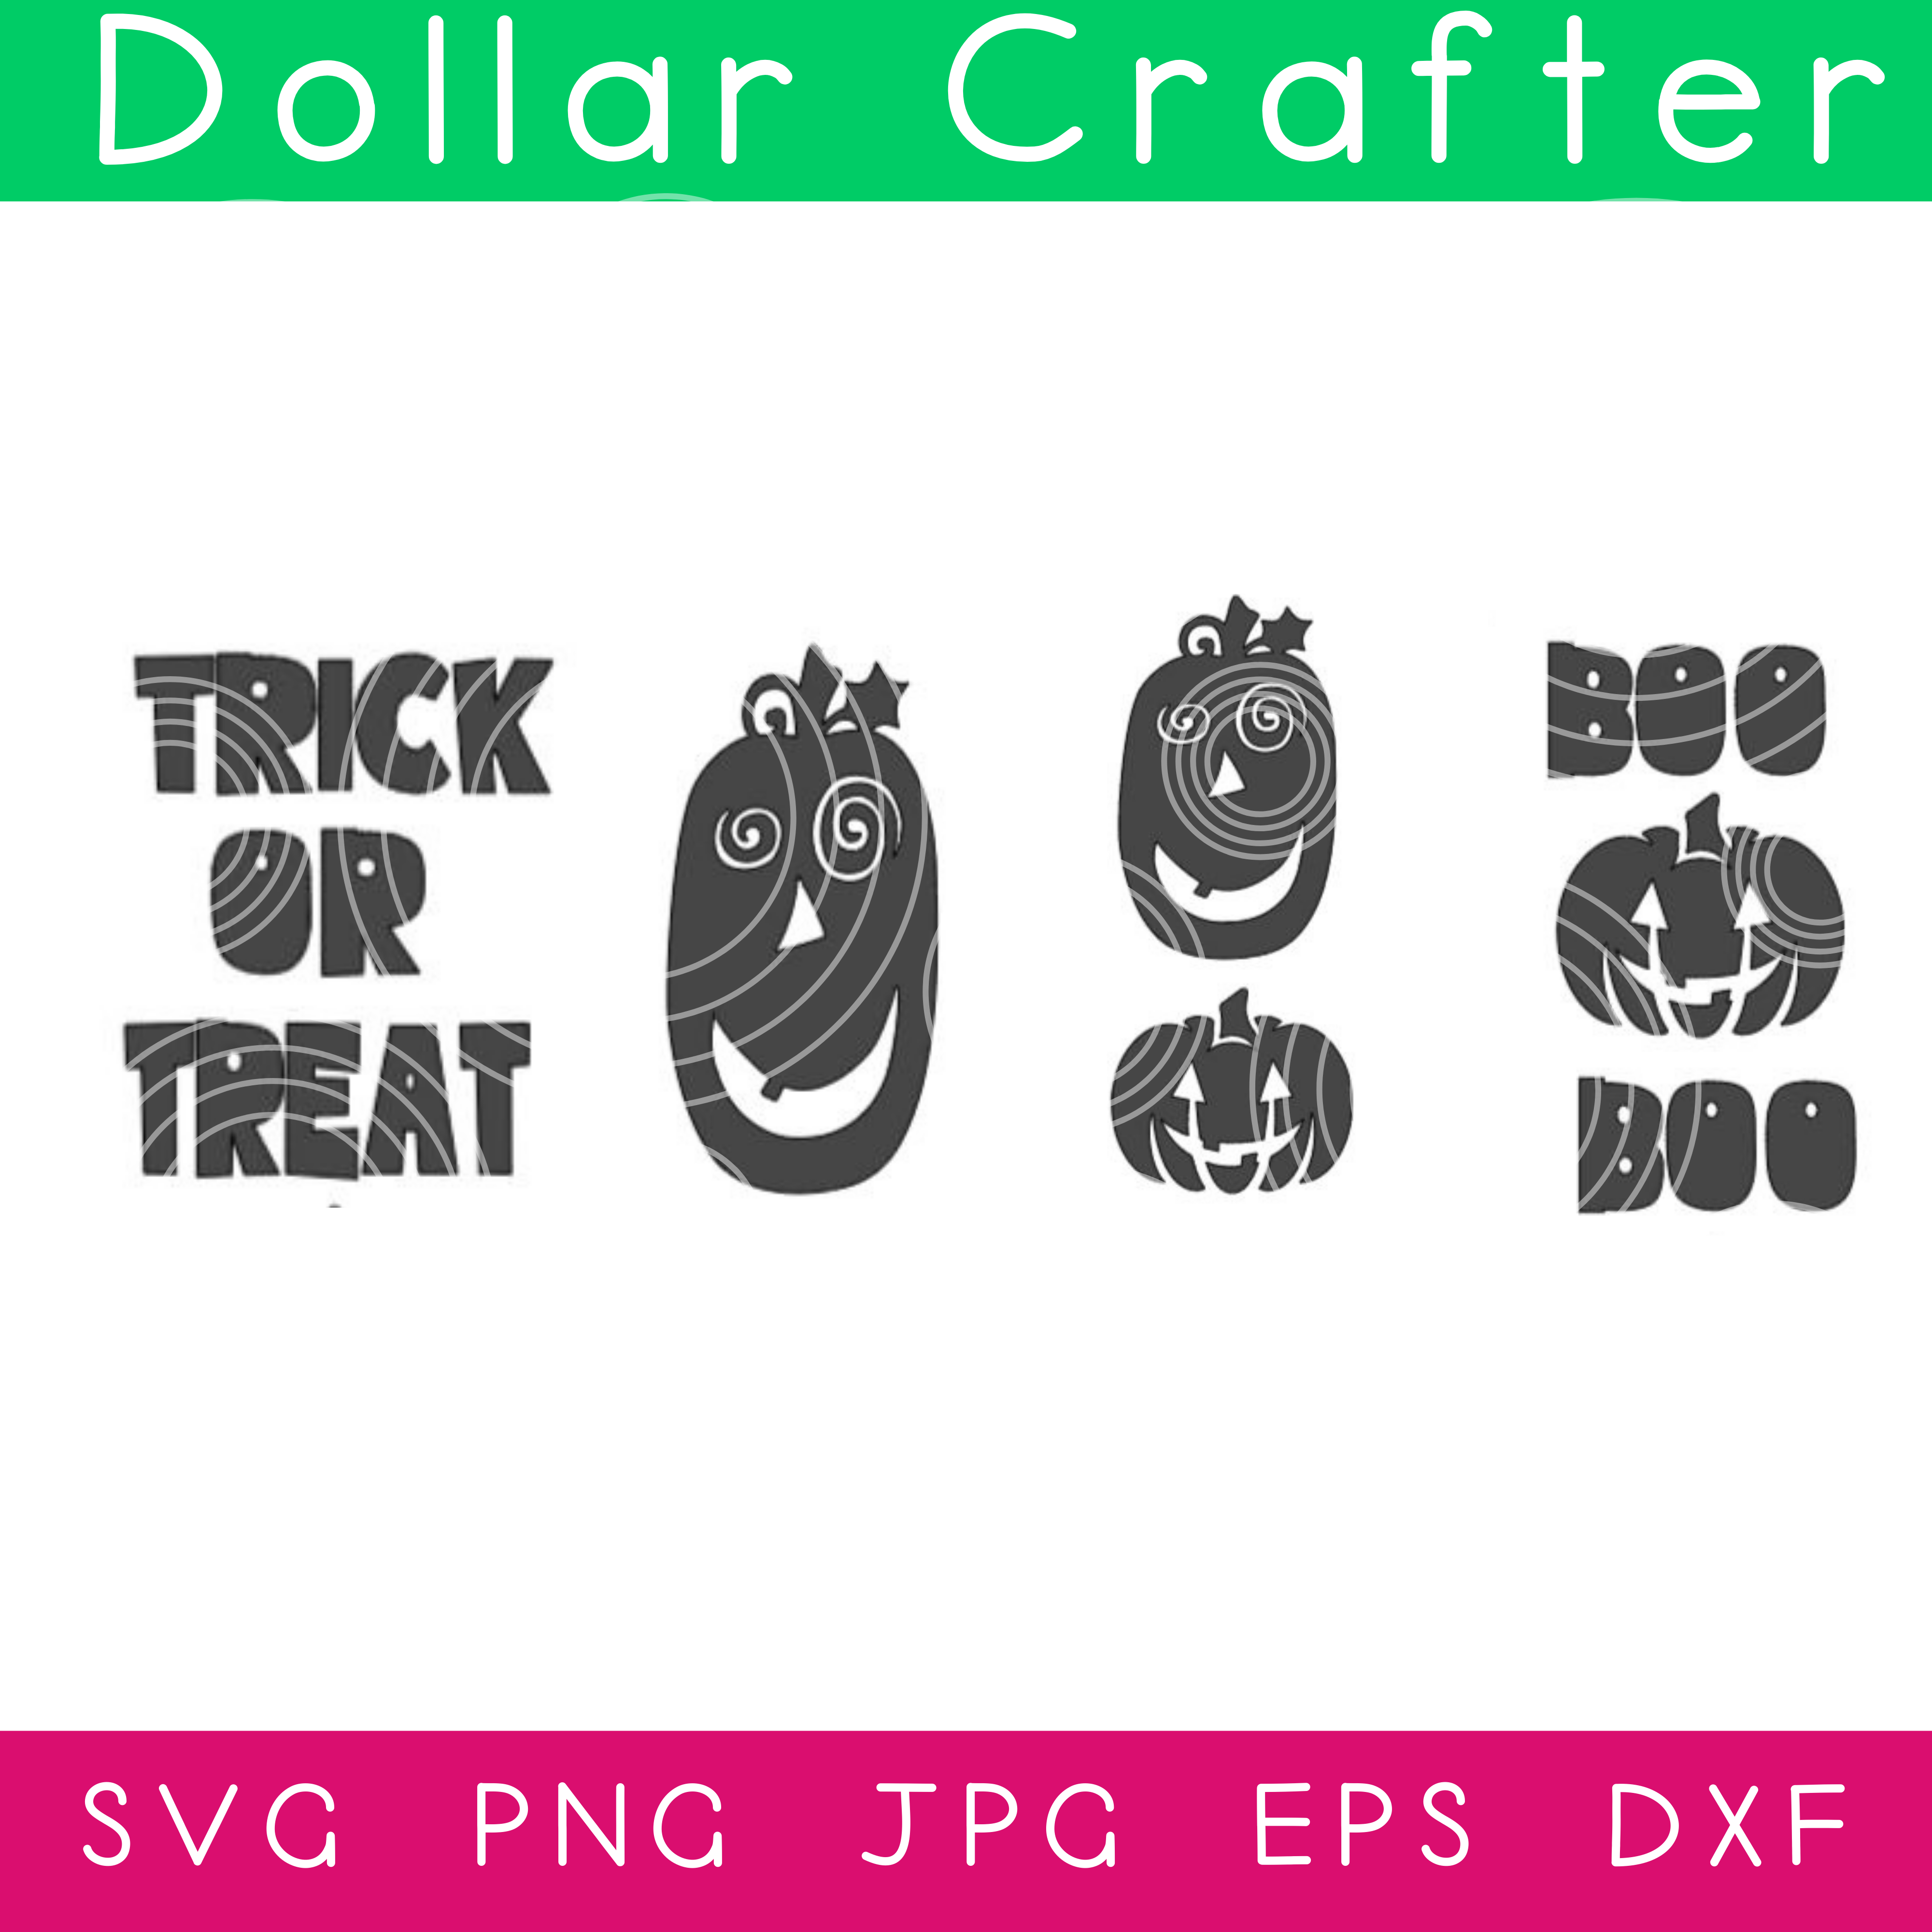
- Trick or Treat SVG File
- 3 Pirouline Cookie Tins with lids from Dollar Tree or Amazon (or 3 other same size tins with lid)
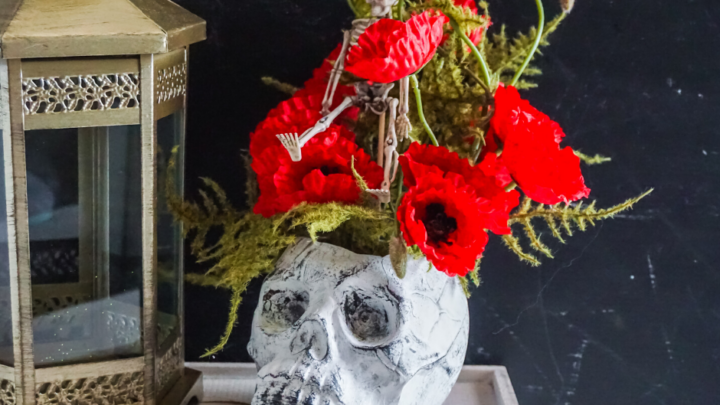
- Fall Florals
- 2 Large wooden beads
- 2 Brass fasteners with a decorative top if using wood beads with a hole
- White Chalk Paint
- Buffalo Check Ribbon, 5/8” wide
- Halloween candy
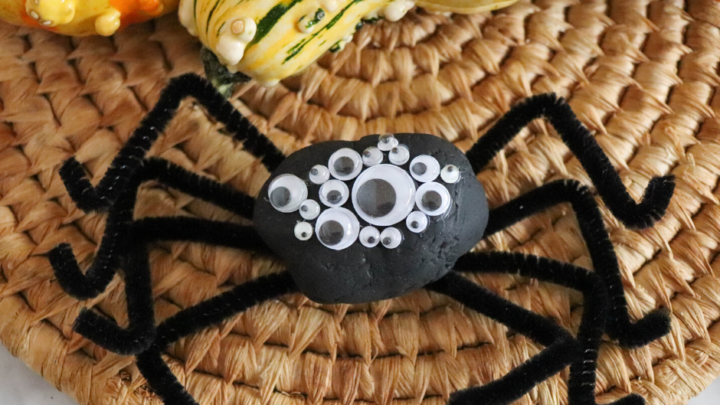
- Halloween toys such as: spider rings, snakes, skeletons, bats, etc
- Cricut black vinyl
- Cricut transfer paper
- Foam Brush
- Hot glue Gun and Hot Glue Sticks
- Cricut machine
- Cricut Tools
Tips and Tricks for Making This Cricut Cookie Tin Craft
The Cricut comes in handy so much during the holidays. I’m looking forward to all the crafts I will be making with it this year.
Before we even get started, let me share a simple tip – make sure you are selecting the correct material for what you are working with! We selected vinyl since we were using a name brand vinyl, but if you are using something such as the Dollar Tree vinyl, then select wasabi tape. I’ve wasted so much Dollar Tree vinyl before discovering this hack!
Definitely make sure to run a test cut of your materials before running any project in bulk 🙂

When it comes to painting the cookie tins, you’ll need to use a couple coats of paint. I recommend doing this first because the tins can dry while you’re working on the other steps with the Cricut machine. And don’t stress if the paint cracks- that will give it more of a Halloween feel don’t you think?
Another thing that helped me was placing the vinyl pieces on the tin to get a feel for the layout before removing the backing and transferring them onto the tins to see how amazing it will look.

How to Make This Trick or Treat Cookie Tin Craft at Home
Let’s get crafting! Below is our written tutorial.
Cricut Trick or Treat Halloween Tins

Materials
- 3 Pirouline Cookie Tins with lids from Dollar Tree or grocery (or 3 other same size tins with lid)
- Fall Florals
- 2 Large wooden beads
- 2 Brass fasteners with a decorative top if using wood beads with a hole
- White Chalk Paint
- Buffalo Check Ribbon, 5/8” wide
- Halloween candy
- Halloween toys such as: spider rings, snakes, skeletons, bats, etc
- Cricut black vinyl
- Cricut transfer paper
Tools
- Foam Brush
- Hot glue Gun and Hot Glue Sticks
- Cricut machine
- Cricut Tools
Instructions
- Using your Cricut machine and computer, download the SVG and upload it into your Cricut program. Place black vinyl on your cutting pad, select “vinyl” on the dial and cut the vinyl out.
- Weed the vinyl by pulling the excess away from the cut words and pumpkins. Set aside.
- Paint your tins, lids, and beads white. This will take several coats. Allowing for complete dry time in between coats is recommended.
- When the paint is completely dry there may be some crackling in the paint which really adds to the Halloween look in my opinion.
- Hot glue the ribbon onto the top of the tin, securing it in the back of the tin.
- Cut the words and pumpkins out and place on the tins to eyeball where you will place them once you remove the transfer paper.
- Use transfer paper to remove the vinyl. You can place the words on all the tins first and center the pumpkins under them or place all the pumpkins and then center the words above them.
- Hot glue the beads to the painted lids. Hot glue the brass fastener into the hole.
- Fill the "Trick" tin with Halloween toys and fill the "Treat" tin with candy. Place fall florals into the "Or" tin.
- Set out for display
Notes
For more fun Halloween Crafts visit DollarCrafter.com
Recommended Products
As an Amazon Associate and member of other affiliate programs, I earn from qualifying purchases.
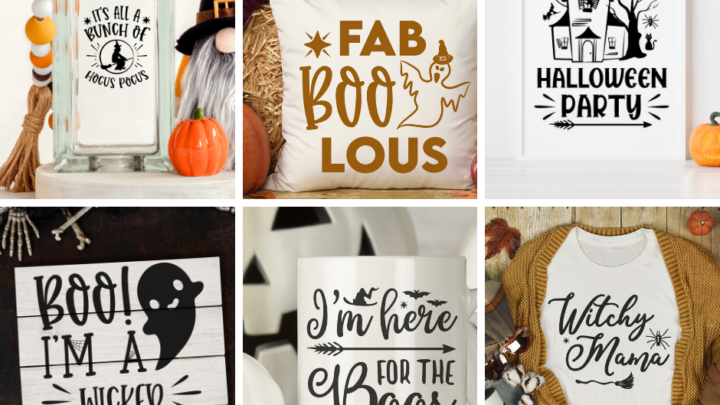
More Halloween Crafts You Will Love!


Please Save This to Pinterest
Your shares are how this site grows and I am sincerely grateful. Know a friend who’d like this? Please share it on Facebook or save it to your favorite craft board on Pinterest.