
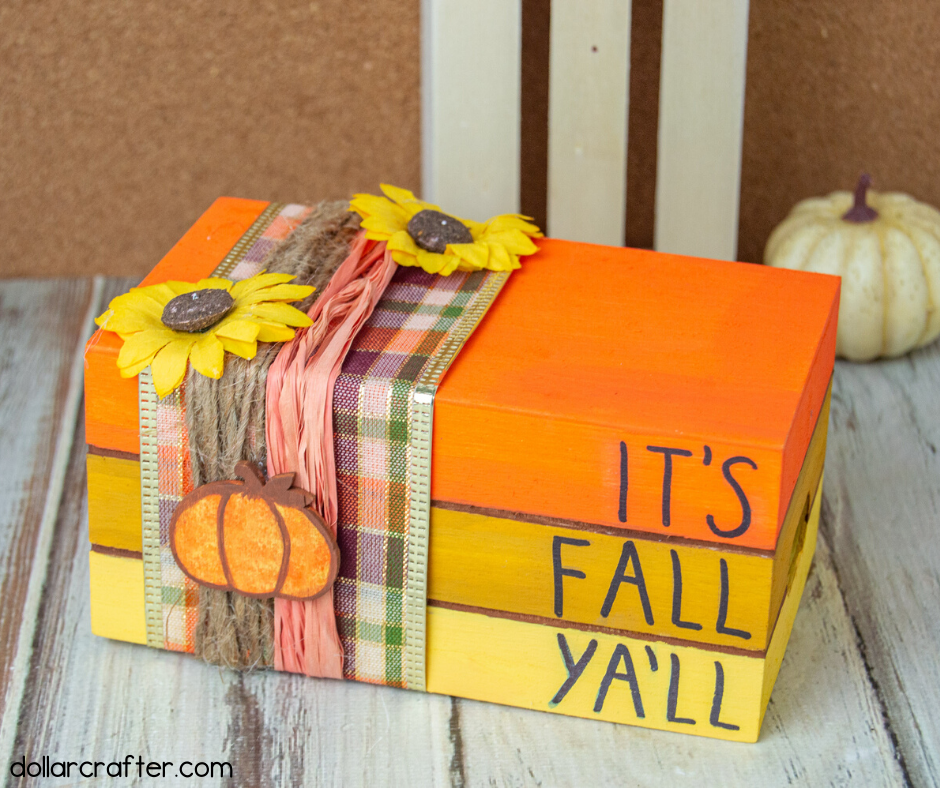
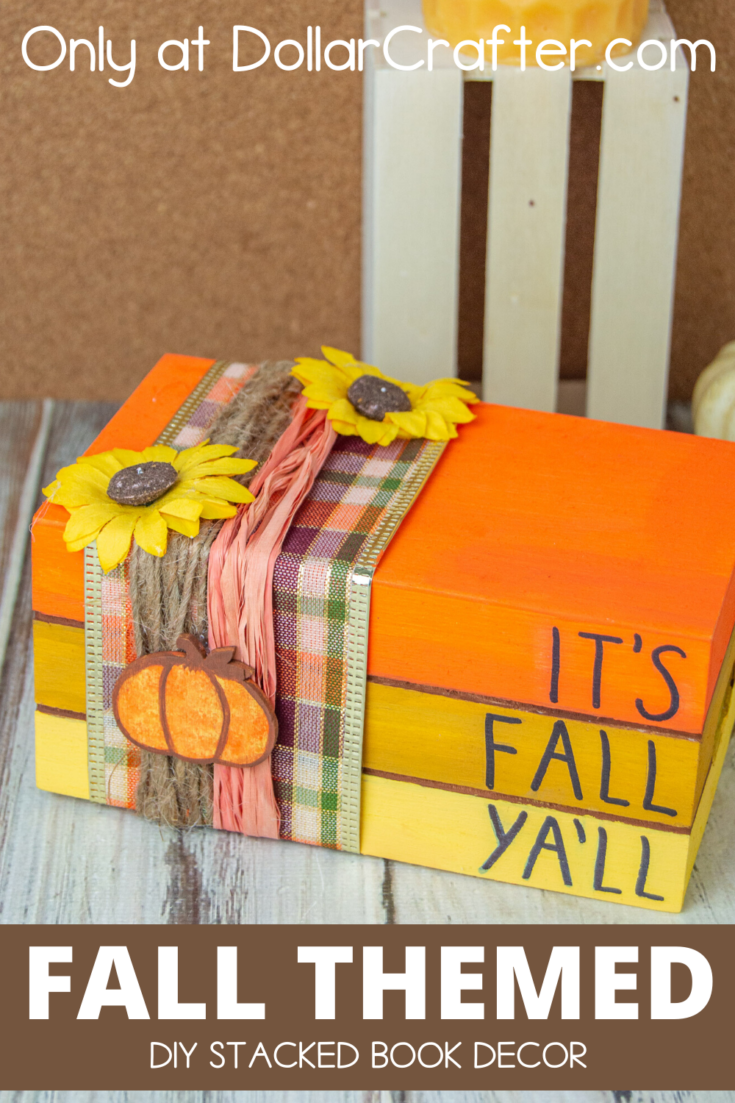
We’re excited to share with you how to make these DIY Fall Stacked Books! They are so fun and easy, plus they look great as decorations around your home during the autumn months.
Homemade Fall Book Stack Craft
Y’all I am absolutely in love with this craft and what this craft is made from. In the past, we have shared with y’all on how to make a set of bee themed stacked books using your Cricut, and now we are going to show you how to make a set of stacked books using the Dollar Tree mini crates!
Supplies:
- Dollar Tree Wood Crate (the kind that does not have spaces in between the slats)
- Apple Barrel Matte Acrylic Paint Sunny Day (21384E)
- Apple Barrel Matte Acrylic Paint Golden Sunset (21186E)
- Apple Barrel Matte Acrylic Paint Pumpkin Orange (20588E)
- Apple Barrel Matte Acrylic Paint Nutmeg Brown (20521E)
- Wire-edged Autumn ribbon
- Jute Twine
- Orange Raffia
- Sunflowers
- Small wooden pumpkin
- Pencil
- Black Sharpie Marker
- Glue Gun and Glue Stick
- Scissors
- Paintbrushes (foam and small)
Yep! That’s right – this beautiful-looking stack of painted books is actually a crate!
My mind was absolutely blown away by this idea! Here’s to getting those creative gears turning – the routes you can take this are endless!

Plus, all of the items needed for this craft can be found at Dollar Tree!
How to Make Autumn Themed Stacked Books at Home
Ready to get crafting? You will find the full tutorial below!
Autumn Stacked Book Craft
Materials
- Dollar Tree Wood Crate (the kind that does not have spaces in between the slats)
- Apple Barrel Matte Acrylic Paint Sunny Day (21384E)
- Apple Barrel Matte Acrylic Paint Golden Sunset (21186E)
- Apple Barrel Matte Acrylic Paint Pumpkin Orange (20588E)
- Apple Barrel Matte Acrylic Paint Nutmeg Brown (20521E)
- Wire-edged Autumn ribbon
- Jute Twine
- Orange Raffia
- Sunflowers
- Small wooden pumpkin
- Pencil
- Black Sharpie Marker
Tools
- Glue Gun and Glue Stick
- Scissors
- Paintbrushes (foam and small)
Instructions
- Using the pencil, draw the lines on the side of the crate to match the lines on the front and back.
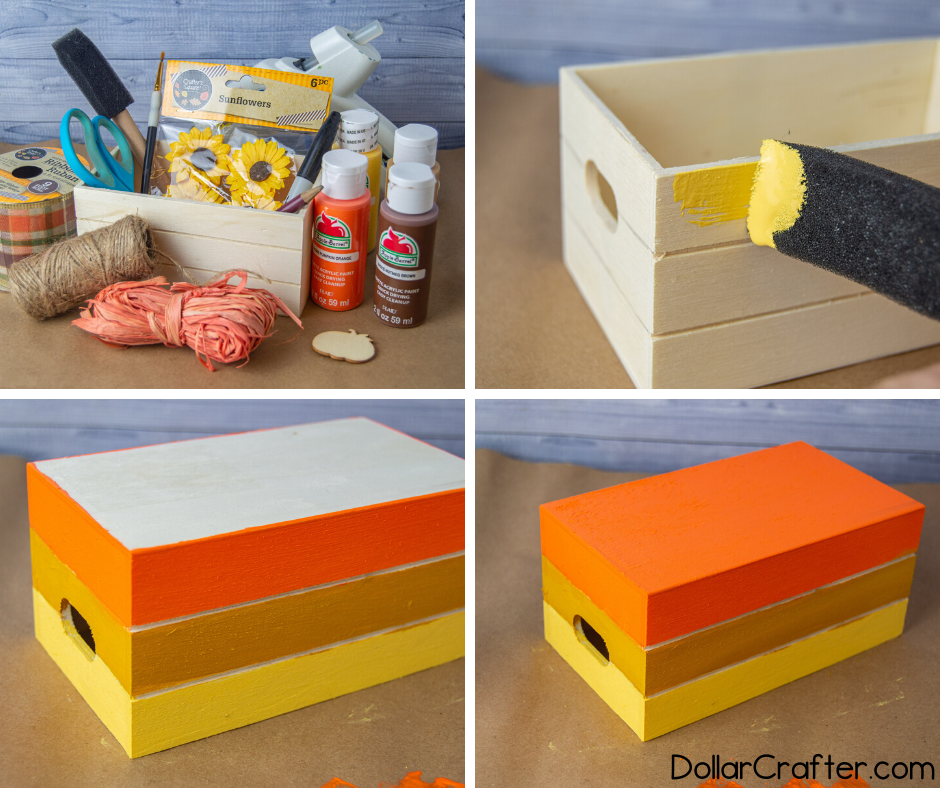
- Turn the crate upside down.
- Figure out what colors you want to paint each section.
- This is what I did using a small foam brush: Yellow on the bottom, golden in the middle, orange on the top, leaving the little spaces between each unpainted.
- Set aside to dry.
- Use the same 3 colors of paint and stipple on the small pumpkin. Set aside.
- With the brown paint and a small detail brush, paint the little spaces between each color. Also paint the lines you drew on the sides.
- Add detail to the small pumpkin with the brown paint and set aside.
- Once the book stack is dried completely, on the right hand side of the front, lightly write “IT’S FALL YA’LL” with the pencil, with one word on each section starting from the top.
- Write over it with the black sharpie marker.
- Add glue to the back of the book stack.
- Wrap the wired ribbon around tightly, secure in the back with more glue, and cut off excess.
- Next, add glue to the back of one side of the ribbon and add a piece of twine.
- Wrap about 10 times and secure with glue in the back.
- Now, do the same thing with the raffia right next to the twine.
- Add glue between the twine and the raffia in the center front and add the small pumpkin.
- Using scissors, cut off the wire on the back of 2 sunflowers so it doesn’t show.
- Glue to the top of the ribbon on the top part of the book stack.
- Go back in with paint to touch up anything needed.
Notes
For more fun Fall Crafts visit DollarCrafter.com
Please Save This to Pinterest
Your shares are how this site grows and I am sincerely grateful. Know a friend who’d like this? Please share it on Facebook or save it to your favorite crafts board on Pinterest.