“Help you I can.” Grogu is here to help you with all your Chapstick needs. This Baby Yoda Chapstick Holder Sewing Tutorial will take you through all of the steps needed to create a homemade Chapstick holder keychain, step-by-step.
This Baby Yoda Chapstick holder is the perfect gift for any Star Wars fan makes a great addition to anyone’s keychain collection.

This simple tutorial is perfect for people who are just learning how to sew – the perfect project for learning your sewing machine!
Baby Yoda Homemade Chapstick Keychain
Supplies Needed:
- 1/3 yard of fabric
- 1/3 yard wrap n zap (or other batting)
- Matching Thread
- Scissors
- Thread Clippers
- Keychain Ring
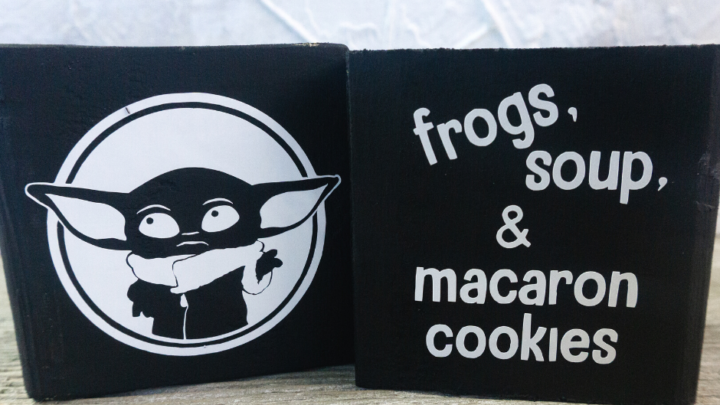
You can get any kind of Baby Yoda fabric (or any design you want) at Joann’s or a local fabric store. If you like Baby Yoda check out our DIY Baby Yoda Wooden Block Home Decor.
It’s easy to learn how to make a lip balm holder. You will need fabric, batting, thread, scissors, and a keychain.
We didn’t even use a pattern! You will just simply cut the fabric to the sizes needed and go from there 🙂
This project is definitely simple enough to hand stitch if you would prefer.
How to Make a Baby Yoda Lip Balm Holder
Let’s get crafting! Below is our written tutorial.
Baby Yoda Lip Balm Holder with Keychain
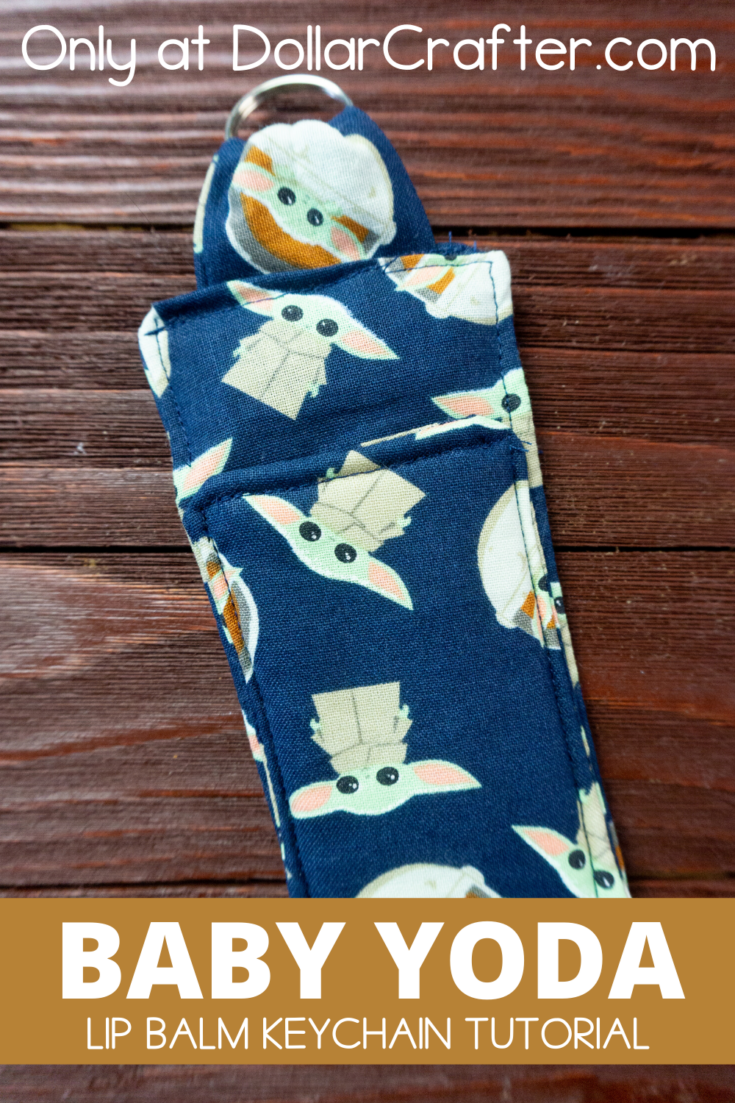
In this Baby Yoda Chapstick Holder Sewing Tutorial, we will show you how to make a homemade lip balm keychain. It is a small and cute way of storing your chapstick in!
Materials
- 1/3 yard of fabric
- 1/3 yard wrap n zap (or other batting)
- Matching Thread
- Keychain Ring
Tools
- Scissors
- Thread Clippers
- Sewing Machine
Instructions
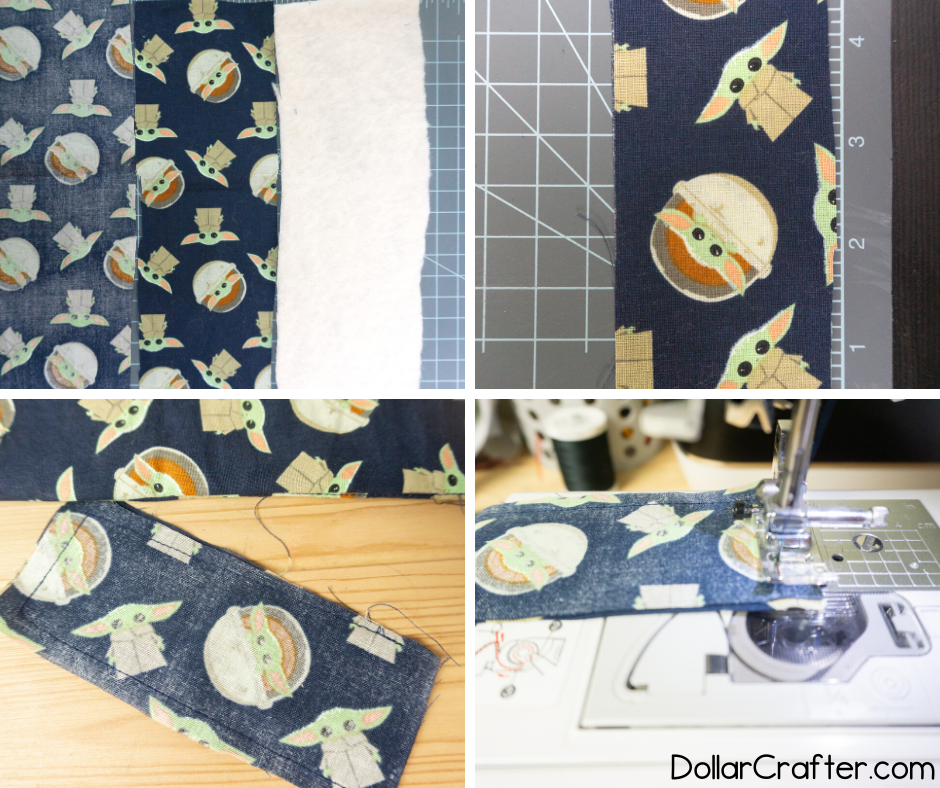
- Cut two pieces of fabric 10" in length and 3" inches wide.
- Cut one piece of wrap n zap 10" in length and 3" inches wide.
- Cut two pieces of fabric 5" inches long and 2" inches wide for the keychain holder.
- Lay down one piece of fabric (10x3) right side facing up. Lay another piece of fabric (10x3) right side down. Lay the wrap n zap on top. Stitch along the two sides and the bottom. Leave the top open. Flip right side in.
- Lay one piece of fabric right side up (5x2) and lay the next on top right side down (5x2). Stitch along three sides and leave the end open. Turn right side in and then press and stitch closed.
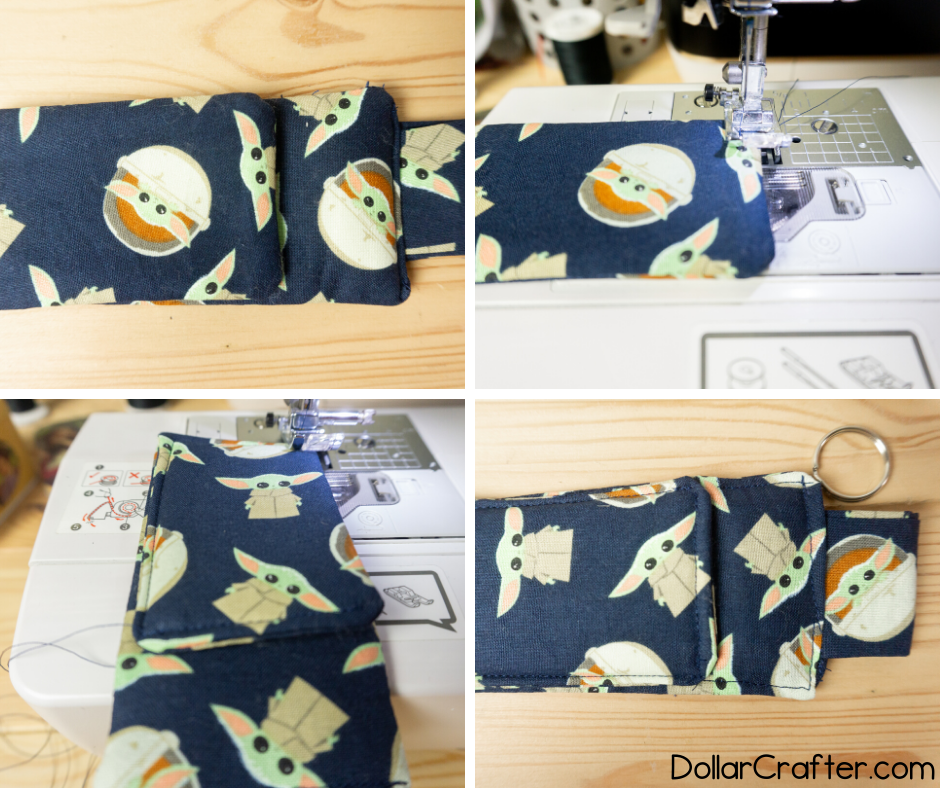
- Loop the small piece of fabric in to a loop and place into the top of the long piece. Fold in the long piece and place loop then press. Stitch across to secure keychain loop and close the top.
- Fold up the bottom of the long piece towards the top about 3/4 of the way up or how ever long your chapstick, lip gloss, or lipstick is. Stitch along all three sides. Right, left, and bottom. Leave the top open to place in the chapstick.
Notes
For more fun crafts visit DollarCrafter.com
More Disney Themed Crafts You Will Love

Please Save This to Pinterest
Your shares are how this site grows and I am sincerely grateful. Know a friend who’d like this? Please share it on Facebook or save it to your favorite craft board on Pinterest.