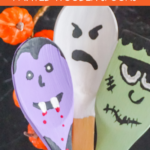
What do you think of these Halloween Painted Wooden Spoons? Do they look like something that would fit into your Halloween home decorating theme? I’ve always liked to spook up my kitchen during the fall season, so this easy and cheap craft is perfect. These spoons would be great to make with the kids.
We have been having a blast creating Dollar Tree Halloween crafts this last month, make sure to swing by and check them all out for more inspiration!
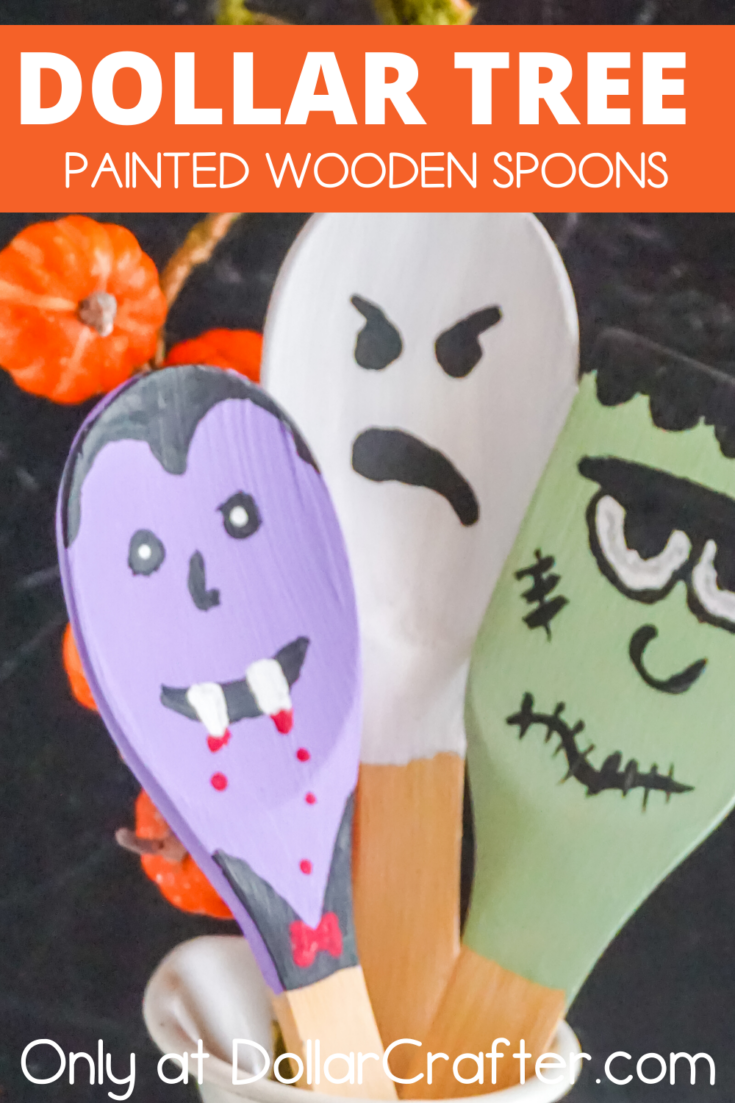
Hand Painted Halloween Wooden Spoons
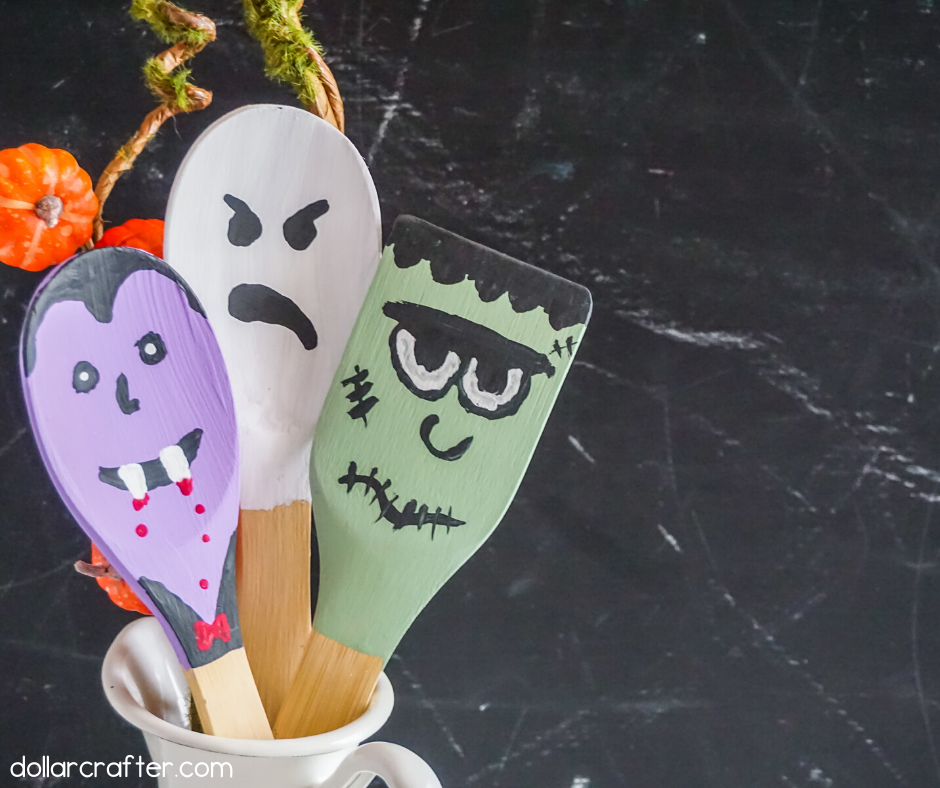
These handpainted Halloween wooden spoons are so cute! Who said crafting has to be complicated? You can make amazing stuff out of ordinary items. You can even put the spoons in our DIY Trick or Treat Halloween Tins. Check out below how easy they are to create.
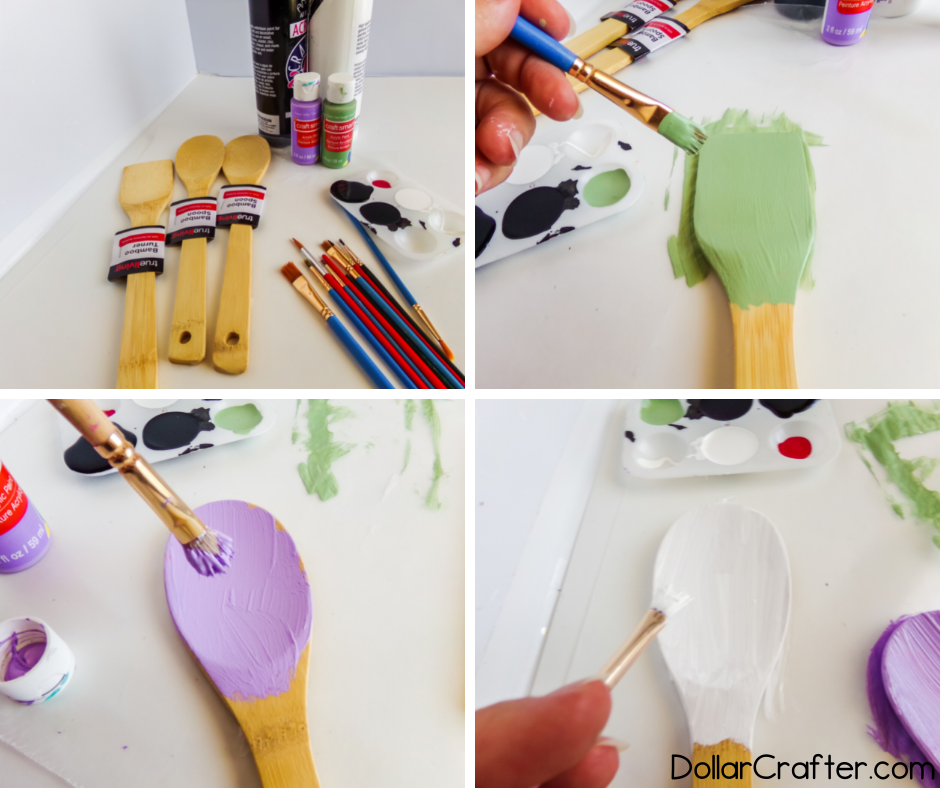
Supplies:
- Acrylic Paint in Black, Green, White, Red and Purple
- 3 Wooden Spoons (I got mine at Dollar Tree – one with a flat top)
- Craft Sealant, optional
- Small Paint Brushes
Tips for Making Halloween Wooden Spoons
I always lay a cloth or newspaper in the area I am painting to prevent any spills. It makes cleaning up so much easier when it’s all done!
I know it might be hard for the kids to wait, but if they don’t let the paint dry before moving onto a new color, the paint might smudge and not look good. It takes a little bit of time, but it’ll be worth the wait.
When painting, I always need something to look at for inspiration. If you find it helpful to have this picture guide you- please use it! Plus, if drawing in pencil lightly first helps make the process easier and less overwhelming, go ahead – but know that when I say “light,” I mean barely there light.
How to Make Halloween Painted Spoons at Home
Halloween Painted Wooden Spoons
Materials
- Acrylic Paint in Black, Green, White, and Red
- 3 Wooden Spoons (I got mine at Dollar Tree - one with a flat top)
- Craft Sealant, optional
Tools
- Small Paint Brushes
Instructions
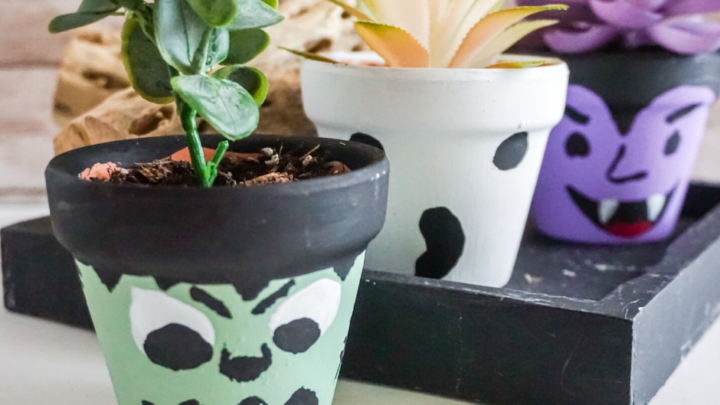
Paint one spoon (spoon end and about 1-2 inches of the handle) in green paint on all sides. Repeat with the other two spoons, one purple and one white. Allow the paint to dry completely.
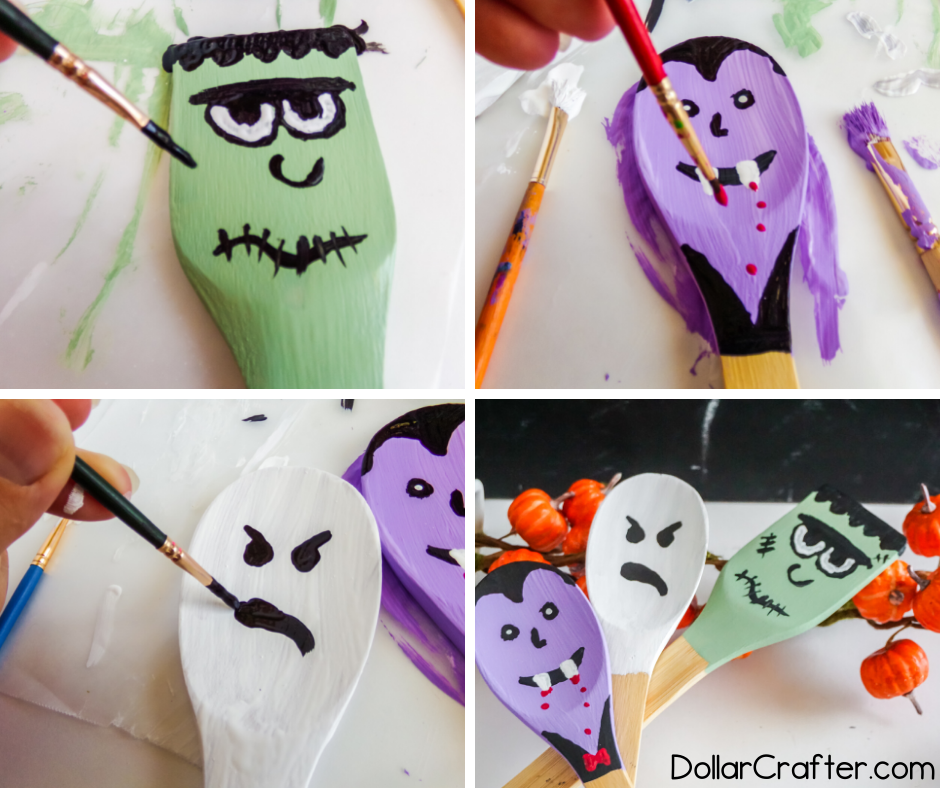
To add details to the Frankenstein Spoon:
- Paint a line of black along the top of the spoon with a jagged edge on the bottom.
- Then paint eyes and a mouth in the center of the spoon with some stitches and eyebrows to make it menacing (as menacing as a spoon can be).
- Add a bit of white around the eyes and then outline in black.
- Allow the paint to dry completely.
To add details to the Vampire Spoon:
- Paint a line of black along the top of the spoon with a wide rounded “v” shape pointing down toward the center of the spoon.
- Then paint eyes, a nose, and a mouth in the center of the spoon. Allow the paint to dry completely, then paint white fangs in the mouth and a black shirt on either side of the bit of painted handle.
- Allow the paint to dry completely then add a red bow tie and red drips off the fangs for fun.
To add details to the Ghost Spoon:
- Paint eyes and a mouth on the center of the spoon and allow the paint to dry completely.
Coat each spoon in a light cover of craft sealant. Allow this to dry completely then display!
Notes
For more Halloween fun visit DollarCrafter.com
More Halloween Ideas You Will Love!


Please Save This to Pinterest
Your shares are how this site grows, and I am sincerely grateful. Know a friend who’d like this? Please share it on Facebook or save it to your favorite crafts board on Pinterest.
These are soooo cute! So perfect for Halloween and an easy craft to do 🙂
Jenna ♥
Stay in touch? Life of an Earth Muffin