
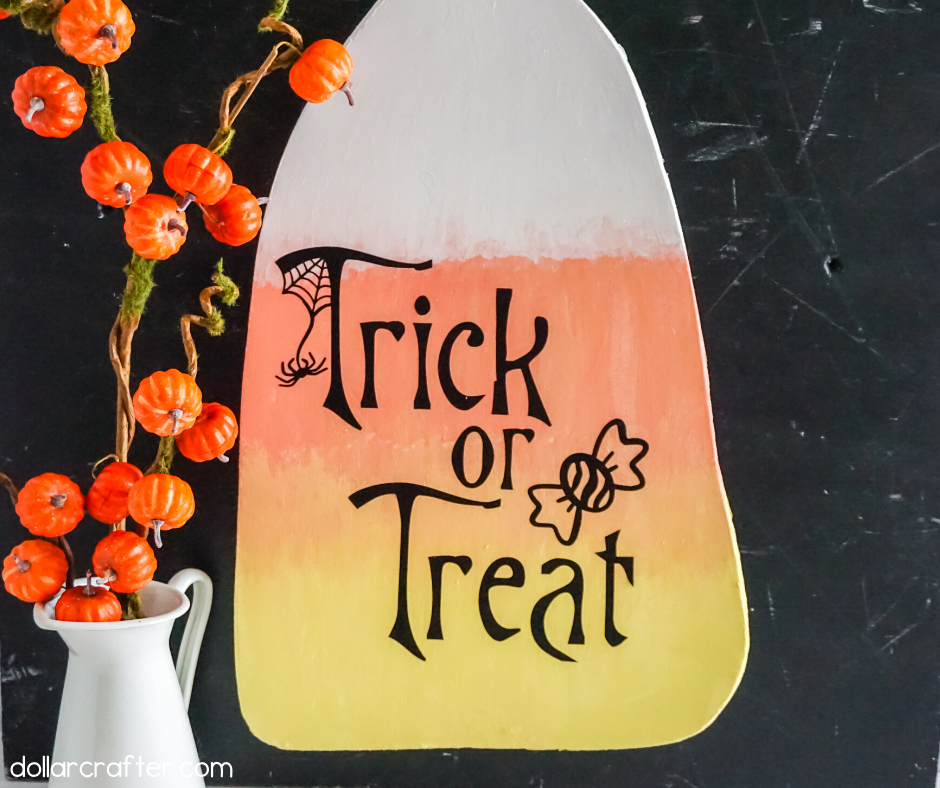
This DIY Candy Corn Trick or Treat sign is an easy and creative Halloween decoration. This project uses items that are likely found at home, making it even more affordable. Plus, you can reuse it year after year.
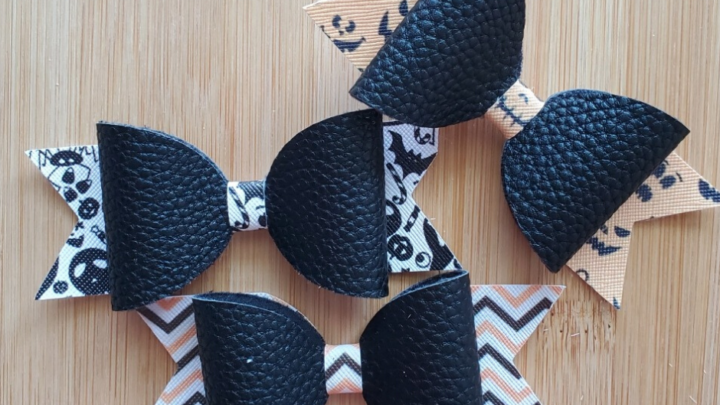
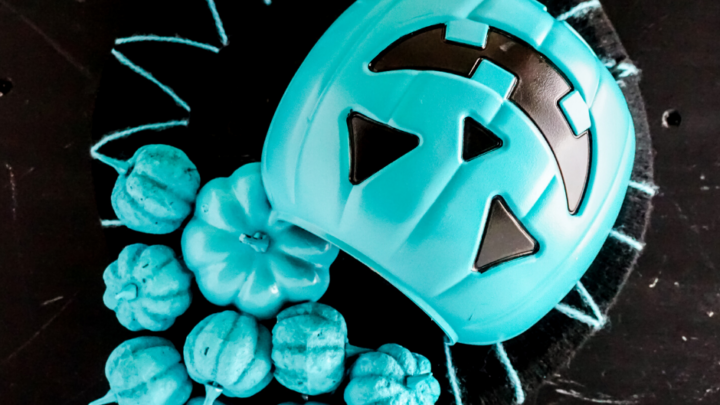
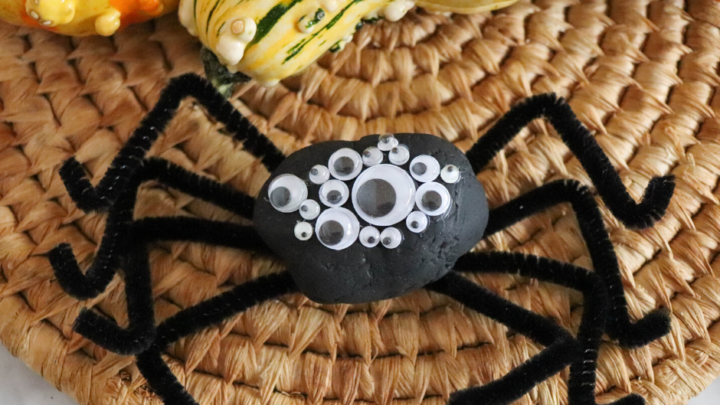
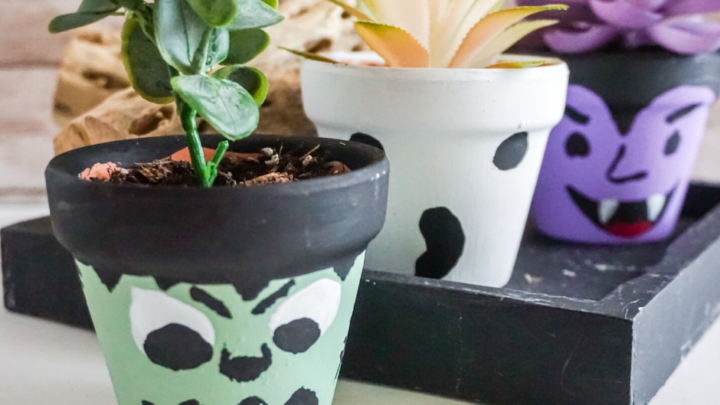
We have been having a blast creating Dollar Tree Halloween crafts this last month, make sure to swing by and check them all out for more inspiration!
Homemade Trick or Treat Sign
In less than 20 minutes, you can create this easy and cute trick or treat sign.
Supplies:
- 1 Foam Core Board
- Acrylic Paint in Yellow, Orange and White
- Craft Sealant (Mod Podge)
- Black Vinyl
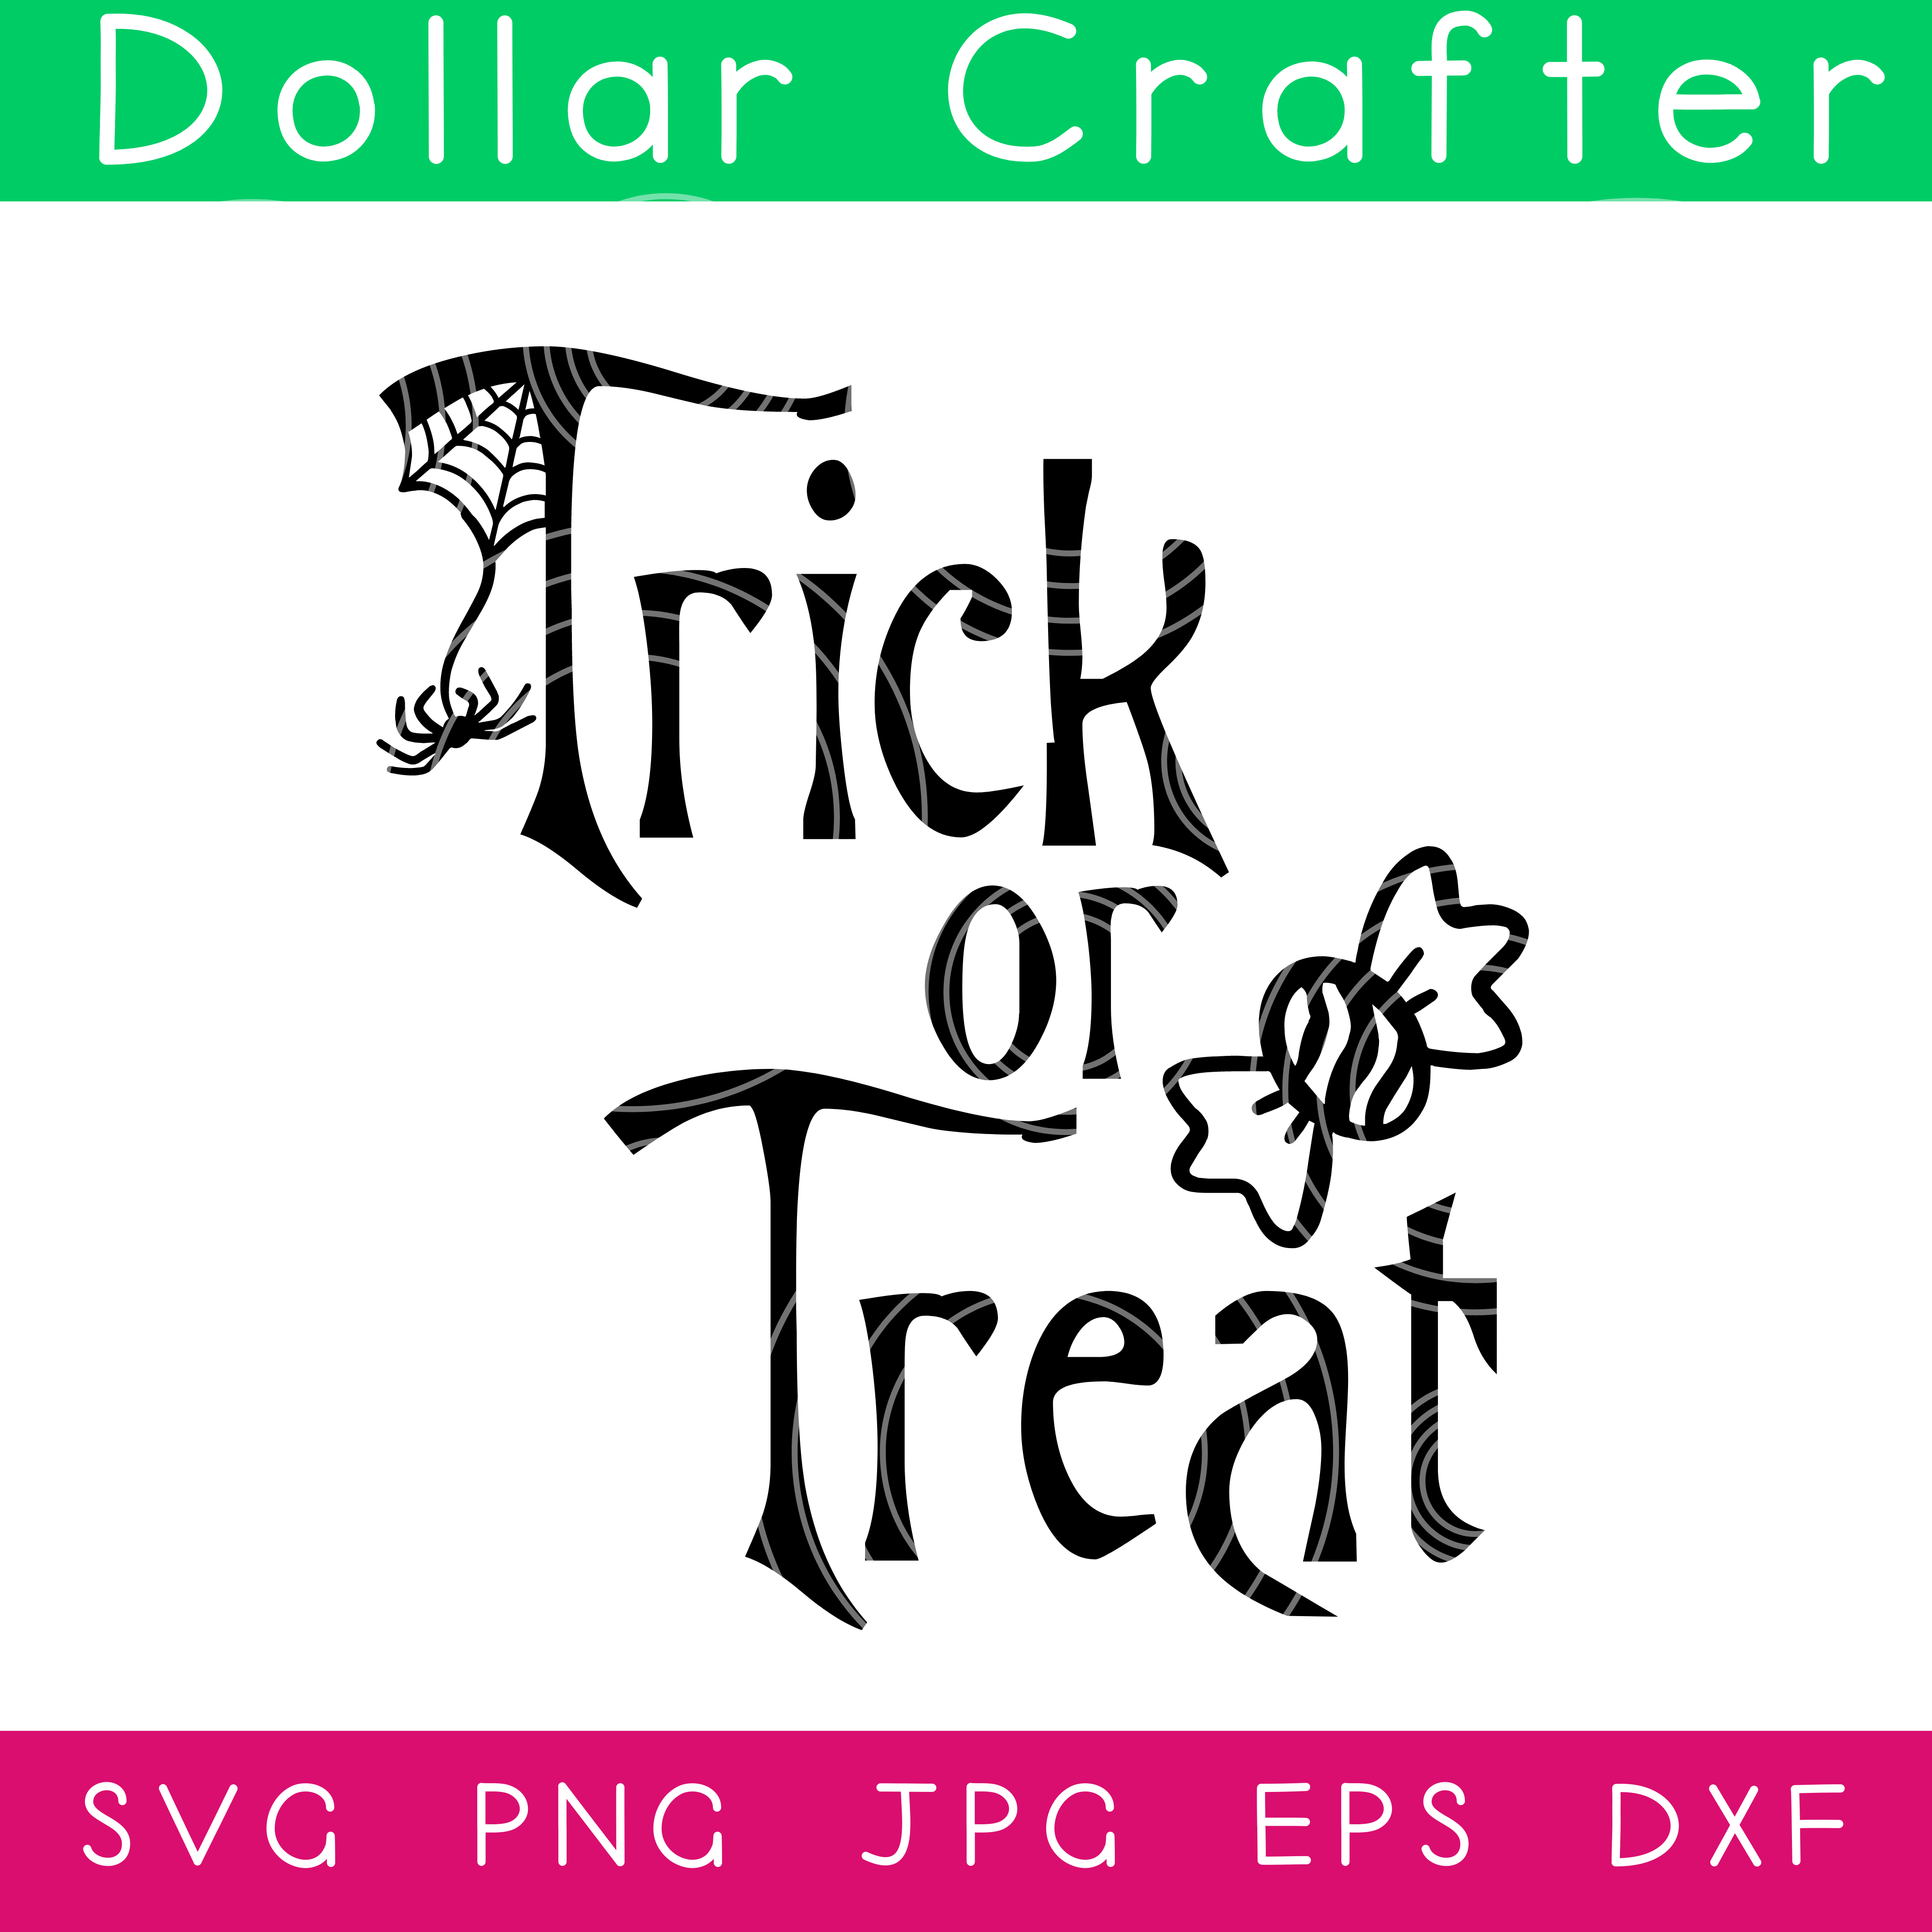
- Trick or Treat Cut File
- Small Piece of Floral Wire
- Cricut Explore Air or Cricut Maker
- Light Grip Mat
- Fine Tip Cutting Blade
- Large Scissors or Craft Knife
- Sand Paper
- Transfer Tape (or Cling Wrap which is what I used)
- Paint Brushes
- Pencil
- Wire Cutters
- Weeding Tools
Want something different than the particular Trick or Treat SVG we used on this candy corn sign? Head over and see all the Halloween SVGS we offer on site!
Tips for Making a Candy Corn Poster Board Sign
You will be using a Cricut in this, so if you’re new to using Cricut or another vinyl cutter, you may feel a bit overwhelmed, but no worries, we got you- check out 22 Tips and Hacks for New Cricut Users to help you knock out this craft with ease.
How to make the foam piece look like a Candy Corn?
I used a foam piece (12×14) leftover from one of my kid’s school projects for the base. Rather than becoming overwhelmed with perfectionism, I decided to go ahead and get the general shape of a Candy Corn-it wasn’t perfect, but that’s okay! Don’t forget to sand down the sides of the candy corn before painting.
How to create the Ombre look of the Candy Corn?
To achieve the best results, paint light coats of all three colors. Then, add a second coat and work the areas where two colors meet with light, blending coats back and forth. Make sure to do this on both sides of your candy corn as well! Finally, allow it to dry completely before continuing.

Don’t Forget This Step: Add a coat of sealant (mod podge) over the entire candy corn shape. Allow it to dry completely before moving on to the next step.
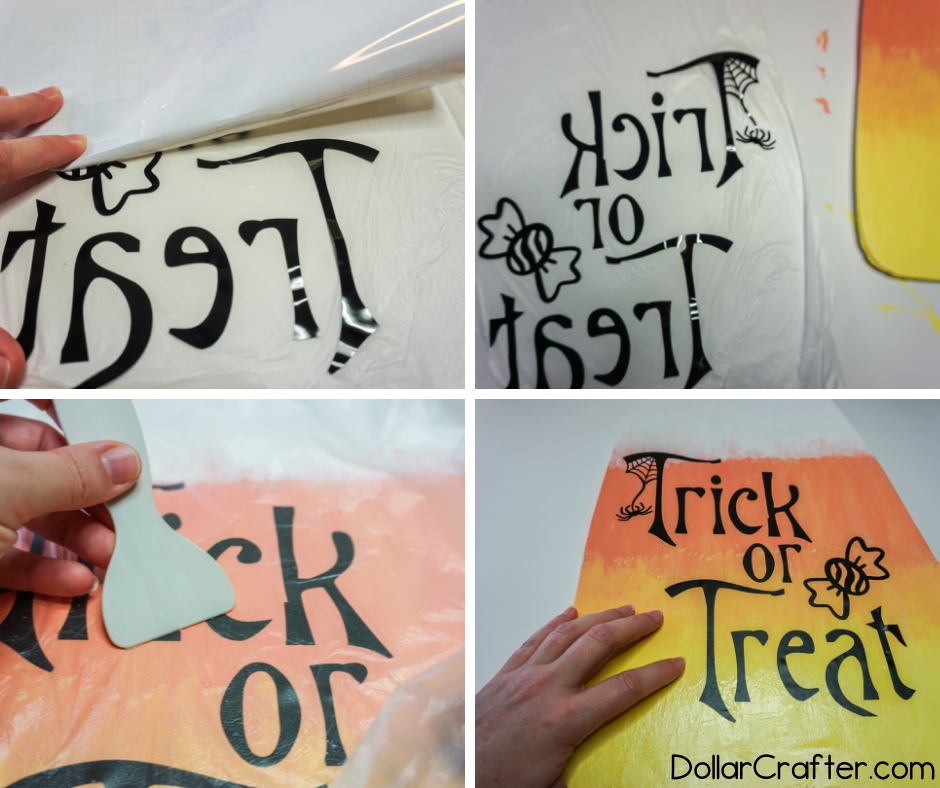
Supply Hack: If you don’t have transfer paper, use cling wrap- super easy, and it works.
How to Make a Trick or Treat Sign at Home
Candy Corn Trick or Treat Sign

Materials
- 1 Foam Core Board
- Acrylic Paint in Yellow, Orange and White
- Craft Sealant (Mod Podge)
- Black Vinyl
- Trick or Treat Cut File
- Small Piece of Floral Wire
Tools
- Cricut Explore Air or Cricut Maker
- Light Grip Mat
- Fine Tip Cutting Blade
- Large Scissors or Craft Knife
- Sand Paper
- Transfer Tape (or Cling Wrap which is what I used)
- Paint Brushes
- Pencil
- Wire Cutters
- Weeding Tools
Instructions
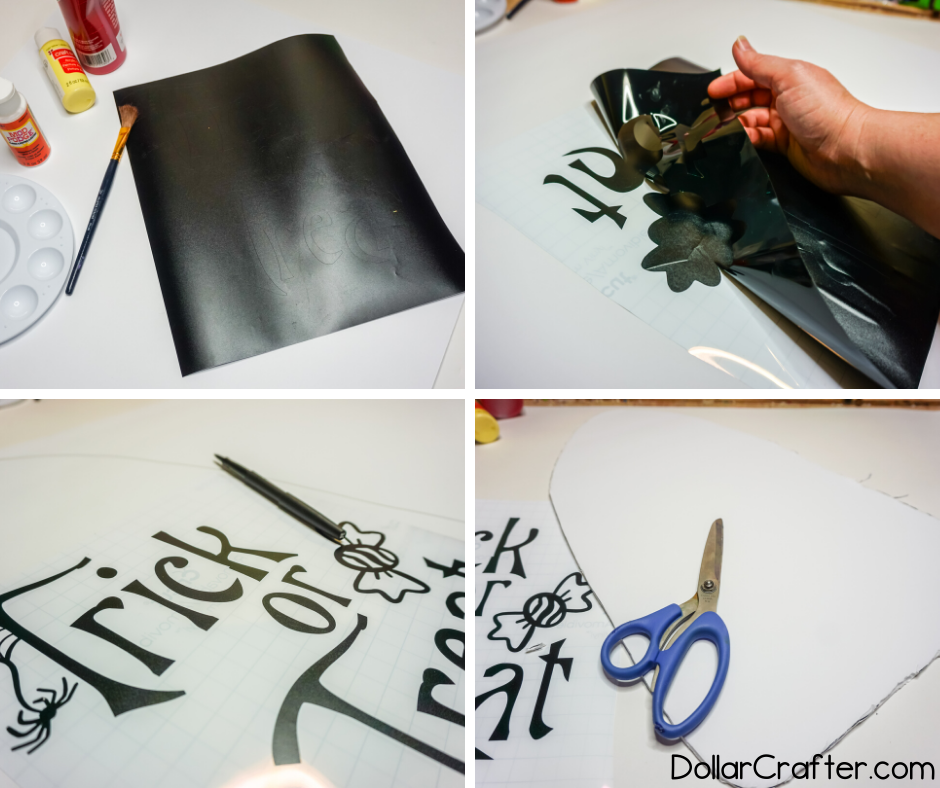
- With a pencil, draw a large Candy Corn shape onto the foam core board. Make the base at least 12 inches wide and at least 14 inches tall.
- With the scissors or craft knife, cut out the candy corn shape. Smooth the edges with sandpaper, if necessary.
- Paint a light coat of orange paint on the bottom ⅓ of the candy corn.
- Paint a light coat of yellow paint on the center ⅓ of the candy corn shape.
- Paint a light coat of white paint on the top ⅓ of the candy corn shape.
- With light coats of all three colors, add a second coat and work the areas where two colors meet with light, blending coats back and forth. Make sure to do the same on the sides of the candy corn. Allow the paint to dry completely.
- Add a coat of craft sealant over the top of the entire candy corn shape. Allow the craft sealant to dry completely.
- Download the cut file and load it into Cricut Design Space. For ease, attach all of the design elements by highlighting all of them in the right tool bar and selecting the “attach” button in the lower right.
- Select the “make” button in the upper right corner and connect your computer to your cutting machine.
- Select the material you are cutting (vinyl) and make sure you have the correct blade in the machine.
- Place the vinyl on your light grip mat and ensure it is face-up, smoothing it down so that portions of the vinyl backing sheet makes contact with the mat so that it will not lift up and mess up the cut.
- Load the mat into the machine and tell Cricut Design Space to proceed with the cut.
- Once the cut has been made, remove the mat from the cutting machine.
- Weed the unnecessary vinyl from the design and discard.
- Remove the design (still attached to the backing sheet) from the mat and place vinyl-side-up on a hard surface like a wood table.
- Cover the design with a sheet of transfer paper with the “sticky side” down. Rub vigorously over the design with a spatula tool or your fingernail to attach the transfer paper to the vinyl design.
- Gently and carefully peel the transfer paper away from the vinyl backing sheet, pulling the vinyl away from the backing sheet with the transfer paper. If you have trouble transferring a piece of the design, just work slowly and go back over it with the spatula tool.
- Using the outer corners of the transfer paper to control the design, position the design onto the side of the sign where you want it, taking care not to let the vinyl touch the sign or it will affix permanently.
- Once you have the vinyl design in place where you’d like, press the cling wrap down evenly, using the spatula tool to work out any small bubbles and smooth the design onto the sign.
- Peel away the transfer paper and discard.
- Bend your floral wire into a loop and hot glue it to the back of your sign. Your sign is now ready to hang.
Notes
For more fun Halloween crafts visit DollarCrafter.com
Recommended Products
As an Amazon Associate and member of other affiliate programs, I earn from qualifying purchases.
More Halloween Crafts You Will Love!


Please Save This to Pinterest
Your shares are how this site grows, and I am sincerely grateful. Know a friend who’d like this? Please share it on Facebook or save it to your favorite crafts board on Pinterest.