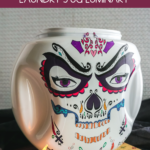
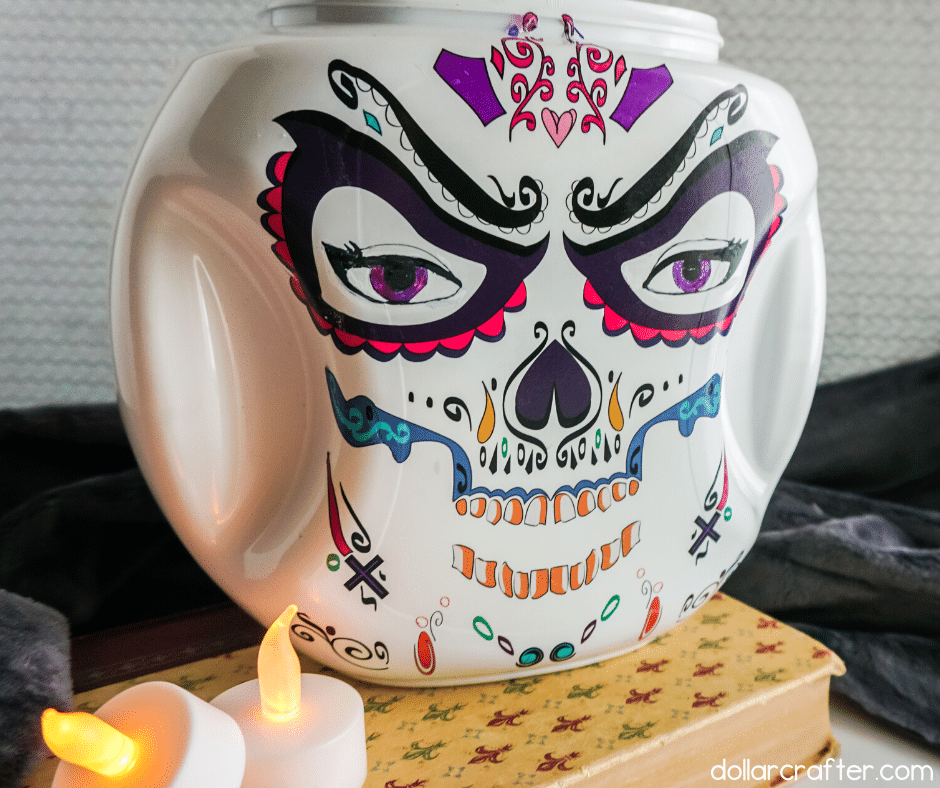
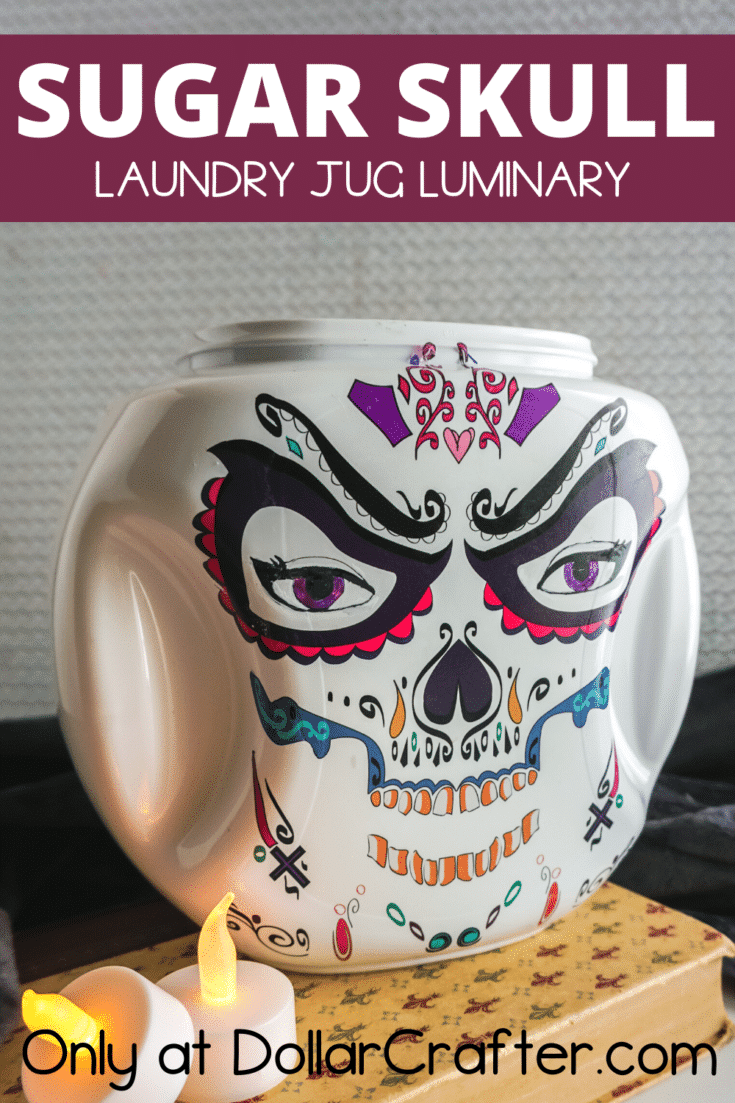
Día de los Muertos is just around the corner and we are so excited to show you how to make this Sugar Skull Laundry Jug Luminary! This project is perfect for your Day of the Dead celebration, Halloween, or any time of year when you want a little extra light.
We have been having a blast creating Dollar Tree Halloween crafts this last month, make sure to swing by and check them all out for more inspiration!
Homemade Luminary Sugar Skull
This laundry jug craft is ridiculously easy to make and can be done with items you probably already have around the house!
Supplies:
- 1 empty White Laundry Pod Bucket
- Sugar Skull Temporary Tattoos
- 3-4 Battery-Operated Tealights
You can also make this craft using your Cricut machine and any style of SVG that you want. For more inspiration make sure to head over and see all the Halloween SVGs we have shared on site!
I absolutely love using homemade luminaries for my holiday crafting. These are perfect to light up a walk way, place next to a candy bowl outside, or even put on display in your home!
If you are planning on placing your Sugar Skull luminary outside, make sure to seal it using an outdoor sealant otherwise your temporary tattoo or SVG may degrade.
How to Make This Sugar Skull Luminary
Let’s get crafting! Below is our written tutorial.
Sugar Skull Laundry Jug Luminary
Materials
- 1 empty White Laundry Pod Bucket
- Sugar Skull Temporary Tattoos
- 3-4 Battery-Operated Tealights
Tools
- Paper Towel
- Water
Instructions
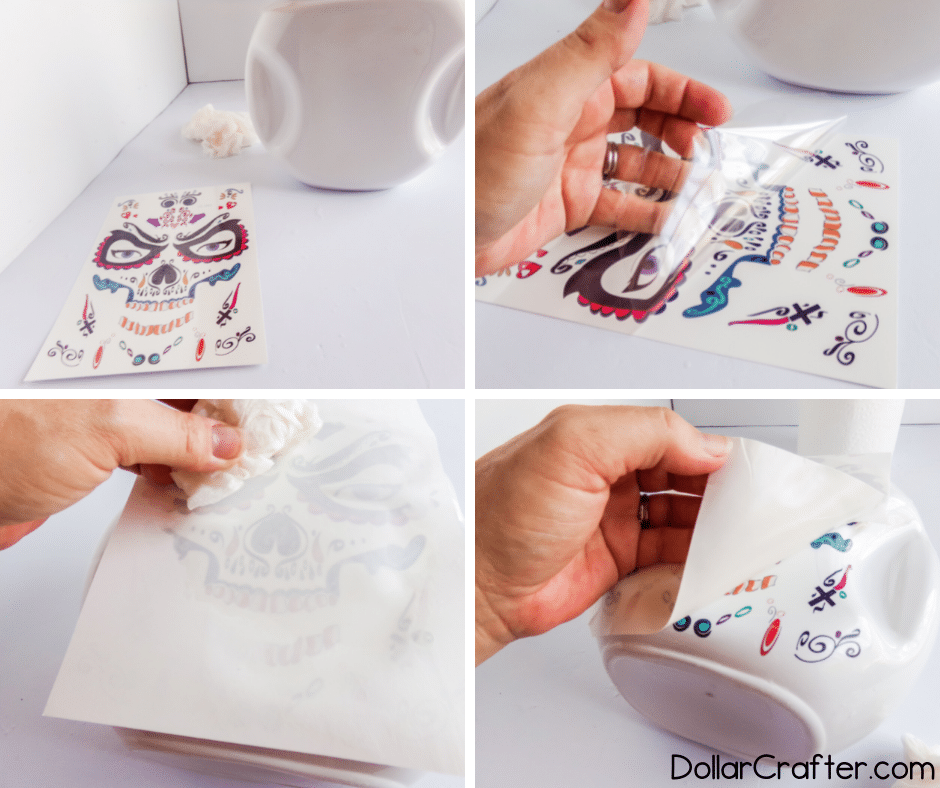
- Remove labels from the laundry pod bucket and wash thoroughly. Dry the bucket completely.
- Select the temporary tattoo you want to use and peel off the clear plastic protective sheet.
- Place the temporary tattoo face-down on the handle side of the laundry bucket. Make sure you hold the tattoo still while applying.
- Wet the paper towel with the water, then apply the paper towel to the paper side of the tattoo, dampening it all the way through the paper.
- Wait 10-25 seconds before removing the paper from the tattoo gently.
- Place tealights into the laundry buckets and enjoy!
Notes
For more fun Halloween crafts visit DollarCrafter.com
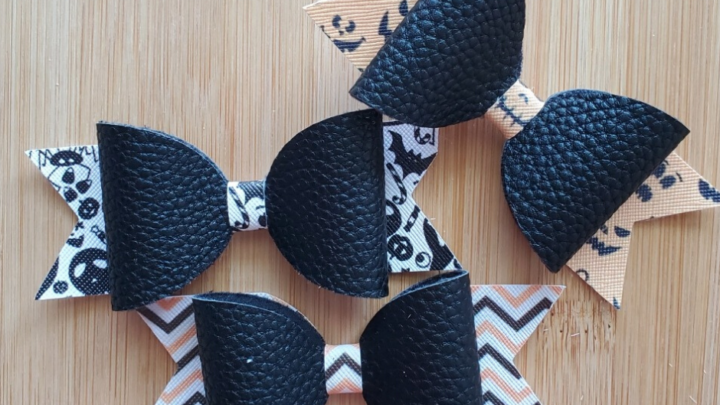
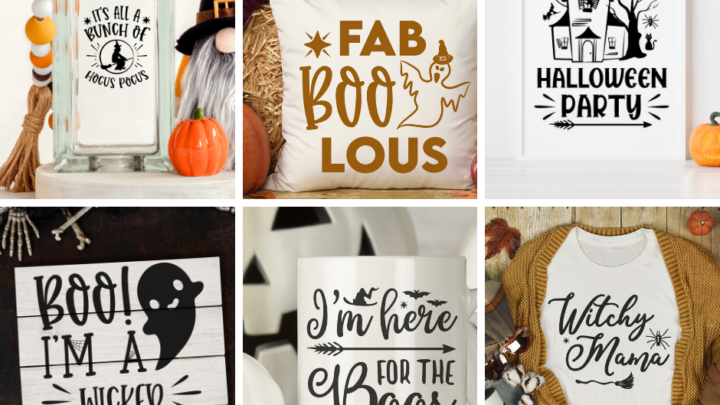
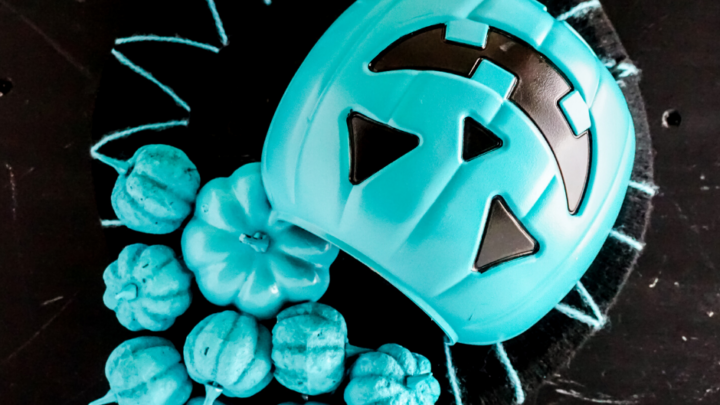
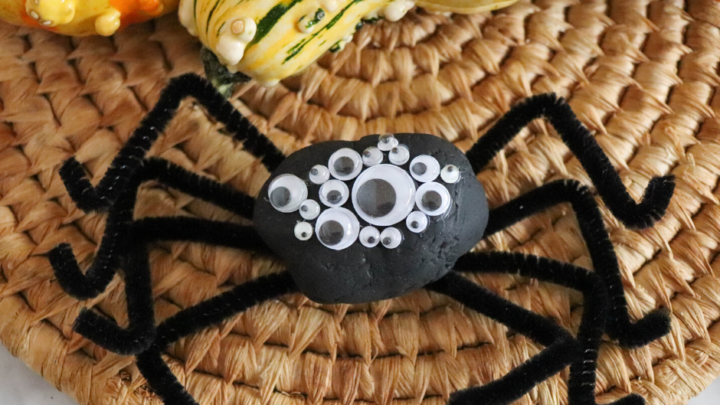
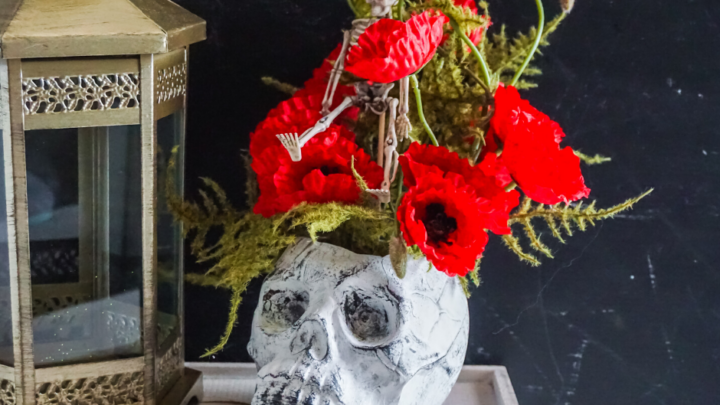
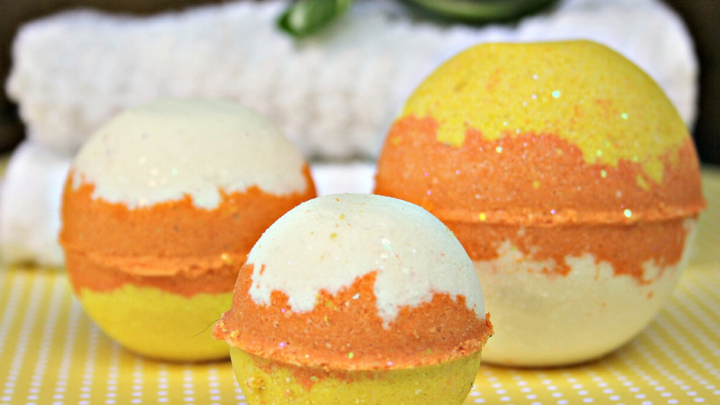
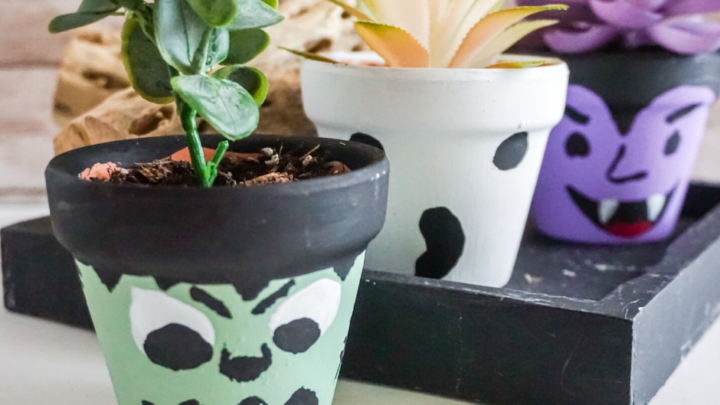
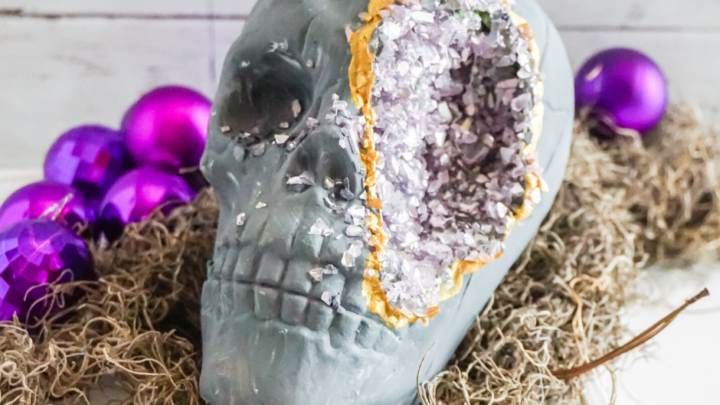
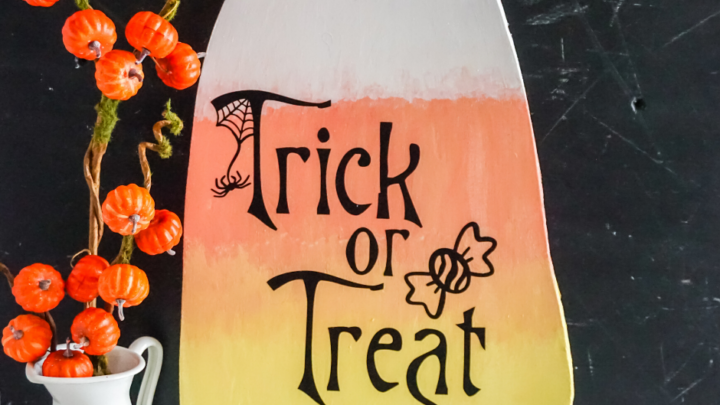
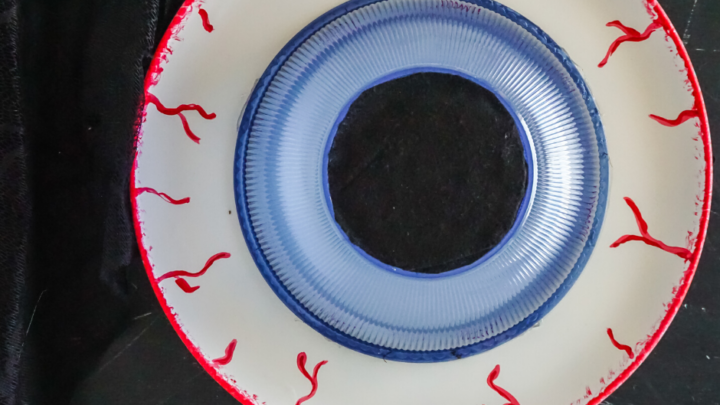
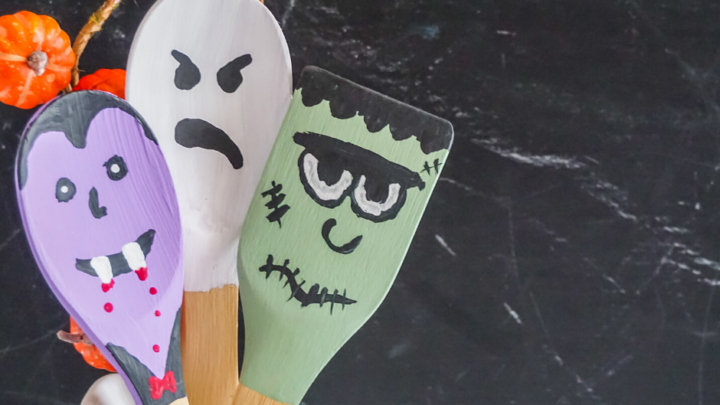
More Halloween Crafts You Will Love!


Please Save This to Pinterest
Your shares are how this site grows, and I am sincerely grateful. Know a friend who’d like this? Please share it on Facebook or save it to your favorite crafts board on Pinterest.