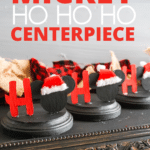
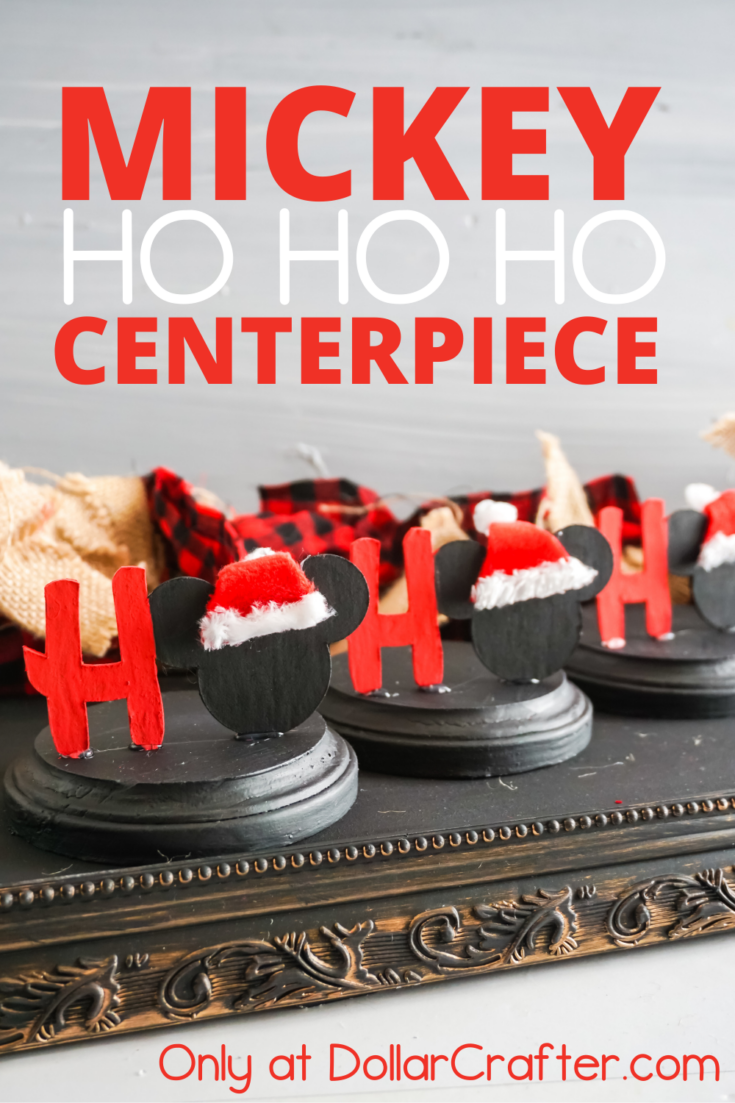
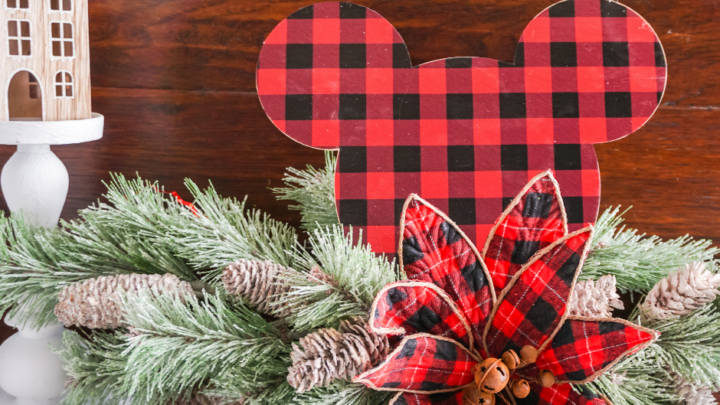
What an amazing Mickey HO HO HO Centerpiece! I love how you can make this yourself way cheaper than even buying the ice cream cone while visiting Disney. My kids and I have been making a lot of DIY decorations this year, it’s fun to spend quality time and creating memories.
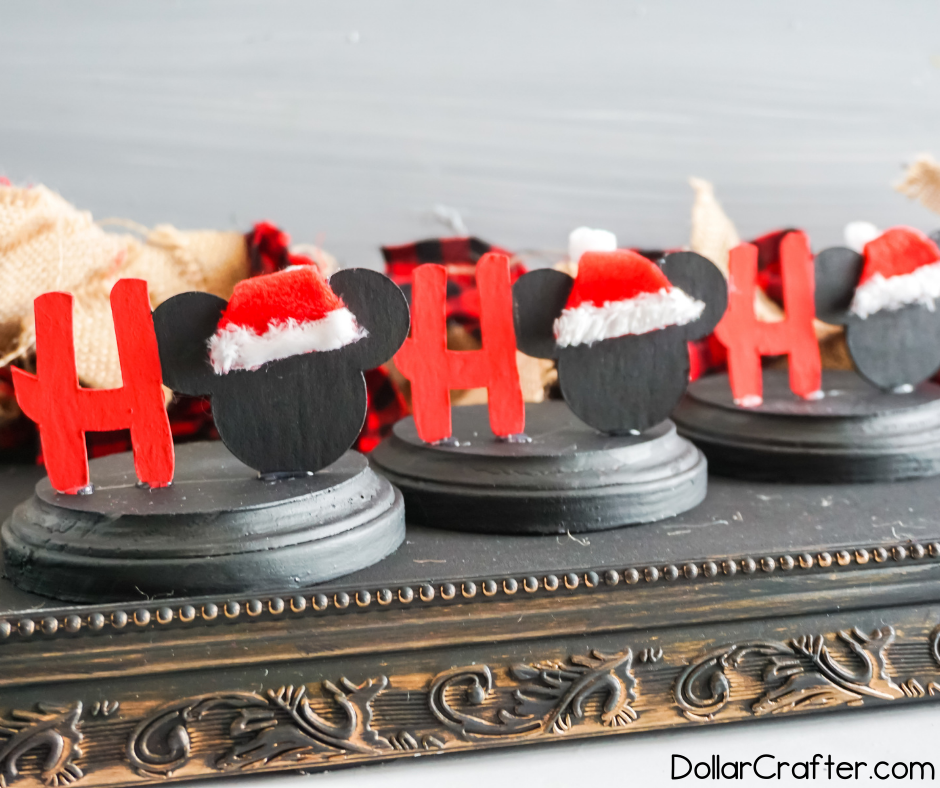
Homemade Mickey HO HO HO Centerpiece
We missed our annual Disney trip this year, but that doesn’t mean we’re any less festive this holiday season! In fact, I feel like we may have gone a litttttle overboard on our Disney decorations. But really, is that even possible?
Supplies
- 1 12×12 Chipboard
- 3 3-inch Wood Rounds
- Black Acrylic Paint
- Red Acrylic Paint
- Scraps Red Felt
- Scraps White Fluffy Fabric (Sherpa or Felt Fabric)
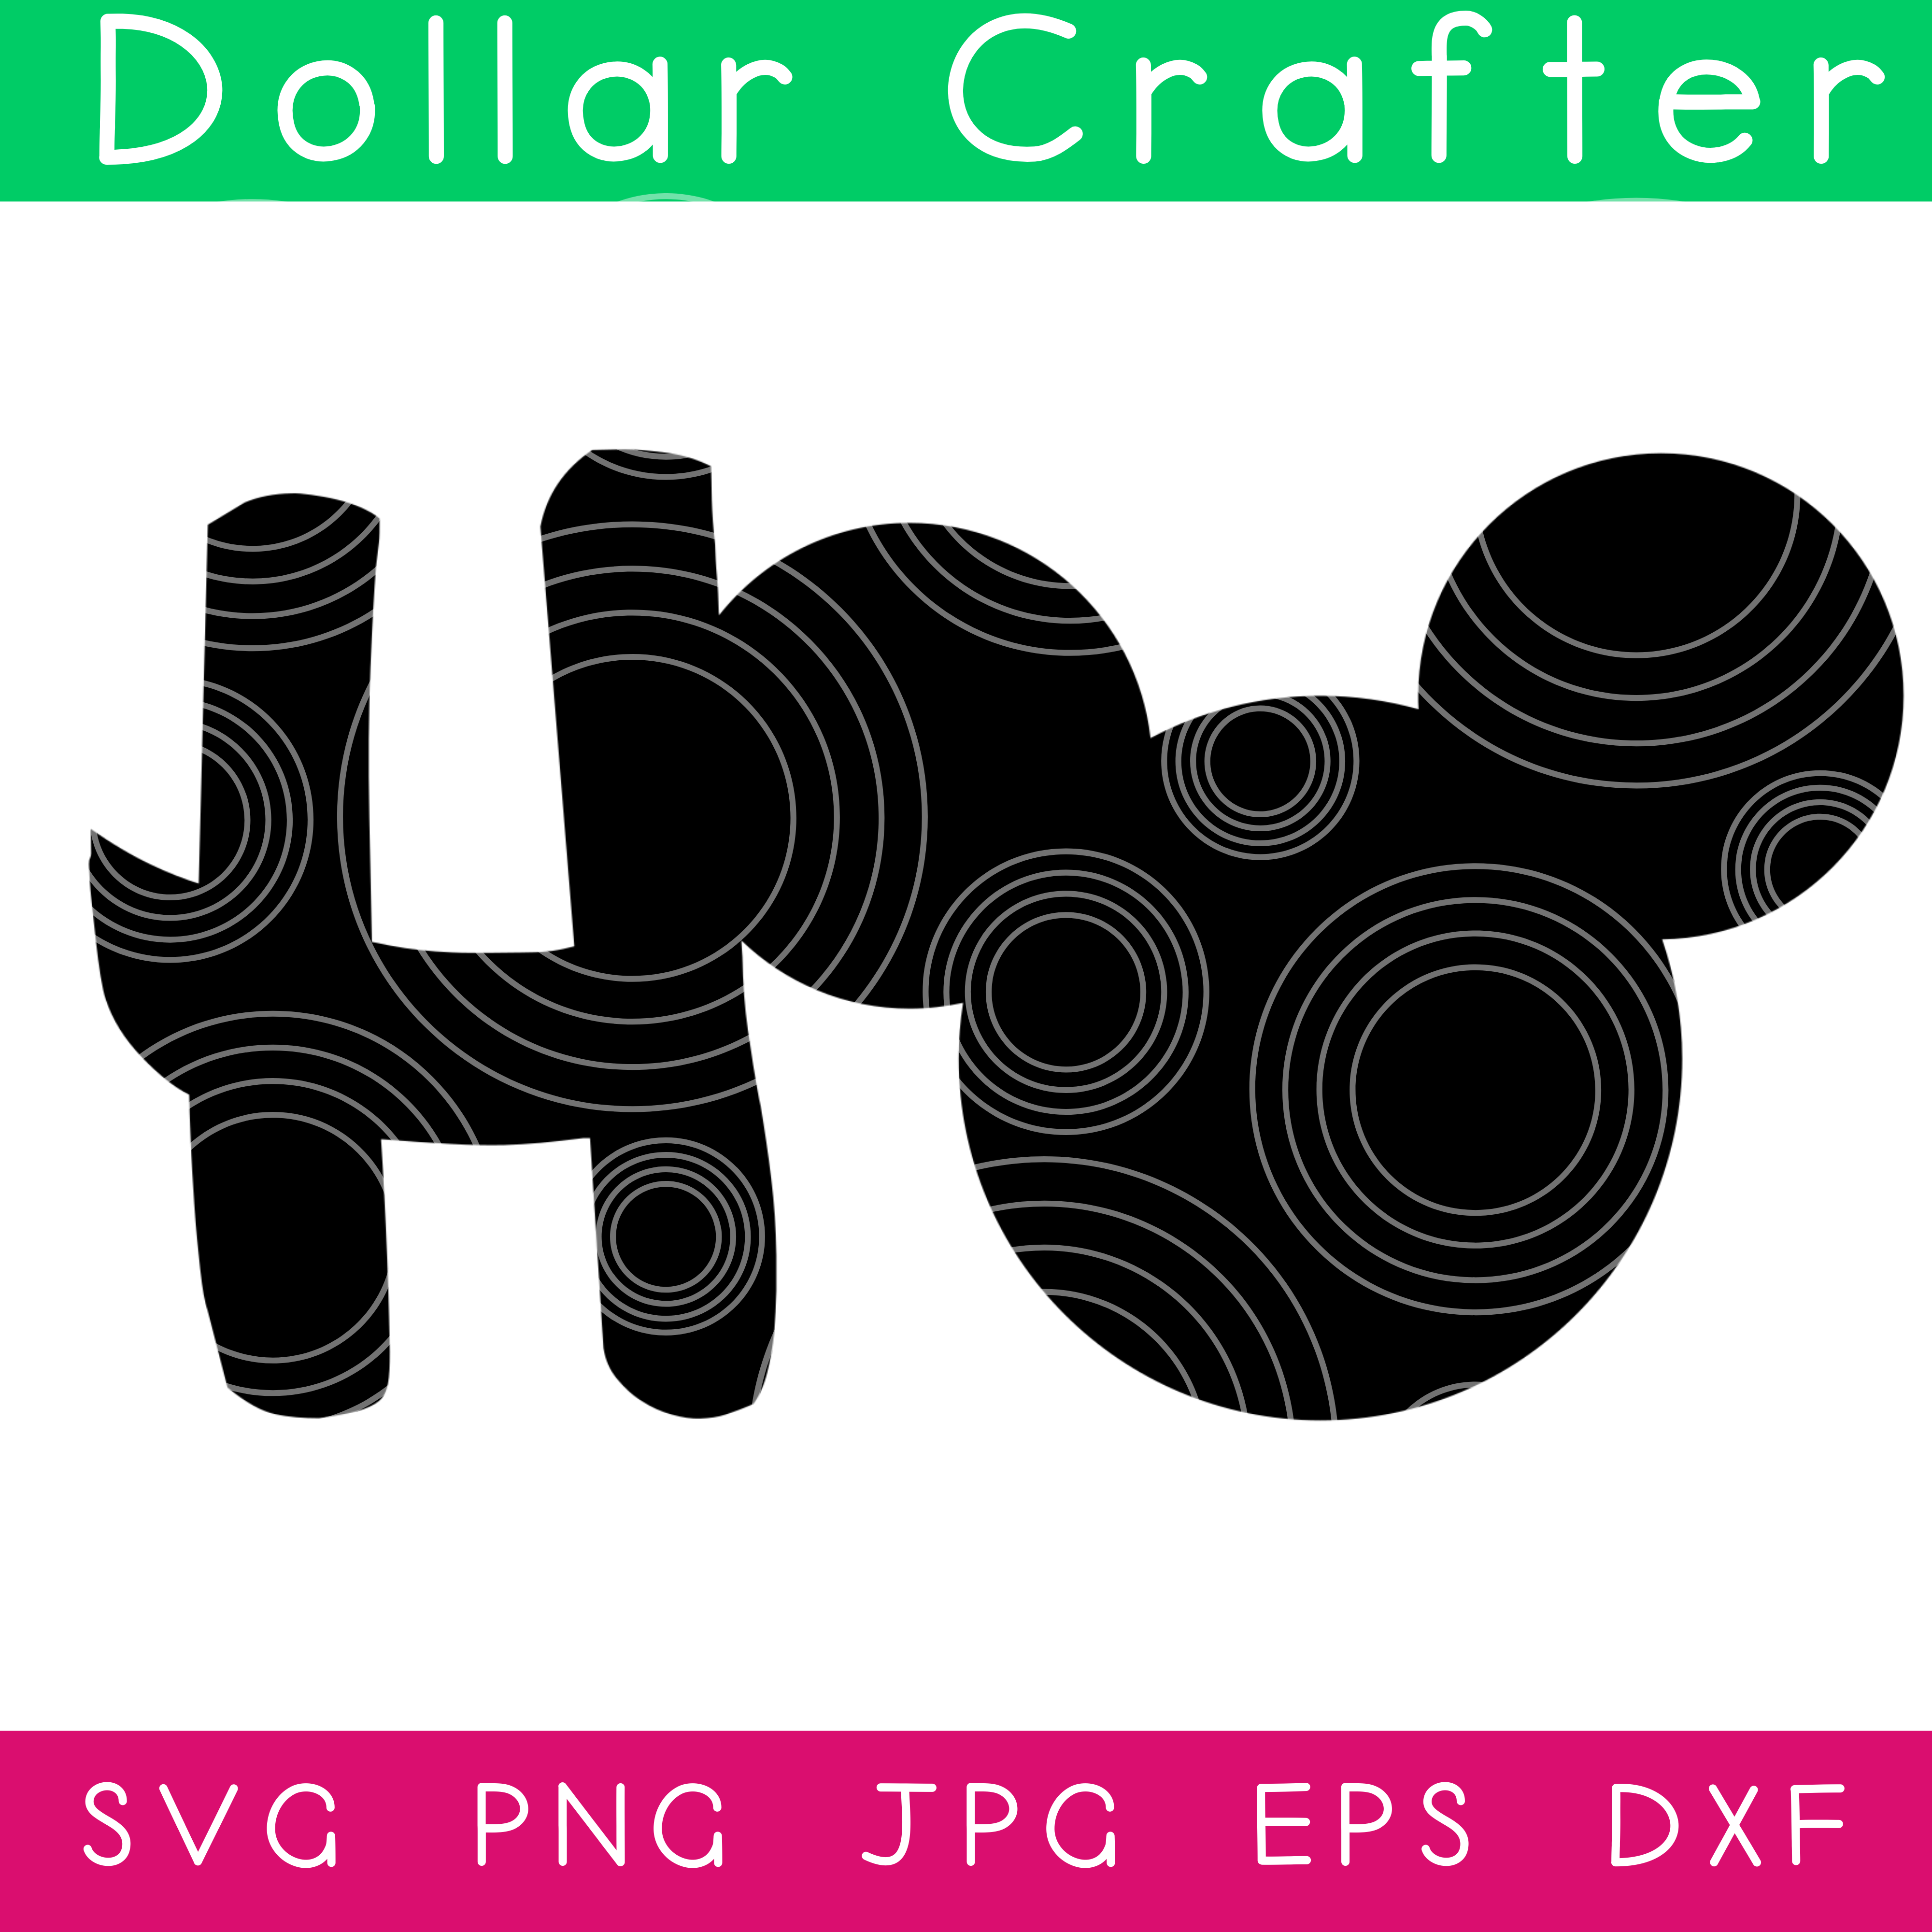
- Downloadable Mickey Ho Ho Ho File
- Cricut Maker
- Strong Grip Mat
- Masking Tape
- Deep Cut Blade
- Paintbrush
- Hot Glue Gun & Glue
- Painter’s Tape
Find all our DIY Christmas Crafts and Ornaments here!
Tips to Make This Mickey HO HO HO Mantle Decor
While you can make this Mickey mantle decor with scissors, I recommend using the free cut file and your Cricut or Silhouette. If you do not have a cutting machine, you can use scissors… it’ll just take longer. 🙂 Enlist the help of the kids!
All the supplies for this craft can be found at the dollar store. You can even use a recycled piece of wood for the base.
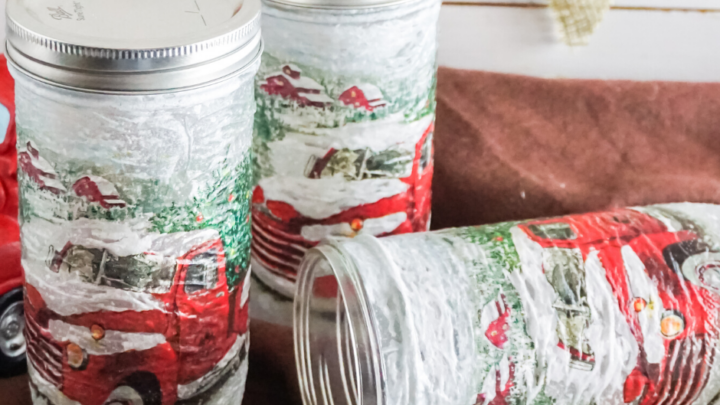
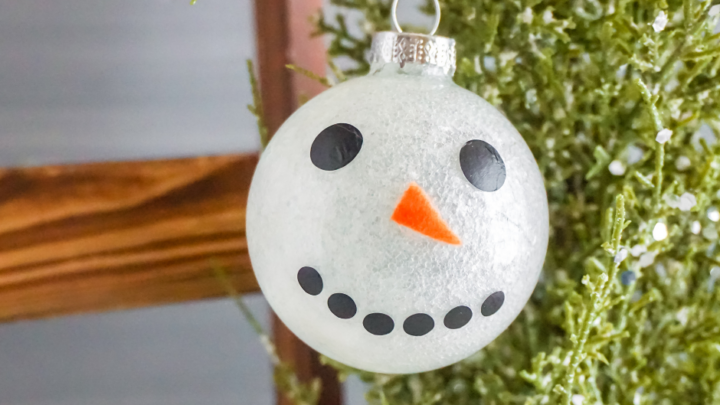
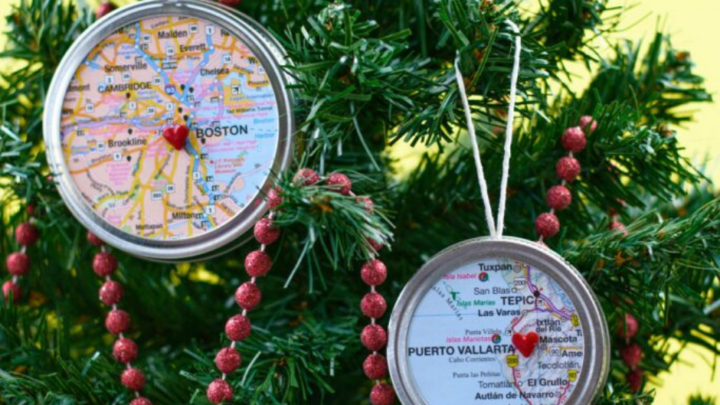
Are you making your own Christmas decor? We have a few other ideas for you:
Making your own ornaments is a fun and affordable way to stay busy during winter break. The kids will love making them, so it’s perfect for family time!
How Do I Make the Mickey HO HO HO Centerpiece?
Let’s get crafting! Below is our written tutorial.
Mickey Ho Ho Ho Centerpiece
Bring a little Disney magic to your home with this simple and fun Mickey Ho Ho Ho Mantlepiece
Materials
- 1 12x12 Chipboard
- 3 3-inch Wood Rounds
- Black Acrylic Paint
- Red Acrylic Paint
- Scraps Red Felt
- Scraps White Fluffy Fabric (Sherpa or Felt Fabric)
- Downloadable Mickey Ho Ho Ho File
Tools
- Cricut Maker
- Strong Grip Mat
- Masking Tape
- Deep Cut Blade
- Paintbrush
- Hot Glue Gun & Glue
- Painter’s Tape
Instructions
- Paint the 3 wood rounds black. Allow the paint to dry completely.
- Download the Mickey Ho Ho Ho file and upload it to Cricut Design Space. Follow the prompts to cut the shapes from the chipboard. I recommend that you tape down the corners of the chipboard to avoid the possibility of the cut moving while in the machine.
- When the shapes are cut, discard the unused chipboard and, with the painter’s tape, tape off the H on each shape. Paint all of the Mickey heads black on both sides, allowing the paint to dry fully on each side before flipping the piece or moving on.
- Paint the H on each shape with the red acrylic paint on each side, allowing the paint to dry fully on each side before flipping the piece or moving on.
- While the paint is drying, you can make the little Santa hats by cutting 3 triangles from the red felt that is 1 ½ inch wide by 1 ½ inch tall.
- Cut 3 - 1-inch long by ¼-inch wide strips of the fluffy fabric.
- Cut 3 mini circles of the fluffy fabric for pom poms on the hat.
- Hot glue the pom poms to the tip of the red triangles and the strips to the bottom of the triangle.
- Attach the hats to the Mickey part of the shapes using hot glue.
- Stand a Mickey shape up on the center of a wood round and hot glue it in place.
- Repeat with the other two Mickey shapes and enjoy!
Notes
For more fun Christmas crafts visit DollarCrafter.com
Recommended Products
As an Amazon Associate and member of other affiliate programs, I earn from qualifying purchases.
More Christmas Crafts You Will Love!


Please Save This to Pinterest
Your shares are how this site grows and I am sincerely grateful. Know a friend who’d like this? Please share it on Facebook or save it to your favorite holiday crafts board on Pinterest.