Baby’s first Christmas is a time to celebrate and commemorate. Creating a DIY Mickey My First Christmas Ornament is easy to create a special memory for your little one. This DIY project is perfect for parents-to-be or new parents who want to create their very own “My First Christmas” ornament.
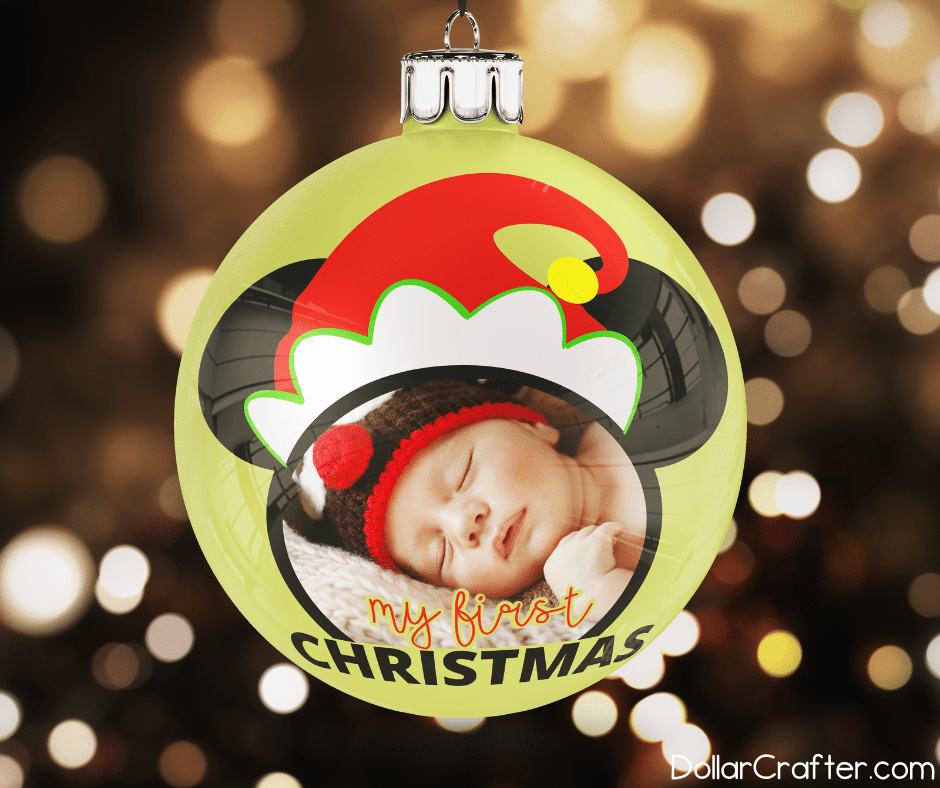
Homemade Mickey and Minnie My First Christmas Ornament
Love the magic of Disney but don’t love the price tag? Create your own commemorative ornament for the baby’s first Christmas with this cut file.
Supplies
- Fillable Glass Ornament
- Acrylic Craft Paint
- Black, Red, Yellow, Green and White Heat Transfer Vinyl
- White Vinyl Printable Paper
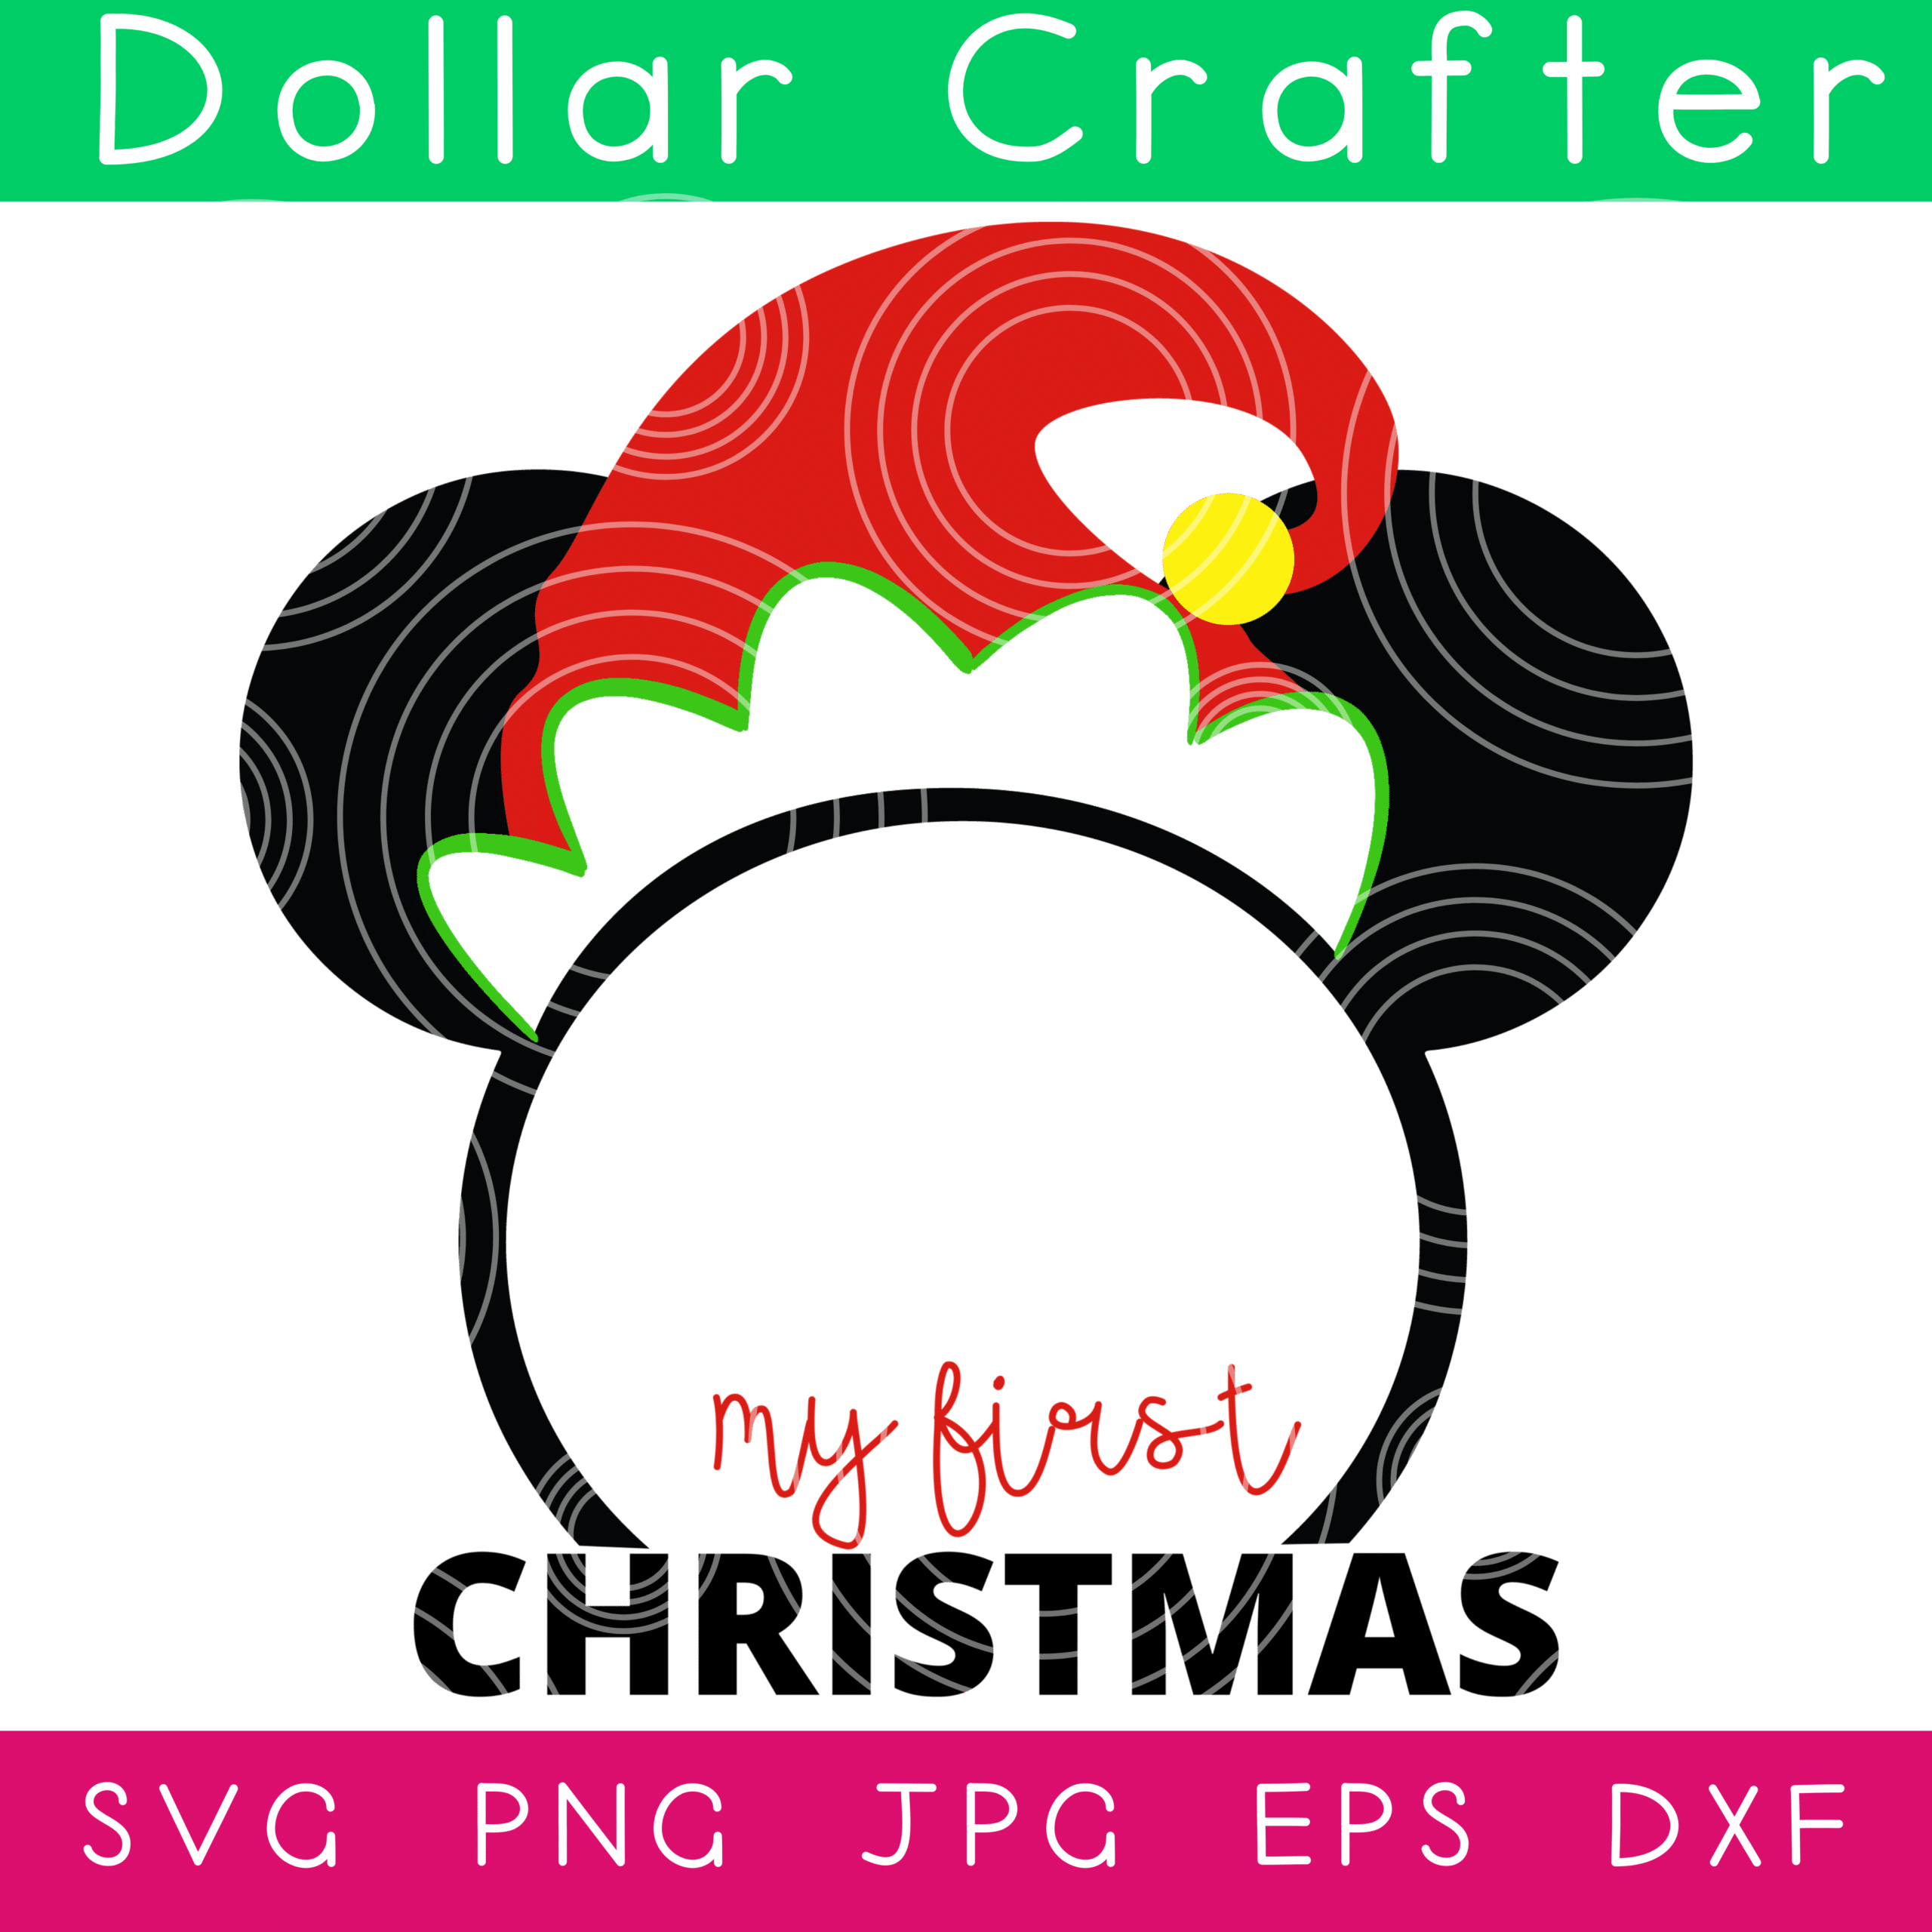
- Disney My First Christmas Cut File
- Cricut Explore Air 2, Cricut Joy or Cricut Maker
- Home Printer
- Light Grip Mat
- Cricut EasyPress Mini
- Scissors
Making ornaments at home costs pennies on the dollar, and most of the supplies (if not all of them!) can be found at your local dollar store. You can usually order them on Amazon as well. I have a big box of ornaments that I purchased last year on clearance from Michael’s.
Keep an eye on sales year-round, especially after Christmas, for crafting supplies. You never know what you’ll need when the holidays roll around.
Find all our DIY Christmas Crafts and Ornaments here!
Tips to Make This Mickey and Minnie DIY Christmas Ornament
- Fill your ornament with glitter. Use mod podge to secure the glitter to the inside. The more glitter, the better! You can never have too much glitter, can you? 🙂
- If you don’t have glitter, you can paint the inside of the ornament or just leave it as is.
- Add your baby’s name and the year to the other side for an even more personalized ornament to give as a gift.
- Mickey and Minnie ornaments with baby’s face are a great gift for grandparents, cousins, aunts, uncles, and even close friends. That first Christmas is super special! Remember it with a customized ornament.
Can kids help with this craft?
Using plastic or shatter-proof ornaments, kiddos can help with creating this DIY ornament. If you’re using glass ornaments, though, you’ll want to be more careful. Adults should complete all cutting.
Other DIY ornaments
Make our other DIY ornaments: glitter snowman ornaments, reindeer ornaments, and enjoy making this Mickey centerpiece, too!
How Do I Make the Mickey My First Christmas Ornament?
Let’s get crafting! Below is our written tutorial.
Disney My First Christmas Ornament
Celebrate your babies first Christmas with these easy DIY Mickey and Minnie My First Christmas Ornaments - these will become a favorite keepsake for years!
Materials
- Fillable Glass Ornament
- Acrylic Craft Paint
- Black, Red, Yellow, Green and White Heat Transfer Vinyl
- White Vinyl Printable Paper
- Disney My First Christmas Cut File
Tools
Instructions
- Download the cut files and upload them to Cricut Design Space. Cut the shapes from heat transfer vinyl.
- While that’s cutting, decorate your ornament as you desire. We used a little yellowish gold acrylic paint inside of ours. To do this simply remove the cap of your ornament, add a squirt of acrylic paint inside, and swirl around until the ornament has a good coverage. Then set the ornament upside down so that any excess paint can drain out and the inside of the ornament can dry.
- After your files are cut, the next step is to print of your baby's photo! To do this you will upload the photo of your choice to the Circut App and size your photo to the size ornament design. Then head to the print and cut section and send your photo to your home printer (print out on the white vinyl printable paper). You can use scissors or your Cricut to cut out your printed photo.
- The weed your design elements and press your elements on to the ornament. Use the EasyPress Mini, press the smaller details (such as the bulb of the Santa hat) onto the ornament.
- Hang from the tree!
Notes
For more fun Christmas crafts visit DollarCrafter.com
Recommended Products
As an Amazon Associate and member of other affiliate programs, I earn from qualifying purchases.
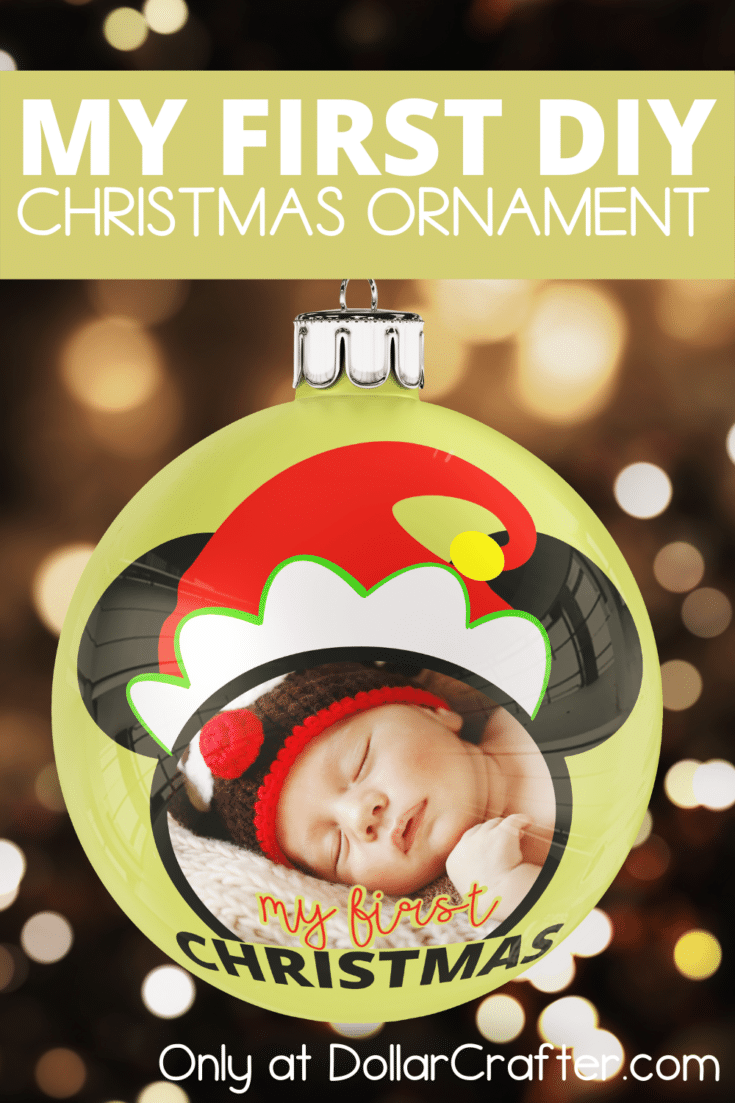
Please Save This to Pinterest
Your shares are how this site grows, and I am sincerely grateful. Know a friend who’d like this? Please share it on Facebook or save it to your favorite holiday crafts board on Pinterest.