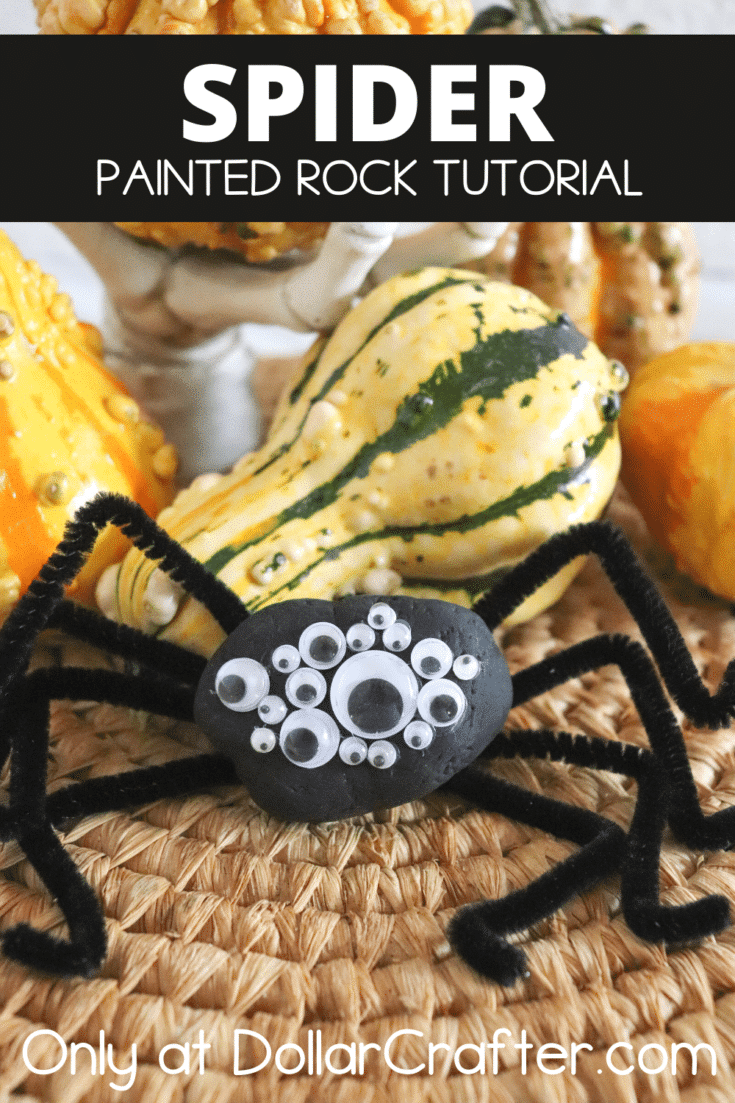
The spooky season is quickly approaching, and that means it’s time to start planning your Halloween festivities. But you’re not going to want the same old decorations every year, are you? This year we have a fun project for all of our crafters out there that you can do with your kids: DIY spider painted rocks!
We have been having a blast creating Dollar Tree Halloween crafts this last month, make sure to swing by and check them all out for more inspiration!
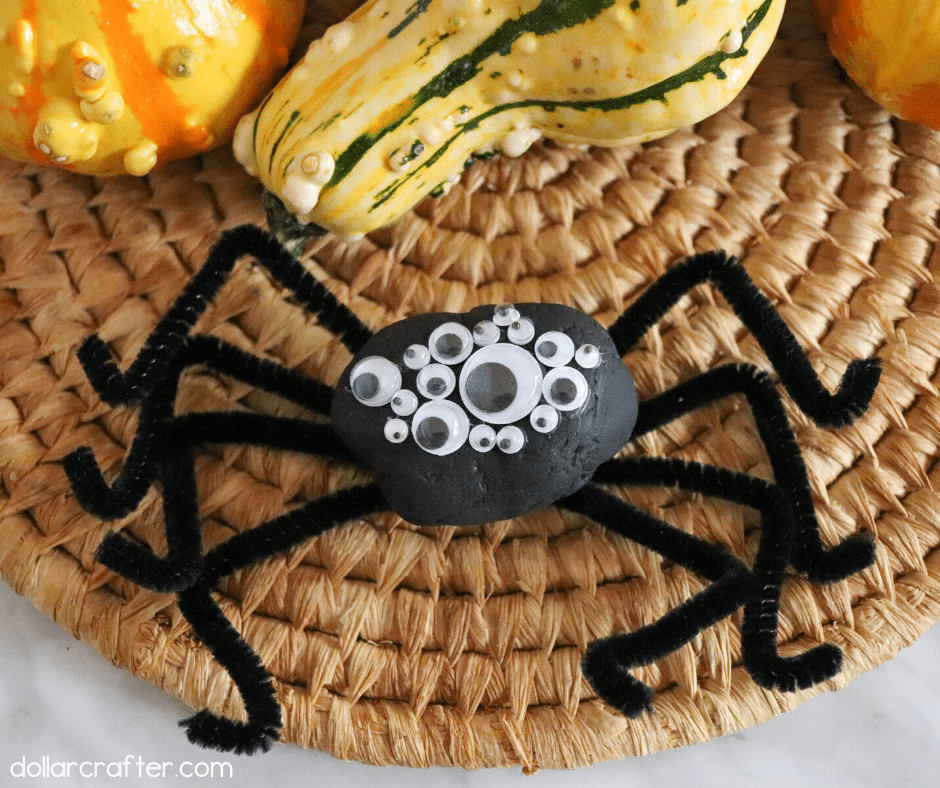
Homemade Painted Rock Spider
Making this adorable little spider is super easy to do and perfect to put on display around your house or outdoors!
Supplies:
- 2-3 inch rock
- Black acrylic paint
- 4 black pipe cleaners
- 15 to 20 googly eyes of various sizes
- Hot glue sticks and glue gun
- Mod Podge (optional)
Tips for Making Spider Rocks
Before you get started painting your rocks, there are some things you will want to keep in mind.
Flat rocks are your friend. It is important that when you are gathering your supplies you pick out smooth flat rocks. This in itself can be a fun fall adventure to do with your kids – I don’t think I have met a single child yet that doesn’t enjoy rock hunting!
You are also going to want to wash your rocks before you paint them. Give them a good scrubbing to get all the dirt and debris off.
If you (or your kids) have picked out rocks that are on the porous side, make sure to seal your rock beforehand so that it doesn’t suck up all your paint. I usually use Mod Podge to do this, however, you could also use white paint.

And if you have a rock that is determined to roll around while you are attempting to decorate it, use tape or putty on the backside to help stabilize it.
With these simple hacks in mind, you are ready to get crafting!
How to Make a Painted Spider Rock
Let’s get crafting! Below is our written tutorial.
Spider Painted Rocks
Materials
- 2-3” rock
- Black acrylic paint
- 4 - black pipe cleaners
- 15 to 20 - googly eyes of various sizes
- Hot glue sticks
- Mod Podge (optional)
Tools
- Paintbrush
- Hot glue gun
Instructions
- Paint the entire rock black (tip: place a bit of putty on the back of the rock to stick it to your craft surface while painting).
- Seal with a coat of Mod Podge (optional).
- Allow to completely dry.
- Glue the googly eyes to the front center of the rock.
- Cut the pipe cleaners in half.
- Bend the pipe cleaners in half and bend each about 1" from the end.
- Glue four pipe cleaners on each side of the back of the rock.
Notes
For more fun Halloween crafts visit DollarCrafter.com
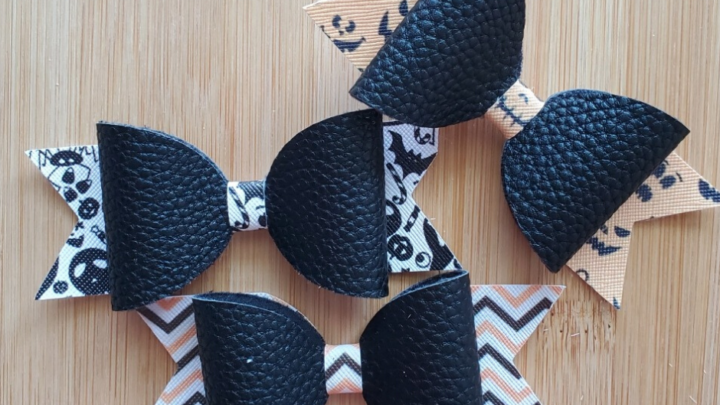
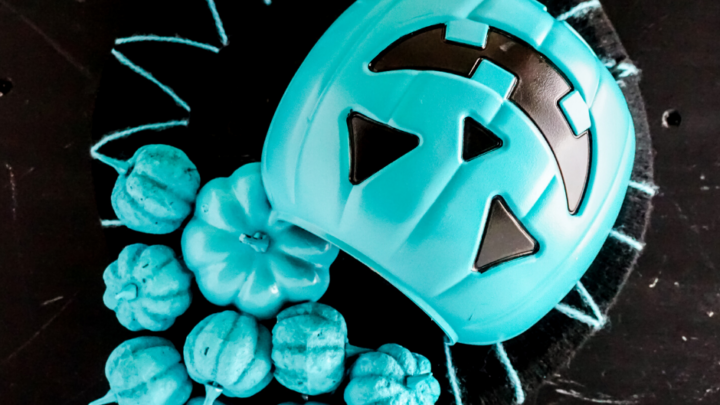
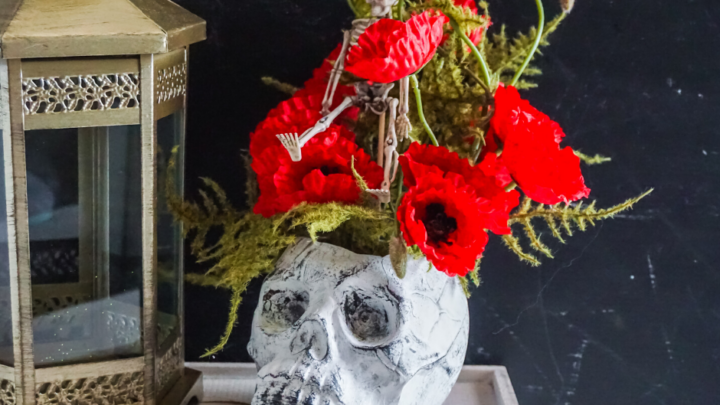
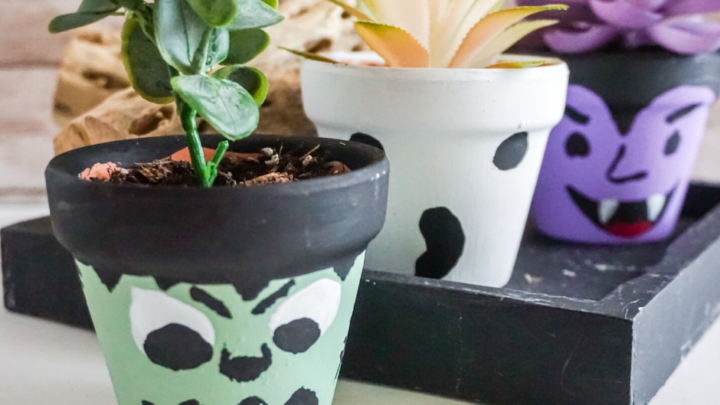
More Fun Halloween Crafts You Will Love!


Please Save This to Pinterest
Your shares are how this site grows, and I am sincerely grateful. Know a friend who’d like this? Please share it on Facebook or save it to your favorite crafts board on Pinterest.