Baby Yoda, also known as The Child, is all the rage right now. These DIY Baby Yoda wood blocks are super simple to make using your Cricut or other crafting machine and absolutely adorable to display in your home.
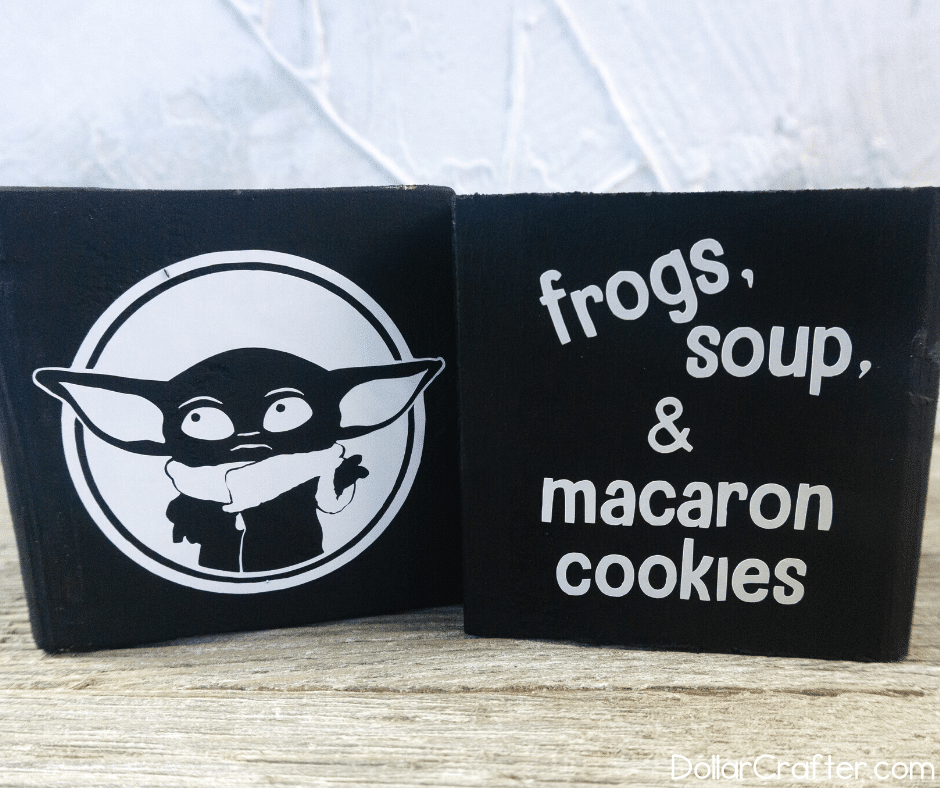
Homemade Baby Yoda Home Decor Blocks
I love using woodblocks for quick DIY Projects. They are inexpensive and can be used for a variety of different home decor and crafting projects. All together this wooden blocks craft will easily take you less than an hour.
Supplies:
- 2x3x8 wood (Cut into 2 1/2 inch blocks)
- Black matte chalk paint
- 1 sheet white oracal 651 sticker vinyl
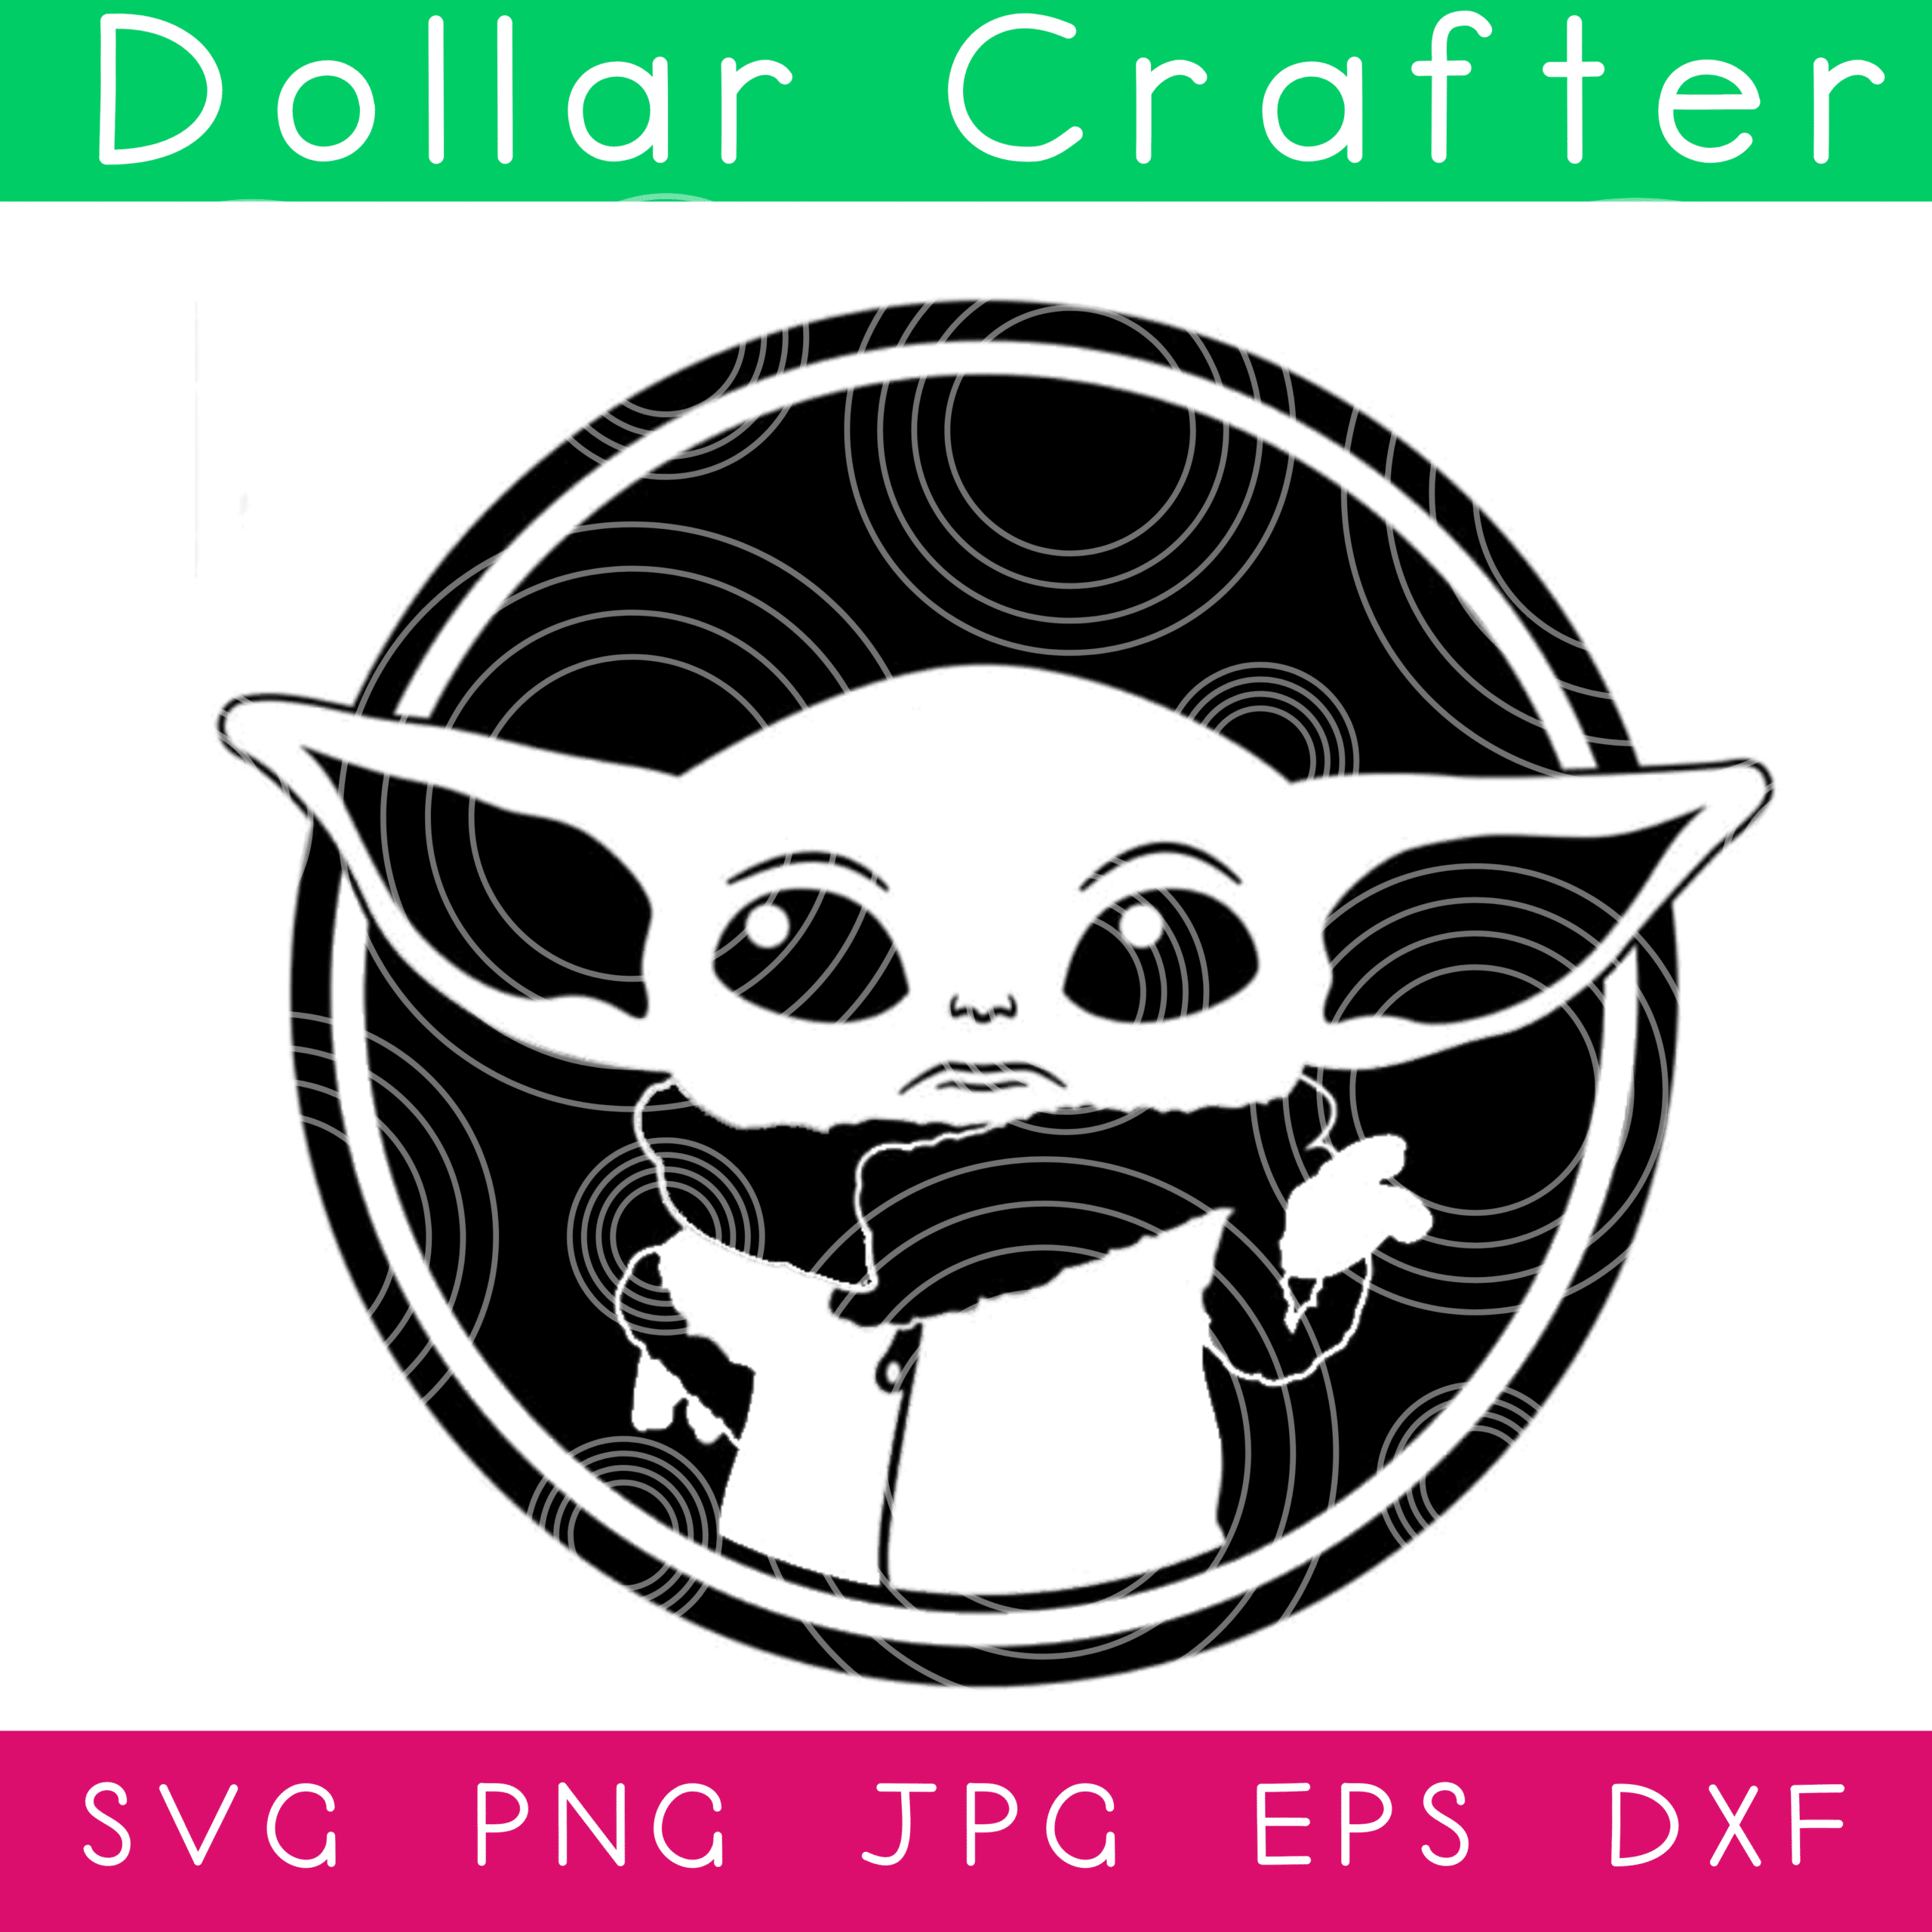
- Baby Yoda PNG/SVG
- Frogs PNG/SVG
- Transfer tape
- Sandpaper
- Blue Cricut mat
- Weeding tool
- Cricut machine
- Scraper Tool
- Plastic drop sheet
- Paint Brush
Tips to Make These Baby Yoda Wooden Blocks
We get asked all the time – will vinyl stick to wood? The answer (as evident by this project) is absolutely! However, there are some tips and tricks you should know to make sure your project lasts and that vinyl sticks.
What Type of Vinyl Should I Use with Wood?
When working with wood you can either use a permeant vinyl or a heat transfer vinyl (HTV). Both types of vinyl have their pros and cons. For this project, we used permanent vinyl.
- Permeant Vinyl: If you are just starting to learn your Cricut machine, then adhesive vinyl is the route to go. It is a lot easier to work with and learn.
- HTV Vinyl: While a bit harder to work with, HTV creates a really neat painted look when applied to wood. The only downside to working with HTV on wood is that if you are not careful you might get some color bleeding.
Does it Matter What Type of Transfer Tape I Use?
Yes. It most definitely matters. Most often when people have issues getting their vinyl to stick to wood the issue is not the vinyl. It’s the transfer tape. Make sure you are using a regular grip transfer tape unless you are working with glitter vinyl (which in that case you do need strong).
How Do I Make the Yoda Wooden Signs?
Let’s get crafting! Below is our written tutorial.
Baby Yoda Wooden Blocks Craft

Materials
- 2x3x8 wood (Cut into 2 1/2 inch blocks)
- Black matte chalk paint
- 1 sheet white oracal 651 sticker vinyl
- Grogu PNG/SVG
- Frogs PNG/SVG
- Transfer tape
- Sandpaper
Tools
- Blue Cricut mat
- Weeding tool
- Cricut machine
- Scraper Tool
- Plastic drop sheet
- Paint Brush
Instructions
- Start by cutting the wood into 2 1/2 inch squares. Use sand paper to rub around the edges to smooth out the wood. Place the wood blocks on the plastic drop sheet. Paint the blocks with chalk paint. Let dry for about an hour or two.
- Using the Cricut design space. Upload the png or svg files and make them 2″ inch by 2″ inch to fit the wood sign. Set the machine to cut on vinyl setting.
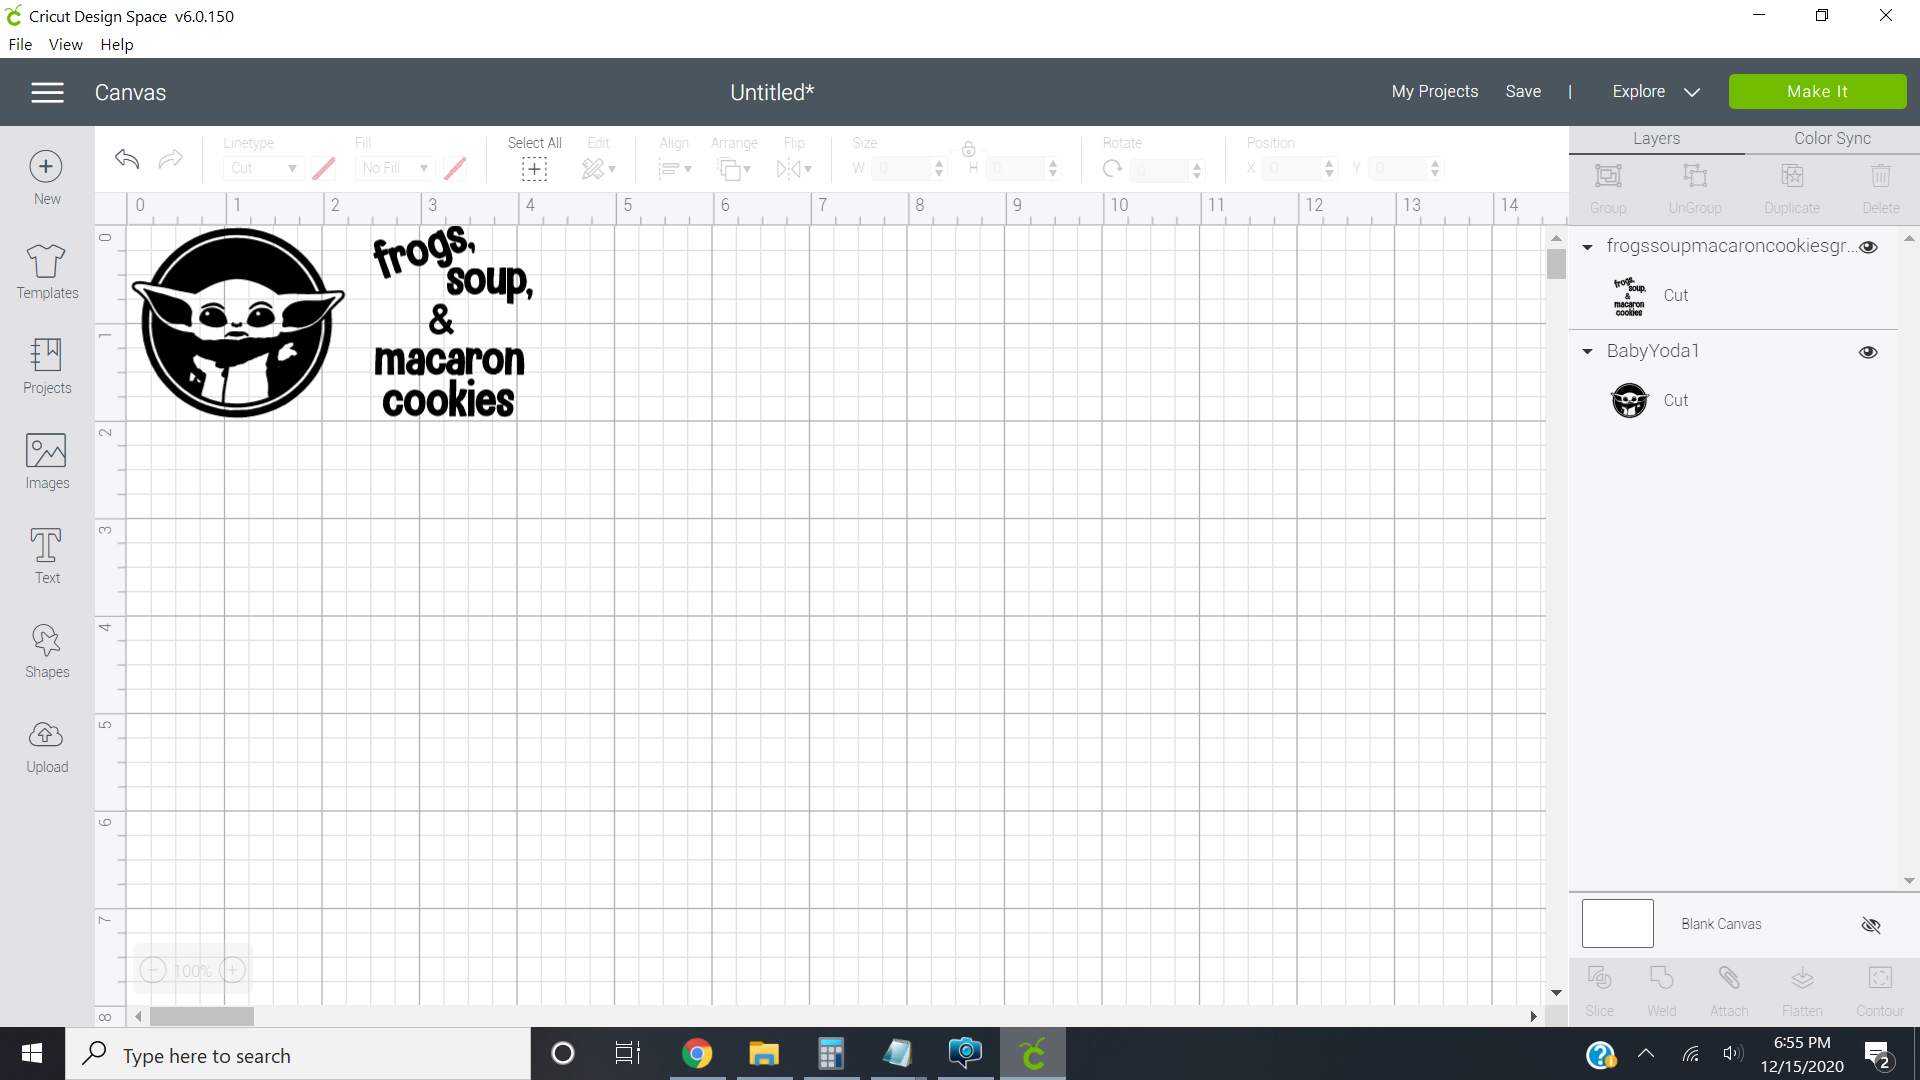
- Place the white vinyl on the blue Cricut mat. Cut and weed the design with the weeding tool. I like to keep the designs basic for easy weeding since these wood blocks are small.
- Use the transfer tape by placing the same size piece over the design. Use the scraper tool to scrape the design then remove it slowly. Pull back then place on the wood block. Scrape well with scraper tool. Slowly pull back making sure the design sticks. Repeat this process for the other wood Cricut sign.
Notes
For more fun home decor crafts visit DollarCrafter.com
Recommended Products
As an Amazon Associate and member of other affiliate programs, I earn from qualifying purchases.

Please Save This to Pinterest
Your shares are how this site grows and I am sincerely grateful. Know a friend who’d like this? Please share it on Facebook or save it to your favorite holiday crafts board on Pinterest.