
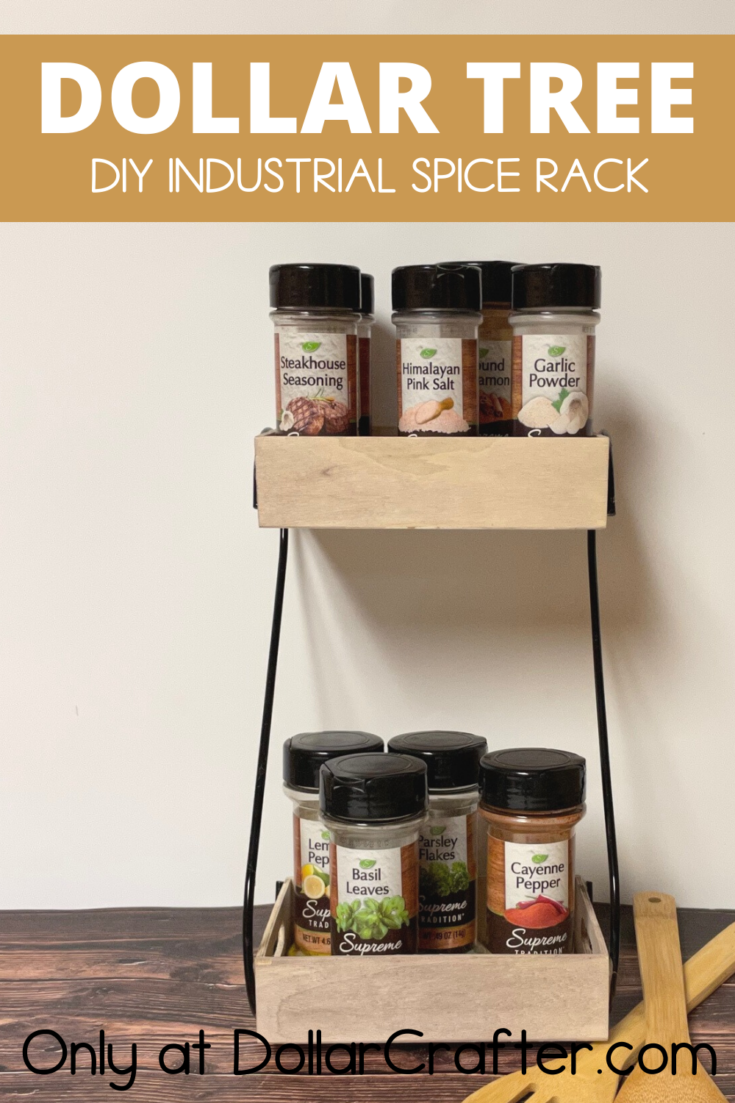
Wouldn’t it be great to have a spice rack in your kitchen? So you don’t need to spend money on one of those expensive racks; you can make this Dollar Tree Industrial Spice Rack at home. It will cost only $5 and is super easy! I’ve always wanted one because I hate searching for spices in the cupboard.

Homemade Spice Rack
Having your spices on display in this super easy homemade spice rack will help you find your spices quickly, plus keep them organized.
Supplies
- 2 Dollar Tree rectangle boxes
- 2 Metal Garden Hooks ( S Shape)
- Apple Barrel Burnt Umber Acrylic Paint
- Cup of Water
- Hot Glue Gun and Glue
- Paint Brush
Tips for Making a Spice Rack Using Dollar Tree Supplies
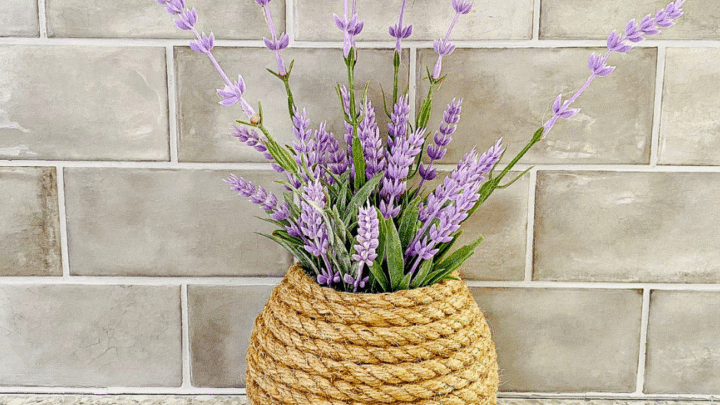
I see these boxes all the time at Dollar Tree, and I never know what to do with them, but this craft is perfect to use them. Also, I think it would look charming sitting right next to our Homemade Nautical Rope Vase.
To create a light stain without the stain smell- put some water in the cup, add a few drops of the paint, mix thoroughly.
This rack would also work well close to the coffee pot. You can make your own coffee bar area filled with all sorts of goodies: coffee, tea, hot chocolate, and some yummy snacks!

How to Make a Spice Rack at Home
Let’s get crafting! Below is our written tutorial.
Dollar Tree Spice Rack
Materials
- 2 Dollar Tree rectangle boxes
- 2 Metal Garden Hooks ( S Shape)
- Apple Barrel Burnt Umber Acrylic Paint
- Cup of Water
Tools
- Hot Glue Gun and Glue
- Paint Brush
Instructions
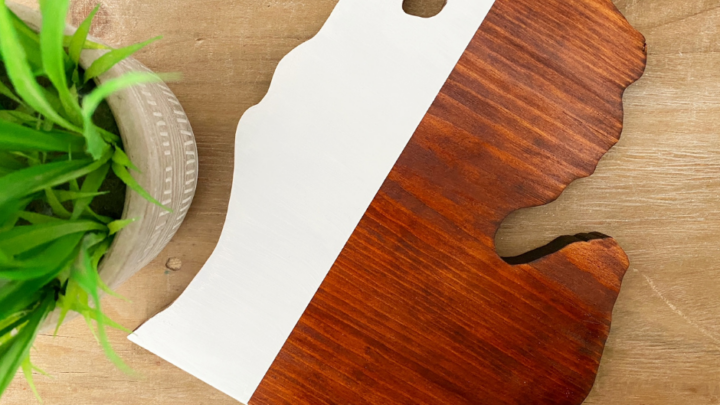
- Start by putting some water in the cup and adding a few drops of the paint. Mix thoroughly. This will create a light stain (without the stain smell!)
- Paint both of the boxes with the stain mixture. Allow to dry thoroughly (this won’t take too long around 20 minutes as the paint/stain mixture is very light)
- Place the S hook on top of the two boxes (I placed the larger end on the bottom and the smaller end of the top). Apply a line of hot glue to the wooden boxes where the S hook will go and apply the S hook and some pressure to make sure that it adheres.
- Repeat on the opposite site. Allow to dry and then style!
Notes
For more simple home décor crafts visit DollarCrafter.com
More Home Décor Crafts You Will Love!


Please Save This to Pinterest
Your shares are how this site grows, and I am sincerely grateful. Know a friend who’d like this? Please share it on Facebook or save it to your favorite craft board on Pinterest.