
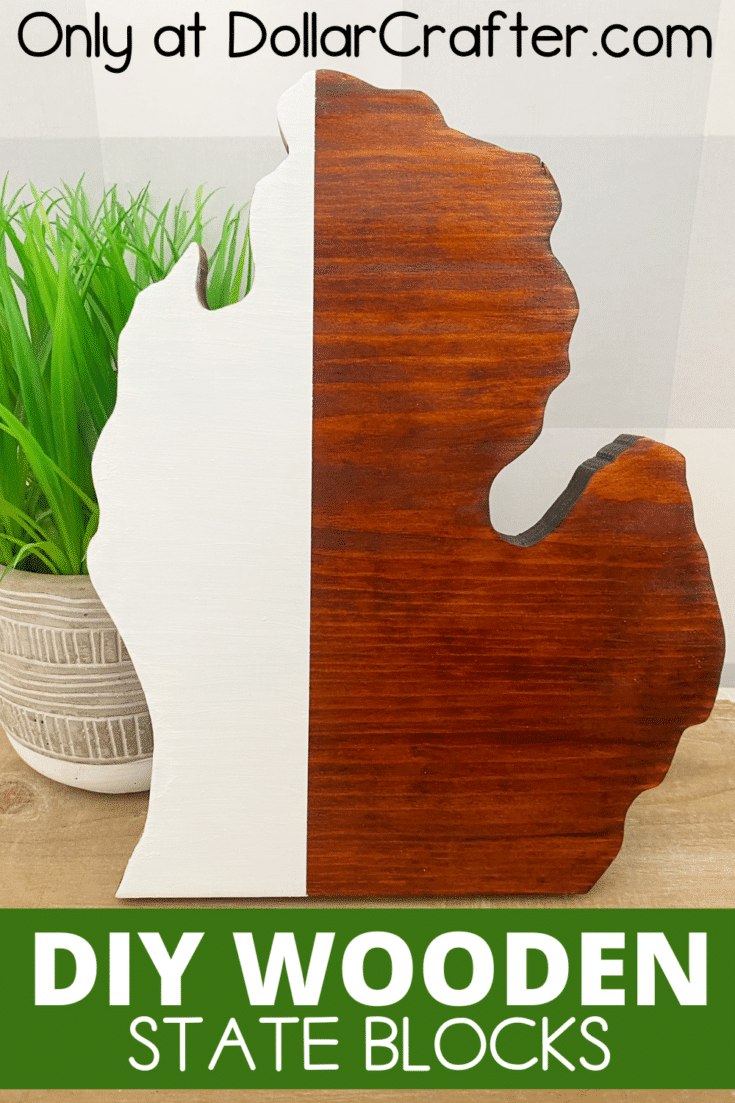
Create a beautiful state wooden block for your home decor with your Cricut with this easy-to-follow tutorial.
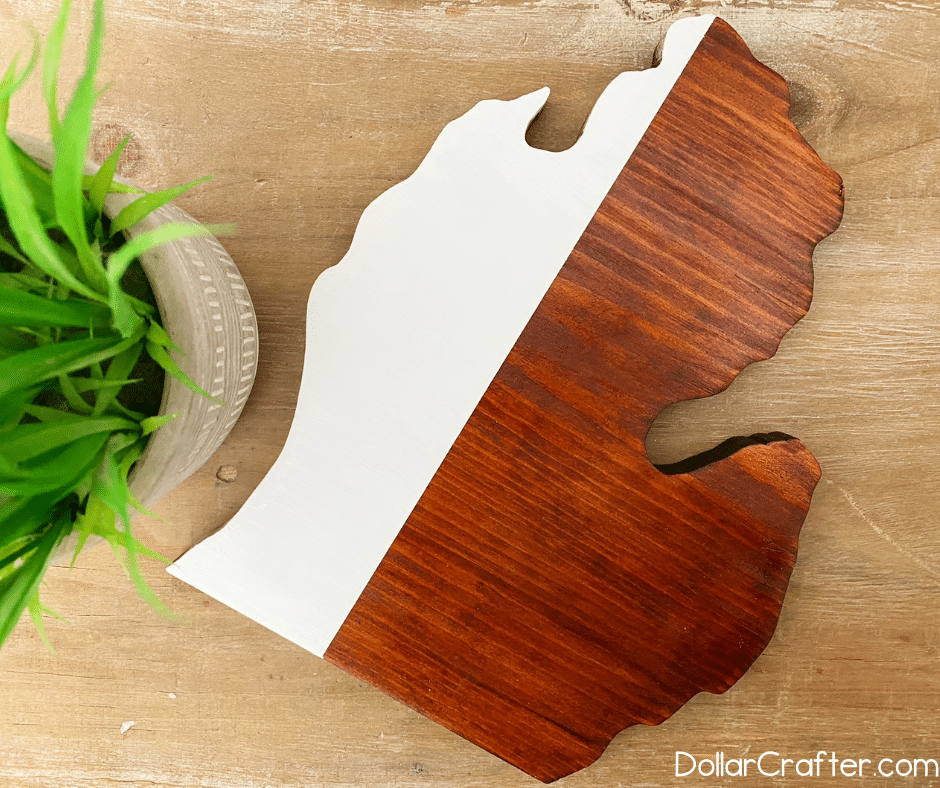
Wooden State cutouts are super popular right now and a fun way to add a personalized touch to anything you create. We had so much fun making this color-blocked Michigan!
DIY Color-Blocked Wooden State
Before diving into this wood project, head over to our shop to grab our 50 States Outlines here; we have formatted all 50 States in PNG, SVG, JPEG, DXF, EPS, and PDF; so that you can use them for a variety of different projects!
Supplies:
- 1x8x6 Pine Board ( Home Depot)
- Stain & Poly in One: Espresso Gloss
- Pencil
- 220 & 120 Sandpaper
- White Acrylic Paint
- Painters Tape
- Template
- Skill Saw
- Foam Paint Brushes (2)
- Rubber gloves
- Safety Glasses
- Dust Mask
Tips for Using a Scroll Saw
For this project, we used a scroll saw, but you can also totally do this with a Glowforge – and if you aren’t familiar with the Glowforge, go check it out now. Seriously. You can use your Glowforge to make money in SO many ways.
Our Glowforge is one of our favorite crafting tools and one of the best Etsy business investments we have ever made 😉
That said, for this project, we used the scroll saw to show y’all how to make wooden state blocks even if you don’t have a 3D laser printer.
For general scroll cutting (like this project), you simply prep your materials, draw out your line, and slowly follow the pattern line by pushing and turning the workpiece as you go.
As you turn your workpiece, make sure you continue to push – you do not want to try to turn without pushing to prevent the thin blade from getting caught and bending. And just slowly guide that forward motion throughout your piece until you reach the end.
If you are new to using a scroll saw, expect to break a couple of blades as you learn. So keep extra blades handy, and remember that a scroll saw blade usually would only last for about 2 hours worth of cutting.
And don’t forget to wear a dust mask and goggles before you start working on your project!
How to Make a Wooden State Block
Ready to get crafting? You will find the full tutorial below!
Wooden State Blocks
Create a beautiful state wooden blank for your Cricut crafting using this easy to follow tutorial
Materials
- 1x8x6 Pine Board
- Stain & Poly in One: Espresso Gloss
- Pencil
- 220 & 120 Sandpaper
- White Acrylic Paint
- Painters Tape
- Template
Tools
- Skill Saw
- Foam Paint Brushes (2)
- Rubber gloves
- Safety Glasses
- Dust Mask
Instructions
- Purchase a 1x8x6 board at Home Depot or Lowe’s and have them cut it into 6-1 foot pieces.
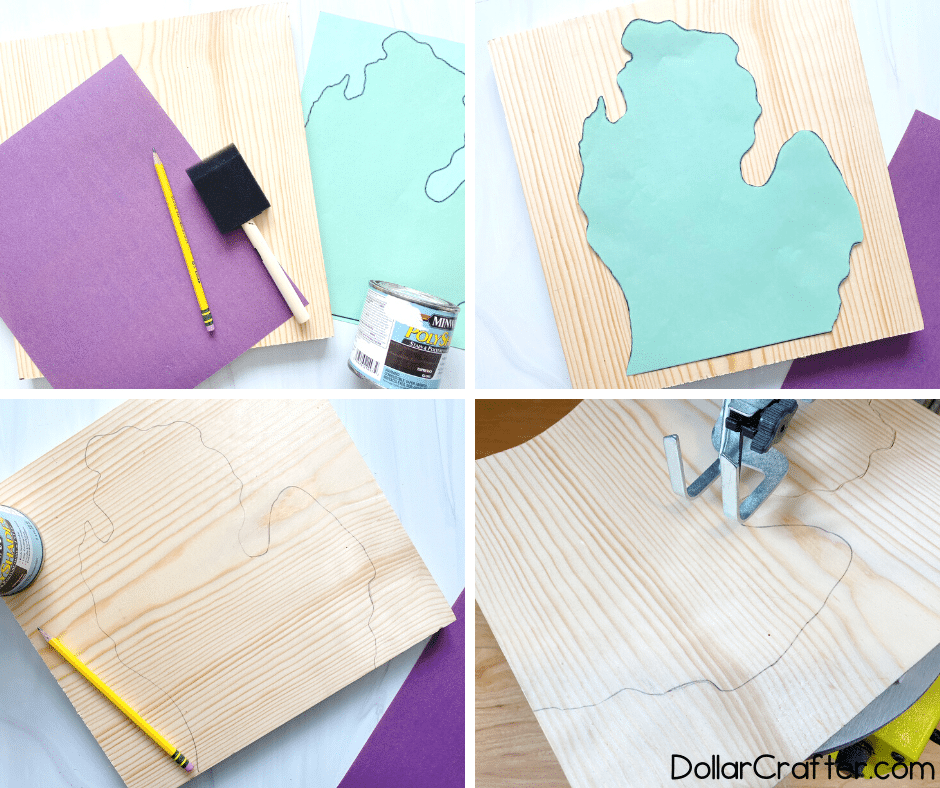
- Print out our Michigan state stencil and carefully cut on the outer edge on the black outline.
- Place the Michigan stencil on the wood board, aligning the flat bottom of Michigan with one of the boards edges.
- Use a pencil to trace Michigan onto the board.
- Place the piece of wood under the scroll saw so that the blade is on the edge of the wood, always keep your fingers and hands away from the blade. Turn on your machine, adjusting the speed of the blade.
- Follow the Michigan pattern line you drew, while pushing gently and turning the piece of wood at the same time. Do not turn the piece of wood without gently pushing it because the blades are fragile and thin.
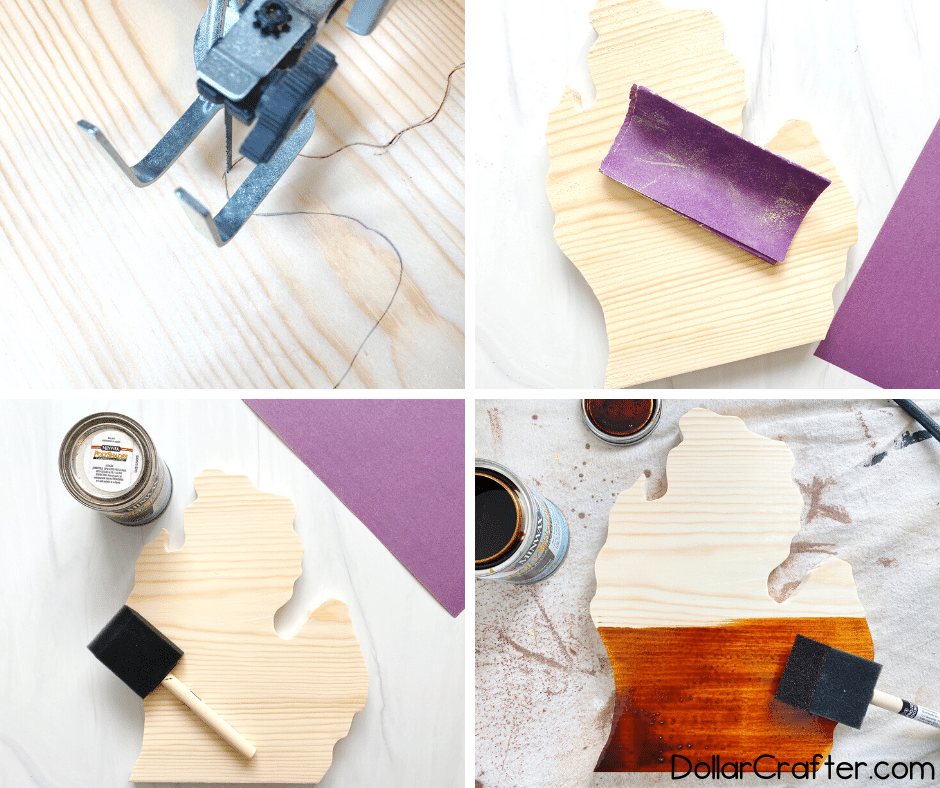
- Once your state is cut out, turn off the machine.
- Fold a piece of 120 sandpaper in thirds and sand the edges, front, and back going with the grain of the wood.
- Now fold a piece of 230 sandpaper in thirds and repeat step 8.
- Dust off the state and place it on a painting tarp in a well ventilated area.
- Wear rubber gloves and mix or shake your can of stain, dip 1/2” of the brush into the stain/poly and apply a thin layer on the entire board, making sure to stain with the grain of the wood like you did while sanding.
- Set up against your can of stain to dry for 6 house.
- Lightly sand the state again because when you use the stain/poly in one it raises the grain of the wood.
- Repeat the staining step again and let dry.
- If your wood is still rough, you can repeat the steps 13 & 14 for a 3rd time. Don’t worry it will be worth it.
- Let dry overnight.
- Apply a piece of painters tape vertically on the board like pictures. It doesn’t need to be centered, I prefer it on 1/3 of the state for looks.
- Press your tape firmly on the board and use another paint brush and the white acrylic paint to paint that section white.
- Once painted, let dry and repeat until the white is non-transparent.
- Let dry overnight and display.
Notes
For more beautiful SVG Farmhouse Decor Crafts visit DollarCrafter.com
Recommended Products
As an Amazon Associate and member of other affiliate programs, I earn from qualifying purchases.
Please Save This to Pinterest
Your shares are how this site grows, and I am sincerely grateful. Know a friend who’d like this? Please share it on Facebook or save it to your favorite holiday crafts board on Pinterest.