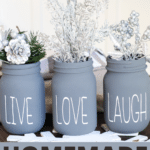
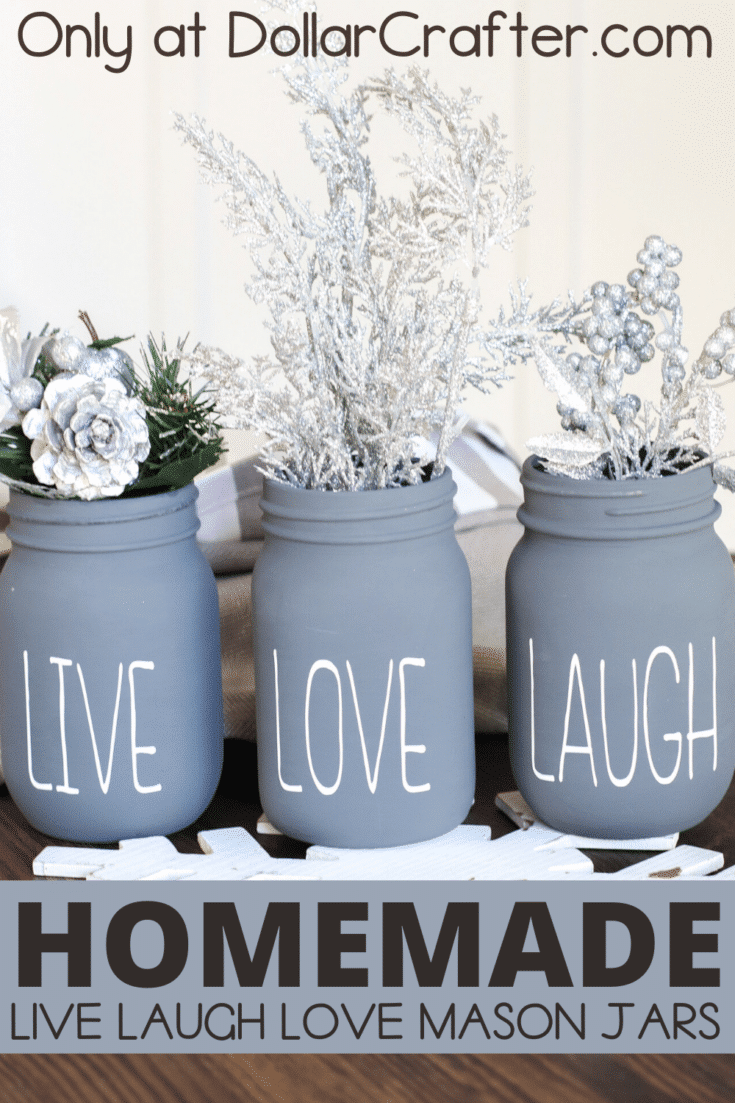
If you’re looking for an easy and beautiful way to create your own farmhouse style centerpiece, then this DIY Live Laugh Love Mason Jars is exactly what you need. It is super easy and affordable to make.
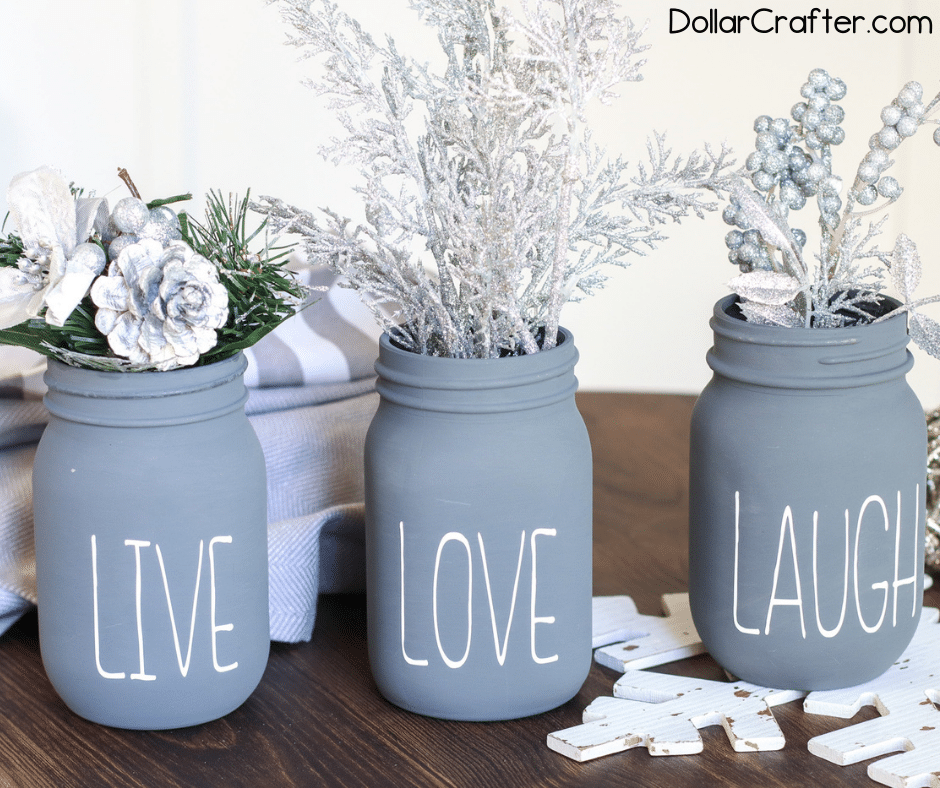
Homemade Live, Laugh, Love Mason Jars
You know what? I can’t get enough of the mason jar look right now. They’re such a versatile way to add some character and warmth to your kitchen or dining area without taking up too much space! These Live Laugh Love mason jars can be used as flower vases (as shown in this tutorial!) but they would also work perfectly well for holding silverware, candies – anything really!
Supplies Needed:
- Mason Jars
- Acrylic Chalky Finish Paint
- Live Laugh Love SVG File
- Vinyl
- Transfer Tape
Tips for Crafting with Mason Jars
If you have never painted mason jars before, there are a couple of tips and tricks to keep in mind before you get started.
When it comes to picking out paint, all paints will technically stick to glass; however, if you want it to last, pick out a paint designed for glass. For our mason jars, we used Americana Chalky Finish (for glass).
You can also play around with the paint look. For example, if you prefer a more distressed look, try a sponge instead of using a paintbrush to apply your paint. Or after your paint dries (very lightly), brush over it a bit with some sandpaper.
You can also use an array of different sizes of mason jars for a fun layered look. Just keep in mind what you want to put into your mason jars to make sure they fit 😉
If you want to put these cute mason jars in the kitchen then pair them with the DIY Dollar Tree Industrial Spice Rack.
How to Make DIY Live, Laugh, Love Mason Jars
Let’s get crafting! Below is our written tutorial.
Live Laugh Love Mason Jars
Materials
- Smart Vinyl, Permanent in white
- 3 Mason Jars with rims (optional), 16oz
- Americana Chalky Finish (for Glass) in Relic
- Decorative Ribbon (optional)
- Transfer Tape
Instructions
Preparing the Mason Jars:
- Gather supplies.
- Thoroughly wash jars with soap and hot water and let them dry completely before using. Wipe the surface of the jars with rubbing alcohol before painting.
- Apply a thick coat of chalky finish paint to each of the mason jars. Put aside to dry fully and repeat with additional coverage as needed. Leave enough time to dry fully between coats of paint, approx. 4-6 hours.
Design Space:
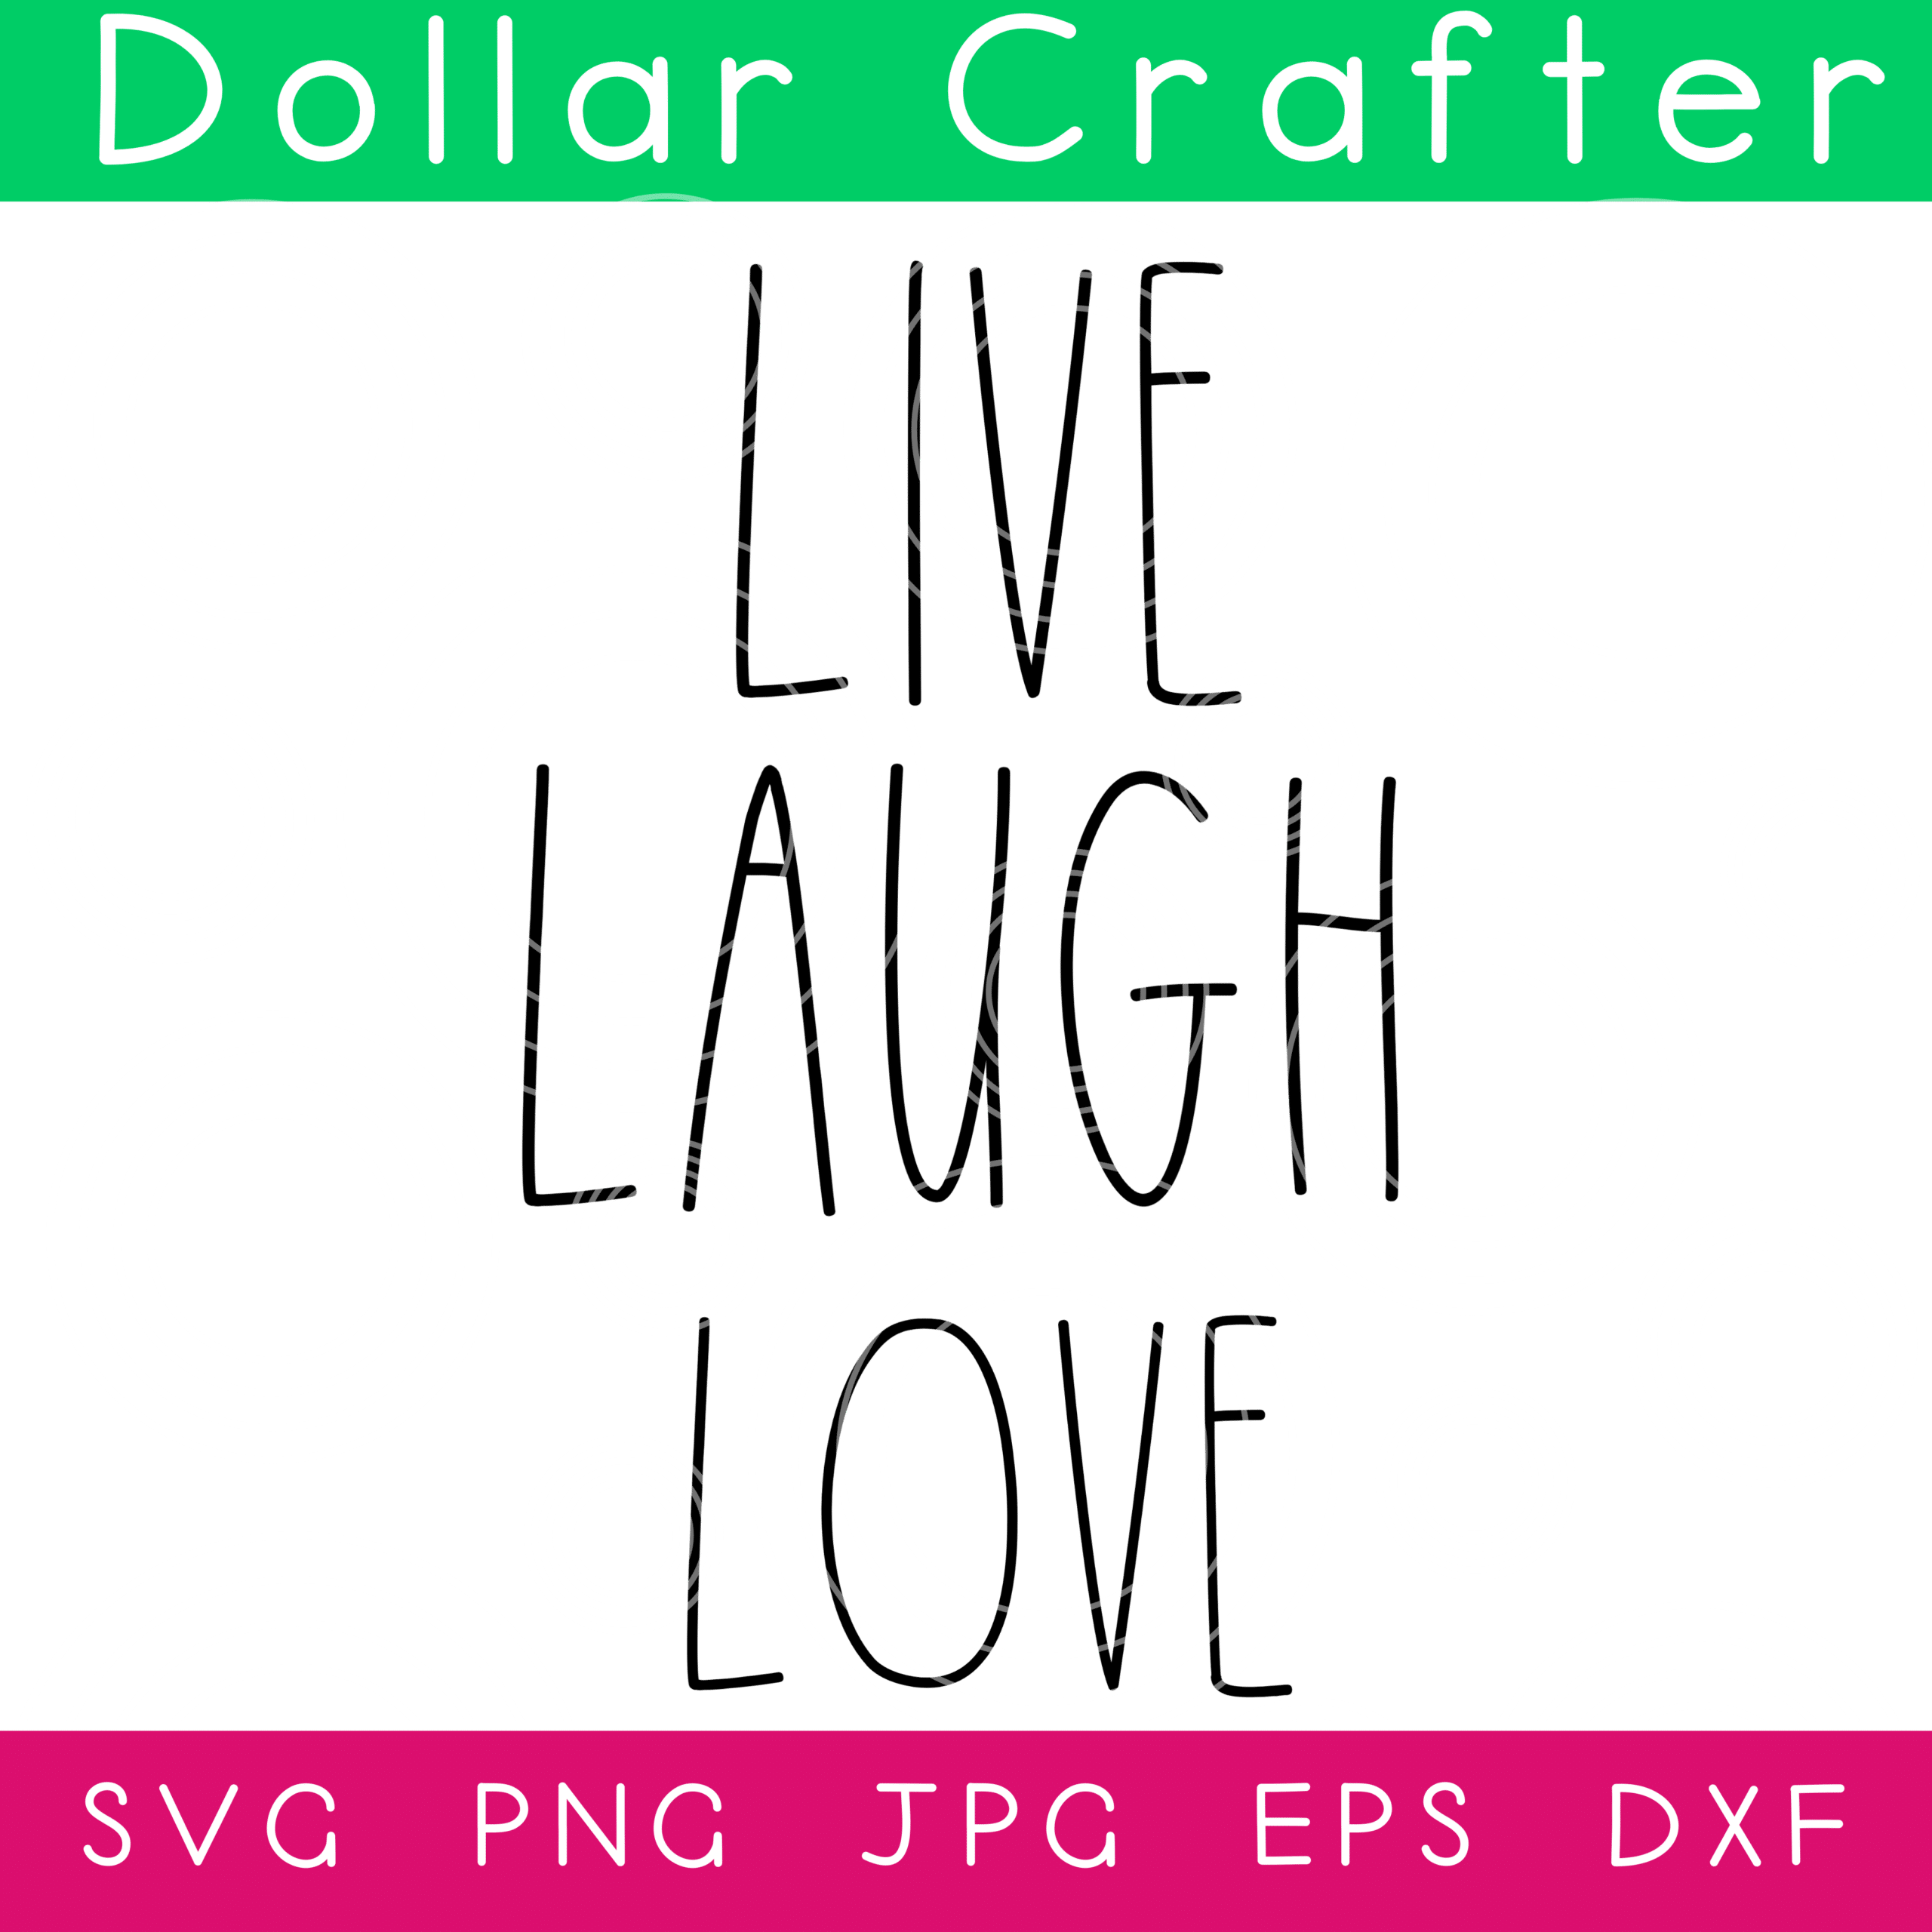
- Download the Live, Laugh, Love" SVG Cut Files.
- Upload SVGs or PNGs into Design Space and save.
- Resize to a height of 2".
- Select "Make It" in Design Space and set the material to smart vinyl.
- Follow prompts for loading the mat into the Cricut Joy and cutting the Smart Vinyl. When prompted, unload the vinyl from the cutting machine.
- Repeat these steps for the other two words.
Assembling the Jars:
- Cut and peel away the excess vinyl around the cut images and discard.
- Cut a piece of transfer tape a bit larger than the size of the text.
- Peel away the transfer tape backing but ensure the transfer tape is not overly sticky. Dab the sticky side of the transfer tape with your hand to weaken the adhesive.
- Place the transfer tape overtop of the cut word. Gently rub the vinyl to help it stick to the transfer tape. Peel away the vinyl backing, leaving just the image adhered to the transfer tape.
- Position the phrase with the transfer tape on to the smooth side of a jar and press in place. Press the vinyl phrase down with your fingers to help it to stick to the painted glass jar. Slowly and carefully remove the transfer tape leaving the vinyl image on the jar.
- Repeat for the other mason jars.
- To finish, fill the containers with greenery, sweets or a candle. Place the jar rims and lids back on the jars if desired.
Notes
For more farmhouse decor crafts visit DollarCrafter.com
Recommended Products
As an Amazon Associate and member of other affiliate programs, I earn from qualifying purchases.
More Mason Jar Crafts You Will Love!
Please Save This to Pinterest
Your shares are how this site grows, and I am sincerely grateful. Know a friend who’d like this? Please share it on Facebook or save it to your favorite homemade beauty board on Pinterest.

