I am obsessed with making crafts from dollar store supplies, but this tiered Jenga tray really takes the cake! They are selling really well for me at the farmer’s market, and they only cost a few bucks to make.
Whether it’s because the farmhouse trend is still taking over the entire country, or people are just in love with tiered trays, this is the perfect craft to make and sell!
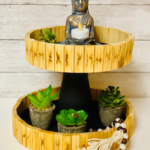
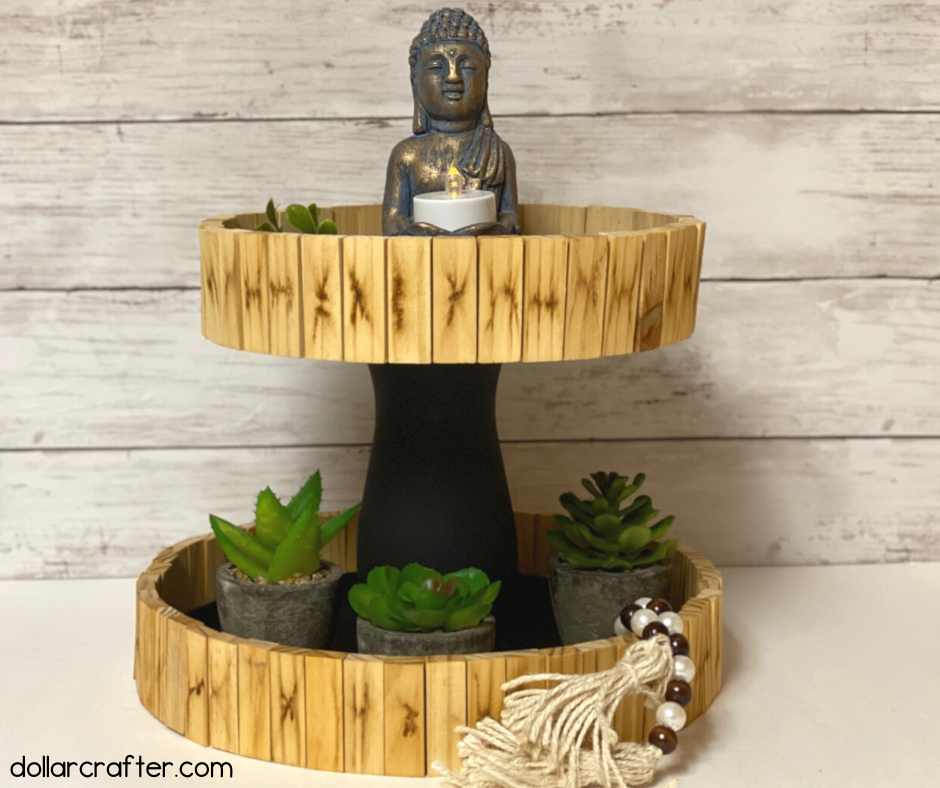
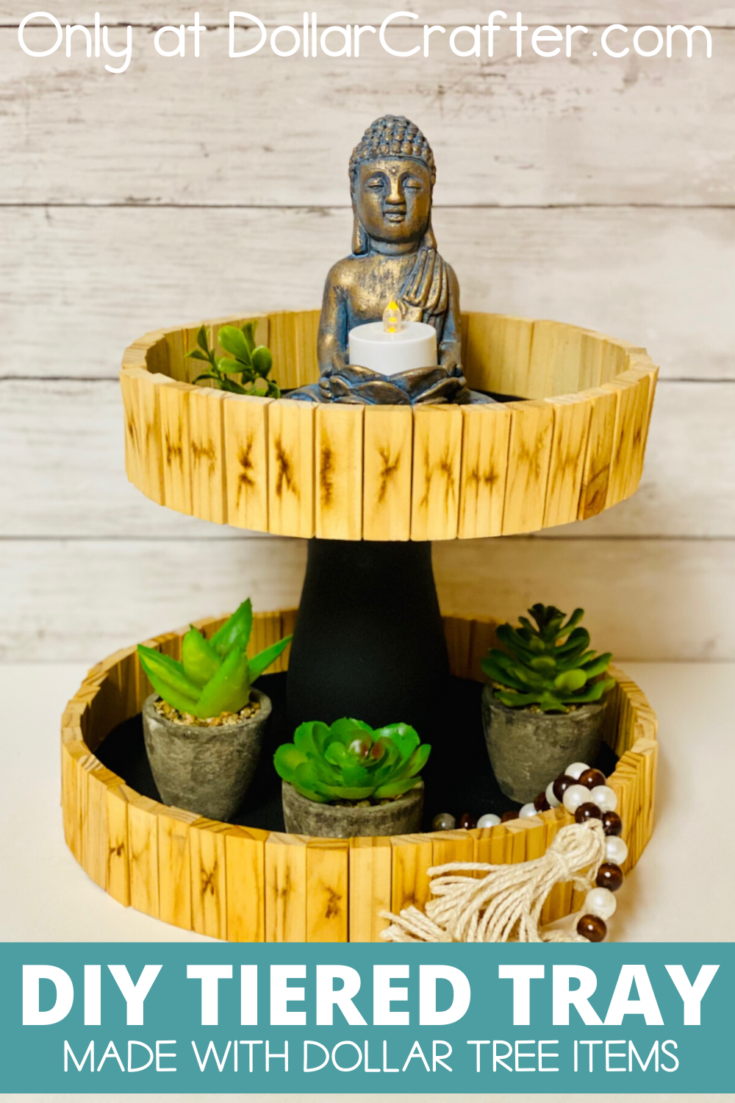
Homemade Tiered Jenga Tray
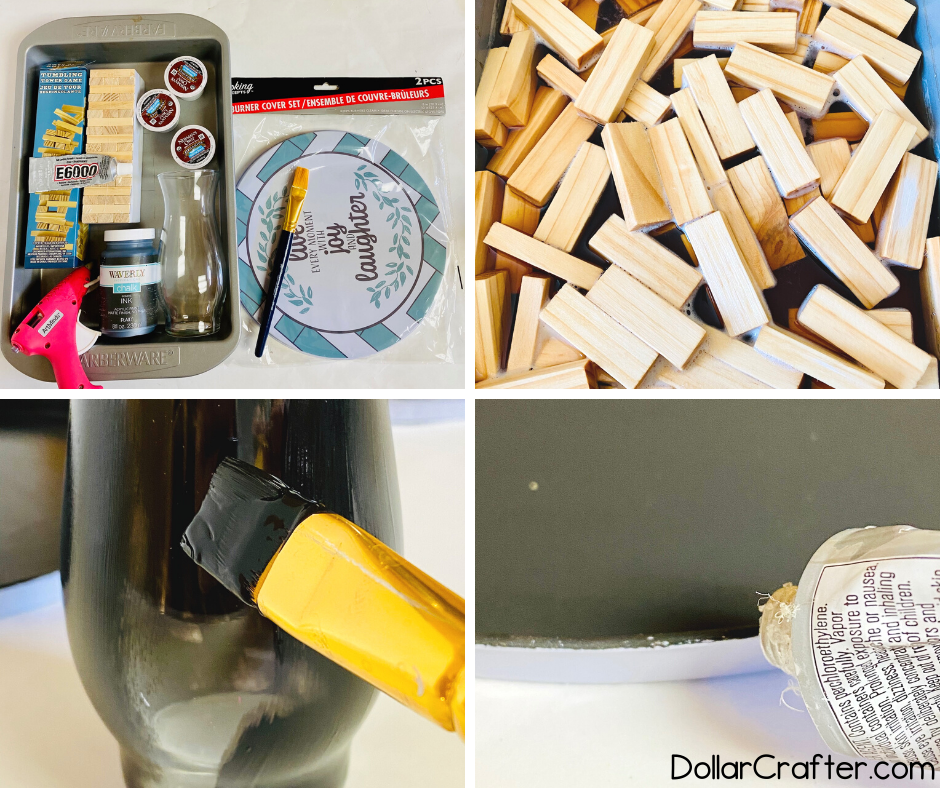
Supplies needed:
- Waverly Ink Chalk Paint
- Oven Burner Covers (2 pack), Dollar Tree
- 144 Jenga Pieces, Dollar Tree
- Glue Stick
- E6000 glue
- Small Vase, Dollar Tree
- Used Coffee Grounds
If you have a Glowforge, this is a perfect use of scraps if your local dollar store doesn’t carry Jenga pieces – or you just want to make your own. A bonus to making your own is that you can vary the sizes if you want, for a completely different look! 🙂
Using this tray outside? It would make a cute station to hold bug spray, suntan lotion, etc. It’ll look cute next to these patriotic mason jars.
Do you have to seal the wood?
If this will be used outside or you are selling it, you need to seal the wood with mod podge or shellac. Otherwise, sealing isn’t necessary.
How to Make a Tiered Tray at Home Using Jenga Pieces
Brew coffee. Put the Jenga pieces in the coffee to soak overnight. The longer you let them soak, the stronger they will be. You can use a 9×13 pan to hold all of the Jenga pieces at once when soaking them.
While your Jenga pieces are soaking, paint both oven burner covers and a small vase black with chalk paint or any other black paint that you have around. Paint 2 coats of chalk paint on each item where you painted it black.
Set the Jenga pieces on a flat surface outside. Cover them with paper towels with something flat like a dish to weigh it down. When they are dry, use E6000 glue to attach them to the burner covers.
If they don’t have time to dry, use hot glue instead of E6000 for now and let it sit for 24 hours before using E6000 glue. Repeat for each burner cover and then put one piece on the top of the small vase and one piece at the bottom of the large vase.
Put glue on the bottoms of both small vases. Then put the small vase on top of the larger burner cover. Put the large vase on top of the smaller burner cover, using glue to attach them. Wait for 5 hours for everything to dry and check that it is secure. Add more glue if needed. Place your new tiered tray out for display!
Find the full printable tutorial below.
Tiered Jenga Tray
Materials
- Waverly Ink Chalk Paint
- Oven Burner Covers (2 pack), Dollar Tree
- 144 Jenga Pieces, Dollar Tree
- Glue Stick
- E6000 glue
- Small Vase, Dollar Tree
- Used Coffee Grounds
Tools
- Hot Glue Gun
- Paint Brush
- 9x13 Pan
Instructions
- Gather your supplies.
- Brew coffee and place it in a container or tray to then add the Jenga pieces to soak overnight. The longer you let the Jenga pieces soak the stronger the coffee stain will be. A 9x13 baking pan was able to hold all 144 Jenga pieces when I made this.
- While the Jenga pieces are soaking, using the Waverly Ink
Chalk Paint or whatever black paint you have on hand, paint the insides of the oven burner covers and the small vase. I applied 2 coats of the waverly chalk paint to each. - After soaking the Jenga pieces, set them out to dry. You can place them in the oven at 200 degrees or lower to speed the drying process.
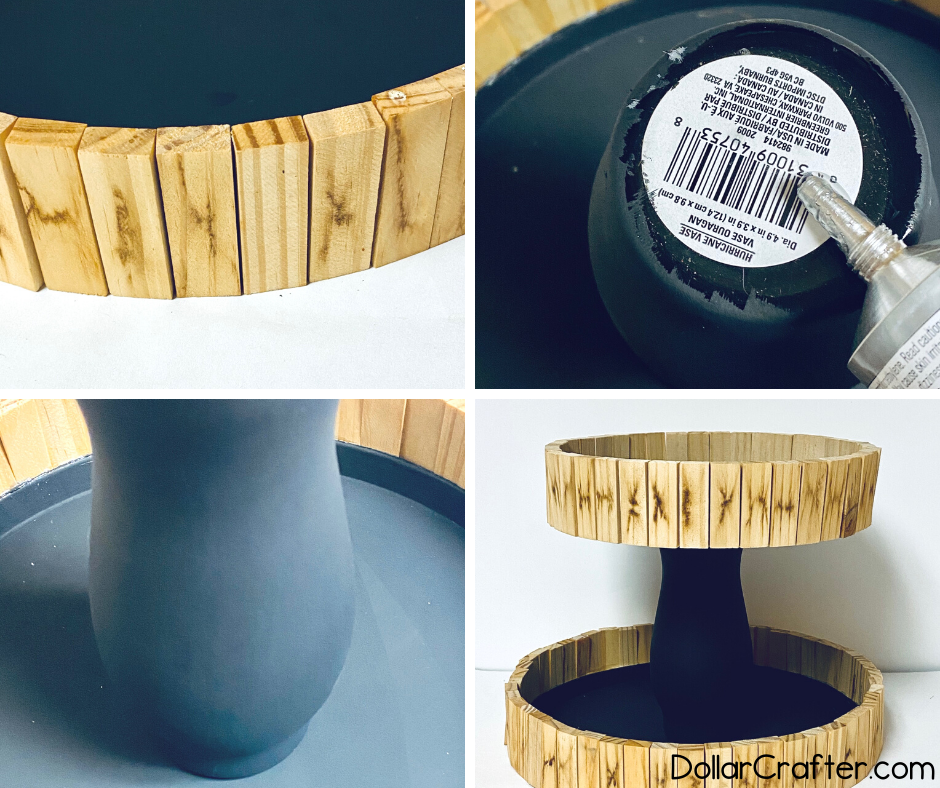
- Once the Jenga pieces are fully dried, add the E6000 glue to the sides of the burner covers (make sure the burner covers are on a flat surface) and attach the Jenga pieces. If the Jenga pieces are not fully dried, the glue will not properly secure them.
- Then add some E6000 (and if needed hot glue) to the bottom of the small vase. Attach this to the center of the larger burner cover.
- Repeat for the top of the small vase and attach to the center of the smaller burner cover.
- Allow this to dry for about five hours, and then check to make sure everything is safely secured. Add more glue if needed.
- Once everything is dried and secure, place your new tiered tray out for display!
Notes
For more easy DIY farmhouse decor ideas visit DollarCrafter.com
Please Save This to Pinterest
Your shares are how this site grows and I am sincerely grateful. Know a friend who’d like this? Please share it on Facebook or save it to your favorite crafts board on Pinterest.