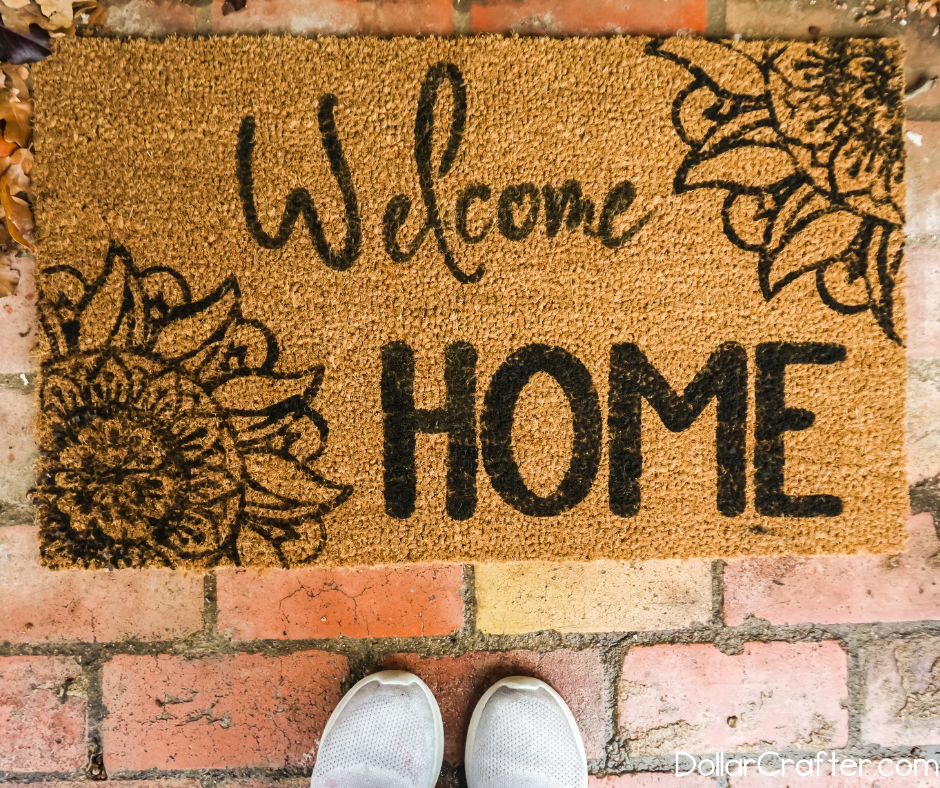
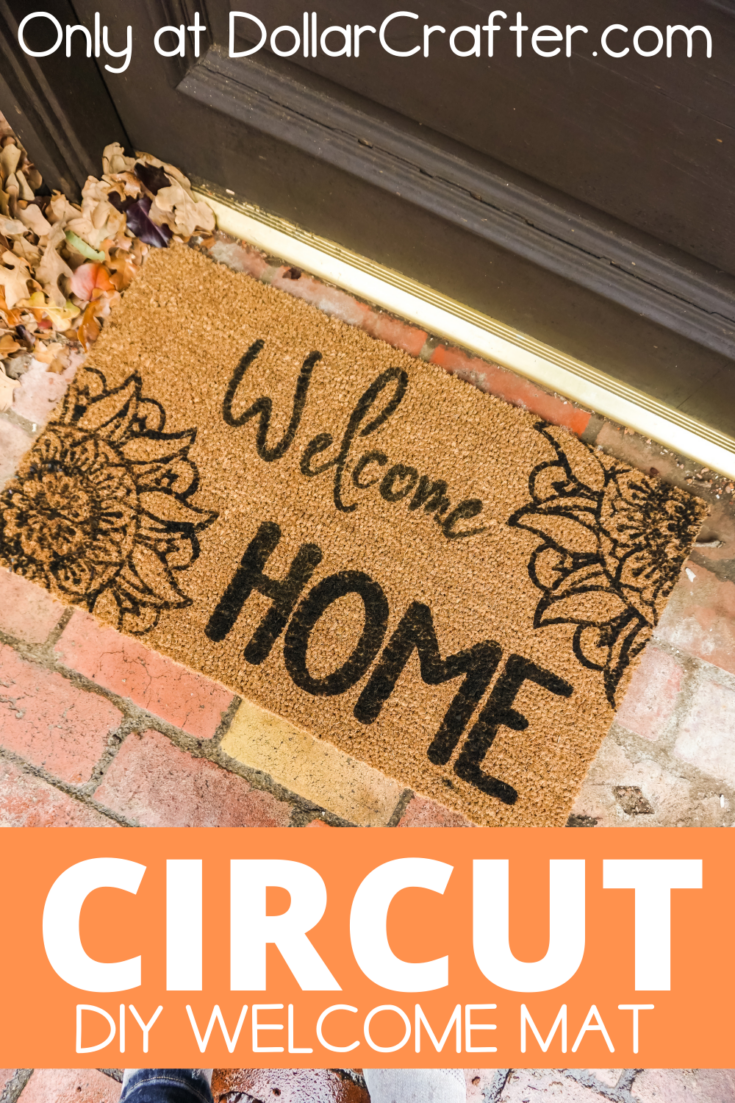
Create a homemade coir doormat quickly with this simple tutorial! Making DIY welcome mats is a super simple way to quickly switch up your decor to match the season and/or give your front entrance a personalized look.
How to Create a Custom Coir Welcome Mat
I absolutely love making DIY doormats. They are super simple and the options for designs are endless. Plus creating a welcome mat is the perfect way to give your front door that perfect dose of your personality. Creating welcome mats is so much fun and super easy!
Supplies Needed:
- 1 Coir Mat
- Doormat SVG File
- Oracal 651 or 813 Vinyl
- Black Outdoor Acrylic Paint
- Cricut Maker or Explore Air 2
- Transfer Paper (or Cling Wrap)
- Light Grip Mat
- Heat Gun, optional
- Paintbrush
Tips for Working with Coir Mats
When it comes to using Design Space to make your stencil for your doormat it is important to keep in mind that you can’t cut anything larger than 11.5 x 23.5 in Design Space. To work with this, adjust your design height to 11.5 and allow the width to adjust accordingly.
A standard doormat is 18 x 30, so you’ll have a bit of room on either side of your design but you can always cut separate stencils and create a design around the edge.
When it comes to picking out vinyl for creating your stencil you can use either Oracal 651 or Oracal 813. While Oracal 651 will work, why waste the fancy vinyl? Instead if possible opt for Oracal 813 which is a more affordable, sturdier vinyl, that is designed with stencil creation in mind 🙂
One of the great things about using Oracal 813 vinyl when making your coir doormat is that you don’t have to use transfer tape to move the stencil onto the doormat. Simply pick it up and you are good to go! Welcome mats are super forgiving and typically you can reuse the same stencil 4 to 5 times. If you opt to use Oracal 651 you will need to use a transfer tape to move your stencil to the welcome mat.
And lastly, it’s time to paint. I personally avoid any sort of spray paint when it comes to making coir welcome mats because it is just not a method I have managed to master. Some people swear by it though…so maybe give it a try? Personally, I prefer to use outdoor acrylic paint. It holds up beautifully. Just remember if you use paint, avoid the brush motion. Instead, pick out the crappiest oldest brush you have and pat the paint over the stencil. The harder the bristles, the better.
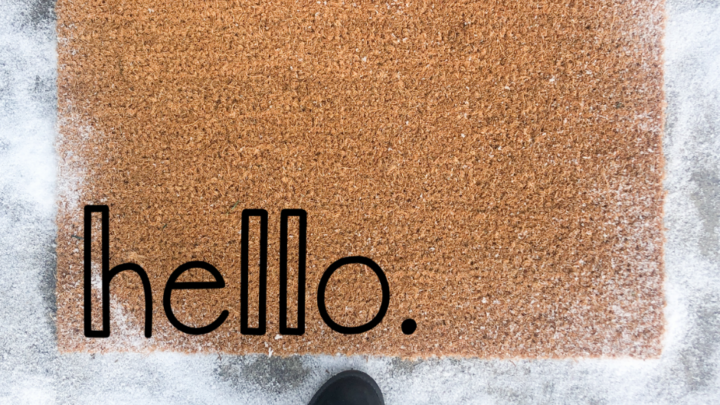
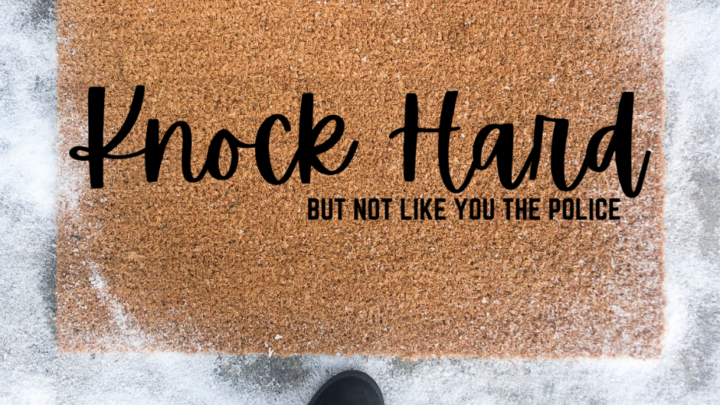
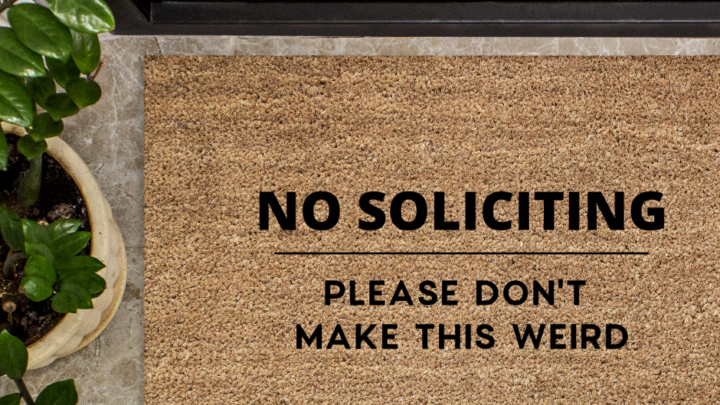
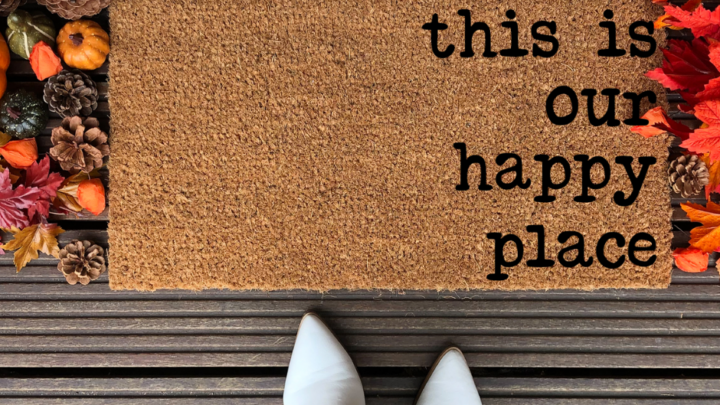
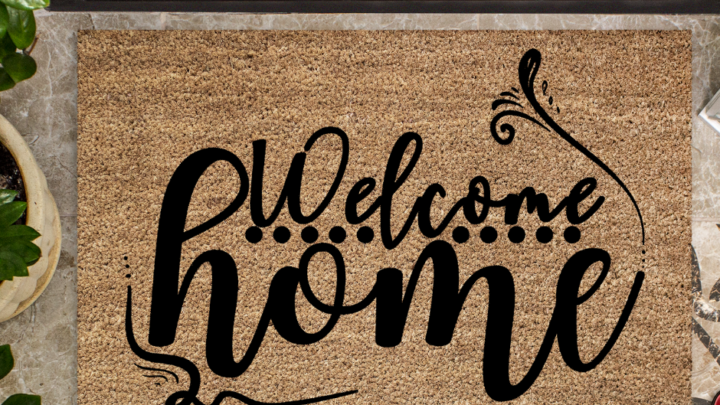
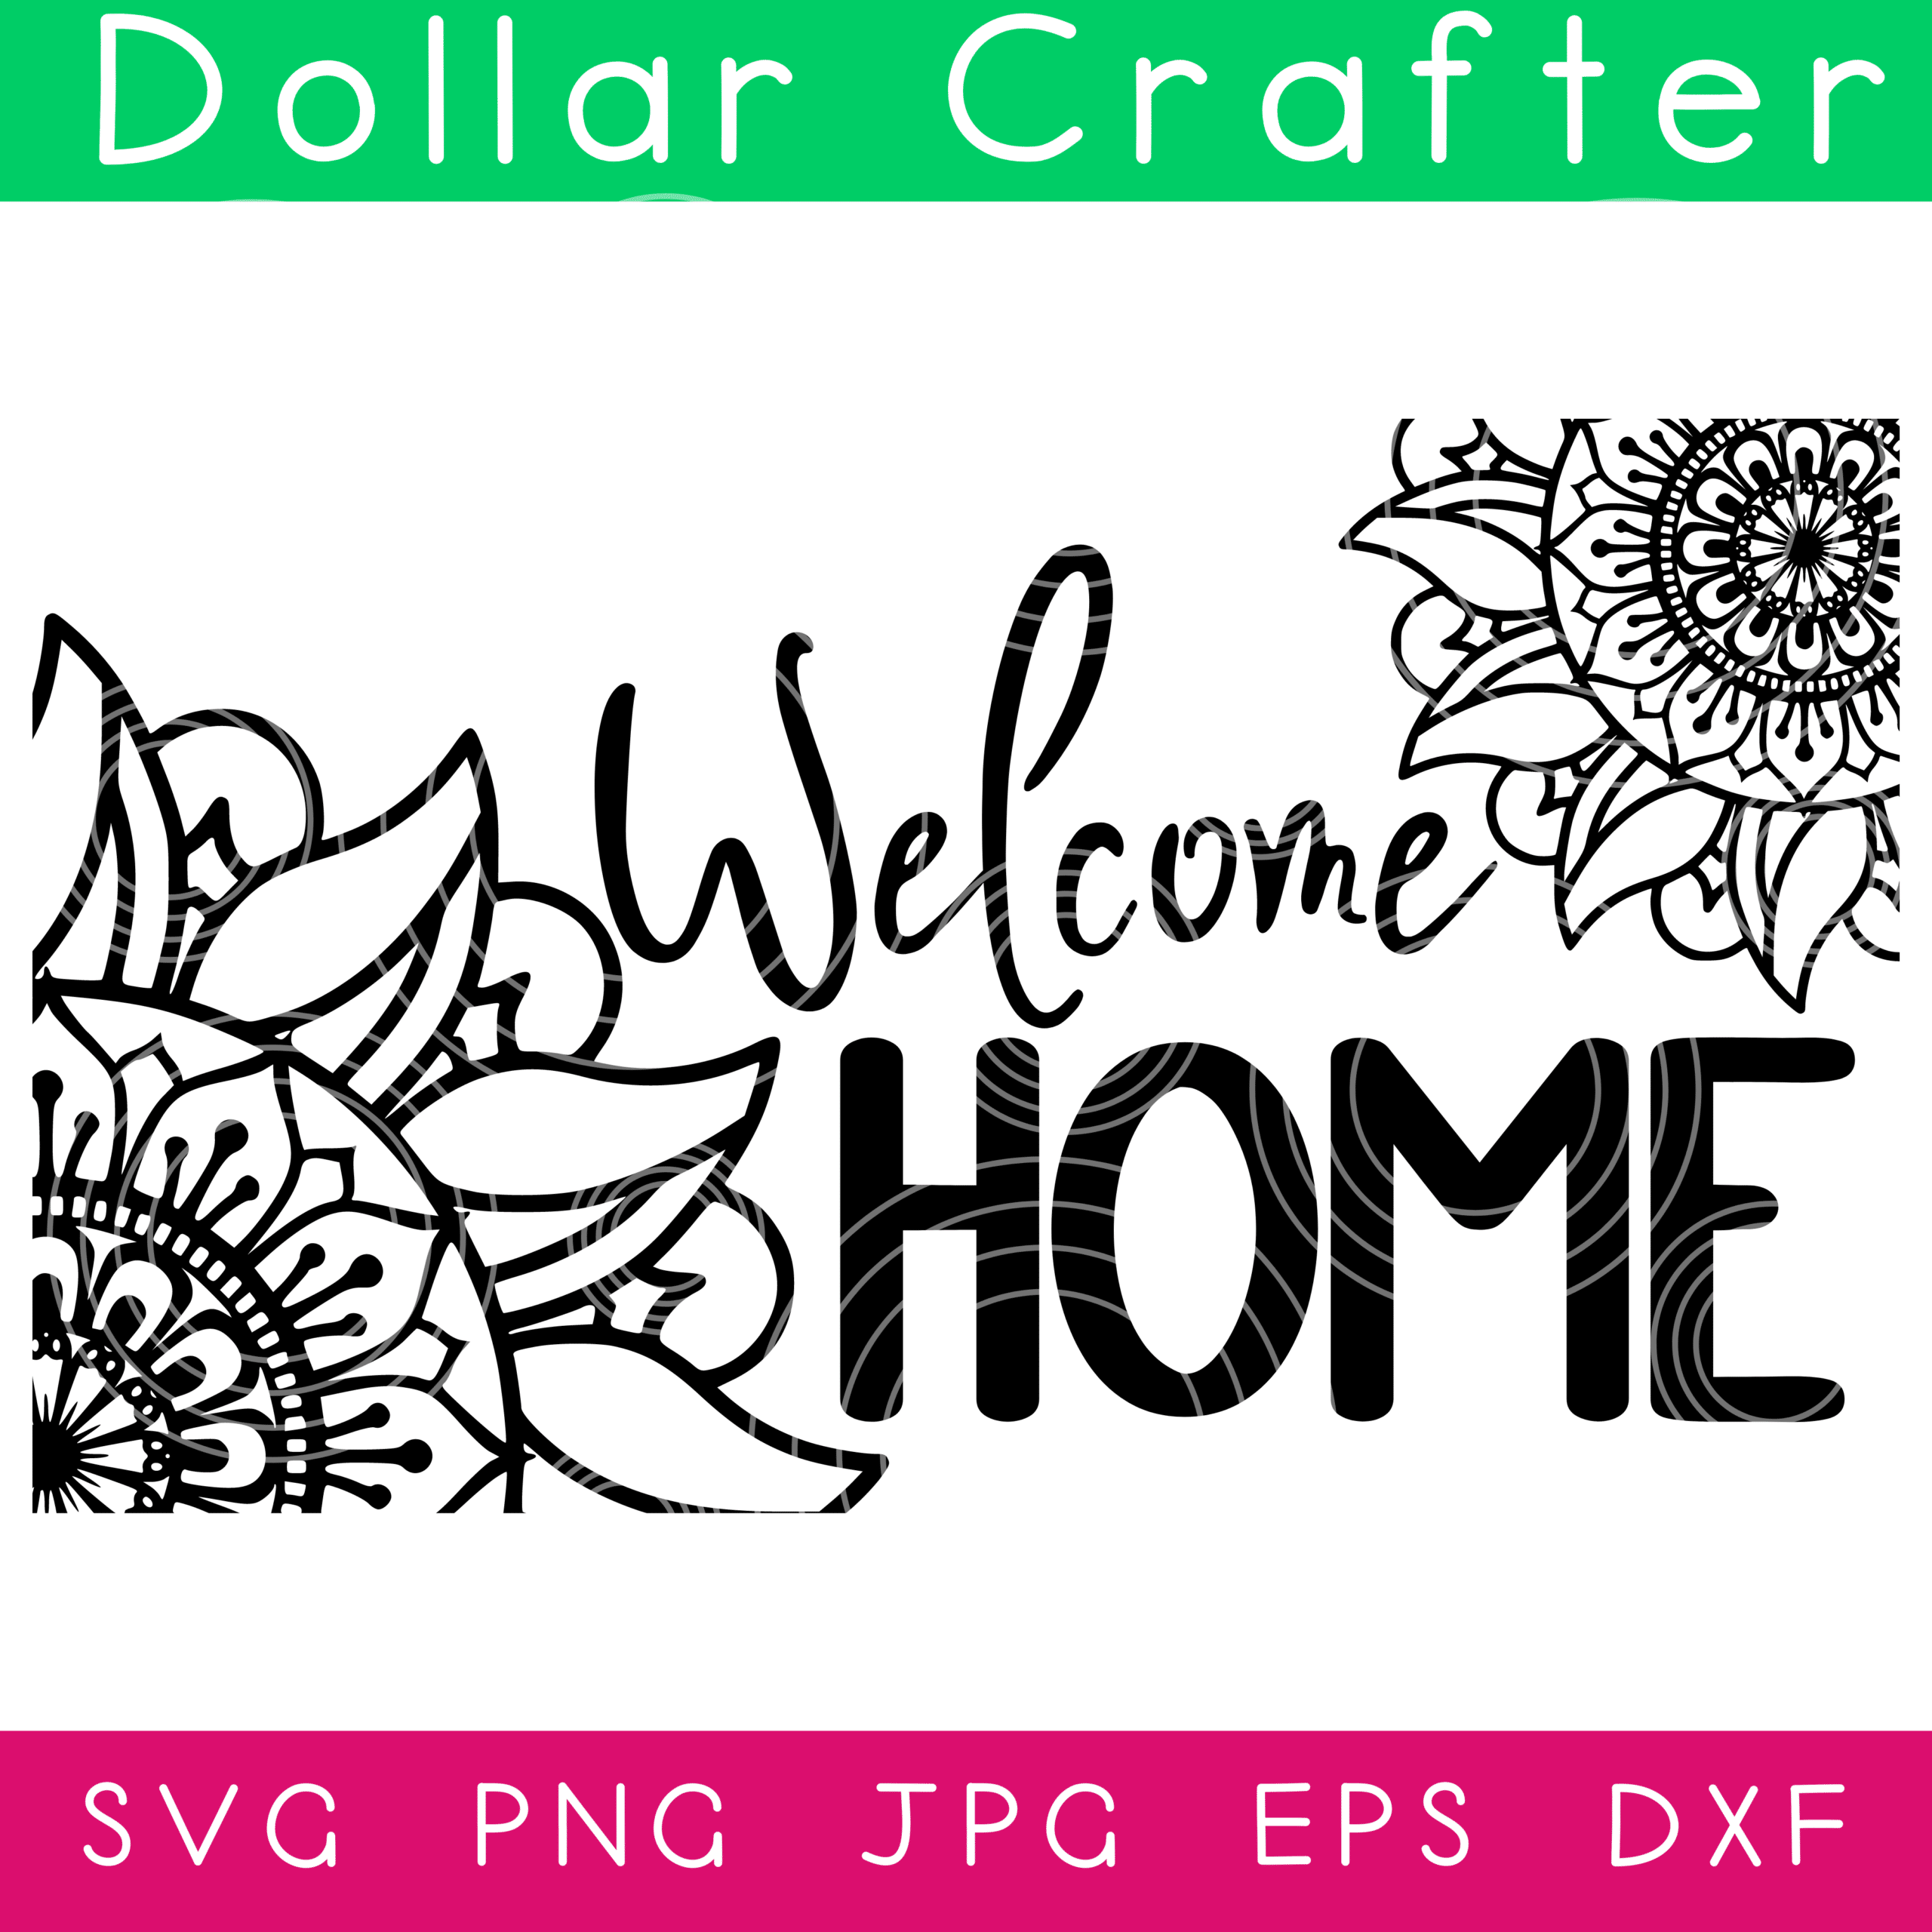
SVGs for Creating Welcome Mats at Home
Find all the designs that we have available for use in creating your welcome mat below 🙂


How Do I Make a Custom Coir Welcome Mat?
Let’s get crafting! Below is our written tutorial.
Cricut Welcome Mat
Materials
- 1 Coir Mat
- Removable Vinyl (I used 1 whole roll, plus 1/3 of a second)
- Black Outdoor Acrylic Paint
Tools
- Cricut Maker or Explore Air 2
- Transfer Paper (or Cling Wrap)
- Light Grip Mat
- Heat Gun, optional
- Paintbrush
Instructions
- Download the cut file and upload it to Cricut Design Space.
- Measure your mat and resize the elements to fit your mat and/or cutting machine as necessary. The cut file is intentionally oversized to allow for flexibility for differently sized coir mats.
- Place your vinyl face-up on the light grip mat, load it into the cutting machine and follow the prompts to cut the design. I had to break my design into four cuts.
- Weed the interior elements of the vinyl, leaving a negative of the design. This can be a long and tedious process, particularly with this mandala design, but the outcome is well worth it, so be patient and weed all of the elements.
- Place the transfer paper over the surface of a design element and rub the transfer paper into the vinyl to get the vinyl to stick to the transfer paper.
- Gently peel the white backing sheet from the vinyl and transfer paper, leaving the vinyl elements attached to the transfer paper.
- Place the design elements onto the surface of the mat, with the vinyl situated between the transfer paper and the mat’s surface.
- Rub the vinyl into the surface of the mat.
- Gently peel the transfer paper away from the vinyl, leaving the vinyl on the surface of the mat. If necessary, use a heat gun to help the vinyl to adhere to the mat, however, if you use the heat gun, take care to only use the lowest heat setting and only briefly apply the heat to any one area of the vinyl, to limit the distortion of the vinyl. This can be a tedious process, but it will be well worth it and you’re almost all the way there!
- Once the transfer paper is removed and the vinyl is well adhered to the mat, using a dabbing motion (no brushing, just straight up-and-down dab dab dab), paint the negative spaces left exposed by the stencil.
- While the paint is still wet, remove the stencil by pulling each piece straight up and discard.
- Allow the paint to dry completely and put it out on the porch!
Notes
For more beautiful SVG Farmhouse Decor Crafts visit DollarCrafter.com
Recommended Products
As an Amazon Associate and member of other affiliate programs, I earn from qualifying purchases.
Please Save This to Pinterest
Your shares are how this site grows and I am sincerely grateful. Know a friend who’d like this? Please share it on Facebook or save it to your favorite holiday crafts board on Pinterest.
So glad to learn about this. I’ve been wanting to create my own but not sure where to start. Now I can’t wait to make this coir doormat
I absolute love the look of these doormats but they are so expensive. I love the idea of using a Cricut to make this!