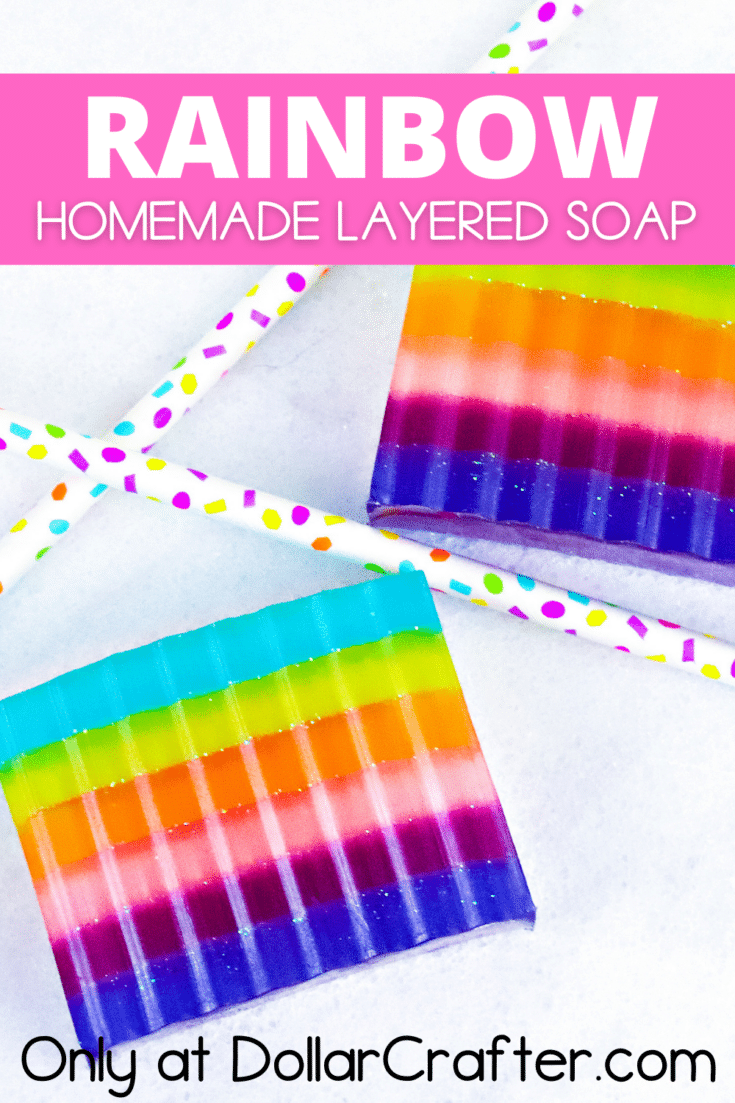
Make this colorful rainbow layered soap at home with easy-to-find supplies. This homemade, personalized gift is perfect for friends and family of all ages!
Did you know it’s surprisingly easy to make your own soap at home? You’ll need just a few simple ingredients, and the result will be so much more special than anything you could pick up off the shelf!
DIY Rainbow Layered Soap
Making your own soap is not only fun, but it’s also a great way to save money. Making melt and pour soaps at home will give you the best of both worlds because they’re easy for kids AND adults!
Psst… have you read my soap-making guide yet?! I included how to get started, plus some of my tips and tricks – learned from trial and error. 😉
Supplies:
- 1 pound melt and pour clear soap cut into cubes
- 1-2 drops each of pink, orange, yellow, purple, dark blue and light blue soap coloring
- Lavender and eucalyptus essential oil
- Pink, Orange, Yellow, Blue, & Violet cosmetic glitter
- Spray bottle of rubbing alcohol
- Soap Mold and cutting tool
- 6 microwave safe bowls or measuring cups
Tips for Making Layered Soap at Home
Making layered soap such as this rainbow soap at home will require a lot of patience. While the process itself is fairly easy, allowing each layer to set between them can be time-consuming and difficult–but I promise you it’s worth waiting for!
When it comes to making layered soap at home, there are some tricks we have learned over the years that make life easier.
- For each color use a separate bowl/cup, pop it into the microwave in 30-second bursts until it melts (stirring gently in between each interval). Make it easier by melting your soap base in something like a Pyrex measuring glass that is easy to pour out of (yay no mess)! Then add colors and/or scents and pour into the mold.
- Don’t over mix or else you will get bubbles.
- Little hack- before mixing the mica powder into your melted soap, add the amount of mica powder needed into a separate plastic cup and add a splash of isopropyl alcohol to it. All you need is a splash, it will go a long way. Then mix is well- until you have nice powder free color.
- Once you have a beautifully blended color you can easily pour this into your melted soap base and gently blend it in. And the best part? Any bubbles that may happen at this point will disappear due to the isopropyl alcohol.
- Spray the soap mold with 91% isopropyl alcohol then pour the soap mix into the mold. Spray the top of the soap with rubbing alcohol. The rubbing alcohol helps to prevent air bubbles from forming in your soap.
- Another hack to remember when making homemade soap is that to get a nice strong scent without wasting your entire bottle of scents you should add the scent after allowing the soap to cool down just a bit. Scent into steaming hot melted soap will diminish the scent.
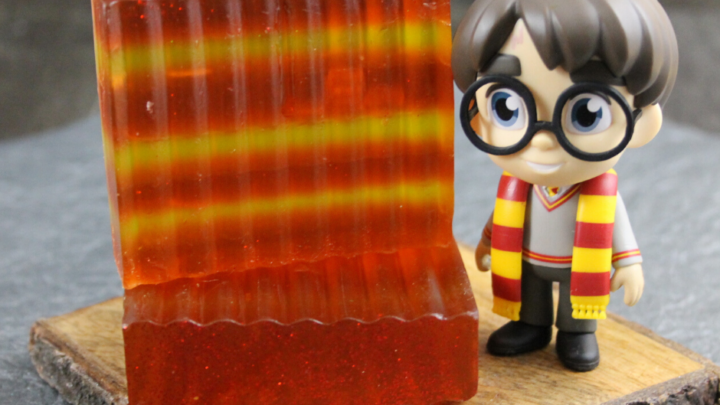
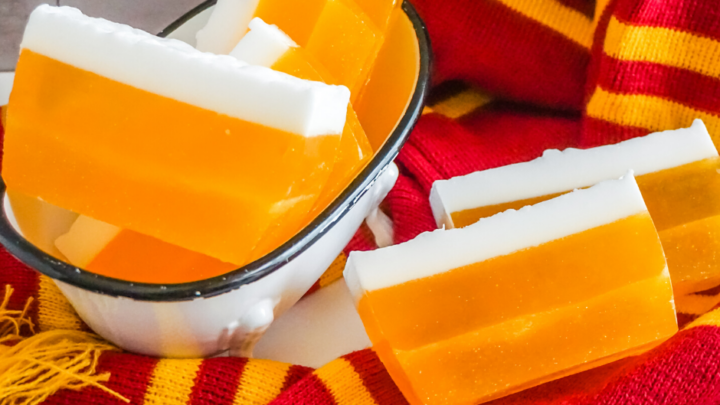
If you want to try more soap recipes please check out our Homemade Butterbeer Soap– it is perfect for the Harry Potter fan.
How to Make Layered Rainbow Soap
Let’s get crafting! Below is our written tutorial.
Rainbow Layered Soap
Materials
- 1 pound melt and pour clear soap cut into cubes
- 1-2 drops each of pink, orange, yellow, purple, dark blue and light blue soap coloring
- Lavender and eucalyptus essential oil
- Pink, Orange, Yellow, Blue, & Violet cosmetic glitter
Tools
- Spray bottle of rubbing alcohol
- Soap Mold and cutting tool
- 6 microwave safe bowls or measuring cups
Instructions
- Start with the dark blue layer. Add 8 cubes of the soap base into a microwave safe bowl. Add 1 or 2 drops of each essential oil into the container. Melt the soap cubes in 30 second intervals, stirring between each cycle until completely melted. Add 1 or 2 drops of dark blue soap coloring, stir. Add more until the desired color is achieved. Because you are using a clear soap base, you may need to add a few more drops to get the color you want. Add the blue cosmetic glitter into container. Mix.
- Spray the soap mold with rubbing alcohol, then pour the blue soap mix into the mold. Spray the top of the soap with the rubbing alcohol. The rubbing alcohol helps to prevent air bubbles forming in your soap. Allow the dark blue layer to dry completely before adding next layer. If you blow on the soap and you see ripples, the soap is not hard enough for the next layer. This can take anywhere from 20 to 45 minutes.
- Repeat the same steps from the blue layer, but use purple soap colorant and violet glitter. Before adding it to the mold, spray the blue layer with rubbing alcohol, then pour in the purple mix. Finally, spray the top of the purple layer with rubbing alcohol again. Let set completely.
- Repeat the steps again, but use pink soap colorant and glitter. Before adding it to the mold, spray the purple layer with rubbing alcohol, the pour in the pink mix. Spray the top of the pink layer with rubbing alcohol. Remember the rubbing alcohol helps prevent bubbles forming in your soap!. Let set.
- Repeat everything again but with the orange soap color and orange glitter. Don’t forget that rubbing alcohol! And remember to let it set completely, if you don’t let it set completely before adding your next layer you will get bleeding through of your layers and not have nice crisp color lines in your soap.
- Ready to go again? This time repeat with yellow!
- And last but not least, finish it off by repeating everything yet again but this time with a light blue. Don't forget to spray the top with rubbing alcohol.
- Now let the whole thing sit for a day to ensure it is completely hardened. Overnight might be sufficient, but I like to go for an entire day just to be safe, because that was a whole lot of work!
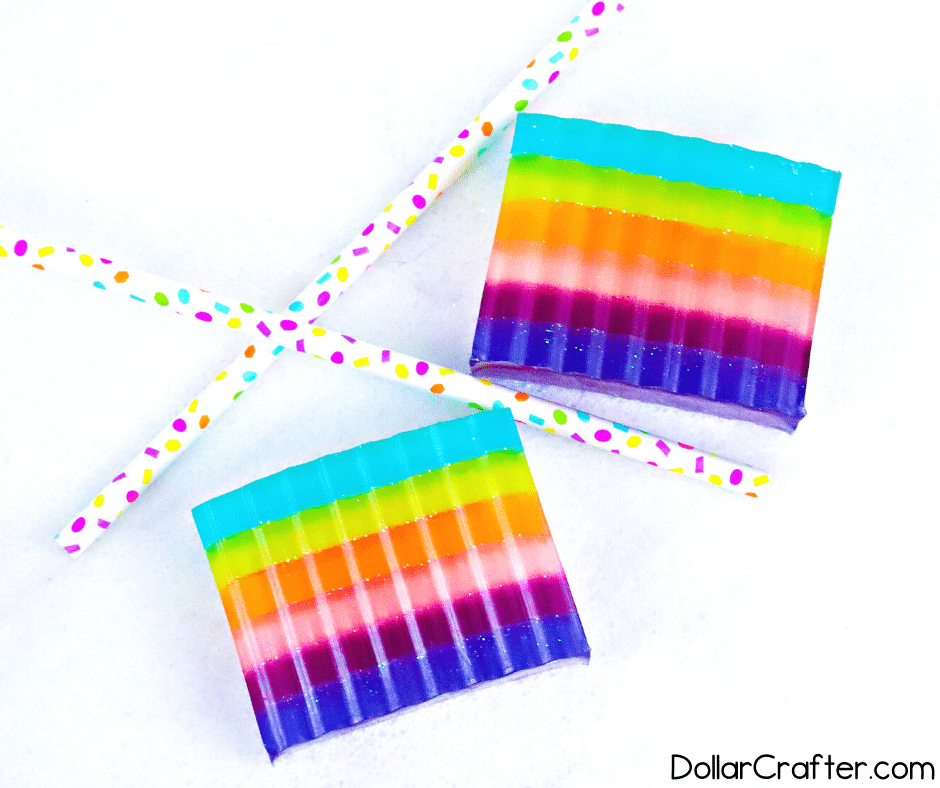
- The final stage is to gently remove your soap block from the mold (once it is hardened) and slice the soap into 1 inch wide pieces. Store in an airtight container until you are ready to use them.
Notes
For more fun DIY Bath and Beauty Projects visit DollarCrafter.com
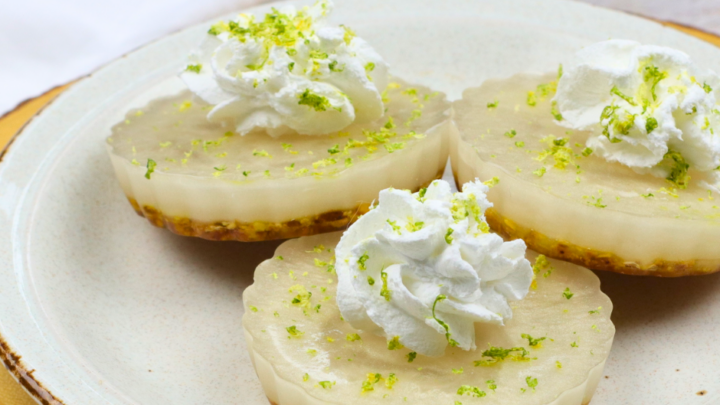
More Homemade Soap Recipes You Will Love

Please Save This to Pinterest
Your shares are how this site grows, and I am sincerely grateful. Know a friend who’d like this? Please share it on Facebook or save it to your favorite homemade beauty board on Pinterest.
So pretty! I hope you’ll share with us at Party in Your PJ’s – on my blog.