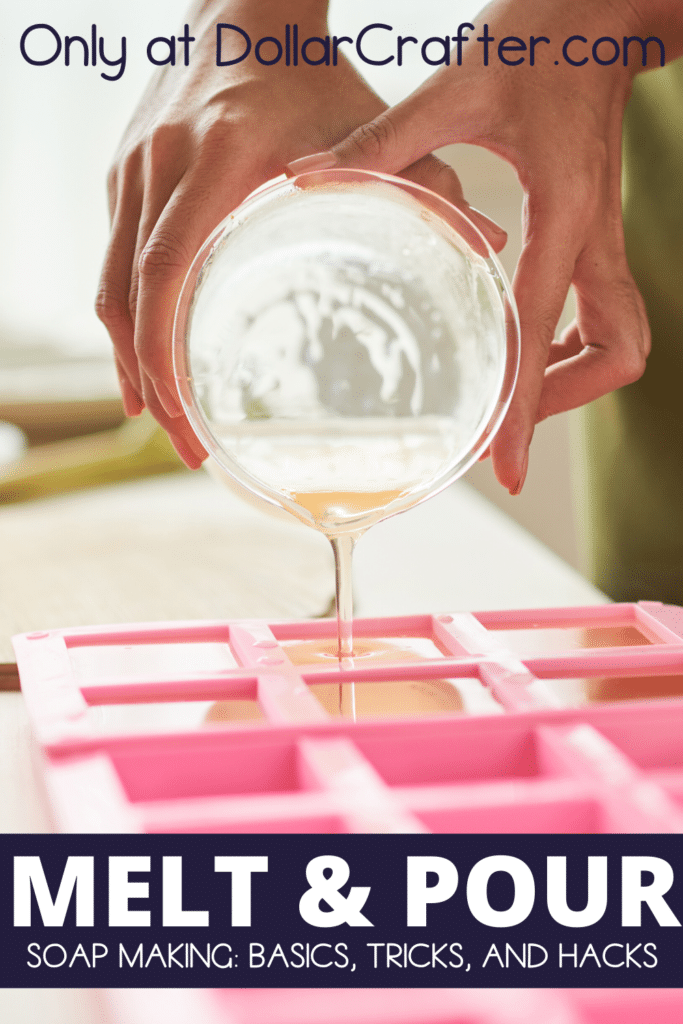
Melt and pour soap making is a great way to make your own soaps. It’s easy, it’s fun, and you can do it in the kitchen of your home without any fancy equipment!

If you’re interested in learning how to make melt and pour soaps at home, then read on. We’ll tell you about some of our favorite melt and pour soap making tricks and hacks that will help you get started with this craft today!
What is Melt and Pour Soap?
Melt-and-pour soap, also known as soap base, is simply pre-made soap that you can melt down and add fragrances or colorants to. It’s an easy way to making customized soap at home without handling some of the more caustic chemicals (like lye) or purchasing safety gear.
Melt and pour soap is a kind of soap that has already been through the chemical reaction that makes lye safe for skin. That is why it only takes 1-2 hours to cure, instead of 4-6 weeks.
Melt and Pour Soap Making Supplies
Soap making supplies can be as affordable or as costly as your budget allows. I like to start with a nice base and then add in some colors, maybe a little glitter, and of course essential oils. If you want to piece together your own soap making kit, read on. Or, you can buy everything you need for soap making in one affordable bundle.
Melt and Pour Soap Bases
If you’re looking for a simplified, affordable way to make soap at home, start with a melt and pour base. Below are my three favorite bases that I most commonly use.
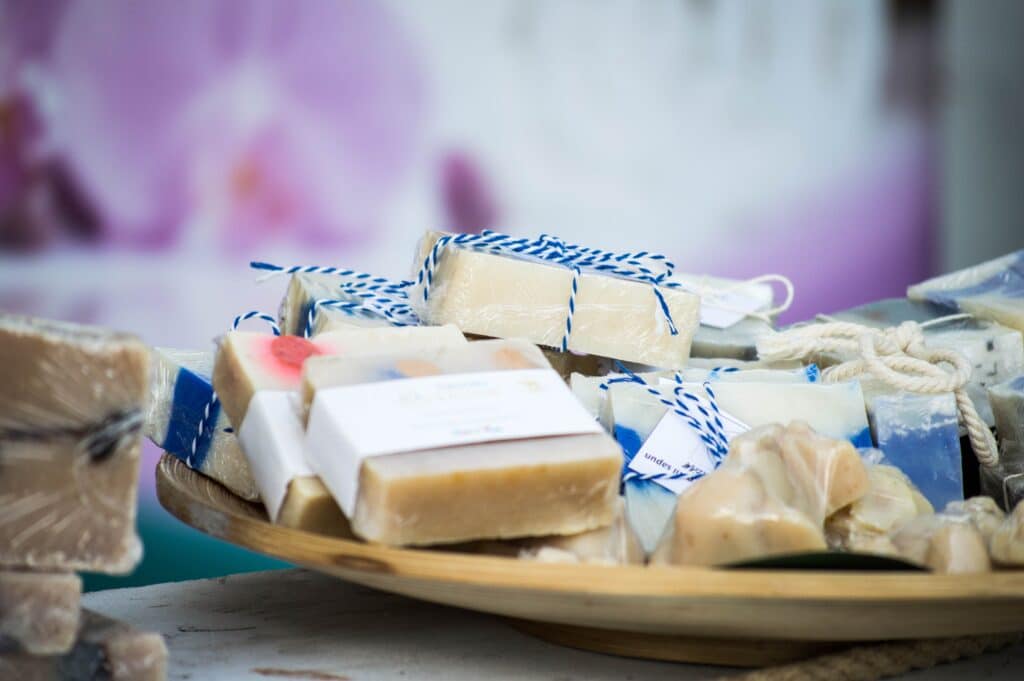
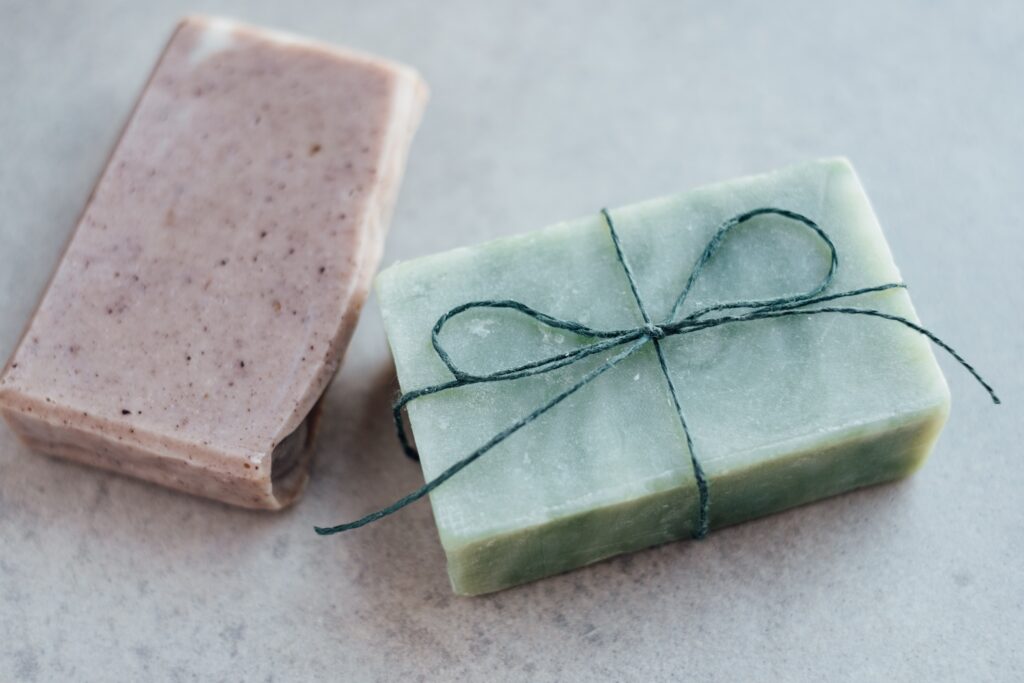
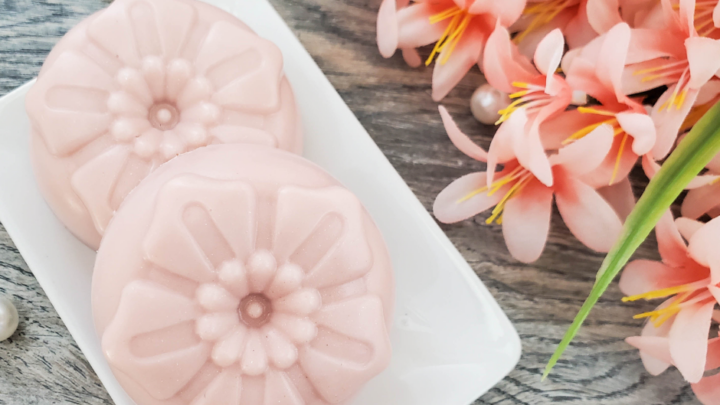
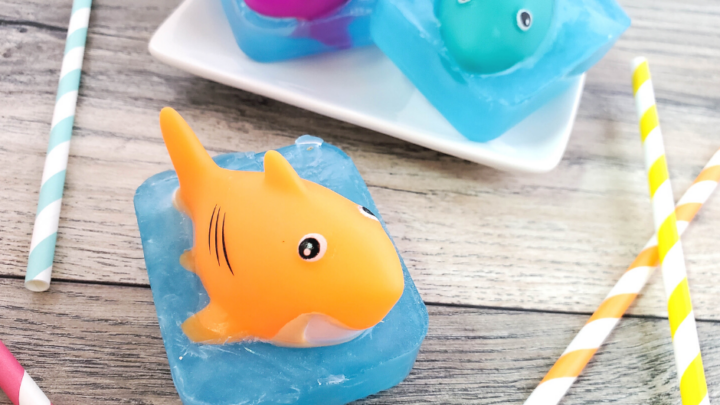
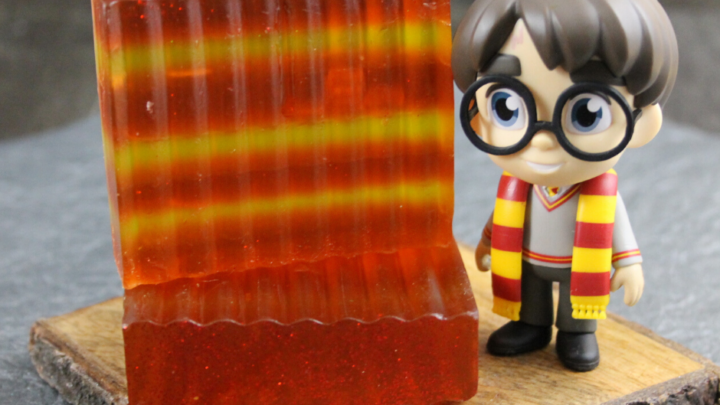
Glycerin (Clear) Melt-and-Pour Soap: this is a clear soap base that works for every project. You start with a clean slate because it’s clear; add colors, fragrances, herbs/flowers, etc to make it your own.
You can buy it pre-cut into cubes, but you’ll save some cash if you cut it yourself. This is what I use to cut my soap. To cut the glycerin soap base, you can actually just use a kitchen knife.
Shea Butter Melt-and-Pour Soap: This soap base is a milky/cream color. It’s very smooth, and it’s soothing and moisturizing for your skin. Think: healing dry, cracked heels.
Shea butter soap doesn’t lather as well as goat’s milk, but it’s a great soap base for layering because additives (like herbs or coffee grounds) will sink to the bottom. I love how it looks!
Goat’s Milk Melt-and-Pour Soap: Yes, this white soap is really blended with goat’s milk. I love the lather that goat’s milk offers.
Colorants for Melt-and-Pour Soap
If you want to dye your soap naturally we would suggest using the following materials:
- turmeric (yellow)
- beet root (pink or red)
- matcha (light green)
- spirulina (dark green)
- iron oxide powder (rusty red)
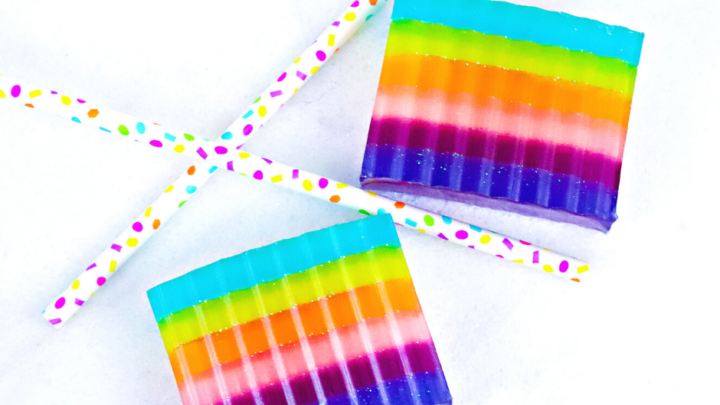
Other options for coloring your soap are mica powders and liquid soap colorant (endless option of colors, including glitter!!)
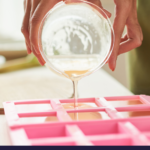
Molds for Melt and Pour Soaps
Silicone Molds: I love using silicone molds because they’re easy to just pop the soap out of. Silicone molds are simple to use for layering ingredients into your soap. They also make cool shapes and are uniform.
Wooden Molds: When I first started making soap, I used wooden molds. I still use them sometimes but I have started using this type of mold on a regular basis and I’m over the moon happy with it!.
Other Helpful Melt and Pour Soap Tools
Most of the supplies you will need to make soap at home you will already most likely have on hand. Things we suggest making sure you have before you start making your soaps are:
- Cutting board
- Scale
- Measuring spoons
- Metal whisk
- Large Knife
- Silicone spatula
- Large glass liquid measuring cup
- and Rubbing alcohol in a spray bottle
Melt and Pour Soapmaking Basics
One of our favorite things about melt and pour soap making is the endless possibilities. You can really make any kind of recipe you want, from scented soaps to exfoliating body washes. If you need some ideas to get you started make sure to scroll to the bottom of this post to see the melt and pour soap ideas we have shared on the blog!
Yes, melt and pour soap can be scented with any fragrance you choose. If it’s a scent that contains essential oils, make sure to use the recommended amount so your product doesn’t end up smelling too strong!
You should check the temperature of your soap to make sure it is between 140-150º F before adding in any fragrance.
To make your soap a bit harder you can add up to 1 tablespoon of beeswax, cocoa butter, or shea butter per pound of melt and pour soap you’re making. Cocoa butter and shea butter contain stearic acid which aids in creating a firm soap. That said, these methods will reduce the amount of lather the soap can produce.
You can also leave soap out in a well-ventilated dry area for a few days before wrapping it up. This will help any excess water evaporate.
You can reheat the soap, but make sure to keep a close eye on it so that you don’t overheat your product.
Melt and pour soap lasts about 18 months before it starts to go bad. The shelf life of melt and pour soaps can be extended by using fragrance additives, such as essential oils or fragrant oils, which help preserve the quality of your product.
Melt and Pour Soap Problem Solving
If you notice beads of sweat on your soap, glycerin in the soap is drawing moisture from the air.
Glycerin can cause your soap to become more slippery to hold on to, but it also helps moisturize skin.
To fix this harden your soap in a well-ventilated dry area and wrap your soap in plastic. You can also purchase low sweat soap bases.
If you notice that your soap is soft, it could be because it contains too much water. It’s important to make sure the liquid in your recipe doesn’t exceed 40%. If necessary, add some of our melt and pour hardening agent for help!
Other common reasons why melt and pour soap might not hold its shape are:
-It contains too much oil or butter
-The soap was overheated before it hardened
-Too much fragrance has been added to the recipe.
To help your melt and pour soaps last longer, make sure to use fragrant oils sparingly!
To get and nice and smooth soap and prevent bubbles make sure to spray your molds and the surface of your soap with rubbing alcohol.
If you’re trying to get your layers of soap to stick together, spray rubbing alcohol on the top of the hardened bottom layer before adding the melted top layer. Do this for each layer in your soap.
One of the most common causes for a clouded soap is excess water in your recipe. It’s important to make sure that you don’t exceed 40% liquid when making your recipes! Another potential cause could be too many fragrance additives, like oils or essential oil blends.
When this happens, you should make sure you haven’t added too much liquid to your soap and it is at the right consistency before pouring it into individual molds. If your recipe has too much water in it, this can be a common cause of the problem.
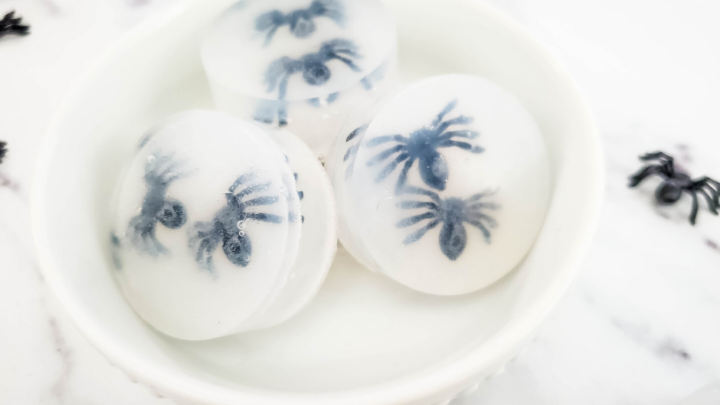
Melt and Pour Soap Recipes

Please Save This to Pinterest
Your shares are how this site grows and I am sincerely grateful. Know a friend who’d like this? Please share it on Facebook or save it to your favorite crafts board on Pinterest.
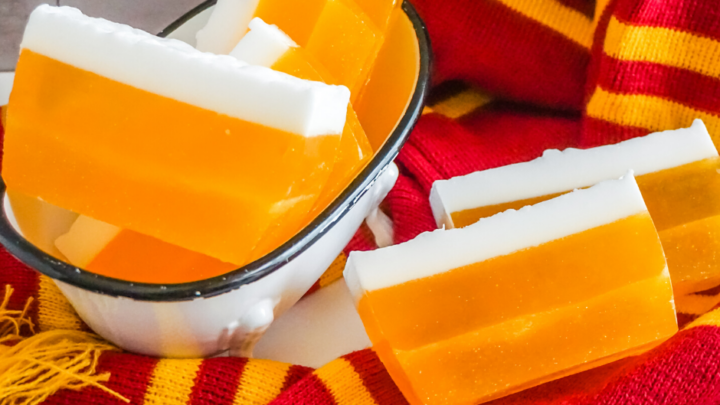
Could you explain how to get the “whipped” effect on top of the soap bars as shown in the very top picture on this post?
How are you getting the top of the soap to look like icing with melt and pour?
Thank you for the info!