
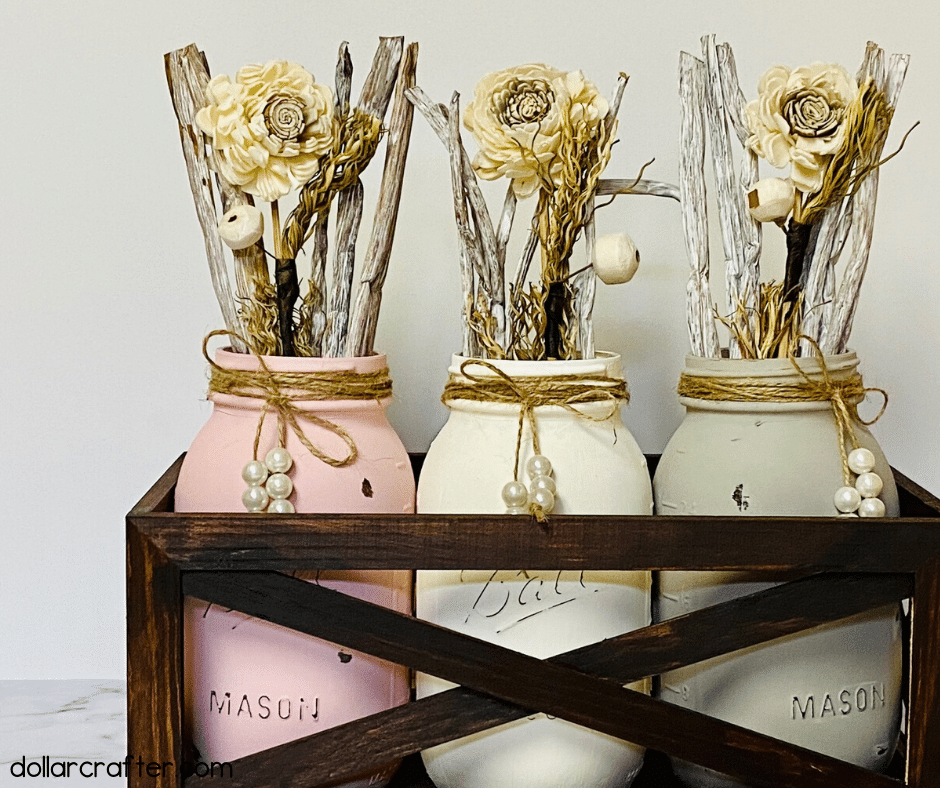
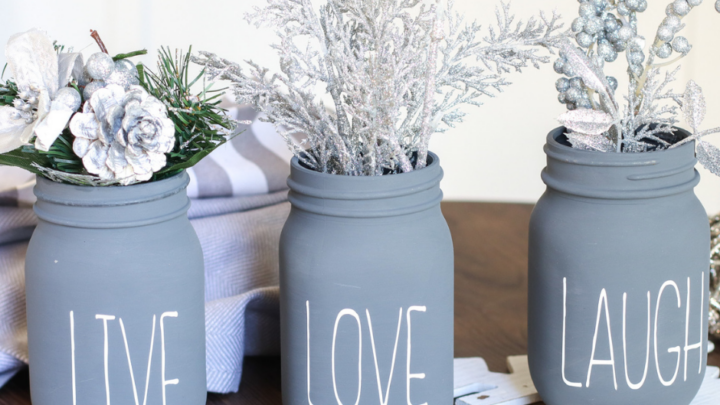
Brighten up your home with these easy DIY pastel chalk mason jars! I love crafting with Mason Jars because they’re easy, fun, and come together quickly. These adorable jars are a great craft for beginners but can be enjoyed by even experienced crafters.
Homemade Chalk Painted Mason Jars
Supplies
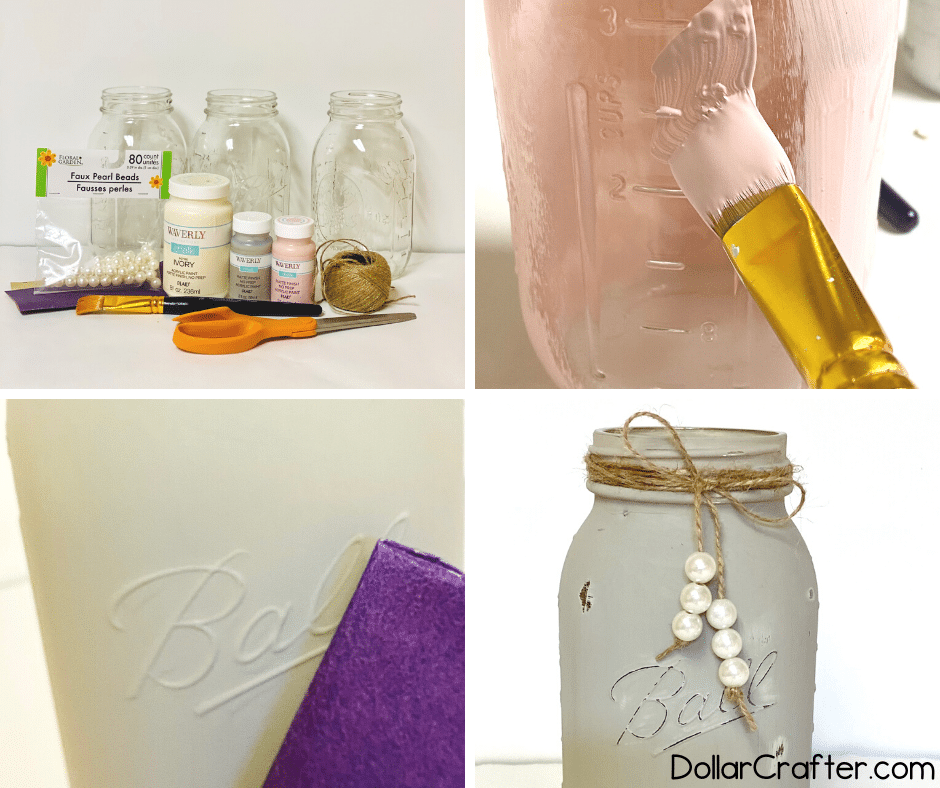
- 3 Large Mason Jars
- Pearl Beads
- Jute Twine
- Light Sand Paper
- Waverly Ivory Chalk Paint
- Waverly Ballet Slipper Chalk Paint
- Waverly Mineral Chalk Paint
- Scissors
- Paint Brush
The airy and romantic colors of pastel chalk paint mason jars are perfect for spring. For instance, I like to pair this craft with my Homemade Hat Trellis to get that homey springtime feel.
Tips for Using Chalk Paint on Mason Jars
Where do you buy Mason Jars?
First, try looking in your kitchen cabinets, or look around the house to see if you have any lying around. If not, try asking friends and neighbors if they might be willing to give some of their old ones away. Or, you could also check out Amazon or Target for new jars!
How many coats of chalk paint do you use?
Painting mason jars is easier than you think. It might look intimidating at first, but don’t worry- two coats are enough! However, before painting, a great tip is to clean them with rubbing alcohol; this helps the paint stick better.
How do I get the distressed look?
After letting the jars dry for 20-30 minutes, then you take your sandpaper and start sweeping it gently in vertical strokes all around the jar and the lettering.
How to Paint Mason Jars with Chalk Paint
Ready to get crafting? You will find the full tutorial below!
Chalk Painted Mason Jars
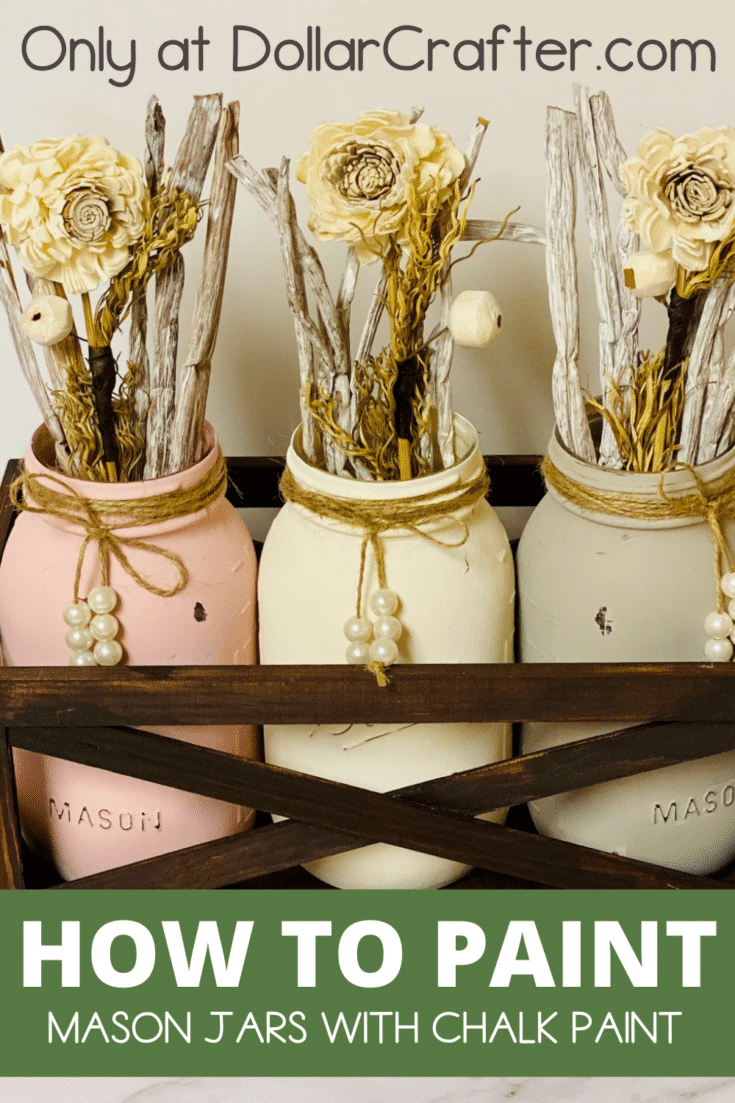
Learn how to paint your mason jars with pastel chalk paint and create a set of cute jars for any use around the house.
Materials
- 3 Large Mason Jars
- Pearl Beads
- Jute Twine
- Light Sand Paper
- Waverly Ivory Chalk Paint
- Waverly Ballet Slipper Chalk Paint
- Waverly Mineral Chalk Paint
Tools
- Scissors
- Paint Brush
Instructions
- Paint two coats of paint on the outside each glass. One glass painted in mineral, one painted in ivory, and and one painted in ballet slipper chalk paint, allowing for at least 20 minutes in between to allow it to fully dry
- Once completely dry, using the light sand paper lightly sand where the lettering is on the mason jar. To create an aged look also sand some spots on the jars.
- Next using your jute twine leave about 5 inches on one end and start wrapping the top of the jar, I only went around 5 times but you could go as many times as you would like. Leave about 5 inches on the other end so you can tie them together and then make a bow.
- Add 3 pearls onto each bow end and just double knotted it at the bottom!
Notes
For more fun Farm House Decor Crafts visit DollarCrafter.com
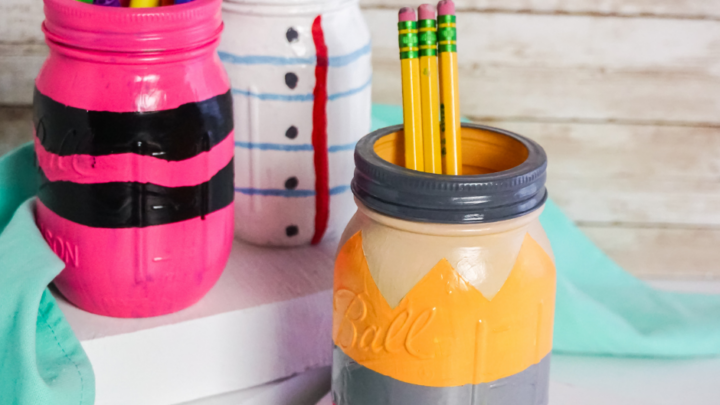
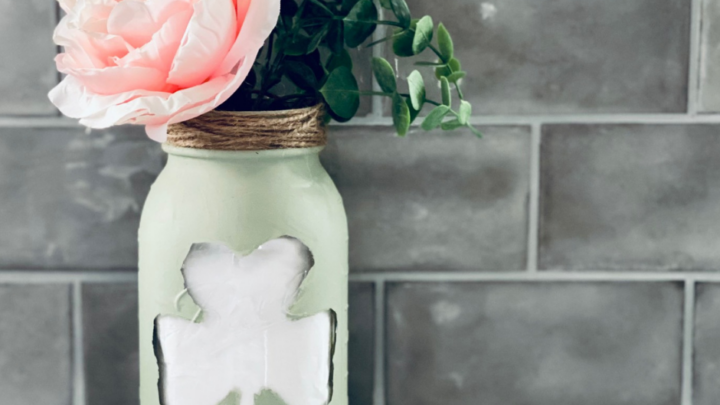
More Mason Jar Crafts You Will Love
Please Save This to Pinterest
Your shares are how this site grows, and I am sincerely grateful. Know a friend who’d like this? Please share it on Facebook or save it to your favorite homemade beauty board on Pinterest.