
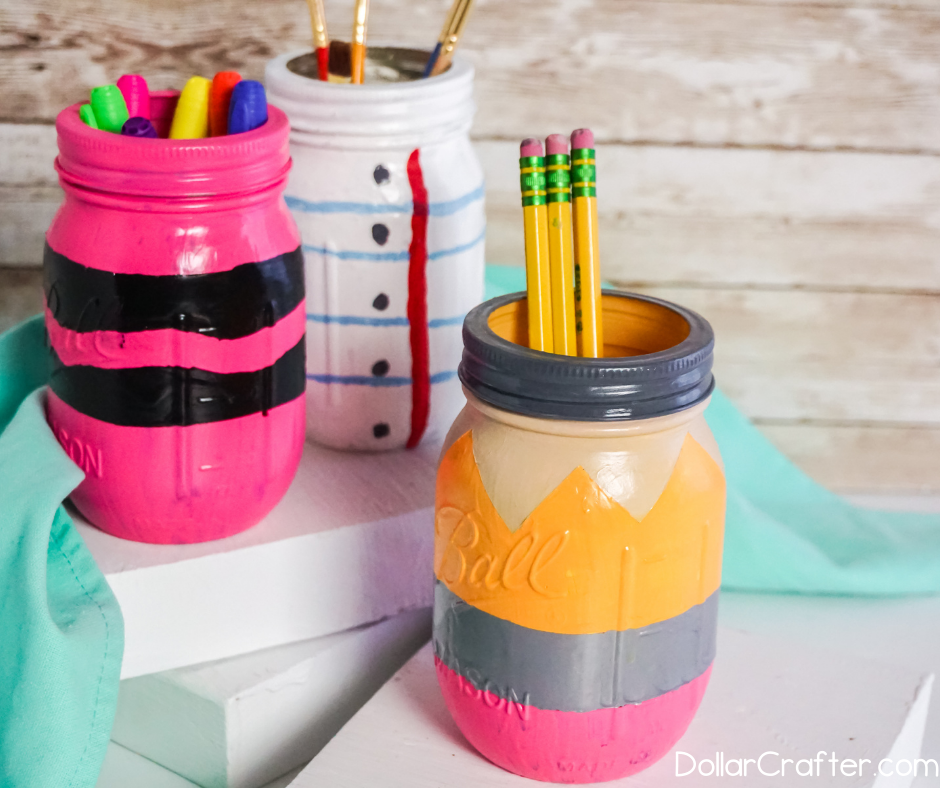
Add some pizzazz to your desk with these adorable homemade painted Back to School Mason Jars. These DIY mason jars are a great way to add a playful touch to your desk and also make a fun teacher appreciation gift!
Homemade Painted Mason Jars for School Supplies
I am absolutely in love with these school supply jars. We made some for my teenager’s desk and they are just so fun and playful that I had to share!
Supplies Needed:
Tips for Painting Mason Jars
Before starting to paint your Mason jars make sure you have a nice clean jar to paint on. I would suggest cleaning your jars with rubbing alcohol and allowing that to dry (it will dry very quickly) before you get to work. You can definitely use soapy water to clean your jars, however, using rubbing alcohol will help make sure that any icky residue or oils that may be on the jars are going to get removed really well giving you that clean smooth surface that is ideal for painting jars.
Another thing to keep in mind before you get started is that a cheap foam brush will create a much more even color when it comes to painting mason jars than a paintbrush will. If you want more of a rustic look, opt for the paintbrush. If you want a nice bold solid color, reach for that foam brush 😉
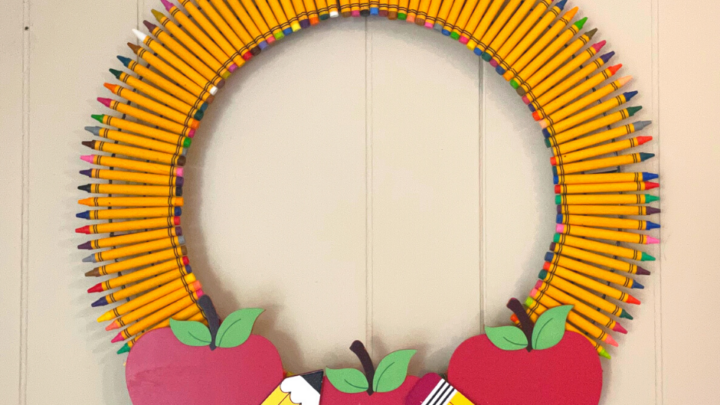
This would go perfect with our DIY Teacher Crayon Wreath: The Coolest Back to School Gift ever!
How to Make School Supply Painted Mason Jars
Let’s get crafting! Below is our written tutorial.
Back to School Mason Jars

Materials
- 3 Mason Jars
- Painter’s Tape
- Acrylic Paint in Pink, Pale beige/brown, Yellow, Grey , Black, White, Blue, and Red
- Modpodge or other craft sealant
Tools
- Paint Brush
Instructions
- Make sure your mason jars are clean and dry before starting.
- Make the Pencil mason jar by: Taping off the bottom third of the jar, painting the bottom ⅓ of the jar pink. Paint the area above the tape yellow. Paint the ring of the jar grey. Allow this coat to dry completely. Remove the tape between the yellow and pink painted sections. Paint the area where the tape had been grey. Tape off the top of the jar with an “M” or “V” pattern. Paint the top portion in the “M” area with the pale beige/brown. Allow this coat of paint to dry completely. Draw on a piece of painter’s tape a number 2 and oval. Cut it out with an exacto knife and position it where you’d like these elements on your pencil. Using this as a guide, sketch your 2 onto your jar along with the oval with a pencil. Paint over the pencil marks with the black paint. Allow this coat to dry completely. Seal with a coat of mod podge or other craft sealant and allow that to dry completely.
- Make the Paper mason jar by: Painting the entire jar white, then allowing this coat to dry completely. Paint blue horizontal lines on the jar, at ¾-inch increments from top to bottom. You can use tape to help you guide yourself and make the lines straight. Allow this coat to dry completely. Paint one red vertical line on the jar, to the left of whatever side you want to be the front of the jar. Add a large red “A+” on the other side of the front of the jar. Paint 3 black dots about the same size as the distance between the horizontal lines just to the left of the red vertical line. Allow this paint to dry completely. Seal with a coat of mod podge or other craft sealant and allow that to dry completely.
- Make the Crayon mason jar by: Tape off two adjacent lines of your jar about ⅓ of the way from the lip of the top, then using an exacto knife to add a wavy bottom line to the topmost piece of tape, between the two pieces. Paint all of the exposed areas of the mason jar with the pink paint. Allow this coat to dry completely. Remove the tape and paint the previously taped off area black. Allow this coat to dry completely. Seal with a coat of mod podge or other craft sealant and allow that to dry completely.
Notes
For more fun mason jar crafts visit DollarCrafter.com
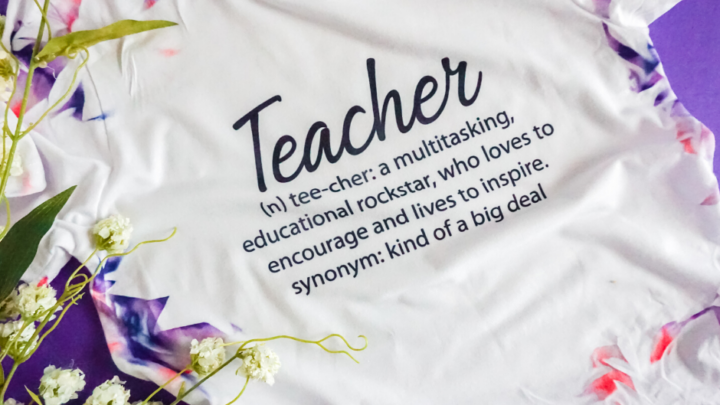
More Back to School Crafts You Will Love!
Please Save This to Pinterest
Your shares are how this site grows and I am sincerely grateful. Know a friend who’d like this? Please share it on Facebook or save it to your favorite homemade beauty board on Pinterest.