
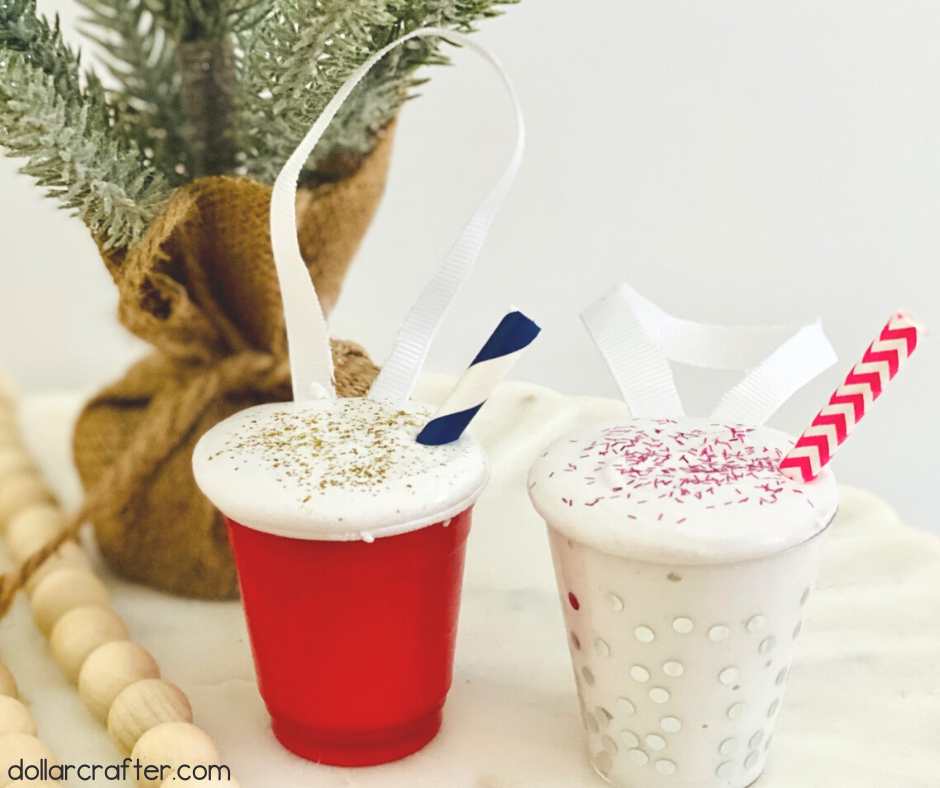
Do you love coffee and Christmas time? If so, then this DIY Christmas Frappe Coffee Cup Ornament is perfect for you! It’s super easy to make and will be the best craft idea for your gift-giving or on your tree.
But watch out; you might get addicted to creating these cute ornaments.
Find all our DIY Christmas Crafts and Ornaments here!
DIY Red Solo Cup Christmas Ornaments
Get creative when creating these Red Solo Cup Christmas Ornaments. Yes, the red solo cups are cute, but if you can find other mini plastic shot cups that you can use for the holiday- grab them!
We love to make our close friends gifts, and it can be hard to come up with the perfect gift every time, so this year we’re making it easy on ourselves and giving them something they’ll enjoy all season long- DIY Christmas Frappe Coffee Cup Ornament! These ornaments are so easy to make and will brighten up their tree for years to come.
Supplies:
- Spackle
- 2 Straws
- 2 Plastic Shot Glasses/ Mini Plastic Cup
- Plastic Container
- Dollar Tree Cupcake Decorator Set
- Glitter
- Ribbon
- Scissors
- Hot Glue Gun/Glue
- Knife
- Spoon
Tips for Making a Frappe Christmas Ornament
What is in the cup?
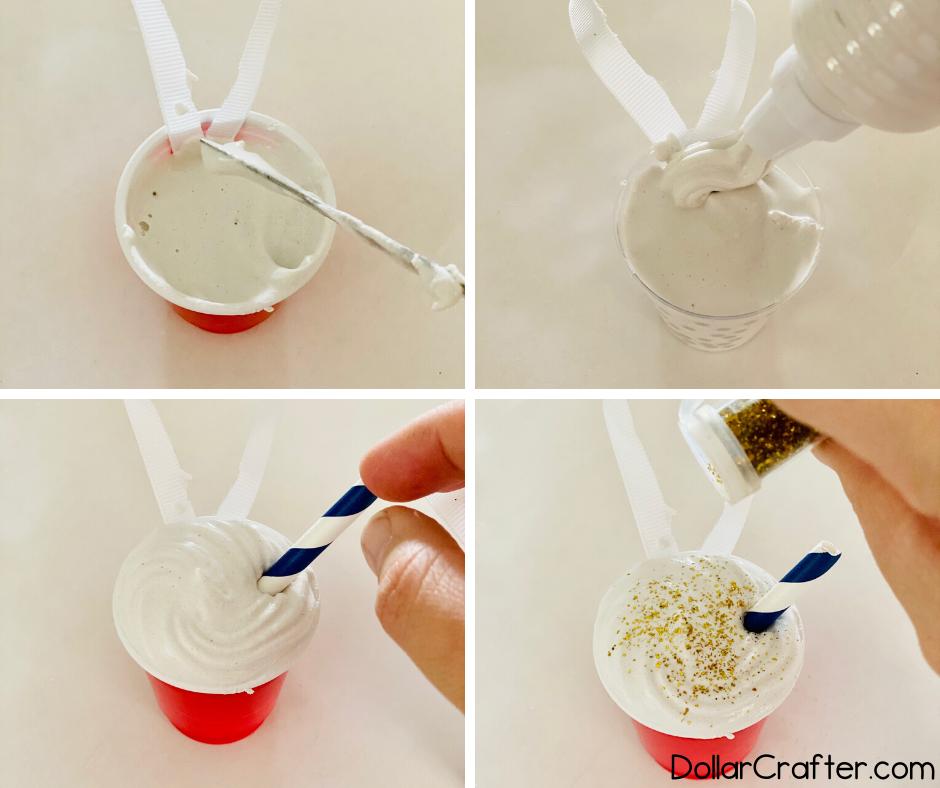
- It is spackle, yep what we use to fill in holes in our walls so whoever came up with this idea- GENIUS! It does dry fast so you need to follow the below instructions carefully.

How do you create the whipped cream effect?
- A cupcake decorator set will do the trick. You can find them at your local Dollar Store but if they don’t have them then look at Target or Walmart. The best part about doing this is that you can pipe the spackle onto the top like icing on a cupcake! Oh yeah, remember to leave a bit of room on top of the cup before putting the “whip cream” on top.
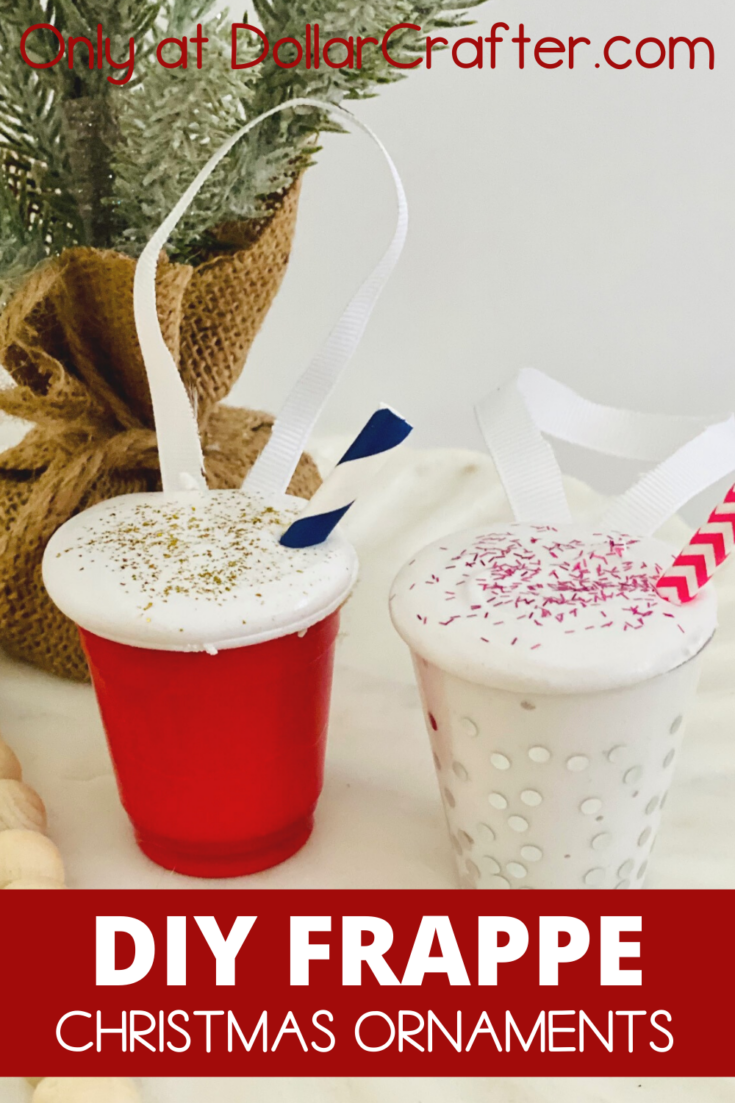
How to Make a Frappe Coffee Christmas Ornament at Home
Ready to get crafting? You will find the full tutorial below!
Christmas Frappe Coffee Cup Ornaments
Materials
- Spackle
- 2 Straws
- 2 Plastic Shot Glasses/ Mini Plastic Cup
- Plastic Container
- Dollar Tree Cupcake Decorator Set
- Glitter
- Ribbon
Tools
- Scissors
- Hot Glue Gun/Glue
- Knife
- Spoon
Instructions
- Gather your supplies.
- Start by cutting the straws about 2.5 inches tall.
- Next cut about a 4 inch section of ribbon, and then cutting it again down the center.
- Place the entire mixture of the spackle into a plastic bowl and add 2 tablespoons of water. This will make the mixture easier to work with and have a fluffier consistency.
- Next using your knife mix together thoroughly.
- Add a dab of hot glue to the inside of the plastic shot glass, and add the ribbon ends so that you create a loop at the top.
- Next fill the shot glasses with the spackle leaving some room at the top.
- Then fill the cake decorator with the spackle and pipe the spackle onto the top of the mixture that is already in the container. It is similar to doing icing on a cake!
- Next add in the plastic straw and add some glitter on top.
- Allow time to dry and place on display!
Notes
For more fun Christmas crafts visit DollarCrafter.com
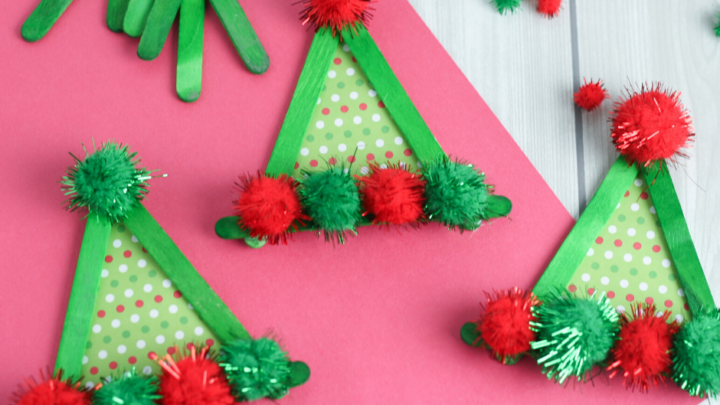
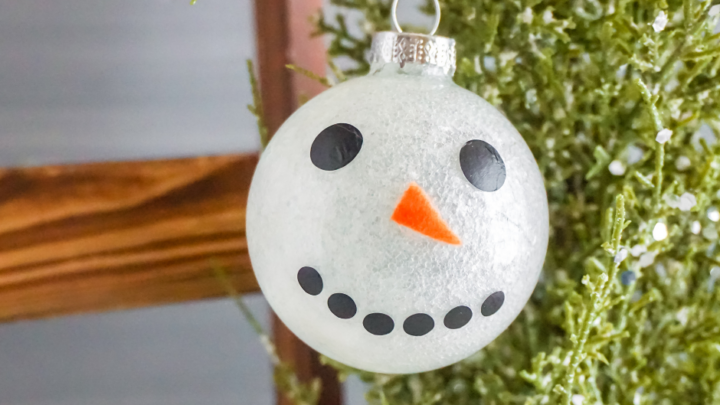
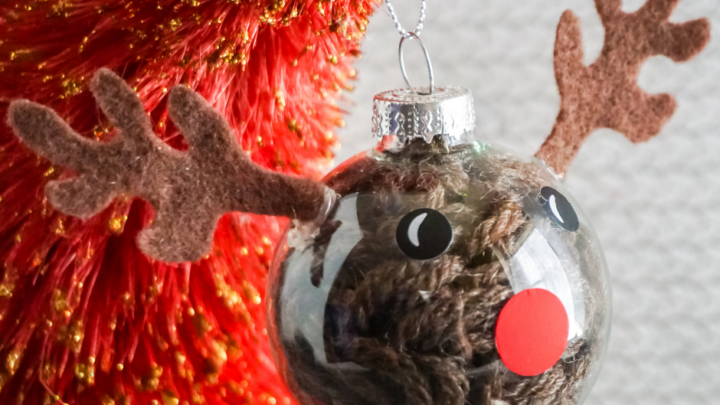
More Christmas Ornaments You Will Love!


Please Save This to Pinterest
Your shares are how this site grows, and I am sincerely grateful. Know a friend who’d like this? Please share it on Facebook or save it to your favorite crafting board on Pinterest.