
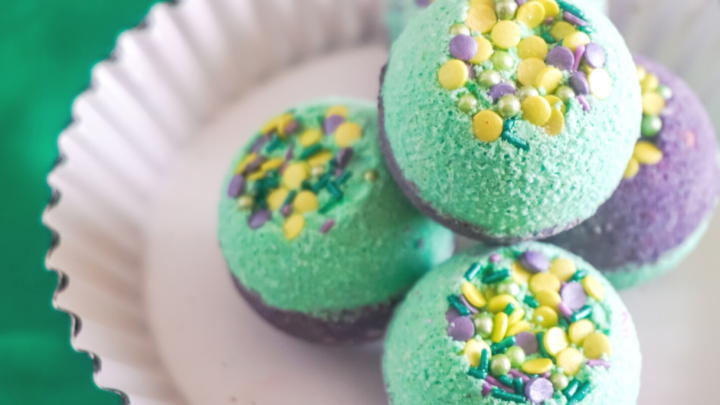
The winter blues may be hitting you hard, but there’s nothing like a steaming hot bath to take away the chill. These DIY Frozen Bath Bombs will help you feel more refreshed and relaxed after a long day in the cold.
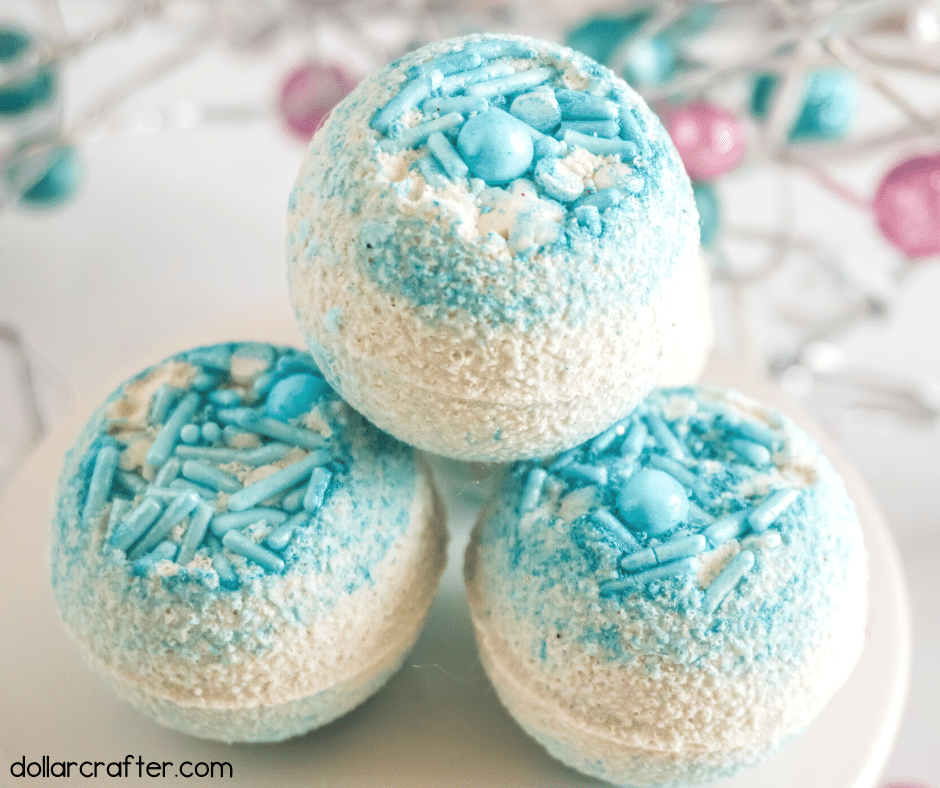
Homemade Frozen Bath Bombs
In the movie Frozen, Anna and Elsa create a beautiful ice palace to escape their fear of one another. They created this palace by using an enchanted snowman named Olaf. But if they had used DIY frozen bath bombs instead, the process would have been much easier!
Read on for instructions on how to make your own DIY frozen bath bombs!
Tips for Making Frozen Inspired Bath Bombs at Home
If you are new to making bath bombs at home make sure to swing over and read all of our tips and tricks for making bath bombs at home before you get started.
Supplies:
- Baking Soda
- Citric Acid
- Bentonite Clay
- Epsom Salts
- Polysorbate 80
- Mica Powder
- Coconut and Essential Oils
- Alcohol
- Snowflake Sprinkles
For these homemade bath bombs, we opted to use metal bath bomb molds. Silicone molds also work pretty well. We opted to use metal in order to achieve the swirling coloring effect easier.
One thing to remember when using metal bath bomb molds is that you do not mush your bath bomb together top to bottom. Instead, you should place your mold together side by side. This way, when it comes time to remove your bath bomb from the mold it will come out easier.
Also, keep in mind, creating bath bombs is at least a 24-hour process. While this is a craft that you can create in an afternoon, they will need to sit overnight in order to harden.
How to Make Frozen Bath Bombs at Home
Let’s get crafting! Below is our written tutorial.
Frozen Bath Bombs
Materials
- 1 1/2 cup baking soda
- 3/4 cup citric acid
- 1 tbsp bentonite clay
- 1 tbsp epsom salts
- 2 tbsp melted coconut oil
- 1/2 tsp essential oil blend desired
- 1/2 tbsp polysorbate 80 (to keep the colorant from sticking to the bathtub)
- 1 tsp blue mica powder
- 2-4 tablespoons snowflakes sprinkles blend
- 1/2 tsp alcohol
Tools
- 4-5 mini bath bomb molds
Instructions
- Whisk together the baking soda, citric acid, clay and epsom salts.
- In a second bowl, combine the melted coconut oil, essential oil blend and polysorbate 80 together, mixing well.
- Add liquid ingredients 1 tsp at a time to the dry ingredients, mixing it together slowly so as not to start the fizzy reaction.
- Split the mixture into two bowls and, to one bowl, add the green mica powder and stir until the color is consistent throughout. If you would like a more intense color, add more mica powder in 1 tsp increments, stirring between each increment until you have a dark color. Keep in mind that the color will fade a little when the mixture dries. Do not add colorant to the second bowl
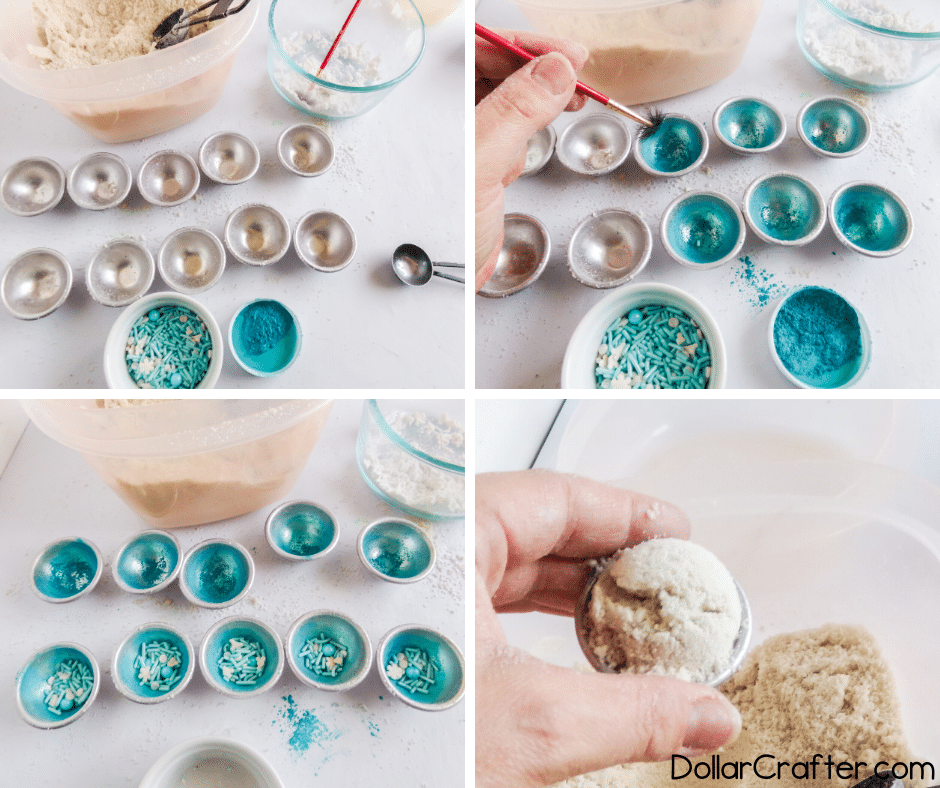
- Dust the bottom of one side of the bath bomb mold with the blue mica powder. The sprinkle side tends to come out on its own, so do not bother to dust that side with cornstarch.
- Place about 1 tsp of sprinkles in the non-dusted side of the bath bomb mold.
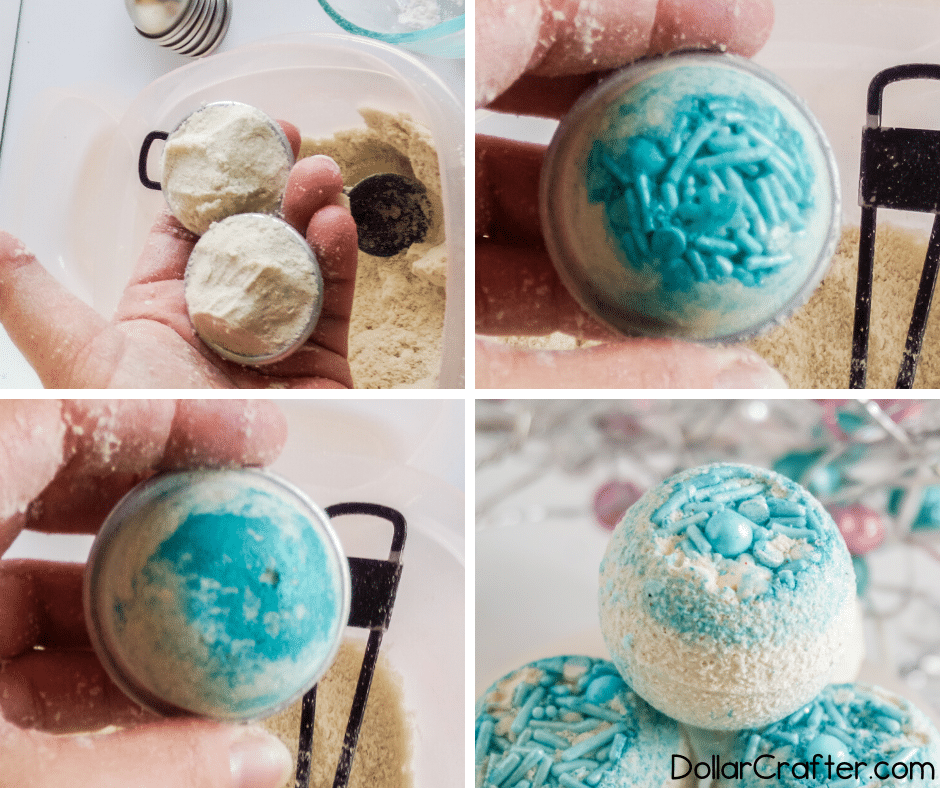
- Immediately pack the dusted side of the bath bomb mold with the blue mixture and the sprinkles side of the mold with the white mixture - alternatively, you can layer the mixture in each mold. Pack extra bath bomb mixture between the two molds, then press the two sides together, grinding and pressing them to force the two together.
- Allow the bath bombs to rest in the mold for up to 24 hours before gently tapping the top and side of the mold to release the bombs.
- Use your bath bombs immediately or store in an airtight container until you’re ready to use!
Notes
For more easy bath bomb tutorials visit DollarCrafter.com
More Bath Bomb Ideas You Will Love!
Homemade Bath Bomb Ideas
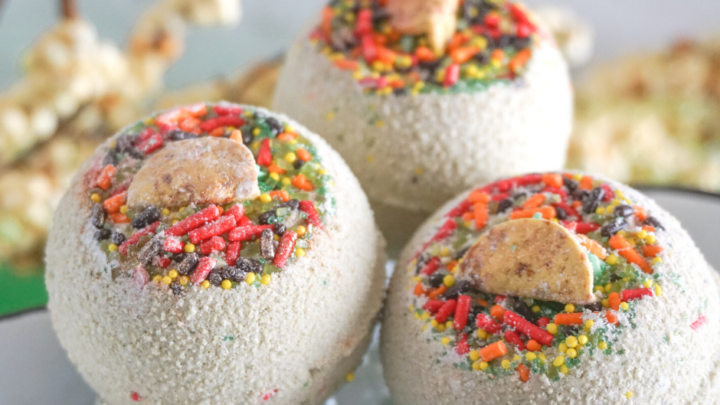
Homemade Taco Bath Bombs
Need a taco fix? We’ve got you covered with these DIY Taco Bath Bombs that are perfect for any day of the week (not just taco Tuesday).
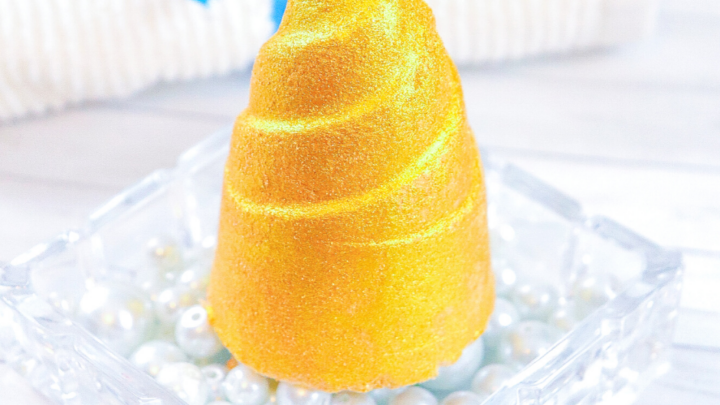
DIY Unicorn Horn Bath Bombs
These Unicorn Horn Bath Bombs are absolutely magical and incredibly easy to make. They are a must for any unicorn lover to try!
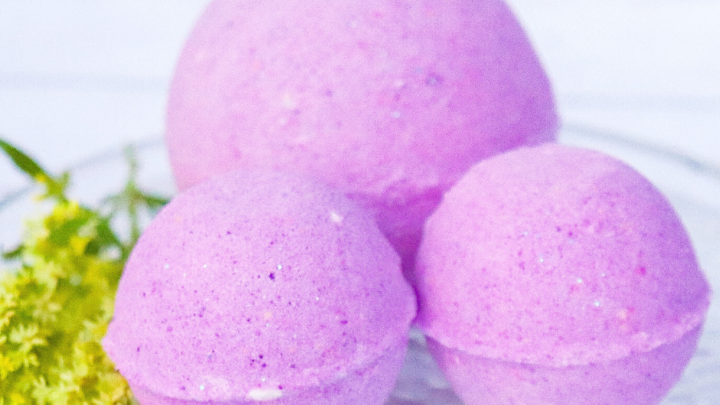
Homemade Lavender Bath Bombs
Store bought bath bombs can get pricey. You can easily save money making these lovely lavender bath bombs at home!
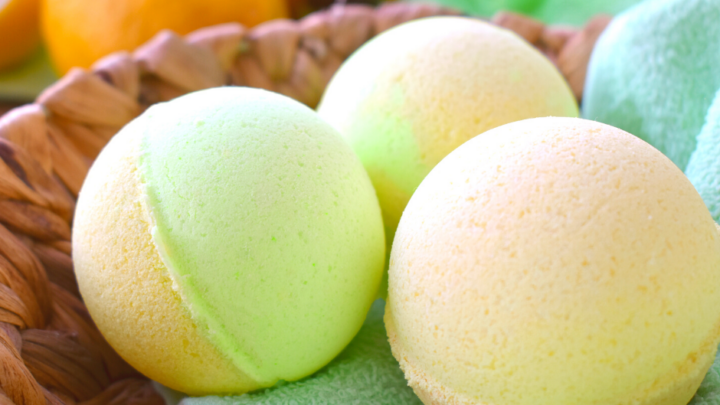
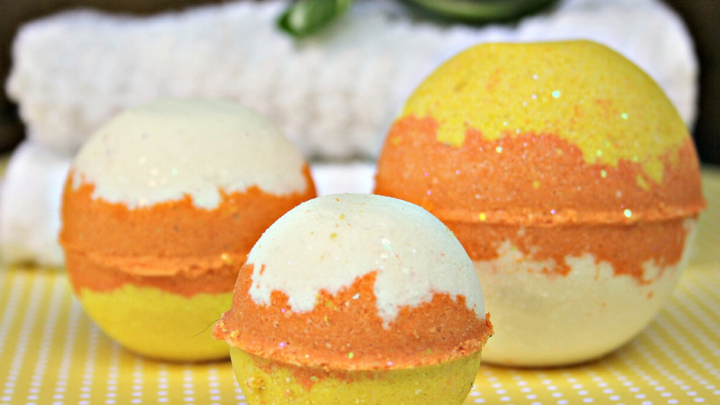
Homemade Lemon Lime Bath Bombs
These amazing citrus scented DIY bath bombs are an invigorating pick me up. The duet of lemon lime is perfect for relieving stress, improving mood, and relaxing.
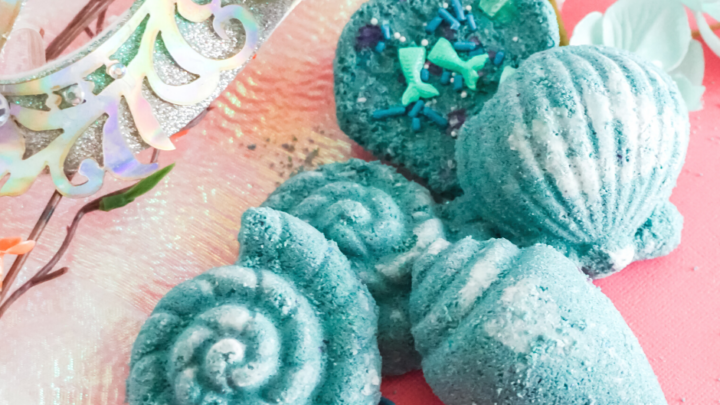
Homemade Seashell Bath Bombs
Relax and unwind your day with these wonderful Mermaid Seashell Bath Bombs that you can easily make at home.
DIY Hulk Bath Bombs: Relax with a Superhero Surprise
Want to have Hulk-sized fun in the bathroom? Hulk is green and purple colored just like these bath bombs turning your bathroom into Bruce Banner’s lab!
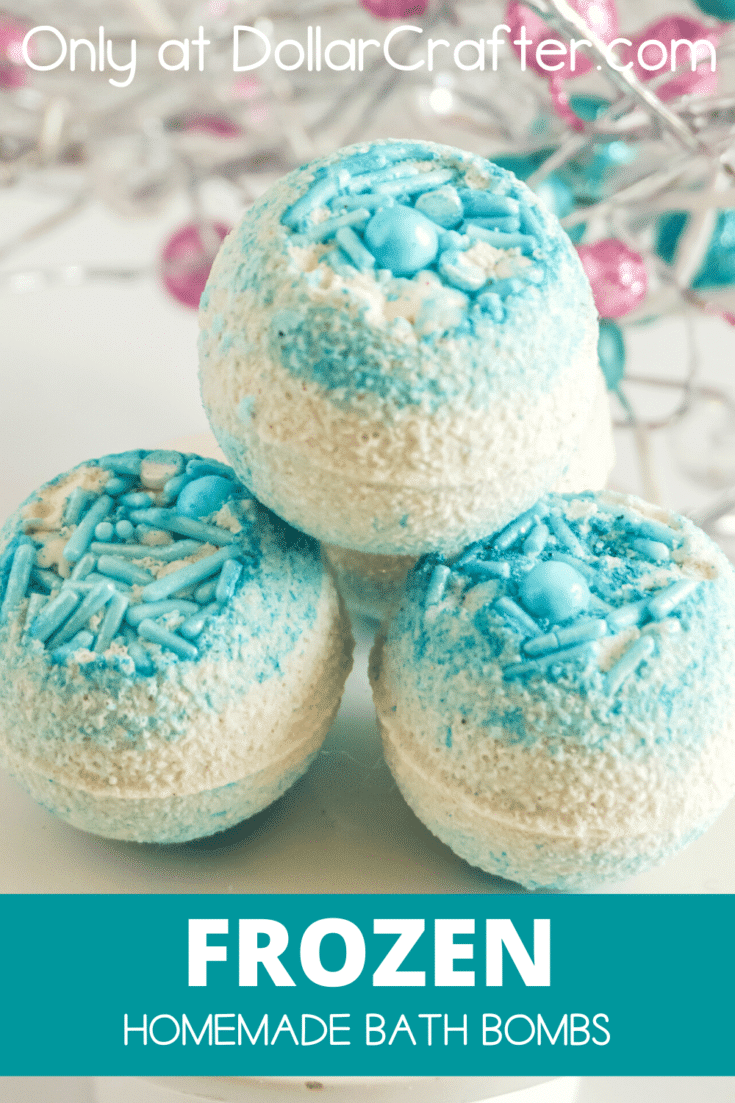
Please Save This to Pinterest
Your shares are how this site grows and I am sincerely grateful. Know a friend who’d like this? Please share it on Facebook or save it to your favorite homemade beauty board on Pinterest.