
Making your own bath bombs is a great way to save money, and it’s easy! With these lovely Lavender Bath Bombs, you can make an aromatherapy experience that everyone will enjoy.
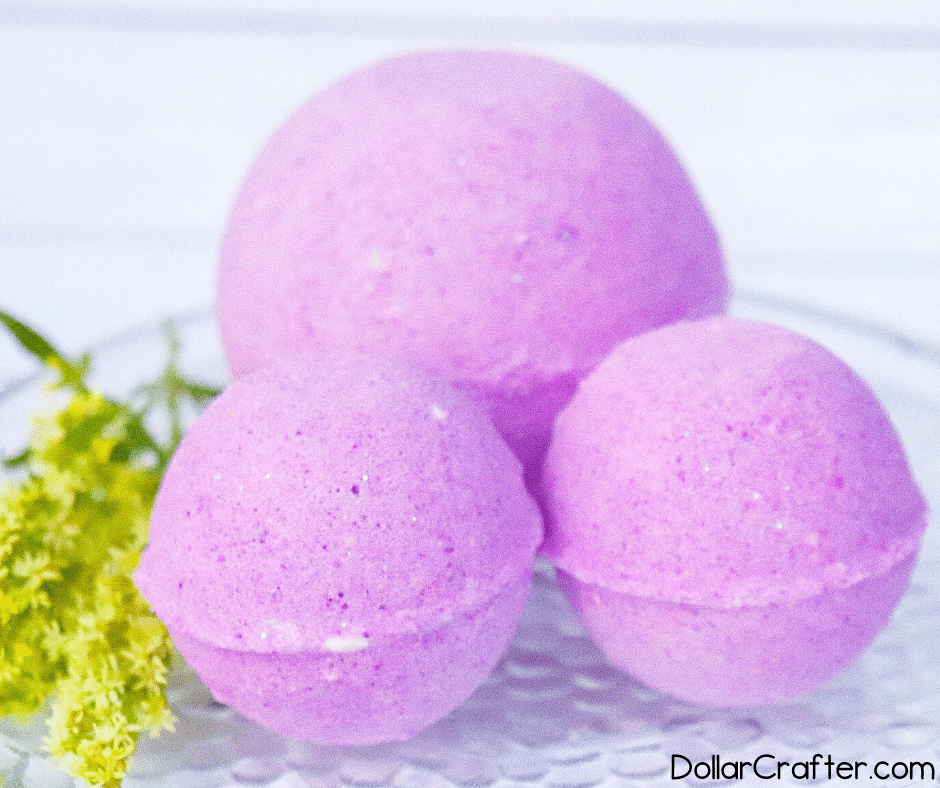
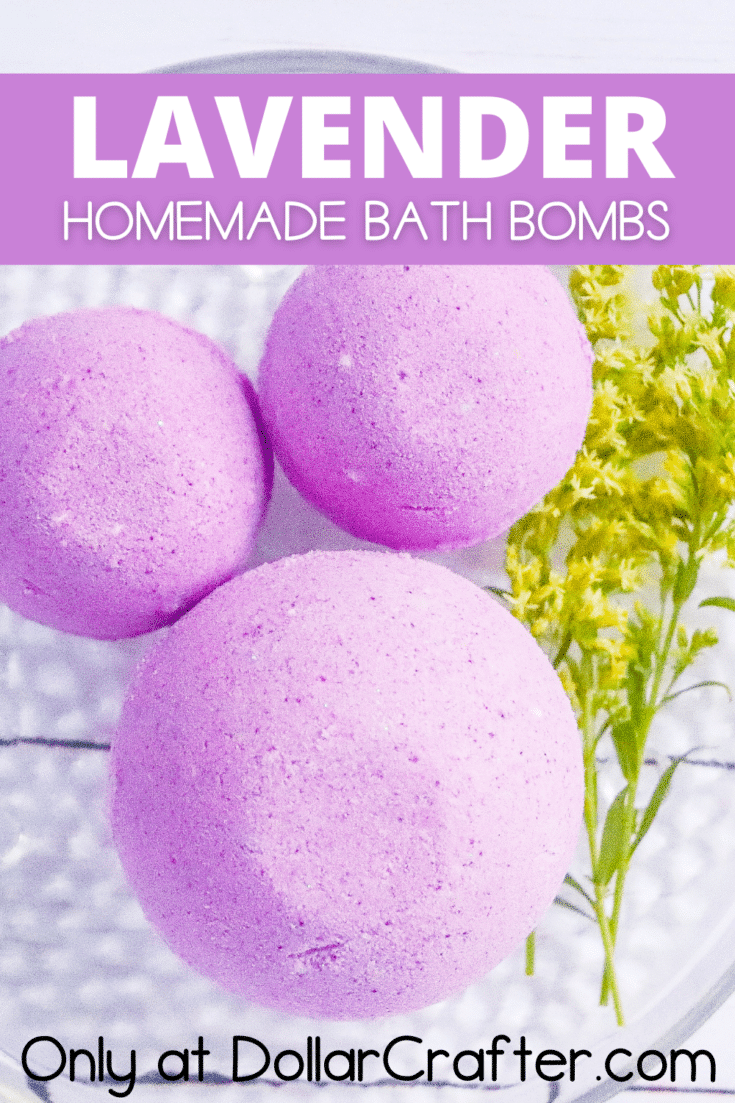
DIY Lavender Bath Bombs
Bath bombs are a fun and simple way to pamper yourself. Bath bombs are a great way to relax in the bath, soothe sore muscles and invigorate your senses. You could make these into little personalized gifts by adding something small inside, such as flowers petals. Get creative and have fun.
Lavender Bath Bombs take only about 10-20 minutes of your time, but afterward, you need an extra day for them to harden up before you can use them or give them away as a gift. Here is a list of supplies, and you might even have the majority of them at home already.
Supplies:
- 2 cups baking soda
- 1 cup citric acid
- 1/2 cup cornstarch
- 1/4 cup cream of tartar
- 1/4 cup coconut oil (melted or solid. Both work!)
- 1 tablespoon polysorbate 80
- 20 drops of Lavender essential oils
- Purple cosmetic glitter
- 1-3 drops purple gel food coloring
- Bath bomb molds
- Spray bottle filled with rubbing alcohol
- 1 large mixing bowl
- 1 small bowl
Tips for Making Bath Bombs at Home
If you are new to making bath bombs at home, make sure to swing over and read all of our tips and tricks for making bath bombs at home before you get started.
Making bath bombs at home can seem daunting, but it’s super simple with these hacks! Here are our favorite problem-solving tricks to make the process easier.
- When it comes to bath bomb molds, they aren’t all made equal. While metal bath bomb molds are popular, I personally prefer silicone molds. They are a whole lot easier to pop the bath bomb out of plus easy to clean and store.
- If you choose to use a metal bath bomb mold, put the bath bomb together side by side. If you attempt to mash the bath bomb mold top to bottom instead of side to side it will make getting the bath bomb out in one piece a bit harder.
- Mixing ingredients also matters. I used to be one to just throw everything in and mix it all at once…then struggle with crumbly bath bombs. To avoid this, mix the wet ingredients together really well first. Then add the citric acid. This way you aren’t scrambling to beat the fizz.
- It is always a good idea to let your bath bomb sit in the mold overnight to dry.
- After you have made your bath bombs, protect them from humidity by storing them in an airtight container.
If you want to try another bath bomb to make at home, please check out our Homemade Seashell Bath Bombs– super cute.
How to Make Lavender Bath Bombs
Let’s get crafting! Below is our written tutorial.
Lavender Bath Bombs
Materials
- 2 cups baking soda
- 1 cup citric acid
- 1/2 cup cornstarch
- 1/4 cup cream of tartar
- 1/4 cup coconut oil (melted or solid. Both work!)
- 1 tablespoon polysorbate 80
- 20 drops of Lavender essential oils
- Purple cosmetic glitter
- 1-3 drops purple gel food coloring
Tools
- Bath bomb molds
- Spray bottle filled with rubbing alcohol
- 1 large mixing bowl
- 1 small bowl
Instructions
- In a large mixing bowl, add the baking soda, citric acid, cornstarch, and cream of tartar. Whisk dry ingredients together.
- In a large mixing bowl, add the baking soda, citric acid, cornstarch, and cream of tartar. Whisk dry ingredients together.
- Add the polysorbate 80. This helps the coconut oil disperse more evenly in your bath water, makes the bath bombs bubbly and prevents the mica from sticking to the side of the tub.
- Add the lavender essential oi. This oil has been known to ease insomnia, relieve stress and anxiety, and has a calming and relaxing effect.
- Add the gel coloring, 1 drop at a time and mix after each drop until desired color is achieved.
- Next add the glitter. You can add as much or as little as you like.
- Mix the ingredients together. I use my hands to break down any lumps and make sure everything is really mixed in there. The mixture is perfect when it holds together when you press it into your hands and feels like wet sand.
- Take one round mold and fill each side with the mixture until it is a bit over-flowing. Press both sides together, using a twisting/grinding motion to get rid of any excess mixture. Gently tap each side and carefully remove the bomb.
- As you progress through making the bath bombs, you may need to spray the mixture with the rubbing alcohol to moisten it, so the remaining bombs bind together. Allow the bath bombs to dry a minimum of 24 hours. My rule of thumb is that when it is hard to the touch, they are ready for the final stage…the bombing of the water!
Notes
For more fun DIY Bath and Beauty Projects visit DollarCrafter.com
Please Save This to Pinterest
Your shares are how this site grows, and I am sincerely grateful. Know a friend who’d like this? Please share it on Facebook or save it to your favorite homemade beauty board on Pinterest.