
Need a taco fix? We’ve got you covered with these DIY Taco Bath Bombs that are perfect for any day of the week (not just Tuesday). Now they might not help with hunger pains, but they will help soothe your tired muscles.
They don’t smell like a taco but have a lemony coconut scent (but you can add whatever scent you want) which is a perfect pick-me-up after a long day. These bath bombs are fun to make for yourself and make a fabulous gift. Any Taco Lover would love to get one of these as a gift.
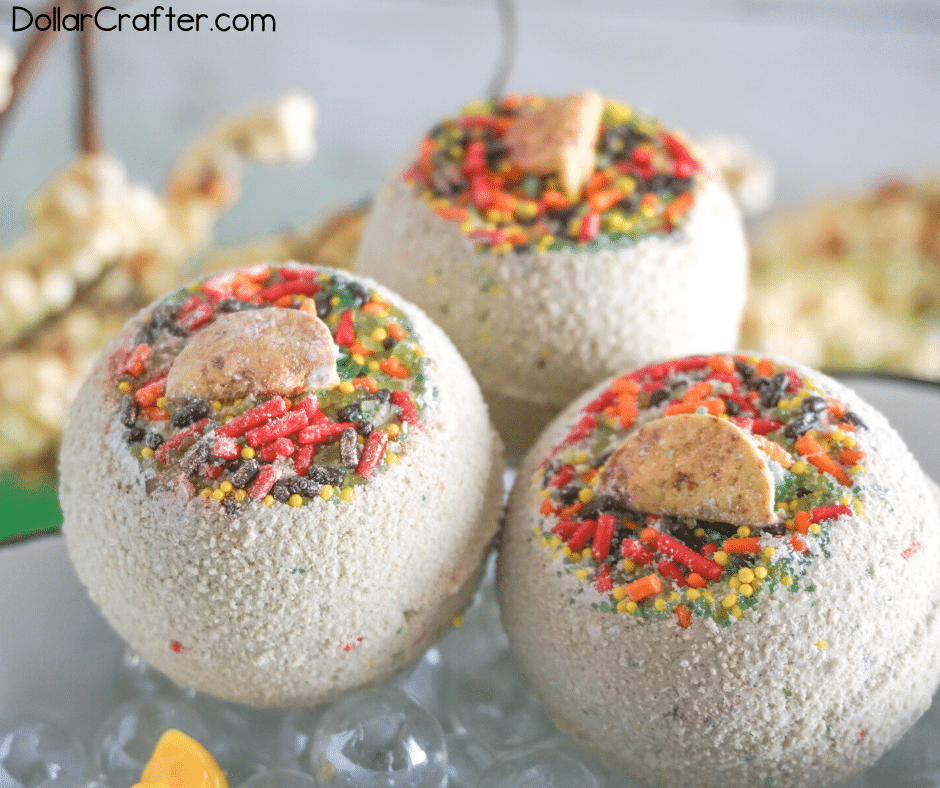
DIY Taco Bath Bombs
Bath bombs are not only super simple to make but also lots of fun! These homemade taco bath bombs will take about 20-30 minutes to make and then need to sit overnight to harden.
Supplies:
- 1 1/2 cup baking soda
- 3/4 cup citric acid
- 1 tbsp bentonite clay
- 1 tbsp epsom salts
- 2 tbsp melted coconut oil
- 1/2 tsp essential oil blend desired (we used coconut and lemon)
- 1/2 tbsp polysorbate 80 (to keep the colorant from sticking to the bathtub)
- 1 tsp yellow mica powder
- 1/2 tsp blue mica powder
- 2-4 tablespoons taco sprinkles blend
- 1/2 tsp alcohol
- 1/2 tsp cornstarch
- 5 bath bomb molds
- 2 mixing bowls
- measuring spoons
- spatula
Tips for Making Bath Bombs at Home
If you are new to making bath bombs at home, make sure to swing over and read all of our tips and tricks for making bath bombs at home before you get started.
Making bath bombs can seem like a big task, but I promise you it’s effortless! Below are some hacks that will make your life easier while making these fun little guys.
- When it comes to bath bomb molds, not all are made equal. Metal bath bomb molds tend to be the most popular, however, I personally prefer silicone molds. Silicone molds are a whole lot easier to pop the bath bomb out of (especially if you are crunched for time and can’t let your bath bomb dry overnight). Plus silicone is super easy to clean and store.
- If you choose to use a metal bath bomb mold, one thing to keep in mind while mashing your bath bomb into one is to mash the bath bomb together side by side. If you attempt to mash the mold top to bottom instead of side to side it will make getting the bath bomb out in one piece a bit harder. Remembering this simple trick will be a sanity saver when it comes time to removing your bath bomb from the mold.
- Mixing ingredients also matters. I used to be one to just throw everything in and mix it all at once…then struggle with crumbly bath bomb. To avoid this, mix the wet ingredients together really well first. Then add the citric acid. This way you aren’t scrambling to beat the fizz.
- Also, keep some isopropyl alcohol close by for when you are adding your mixed ingredients into your bath bomb molds. You can use alcohol to dampen a mixture that is too dry without ruining the bath bombs.
- It is always a good idea to let your bath bomb sit in the mold overnight to dry.
- After you have made your bath bombs, protect them from humidity by storing them in an airtight container.
I highly recommend trying out our Unicorn Horn Bath Bombs next.
How to Make Homemade Taco Bath Bombs
Let’s get crafting! Below is our written tutorial.
Taco Bath Bombs
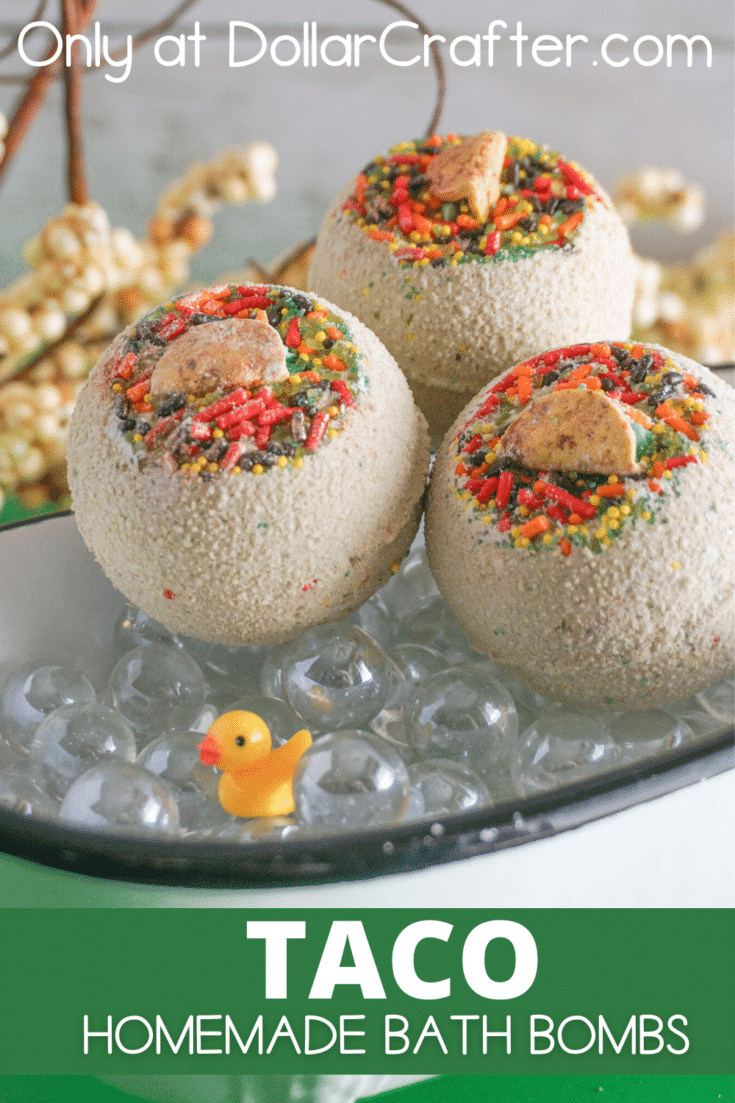
Nothing fixes a rough day like tacos do. It doesn't have to be Taco Tuesday to kick back, relax, and enjoy these homemade taco bath bombs!
Materials
- 1 1/2 cup baking soda
- 3/4 cup citric acid
- 1 tbsp bentonite clay
- 1 tbsp epsom salts
- 2 tbsp melted coconut oil
- 1/2 tsp essential oil blend desired (we used coconut and lemon)
- 1/2 tbsp polysorbate 80 (to keep the colorant from sticking to the bathtub)
- 1 tsp yellow mica powder
- 1/2 tsp blue mica powder
- 2-4 tablespoons taco sprinkles blend
- 1/2 tsp alcohol
- 1/2 tsp cornstarch
Tools
- 5 bath bomb molds
- 2 mixing bowls
- measuring spoons
- spatula
Instructions
- Whisk together the baking soda, citric acid, clay and Epsom salts.
- In a second bowl, combine the melted coconut oil, essential oil blend and polysorbate 80 together, mixing well.
- Add liquid ingredients 1 tsp at a time to the dry ingredients, mixing it together slowly so as not to start the fizzy reaction.
- Add the yellow and blue mica powder and stir until the color is consistent throughout. If you would like a more intense color, add more mica powder in 1 tsp increments, stirring between each increment until you have the color you want. Keep in mind that the color will fade a little when the mixture dries.
- Dust the bottom of one side of the bath bomb mold with cornstarch. The sprinkle side tends to come out on its own, so do not bother to dust that side with cornstarch.
- Place about 1 tsp of sprinkles in the non-dusted side of the bath bomb mold.
- Immediately pack each side of the bath bomb mold with the mixture. Pack extra bath bomb mixture between the two molds, then press the two sides together, grinding and pressing them to force the two together.
- Allow the bath bombs to rest in the mold for up to 24 hours before gently tapping the top and side of the mold to release the bombs.
- Use your bath bombs immediately or store in an airtight container until you’re ready to use!
Notes
For more fun DIY Bath and Beauty Projects visit DollarCrafter.com
Please Save This to Pinterest
Your shares are how this site grows, and I am sincerely grateful. Know a friend who’d like this? Please share it on Facebook or save it to your favorite homemade beauty board on Pinterest.