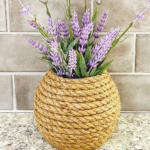
Do you love the nautical rope look? Me too! This DIY Nautical Rope Vase is perfect for your home or office. It’s also easy to make, with items that can be found at Dollar Tree.

DIY Dollar Tree Nautical Rope Vase
You know those nautical rope vases that you see in the store and they’re just so beautiful? Well, this DIY is easy enough for even a beginner crafter to complete. Also, don’t you think this would make the perfect centerpiece on your table?
Supplies:
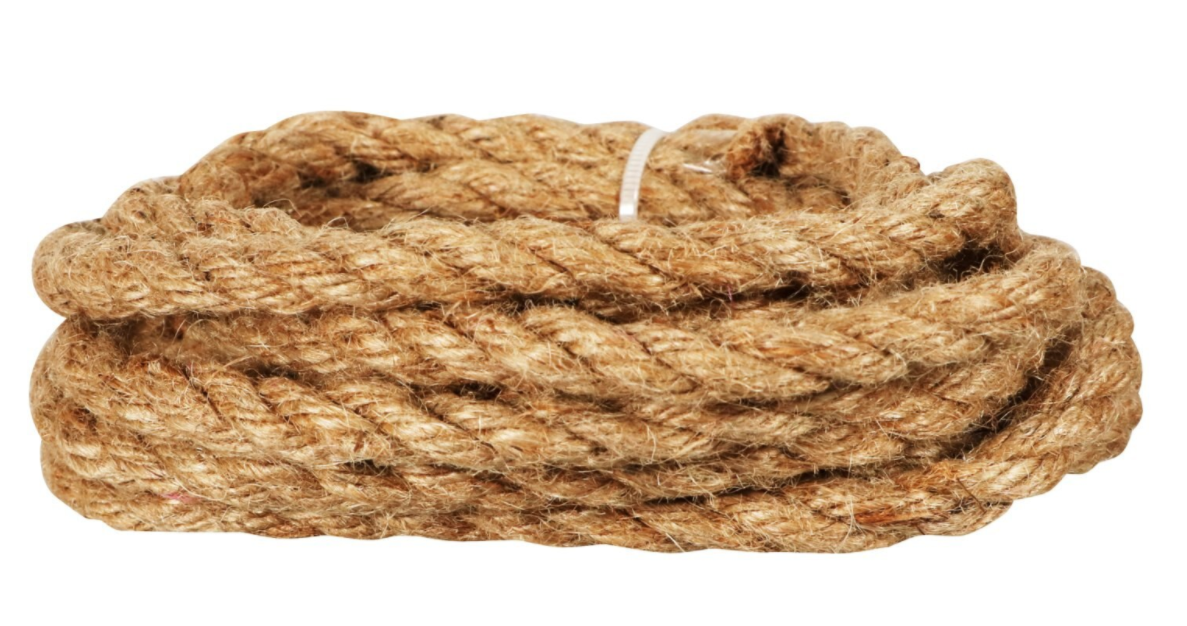
- 2 Nautical Ropes
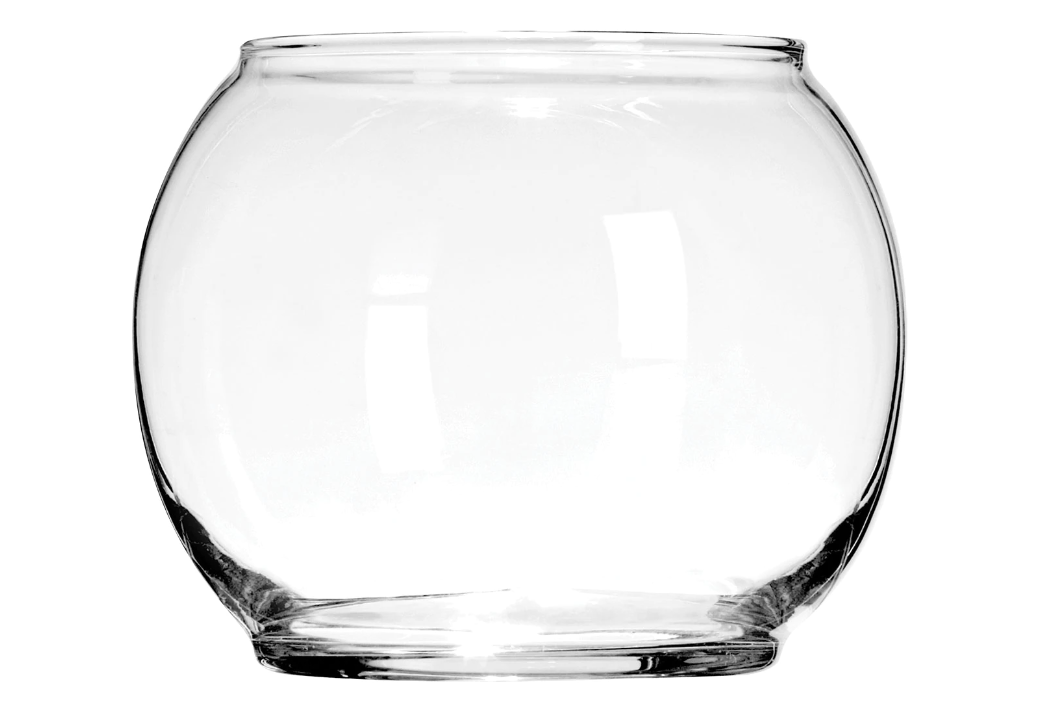
- Large Fishbowl Vase
- Glue Sticks
- Floral Foam
- Fake Flowers
- Scissors
- Glue Gun
Tips for Making a DIY Nautical Rope Vase
When picking out the nautical rope for this project, I would suggest going for a chunkier rope. However, you can also do this with a thinner rope. If you decide to use a thinner rope, be mindful as you apply hot glue so that it doesn’t show in the cracks of the rope.
As you apply the rope, make sure to press it down into the previous wrap to get a nice full look.
If you have a vase that you’re not using then save you some money and use it for this project. To decorate the rope vase, you can add embellishments to enhance the look.
This nautical rope vase would look amazing in the bathroom with DIY Copper Clothespin Mirror right above it.
How to Make a Homemade Nautical Rope Vase
Let’s get crafting! Below is our written tutorial.
Nautical Rope Vase
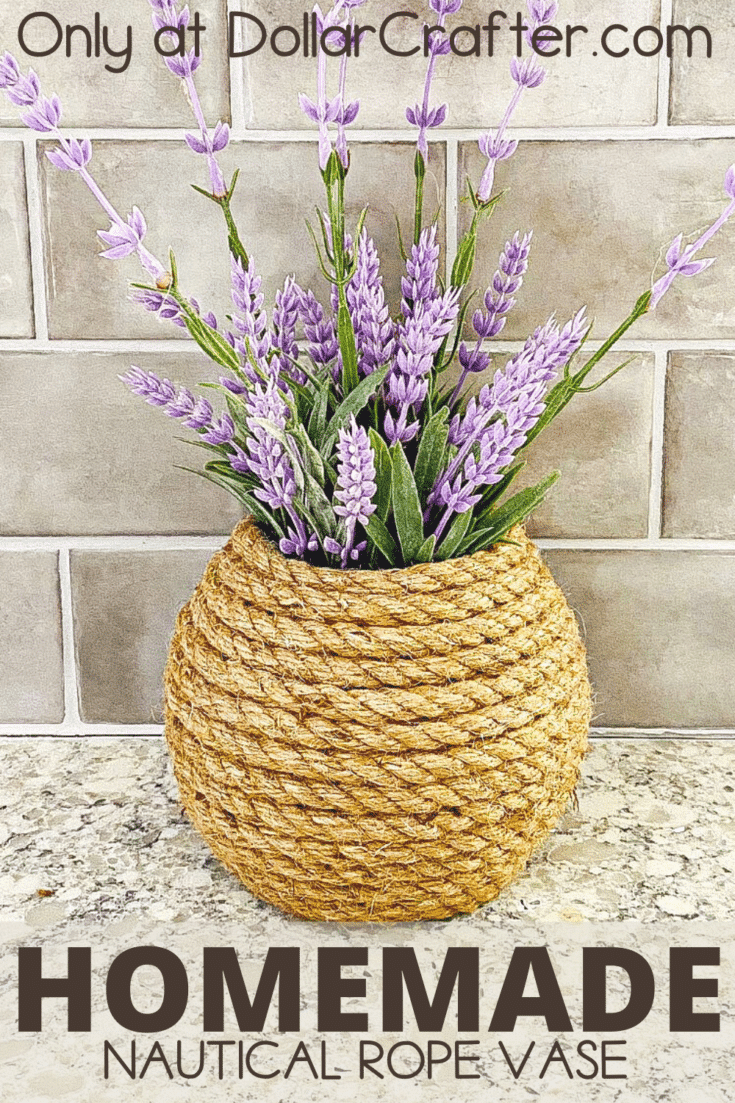
Make this simple nautical rope vase with supplies you can easily find at Dollar Tree!
Materials
- 2 Nautical Ropes
- Large Fishbowl Vase
- Glue Sticks
- Floral Foam
- Fake Flowers
Tools
- Scissors
- Glue Gun
Instructions
- Clean the vase of any dust, dirt, or stickers.
- Start by applying a line of hot glue along the bottom of the
vase and applying the nautical rope ( tip: the glue dries quickly on glass so don’t do to long of a line of hot glue or you will have to peel it off). - Keep applying the glue and wrapping the nautical rope around the vase until the rope ends.
- When the rope ends, attach the next rope where you left off,
keep gluing and wrapping until you reach the top. - Trim the floral foam to fit into the bottom of your vase and then place it in the vase. You can secure the floral foam with hot glue if desired but it isn't necessary.
- Arrange your flowers in your vase and enjoy!
Notes
For more simple dollar store crafts visit DollarCrafter.com
Recommended Products
As an Amazon Associate and member of other affiliate programs, I earn from qualifying purchases.
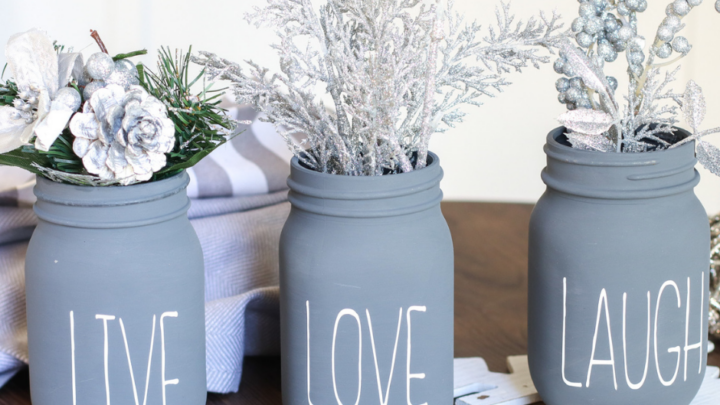
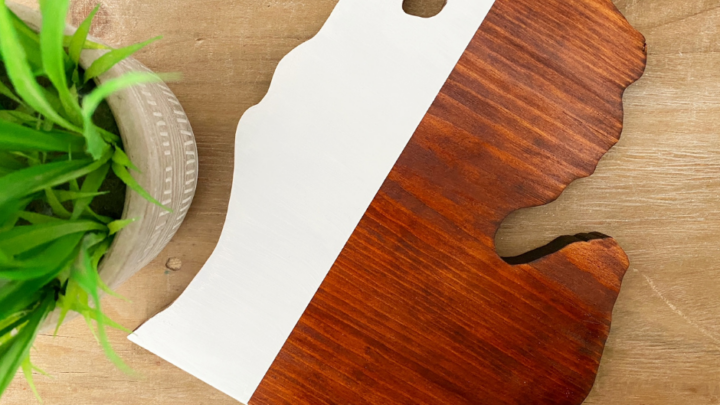
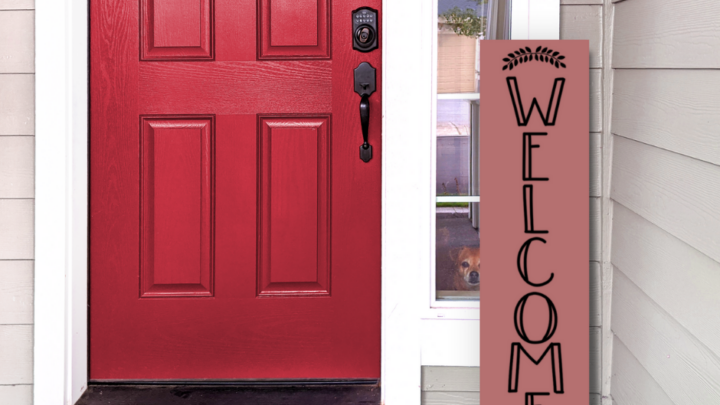
More Farmhouse Decor DIY Projects You Will Love!


Please Save This to Pinterest
Your shares are how this site grows, and I am sincerely grateful. Know a friend who’d like this? Please share it on Facebook or save it to your favorite homemade beauty board on Pinterest.