One of the most talked about topics in recent years is going green or reducing your carbon footprint. DIY laundry pods are an easy way to do just that. Giving you a biodegradable alternative to store-bought, these laundry pods are made from all-natural ingredients and can be used in any type of washing machine!
Homemade Essential Oil Laundry Pods
Supplies:
- Washing Powder
- Castile Soap Bar (Ethique is my fav)
- Epsom Salt
- White Vinegar
- Tea Tree Essential Oil
- Bergamot Essential Oil
- Grapefruit Essential Oil
Tips for Making DIY Laundry Detergent Pods
These DIY laundry detergent pods are also an excellent way to save money!
Making your own laundry detergent pods has never been easier! To make, get castile soap and baking soda from the supermarket. You will also need washing soda (found in most grocery stores) vinegar for its cleaning power, as well as essential oils to give it a lovely scent.
You also need to add a bit of vinegar to help your pods form more easily into balls or discs. This will be a sanity saver when putting your detergent pods into their molds!
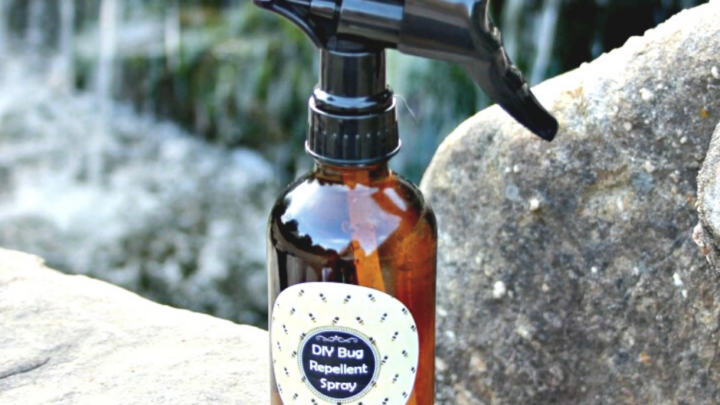
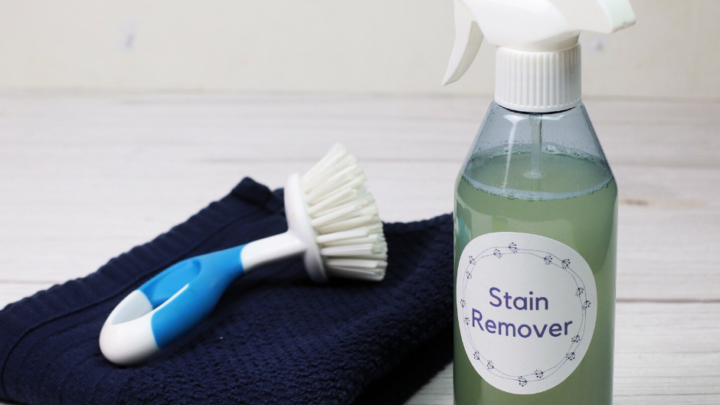
Make sure to use our Easy DIY Stain Remover when doing laundry.
How to Make Laundry Detergent Pods at Home
Ready to get crafting? You will find the full tutorial below!
DIY Laundry Detergent Pods
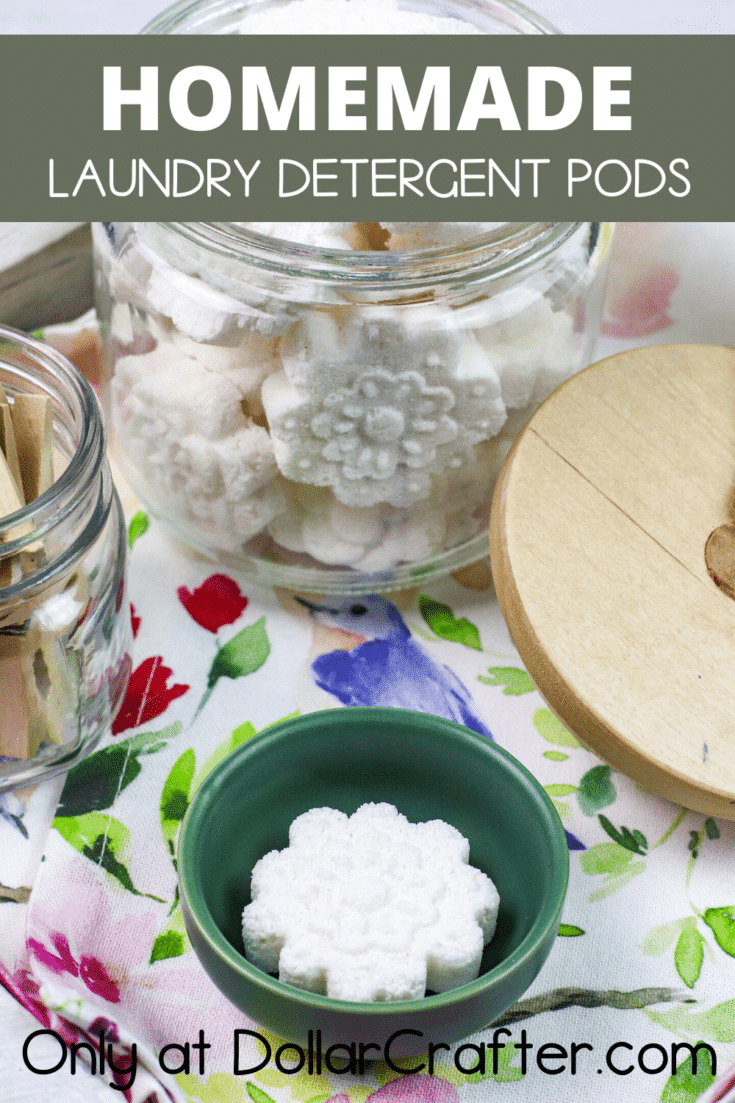
Save a fortune and go all naturale with these easy DIY laundry soap pods! They smell so good!
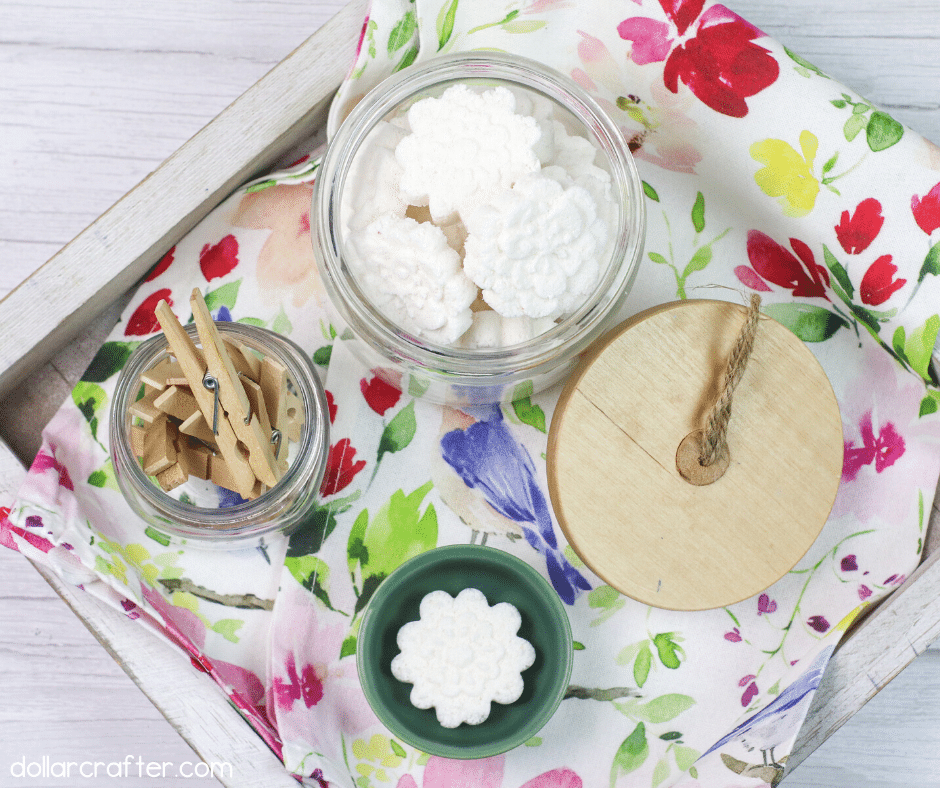
Materials
- 3 cups washing powder
- 1 ½ cups laundry soap bar, grated (Fels-Naptha is my fav)
- 1/4 cup Epsom salt
- 1/2 cup white vinegar
- 15-20 drops of tea tree essential oil
- 15-20 drops of bergamot essential oil
- 15-20 drops of grapefruit essential oil
Tools
- Ice cube tray or silicone mold
- Large bowl
- Spoon
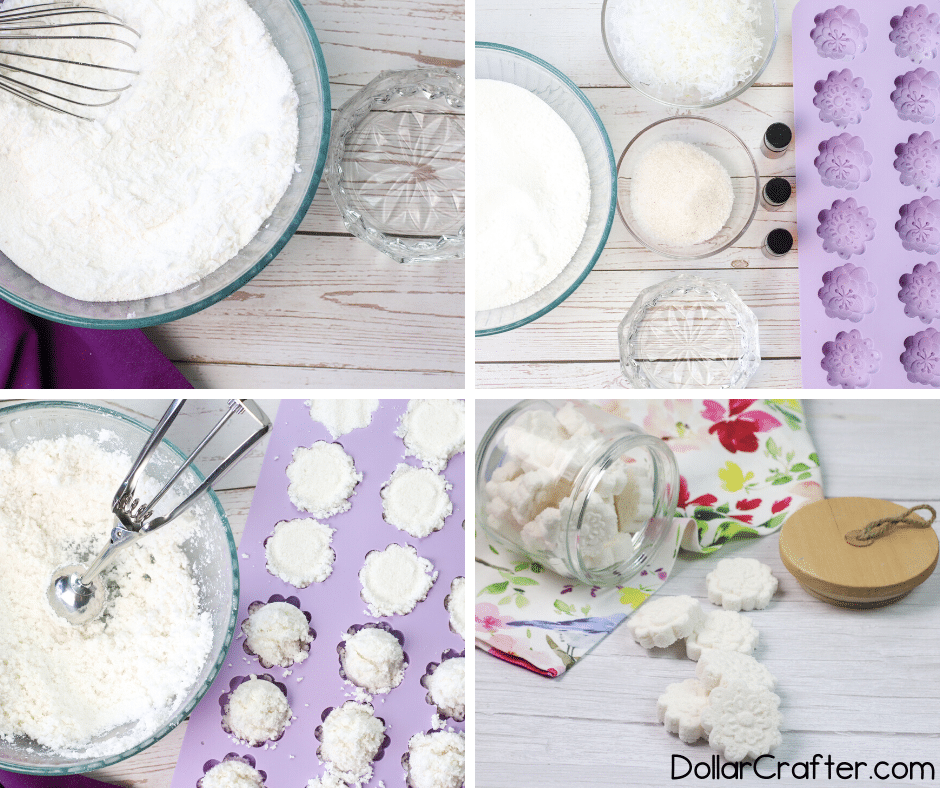
Instructions
- In a large bowl, add washing soda, Epsom salt, and grated laundry soap. Mix until well combined.
- Add in your essential oils. Mix until well combined.
- Mix in the vinegar (it may fizz a bit) until the mixture feels like wet sand and holds together in your hand.
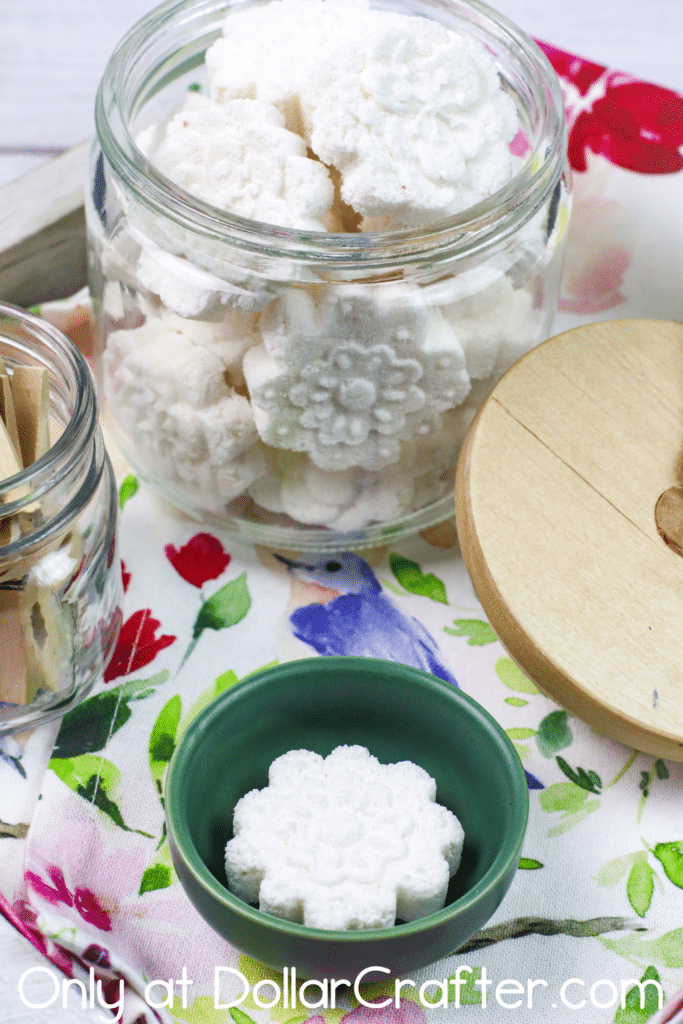
- Using a spoon or small ice cream scoop, add to each cavity of your mold(s) and press firmly. Allow to dry completely. I usually let it sit in the sun for a few hours. If drying inside, it is best to leave overnight to make sure it is completely dry.
Notes
For more simple bath and beauty crafts visit DollarCrafter.com
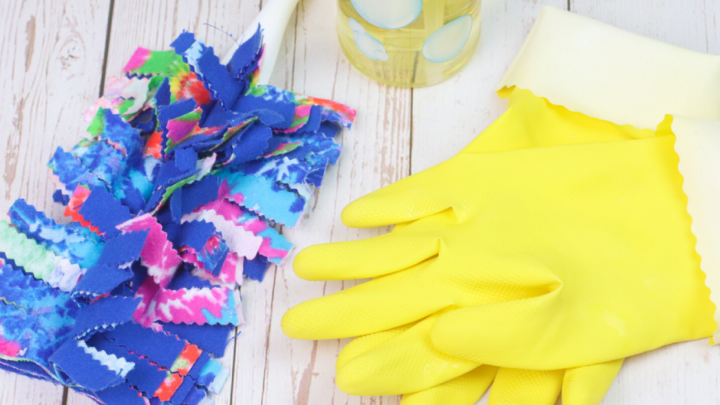
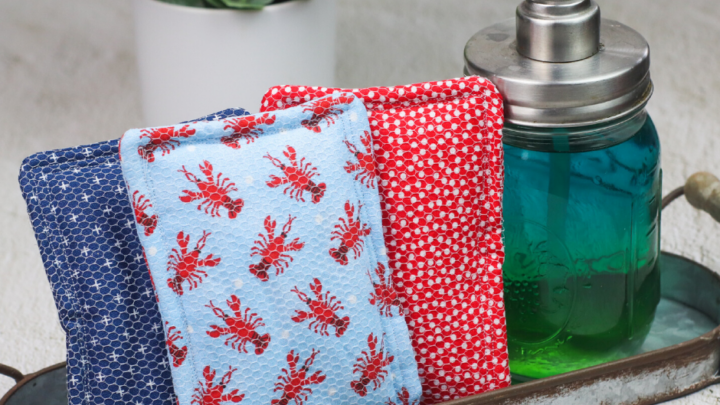
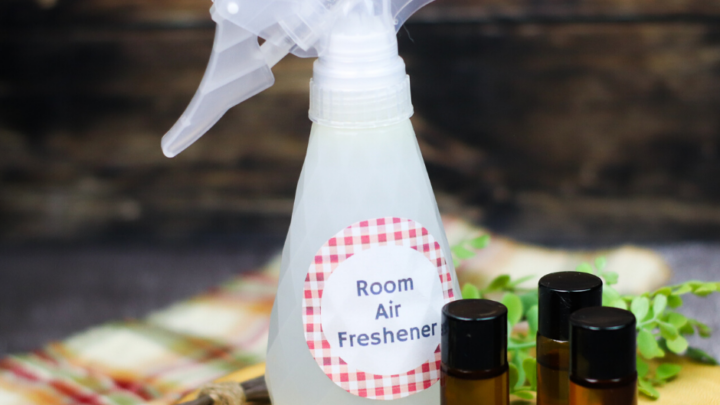
More Homemade Cleaning Supplies You Will Love!
Please Save This to Pinterest
Your shares are how this site grows, and I am sincerely grateful. Know a friend who’d like this? Please share it on Facebook or save it to your favorite homemade beauty board on Pinterest.