
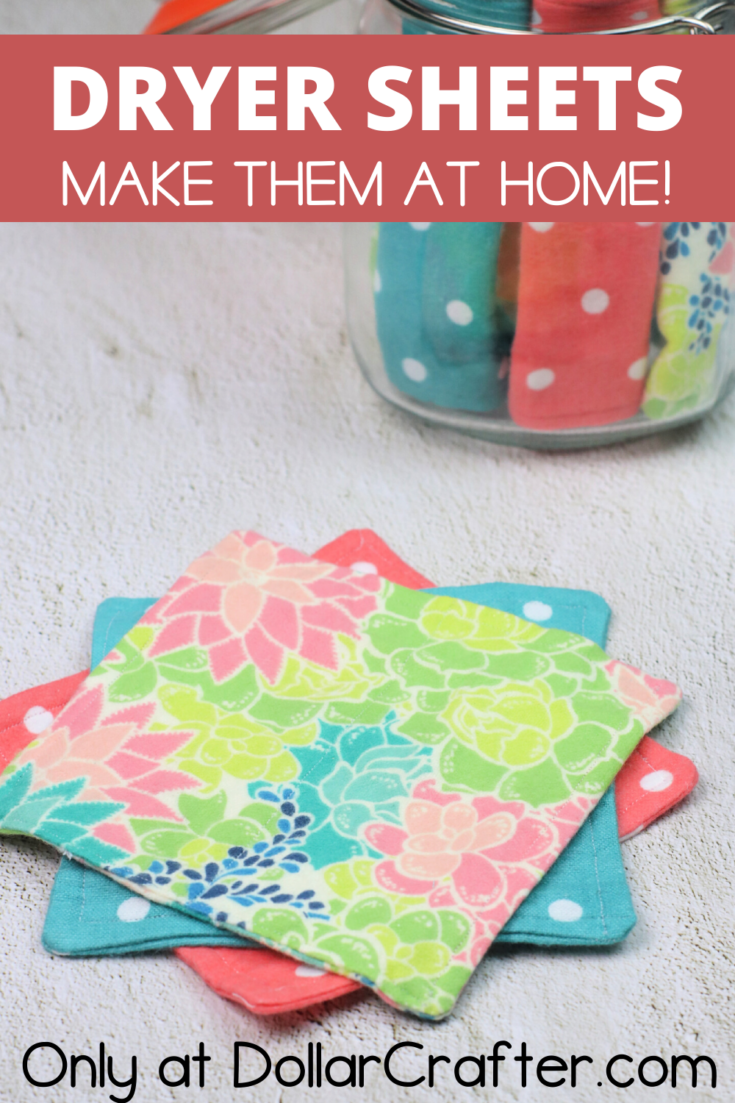
Want to know how you can make your own DIY dryer sheets? It’s easy and cheap, and it will change the way that you feel about laundry. I’m a bit obsessed with making my own because they’re so amazing, but more importantly, I want everyone else to have them too!
Homemade Dryer Sheets
Making homemade dryer sheets is better for the environment and your family members because they’re made with safe ingredients without harsh chemicals like commercial brands. It would help if you also made our DIY Laundry Pods which are made from all natural ingredients.
Supplies:
- ½ yard flannel fabric
- Matching thread
- Fabric marking pen
- Sewing pins or clips
- Standard sewing scissors
- Sewing Machine
- Turning tool or chopstick
- Cutting mat and ruler, measuring tape or ruler
- Iron
- Pinking Shears for no-sew option

Tips for Making Dryer Sheets at Home
I want to share a couple of tips with you to get the perfect dryer sheet possible. The first thing is the corners, after sewing around all four sides, leave a gap for turning, clip your corners, then use a chopstick to push out the corners.

Sew a line down the middle to keep the dryer sheet from twisting out of shape when you use it.
When you use the dryer sheet, make sure to wring out all excess moisture and place it in the dryer.
You don’t have a sewing machine; no worries, our instructions below also have a no-sew version.

How to Make Homemade Dryer Sheets
Let’s get crafting! Below is our written tutorial.
DIY Dryer Sheets
Materials
- ½ yard flannel fabric
- Matching thread
Tools
- Fabric marking pen
- Sewing pins or clips
- Standard sewing scissors
- Sewing Machine
- Turning tool or chopstick
- Cutting mat and ruler, measuring tape or ruler
- Iron
- Pinking Shears for no-sew option
Instructions
Instructions for Easy Sew:
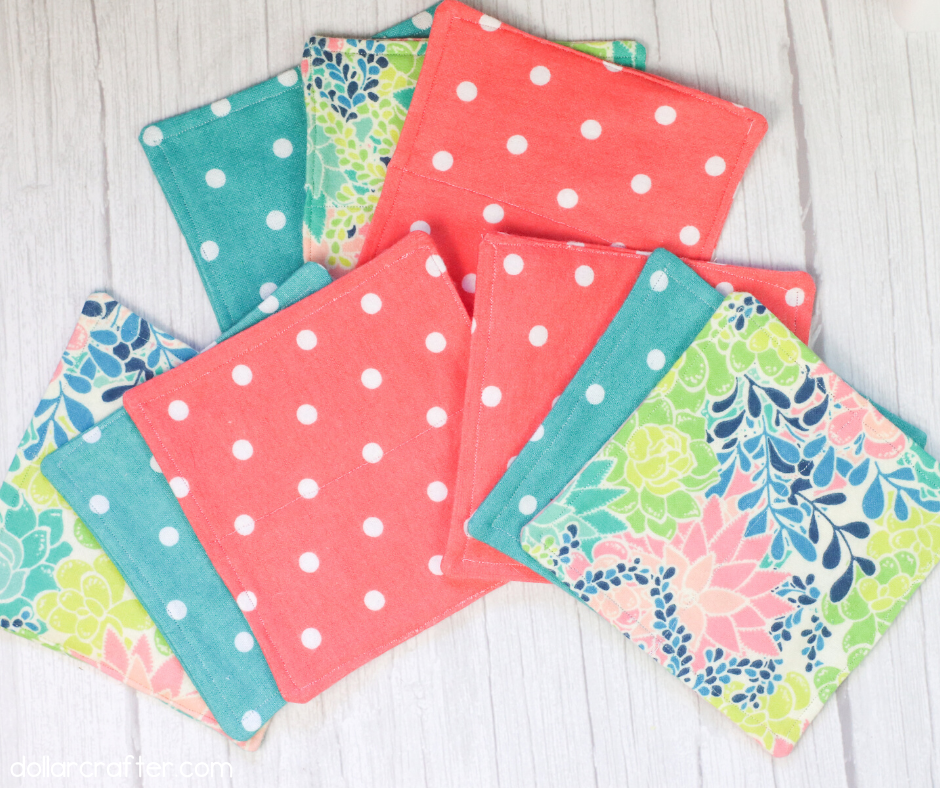
- Measure (12) 5 ½” x 5 ½” pieces of your flannel fabric
- Pin 2 pieces with printed sides facing each other. Using a 3/8” seam allowance, sew around all four sides, leaving a 3” gap for turning. Clip your corners.
- Using your turning tool, turn squares right side out and push out the corners. Press with a warm iron.
- Using a ¼” seam allowance, topstitch around the entire dryer sheet. Sew a line down the middle of the dryer sheet to keep it from twisting out of shape when you use it.
- Fold and place in an airtight container of homemade fabric softener mixture (equal parts fabric softener and water)
- To use, slightly twist once to remove excess moisture and place in the dryer.
No-sew instructions:
If you are not a seamstress, you can still make dryer sheets. Cut 5 ½” x 5 ½” pieces of flannel fabric and trim the edges with pinking shears. This will keep the raw edges from fraying when you wash and dry them. Use each square individually just as you would the stitched version.
Notes
For more simple home crafts visit DollarCrafter.com
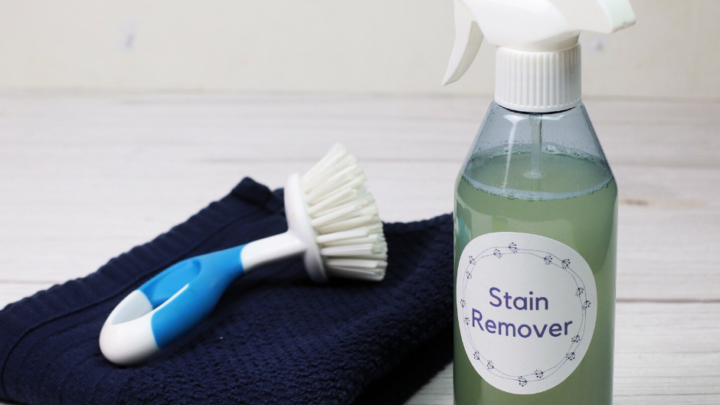
More DIY Home Ideas You Will Love!
Please Save This to Pinterest
Your shares are how this site grows, and I am sincerely grateful. Know a friend who’d like this? Please share it on Facebook or save it to your favorite craft board on Pinterest.