
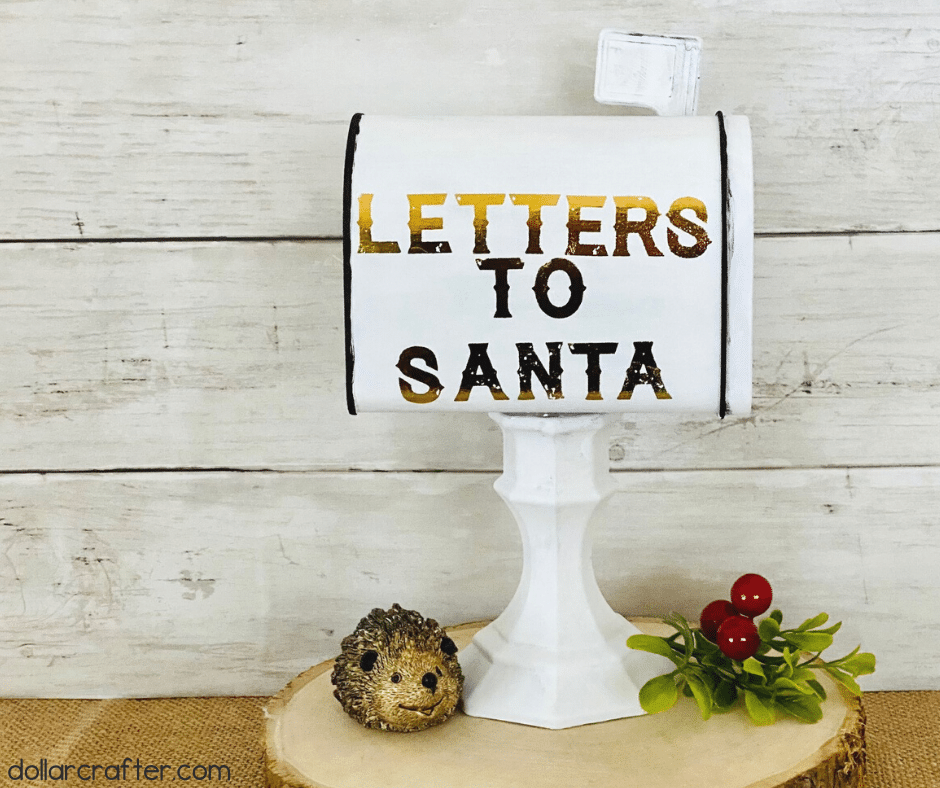
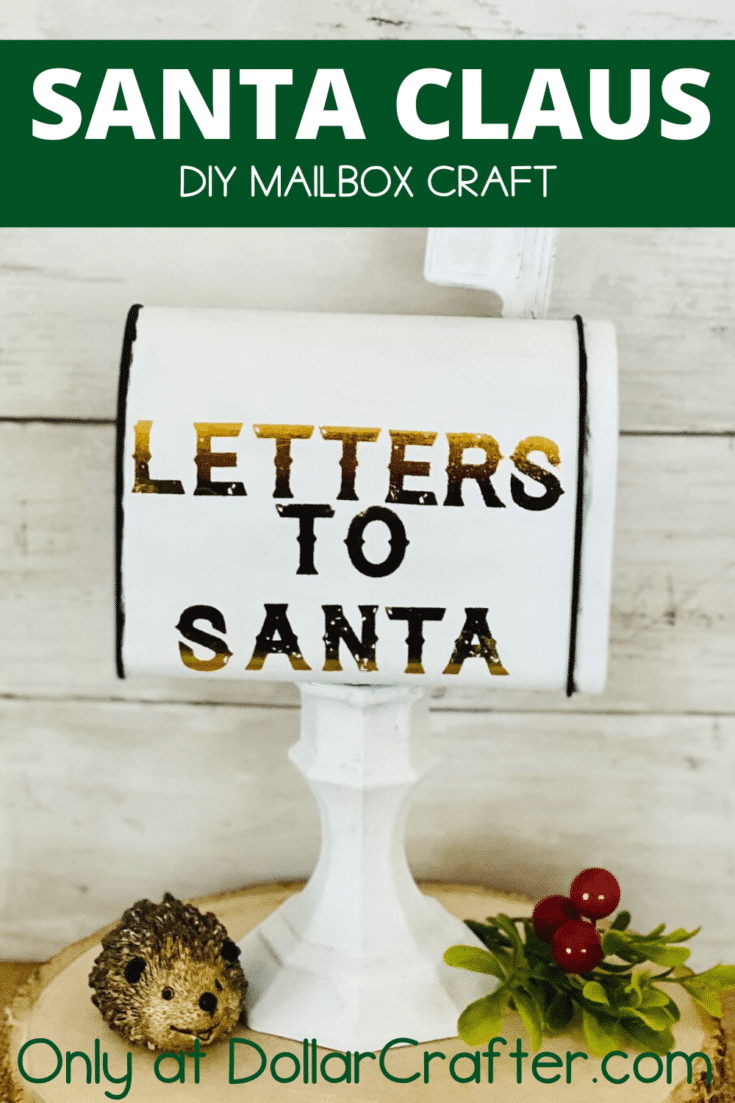
Do your kids love to write letters to Santa? Mine do, and this year we made this cute Letters To Santa mailbox, which is super easy to make. Kids will have so much fun writing letters and putting them in this Santa DIY mailbox.
When I was younger, I loved writing letters to Santa. I remember sitting down at the kitchen table, and I would pour my heart out to Santa. Of course, I would ask for all the cool toys and let him know how good I was.
I love to share my memories with my kids, and now they are the ones creating memories.
Below are the full directions that will walk you through the steps of making your own Santa Mailbox. This is a craft you will want to do with the kids or at least have them write some letters to Santa.
Santa Mailbox Craft
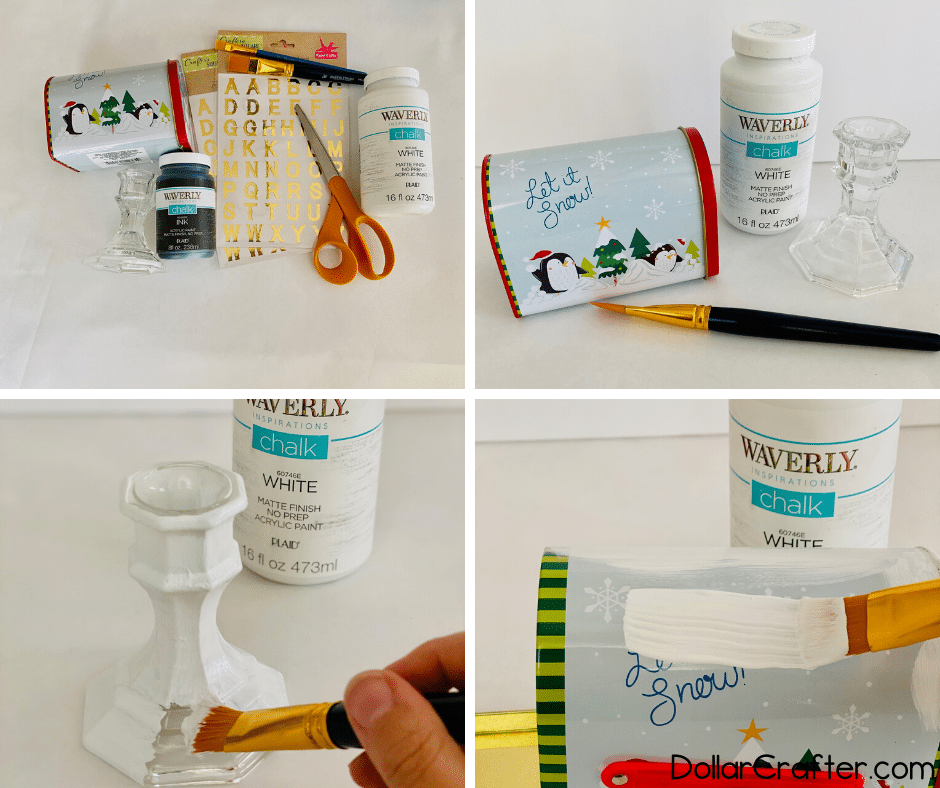
Supplies:
- in Mailbox, Dollar Tree
- Rub on Letters, Dollar Tree
- White Chalk Paint
- Ink/Black Chalk Paint
- Candle Stick, Dollar Tree
- Paint Brush
- Scissors
- E6000 Glue
Find all our DIY Christmas Crafts and Ornaments here!
Tips For Creating a Santa Post Box Tradition
Are you ready to get your Santa Post Box started? One thing to remember is to HAVE FUN!!
Do I need to PREP anything before painting?
You sure don’t! Perhaps THE single most beneficial aspect of chalk paint is that it requires no prep work. You just paint- make sure to take off any stickers, but that is about it.
Do I need a special Paint Brush?
A cheap one works but make sure it’s not a natural bristle brush intended for oil-based paints and stains. You won’t be able to get the paint out of that type of brush. Dollar tree brushes are perfect.
How do I clean up a Chalk Paint mess?
You only need soap and water to clean up chalk paint. Make sure to clean brushes right after you use them, so they don’t harden.
If you are looking for more Christmas crafts- please check out our DIY SANTA Milk and Cookie Plate.
How to Make a Letters to Santa Mailbox
Let’s get crafting! Below is our written tutorial.
Letters to Santa Mailbox
Materials
- Tin Mailbox, Dollar Tree
- Rub on Letters, Dollar Tree
- Waverly White Chalk Paint
- Waverly Ink Chalk Paint
- Candle Stick, Dollar Tree
Tools
- Paint Brush
- Scissors
- E6000 Glue
Instructions
- Apply 3 coats to the tin mailbox of the Waverly white chalk paint, allowing time in between to full dry.
- Apply 2 coats of Waverly white chalk paint to the candle stick.
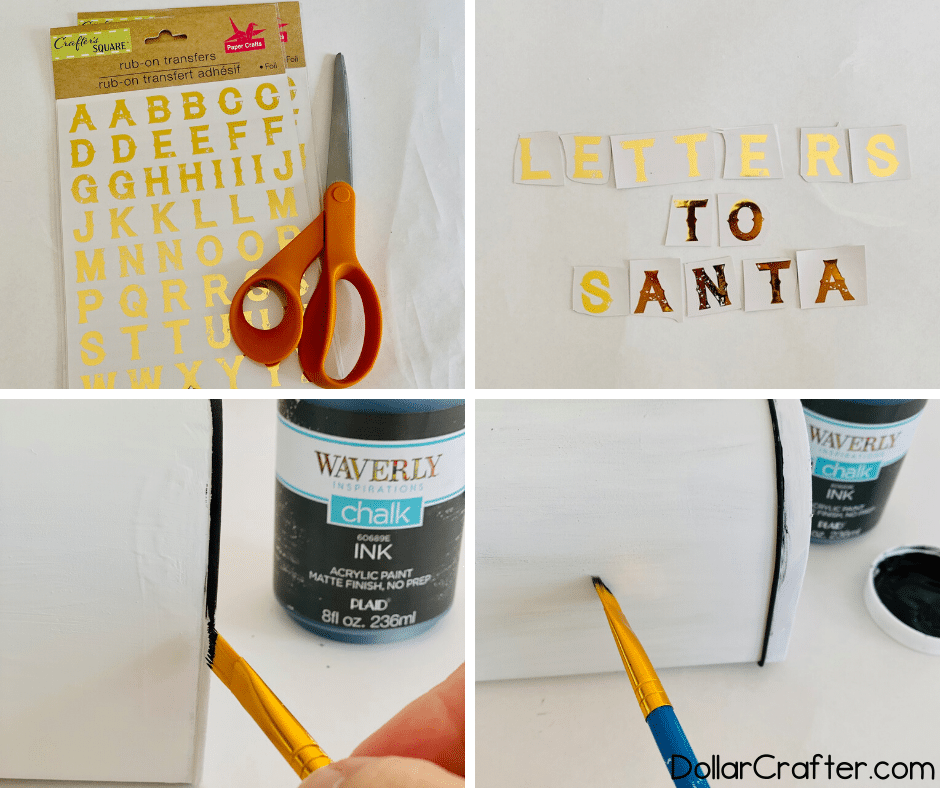
- Cut out rub on letters for “Letters to Santa”.
- Using the Waverly ink chalk paint, paint the raised outer sections of the mailbox. I also then dry brushed the mailbox to give it a little distressed look.
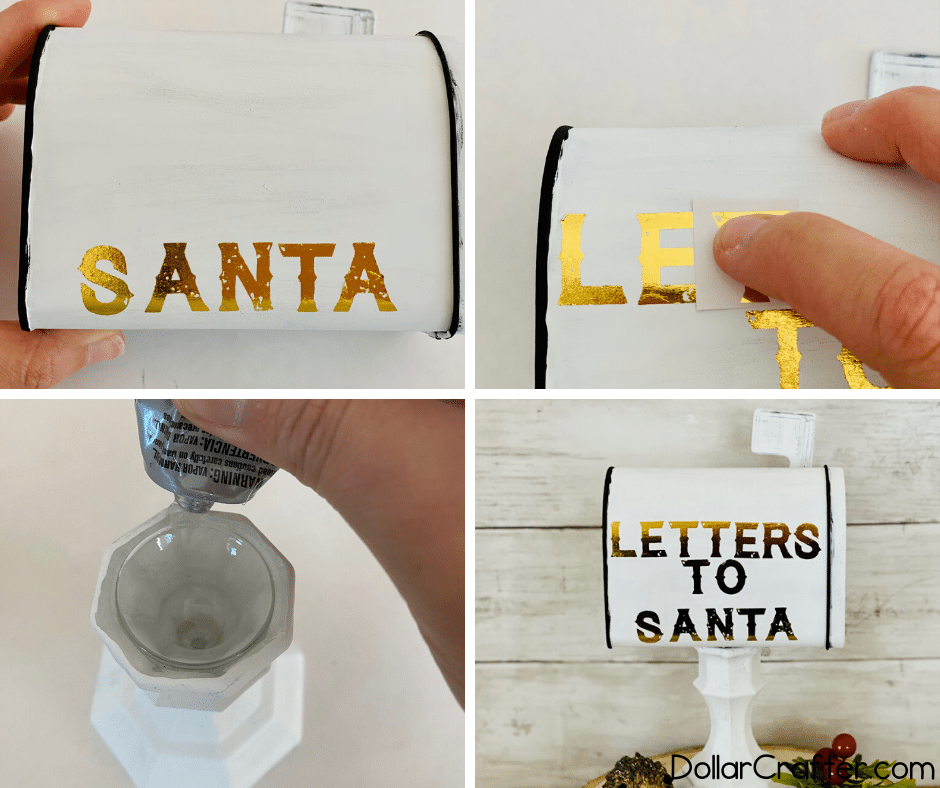
- I used my finger nail to apply the rub on letters and started with Santa on the bottom to make sure all the letters fit properly.
- Apply e6000 glue to the top of the candle stick and add the tin mailbox on top applying pressure so that the tin adheres.
- Allow to dry overnight!
Notes
For more fun Christmas Crafts visit DollarCrafter.com
Please Save This to Pinterest
Your shares are how this site grows, and I am sincerely grateful. Know a friend who’d like this? Please share it on Facebook or save it to your favorite crafts board on Pinterest.