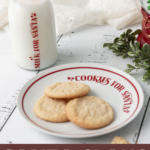
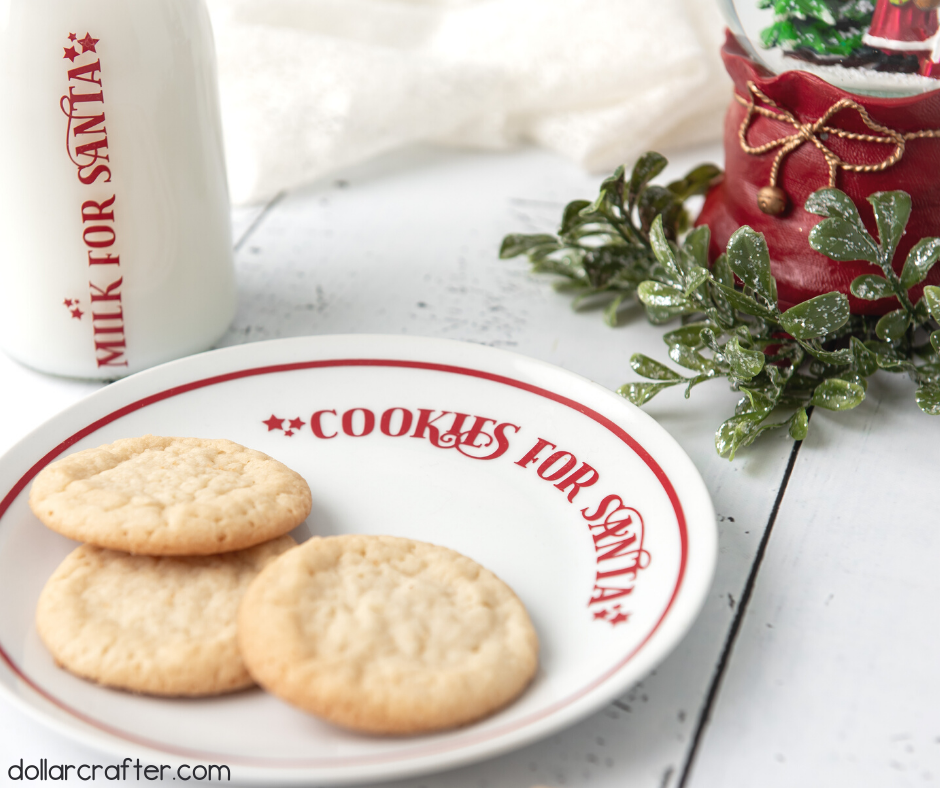
Why not make your own DIY Santa Milk and Cookies Plate this year? Don’t spend $25 on a set that you can make yourself! This is when your Cricut will come in handy. My kids are teens, but they still make and put out cookies for Saint Nick. This DIY is super easy and fun to make. Want to give it a try? Instructions below.
Find all our DIY Christmas Crafts and Ornaments here!
DIY Santa Cookies Plate
Supplies:
- Milk and Cookies for Santa SVG Files
- Permanent vinyl (red, green, black or color of choice)
- Transfer tape
- 7.5-8” white flate edge ceramic plate (dollar store has them)
- 6 x 21/4” glass milk bottle (dollar tree has them)
- Cricut or cutting machine
- Blue or green cutting mat
- Weeding tool
- Scrapper tool
Tips for Making a Christmas Cookie Plate for Santa
Here are some tips for using the Cricut to create the lettering.
Cut and use the circle that is cut in two halves and have them met in the middle along the edge of the plate. Otherwise, if you cut and use the fully enclosed circle this will be a bit trickier to apply to the plate as it has a curved edge.
If you cut and use the fully enclosed circle, there is a small slice in the circle. When applying to the plate, start on one side of the slit, applying it to the plate and removing the transfer tape as you go around. Finish with the other side of the slit meeting that first side of the slit.
If needing additional assistance, cut small slits at the top of the transfer tape getting as close to the edge of the vinyl as possible and remove transfer tape as you apply.
Vinyl is to the side on the plate for the purpose of not touching any food, however, please note that in order to make the plate fully food safe a sealant would need applied or napkin used on plate.
How to Use Your Cricut Machine to Make a Plate for Santa
Let’s get crafting! Below is our written tutorial.
Santa Milk and Cookies Plate

Materials
- Permanent vinyl (red, green, black or color of choice)
- Transfer tape
- 7.5-8” white ceramic plate
- 6 x 21/4” glass milk bottle
Tools
- Cricut or cutting machine
- Blue or green cutting mat
- Weeding tool
- Scrapper tool
Instructions
- Start off by uploading the SVG’s for the plate and milk bottle in design space. If using bigger glassware, adjust for the sizing as normal. If using an 7.5-8” plate and 6 x 21/4” bottle, sizing of the SVG’s is already sized for you.
- I recommend cutting and placing in layers. The circle first, then the “cookies for Santa” design, then the design for the milk bottle. Use the eye feature in the layers panel to turn layers on and off. This will help much more than trying to attach the circle and words on the same piece of transfer tape. If you are more experienced and skilled you can cut the first circle for the plate. If not, I recommend cutting the second circle for the plate as I will explain later on. This will cut the circle in two halves that will meet together on the edge of the plate.
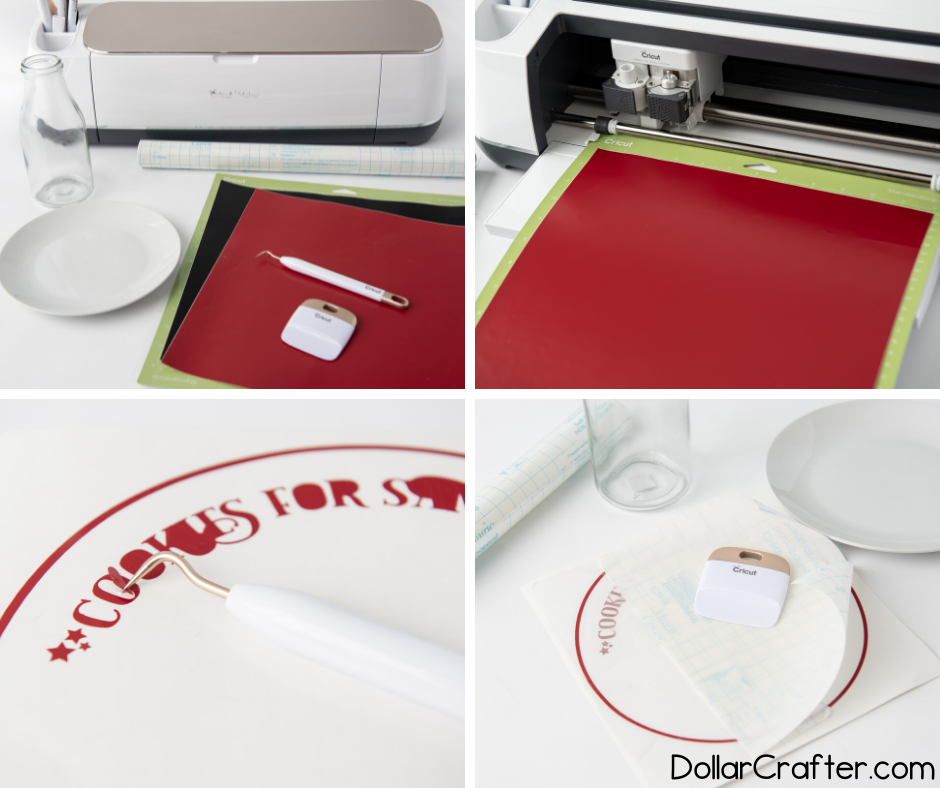
- Once sized accordingly, select make it in design space. Adjust the machines setting or material dial to custom, washi sheet with more pressure. The svgs have small, thin and delicate cuts as this setting will help it cut smoothly. Load the permanent vinyl to your machine on the blue light grip mat or green standard grip map and hit “go”.
- When the cuts are complete begin to weed the vinyl off and away from the design using your weeding tool (looks like a dentist pick). Don’t forget to weed around the outside of the letters and small parts inside any letter that are enclosed (ex. a,e,o ).
- After the designs are completely weeded, cut off a piece of transfer tape the size of the vinyl layers and apply the transfer tape using pressure with the scrapper tool. This is done in order to get the vinyl off its carrier sheet and onto the projects surface. Cut and apply vinyl layers in this order: circle,
cookies for Santa design, milk bottle circle, milk for Santa design. Each layer will need a piece of transfer tape. - Turn the entire design face down and begin to gently apply pressure and pull the vinyl’s carrier sheet off and away from the transfer tape.
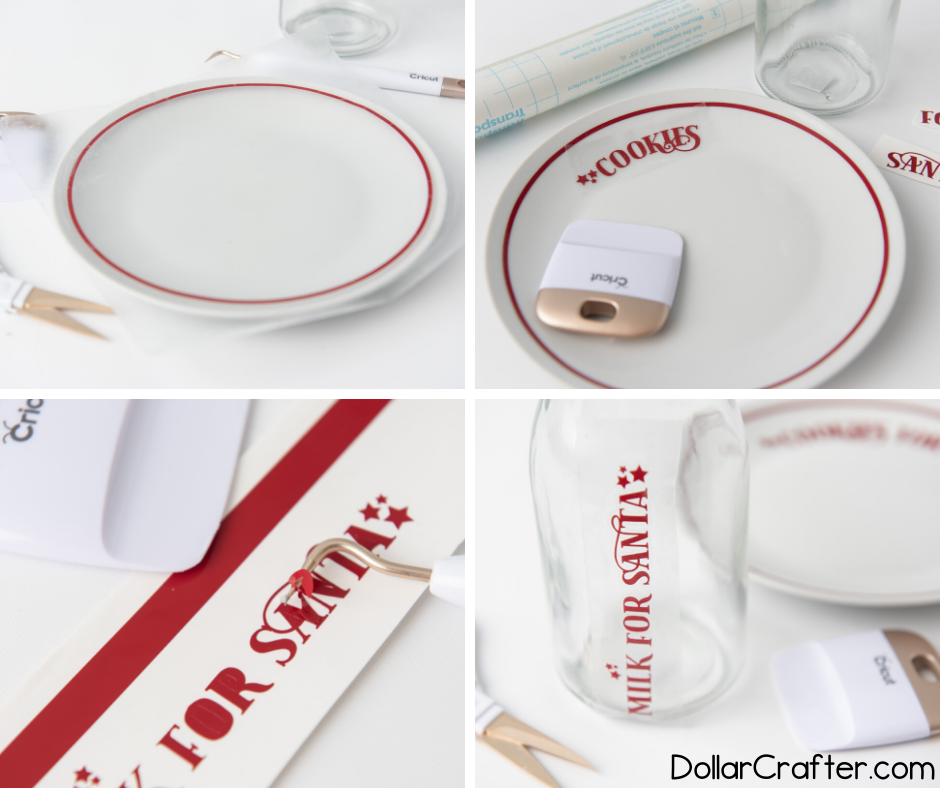
- Place the vinyl on the transfer tape to the outer edge of the plate.
- Once enough pressure had been applied slowly remove the transfer tape and very carefully and slowly rolling it away and off the board. The vinyl will remain on your project.
- Repeat steps above for the milk bottle. However, apply the rectangular cut around the edge of the glass milk bottle under the spout. Then apply the vinyl down the edge, starting at the bottom working up trying not to apply the vinyl on the dip of the bottle.
Notes
For more Christmas crafts visit DollarCrafter.com
Please Save This to Pinterest
Your shares are how this site grows, and I am sincerely grateful. Know a friend who’d like this? Please share it on Facebook or save it to your favorite crafts board on Pinterest.