
You know you want this DIY Stocking Hanger, but of course with your name on it! Every stocking needs a hanger, right? My daughter saw a Stocking Hanger in Pottery Barn last year and they were expensive- $20 per hanger. So we decided we were going to make our own and I think ours turned out beautiful. Plus I got to use my Cricut, so that was a bonus win for me.

Find all our DIY Christmas Crafts and Ornaments here!
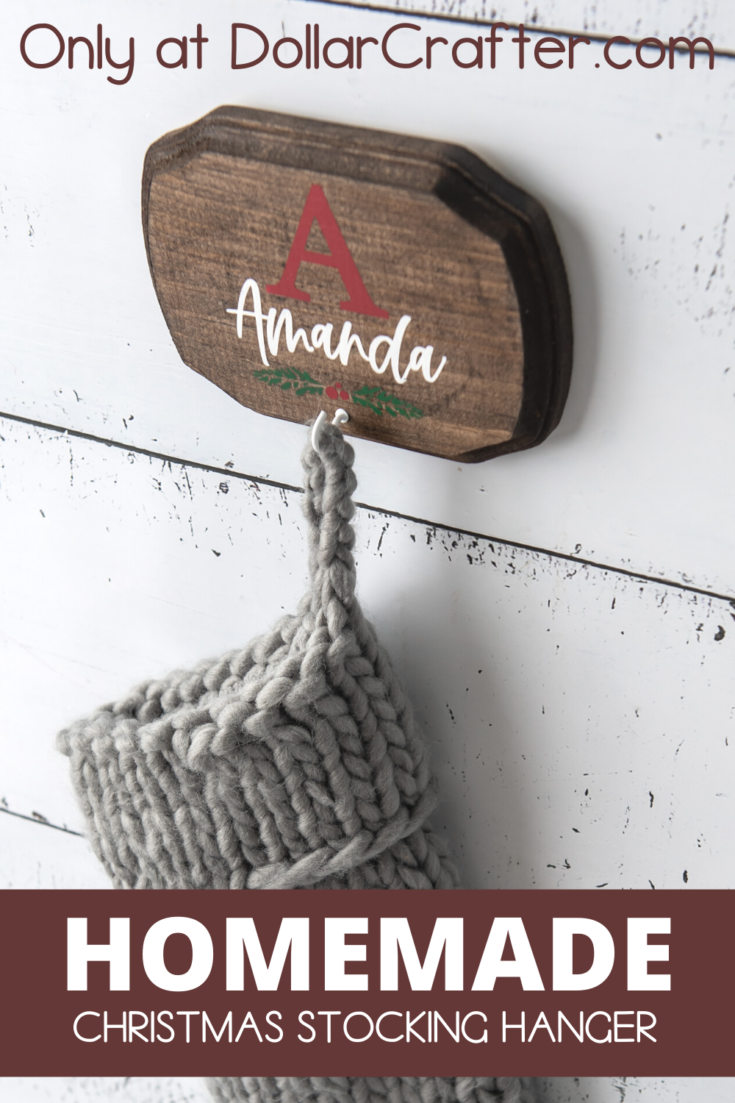
DIY Christmas Stocking Holder
Supplies:
- Holly Leaf SVG File
- Permanent or stencil vinyl (color doesn’t matter just for stencil purposes)
- Transfer tape
- Wood plaque (using 9 x 12”)
- Paint (red, white, green)
- Mod podge
- Screw in cup hook (found at hardware store)
- Cricut or cutting machine
- Weeding tool
- Scrapper tool
- Blue or green cutting mat
- Small paint brush or sponge brush
- Holly SVG
Tips for Using Your Cricut to Make Your Own Stocking Holder
Just so you know, if you need some tips and hacks to use your Cricut machine, please read this article; it will help you! So now, let’s get back to making these cute stocking holders.
Make sure to get the painting or staining done before (at least 24-48 hours) you start the project.
What FONT should I use?
One of the most important tips I can give you is to pick a thick script font; all those fancy cursive fonts with thin lines will be a headache to weed unless you are a weeding expert. I used Bakersville for the big letter “A” and for “Amanda” I used the font Barley regular.
How do I align everything in the center?
Don’t worry about centering everything manually! Instead, use the align feature to save yourself tons of time and frustration. The align tab is near the top of Design Space, next to arrange. By selecting the center horizontally, Design Space will automatically center the text for you.

Is this stenciling?
Yes, you are actually using the vinyl as a stencil. That’s right; you won’t be putting the vinyl on the wood permanently; you will be painting over the letters and the holly. So cool, huh? This is another way to use your Cricut- stenciling.

Can I change the colors?
Of course, make it your own. Change the colors to match your holiday decor, or keep it just like this. Get creative and enjoy doing this project.

How to Make Your Own Stocking Holder at Home
Let’s get crafting! Below is our written tutorial.
Christmas Stocking Hanger
Materials
- Permanent or stencil vinyl (color doesn’t matter just for stencil purposes)
- Transfer tape
- Wood plaque (using 9 x 12”)
- Paint (red, white, green)
- Mod podge
- Screw in cup hook (found at hardware store)
Tools
- Cricut or cutting machine
- Weeding tool
- Scrapper tool
- Blue or green cutting mat
- Small paint brush or sponge brush
Instructions
Begin to apply paint or stain to the wood plaque. If painting it is best to use a matte paint. However, this may require 2-3 coats. If staining, be sure to stain in a well ventilated area. Allow 24-48 hours for stain to completely dry and soak into the wood.
This step is for the staining option. Once stain is dry, add a layer of mod podge as a sealant to the front of the plaque where vinyl will later be applied. If there is no barrier between stain and vinyl, the oils in the stain will break down the adhesive on the vinyl and will also allow the paint for the stencil to bleed in the wood (we want crisp paint lines).
In design space being to prepare your design by using the text tool. Start off by creating the initial of the name in a plain, sans-serif font. I used Bakersville for the big letter “A”. Next, create and type out the name of the person you are creating it for. For “Amanda” I used the font Barley regular.
If you don’t have this font, you can use any thick, script font. Lastly, upload and adjust the holly design SVG. Align the initial, script font, and holly leaf in the middle or to your liking.
NOTE: Choose a thick script font, as we will be using this as a stencil and thin, intricate font may not work as well.
NOTE: If using a script font in design space, don’t forget to kern your letters (kern = connecting the letter to cut as one piece).
Font sizing for a 9 x 12 wood plaque:
Initial: 2 x 2.2”
Name: 4” wide
Holly: 3” wide
Once designed and sized accordingly, select make it in design space. Adjust the machines setting or material dial to custom, washi sheet with more pressure. The fonts have small, delicate cuts in the letters as this setting will help it cut smoothly.
Load the permanent vinyl to your machine on the blue light grip mat or green standard grip map and hit “go”.
When the cuts are complete begin to weed out the letters of the vinyl creating a stencil by using your weeding tool (looks like a dentist pick). Usually we would keep the vinyl for the letters and weed outside and around the letters, however, to create the stencil we want to weed out opposite of what is normally not removed (the initial, the letters of the name, the holly leaves and berries).
NOTE : Be sure to keep the small pieces inside the letters to block out any paint in the next steps.
After the designs are completely weeded, cut off a piece of transfer tape the size of the vinyl and apply the transfer tape using pressure with the scrapper tool. This is done in order to get the vinyl off its carrier sheet and onto the projects surface.
Turn the entire design face down and begin to gently apply pressure and pull the vinyl’s carrier sheet off and away from the transfer tape.
NOTE: Go slow and be sure not to forget the tiny pieces inside the letters.
Place the vinyl stencil with the transfer tape on top of the dried wood plaque.
Once enough pressure had been applied slowly remove the transfer tape and very carefully and slowly rolling it away and off the plaque. The vinyl will remain on your project.
After the stencil has been applied, using a small brush, sponge brush or sponge begin to stipple the paint onto the surface.
NOTE: DO NOT brush the paint. Tap and stipple in on in very thin layers. You will need to apply 3-4 coats to get the paint opaque. Applying in thin layers and tapping motion will help the paint dry in-between coats and prevent bleeding.
When paint is completely dry, remove the vinyl stencil and the inside pieces of the letters.
NOTE: DO NOT try to remove stencil before paint is completely dry.
Using pressure and force, screw a cup hook into the front of the plaque under design to hold each stocking.
Attach a picture hanger, command strips or other hanging option to the back of the holder to hang on the wall and display stockings.
Notes
For more Christmas crafts visit DollarCrafter.com
Please Save This to Pinterest
Your shares are how this site grows, and I am sincerely grateful. Know a friend who’d like this? Please share it on Facebook or save it to your favorite crafts board on Pinterest.