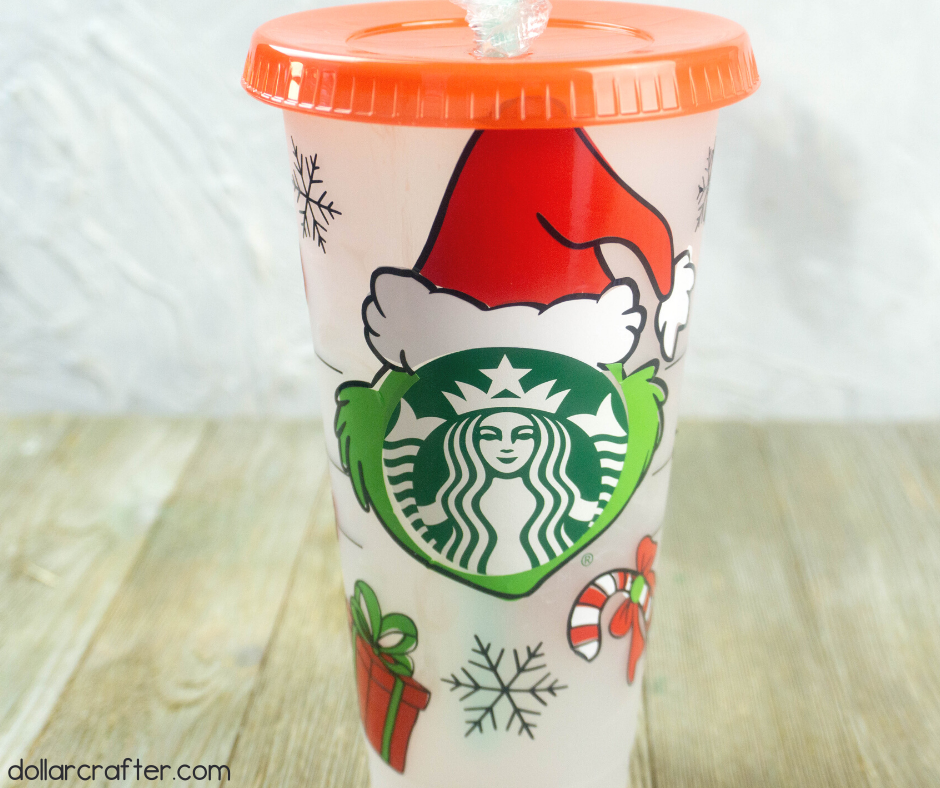
If you’re anything like us, you’re already getting excited for Christmas. And what better way to get into the holiday spirit than by making your own DIY Grinch Starbucks cup? This craft is easy, cheap, and festive—the perfect trifecta!
Find all our DIY Christmas Crafts and Ornaments here!
Homemade Starbucks Grinch Cup
Supplies:
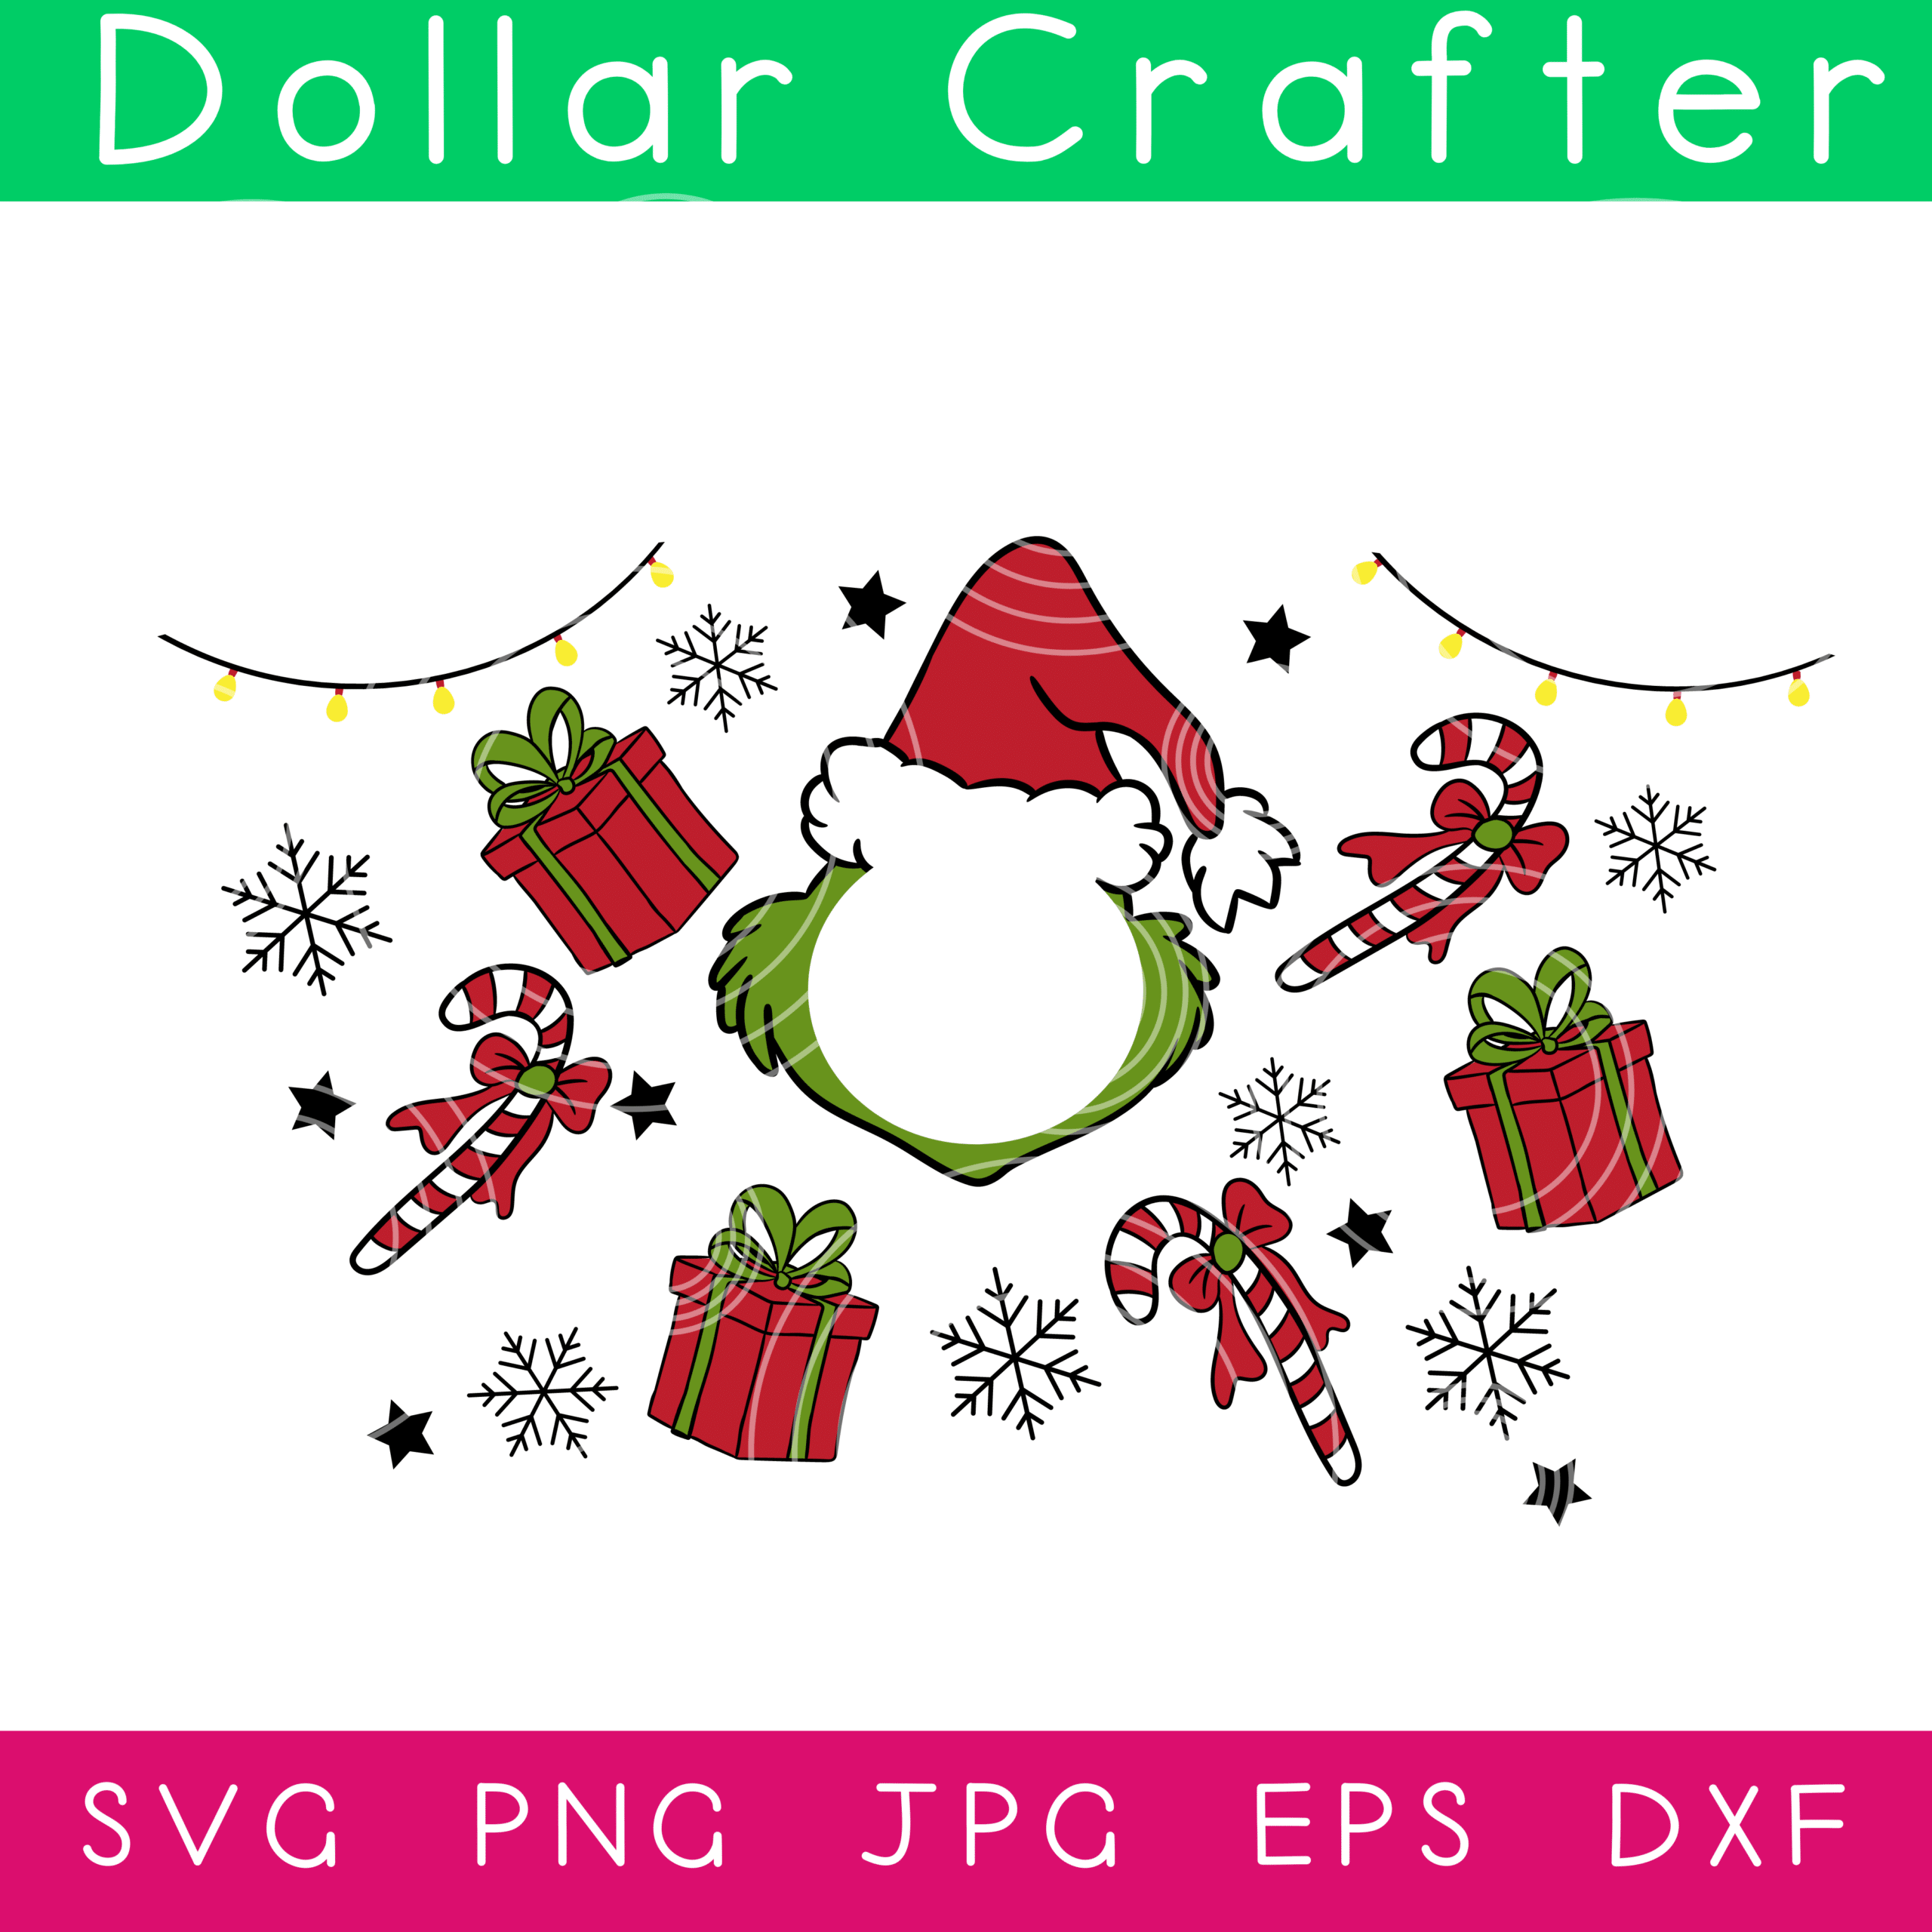
- Grinch Starbucks Cup SVG
- 12×12 Sheet Green Oracal 651 Vinyl
- 12×12 Sheet Red Oracal 651 Vinyl
- 12×12 Sheet White Oracal 651 Vinyl
- 12×12 Sheet Black Oracal 651 Vinyl
- 4 Sheets Transfer Tape
- 1 Starbucks 24 oz Cold Cup with Lid and Straw
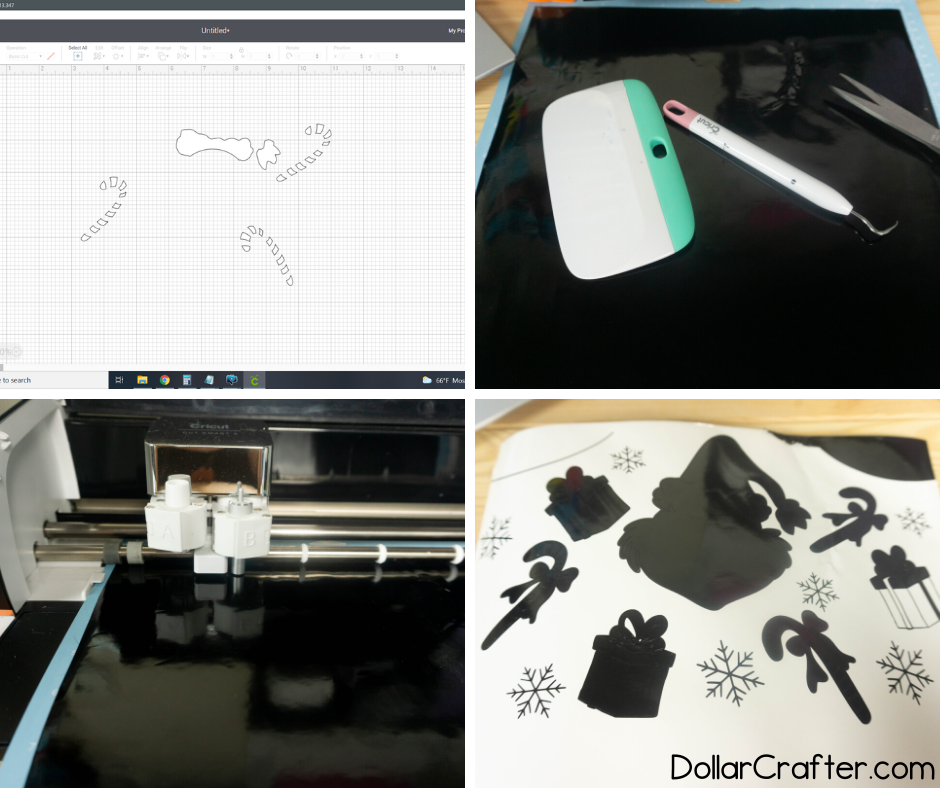
- Blue Cutting Mat
- Weeding Tool
- Scraper Tool
- Scissors
Tips for Making a Grinch Starbucks Cold Cup
When you’re a newbie to the Cricut, it can be daunting. You might feel like there are too many features and not enough information on how they all work together- don’t worry! Check out these 22 handy tips for navigating your way around this incredible machine with ease (and fun!).
Don’t be scared of layering! It’s easy with this project. Here are some tips for getting started:
- Cut all your vinyl pieces first, then weed them so they’re ready to go together on one layer in the shape you want
- Use clear transfer paper if possible – it makes lining up each individual image easier than ever before and helps save time when transferring designs onto cups (or other objects).
- Work slowly but patiently as patience and choosing an simple design is key to first learning.
Another sanity saver when doing this craft is using your vinyl scraper. A vinyl scraper is an essential tool for layering as it helps reduce air bubbles. If you don’t have one, try using your credit card instead!
And lastly, the best way to preserve your cup and keep your cup looking like new is by hand washing it.
How to Make This Grinch Starbucks Cup at Home
Let’s get crafting! Below is our written tutorial.
Grinch Starbucks Cup

Materials
- 12x12 Sheet Green Oracal 651 Vinyl
- 12x12 Sheet Red Oracal 651 Vinyl
- 12x12 Sheet White Oracal 651 Vinyl
- 12x12 Sheet Black Oracal 651 Vinyl
- 4 Sheets Transfer Tape
- 1 Starbucks 24 oz Cold Cup with Lid and Straw
- Grinch Svg File
Tools
- Blue Cutting Mat
- Weeding Tool
- Scraper Tool
- Scissors
Instructions
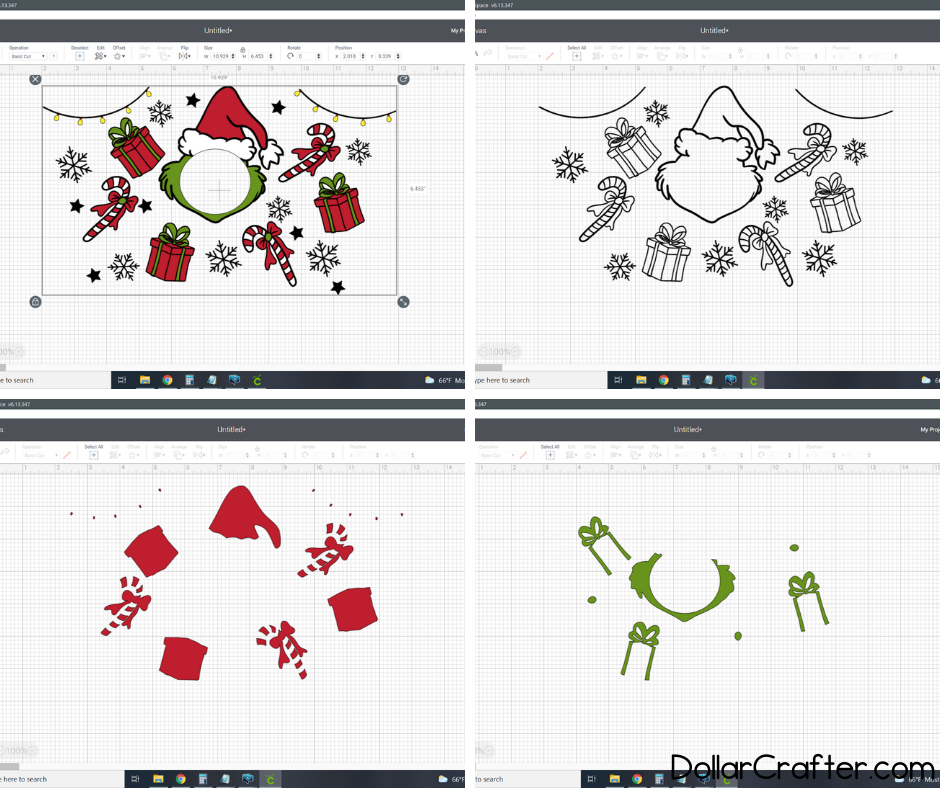
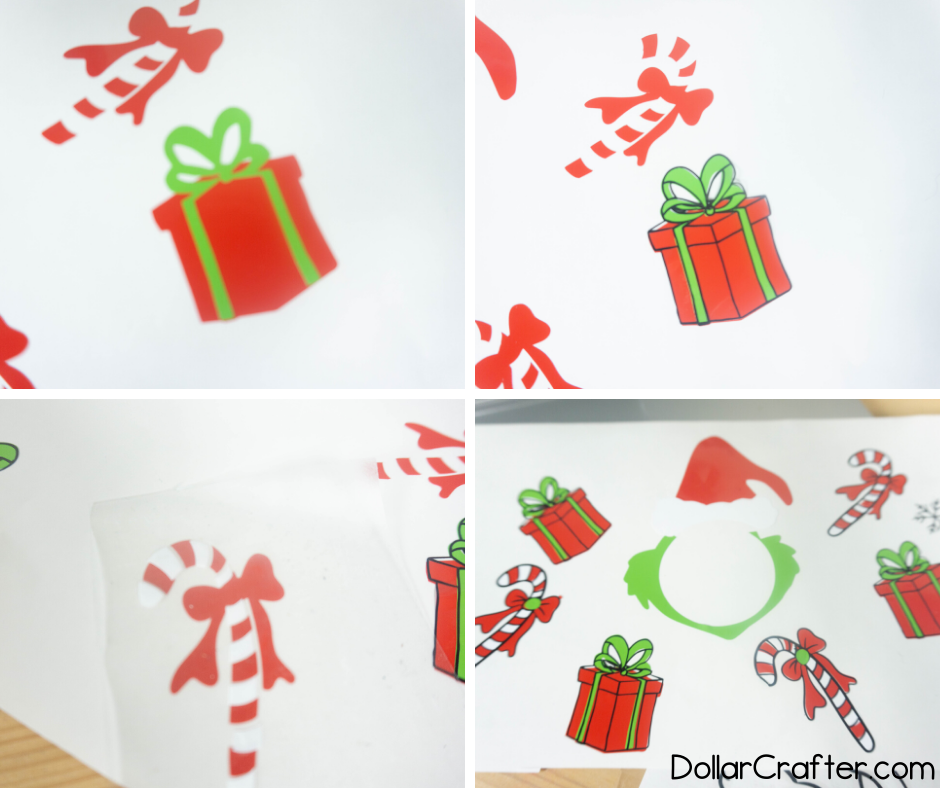
- Open design space. Upload the svg file into design space. You can select each color to cut. Start with turn off all the colors and select the black layer.
- Place the black oracal vinyl onto the blue cutting mat. Set the dial on the machine to vinyl. Cut and weed.
- Repeat the step above for the white, red, and green layers. Weed all the layers.
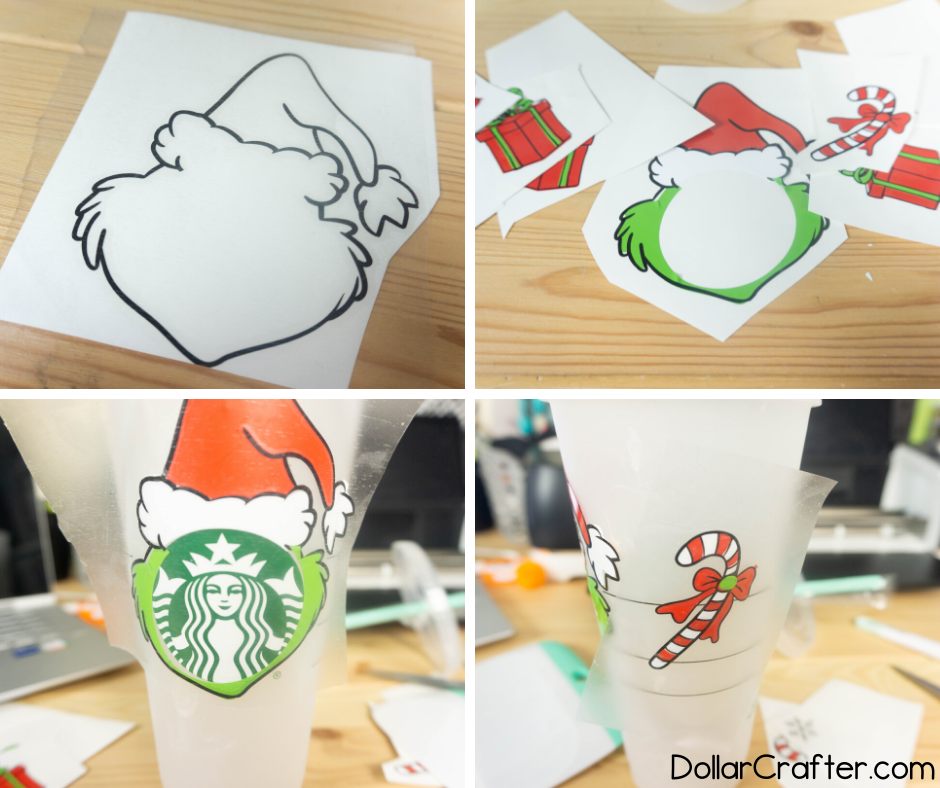
- With this design start with the red. Layer the green onto the red. Do this buy cutting around each piece. Then place transfer tape over that piece and scrape well with scraper tool. Peel back slowly making sure the design sticks to the transfer tape. Line up and place the green over the red. Press down. Scraper over design and slowly peel back transfer tape making sure both stick to the white backing.
- Next layer all the white pieces over the red and green. Repeat the steps above with the transfer tape. Once those are all set you can now layer the black over those pieces. I generally like to work in small pieces then add them all to larger design last. Things like the snowflakes I will add on piece by piece at the end.
- Once the design is all on one sheet take the transfer tape and press down. Scrape well with the scraper tool. Peel back slowly. Line up the Grinch hat and face with the Starbucks logo. Press down and work on pressing down as you work outward. Scrape well with scraper tool. Peel back slowly making sure each piece of the vinyl design sticks to the cup.
- After the design is all on the cup use your finger to go over and press down well. Hand wash only!
Notes
For more fun Christmas Crafts visit DollarCrafter.com
Recommended Products
As an Amazon Associate and member of other affiliate programs, I earn from qualifying purchases.
Please Save This to Pinterest
Your shares are how this site grows, and I am sincerely grateful. Know a friend who’d like this? Please share it on Facebook or save it to your favorite crafts board on Pinterest.