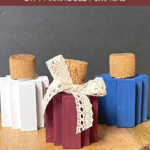
Looking for a fun and easy way to add a little extra something to your fall décor this year? Look no further than these DIY Jenga block pumpkins! This project is perfect for anyone who loves crafting, and it’s also a great way to get the kids involved in decorating for the season.
DIY Block Pumpkins
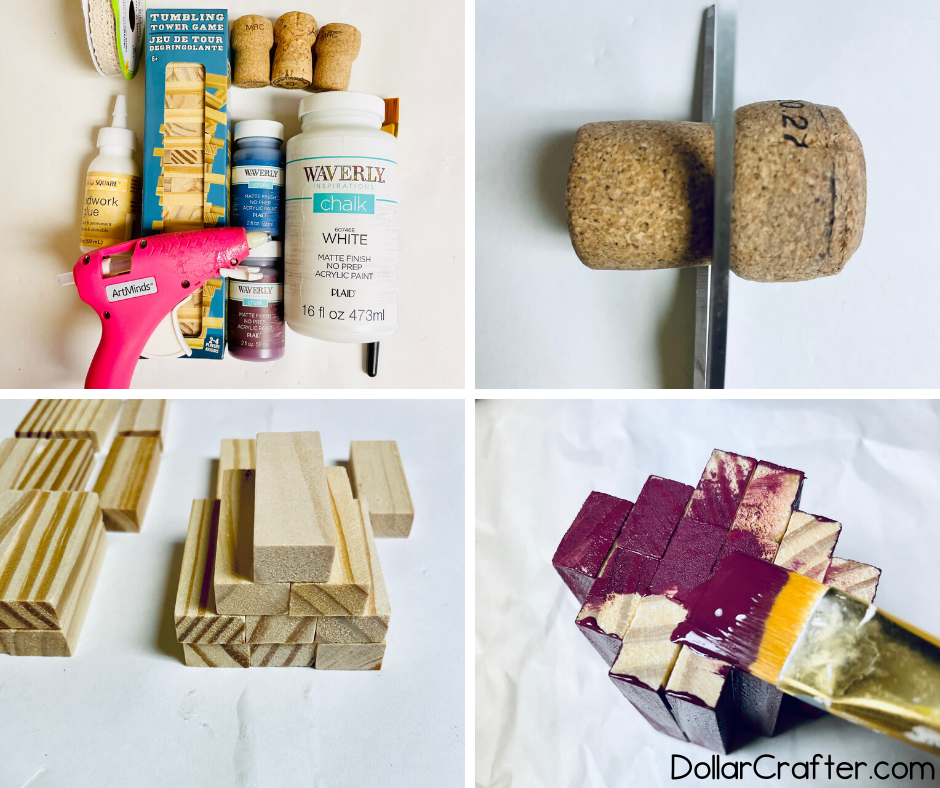
Supplies:
- Wood Glue, Dollar Tree
- Tumbling Tower Game, Dollar Tree
- 3 Champagne Corks
- Lace Ribbon, Dollar Tree
- Waverly White, Ocean, and Merlot Chalk Paint
- Hot Glue Gun and Glue
- Scissors
- Paintbrush
Tips for Making Dollar Tree Jenga Pumpkins
Before starting this project you will need to gather all your supplies. Rumor has it that Jenga blocks have been hard to find at the Dollar Tree lately…but no worries! If you cannot find these smaller Jenga blocks at your local Dollar Tree, you should be able to find larger ones at Five Below.
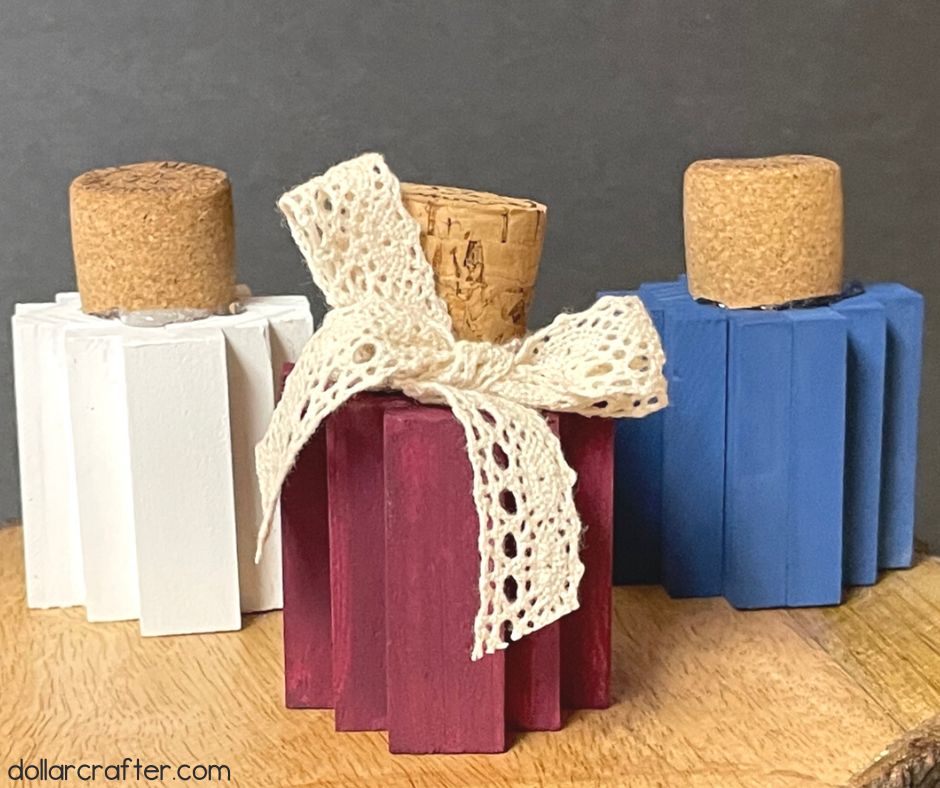
These adorable jenga block pumpkins are impossible to mess up and perfect for fall! They’re easy to make and they’re sure to bring a smile to everyone who sees them. So grab your supplies and get crafting! Your perfect fall pumpkin craft is awaiting you.
How to Make Jenga Block Pumpkins at Home
Let’s get crafting! Below is our written tutorial.
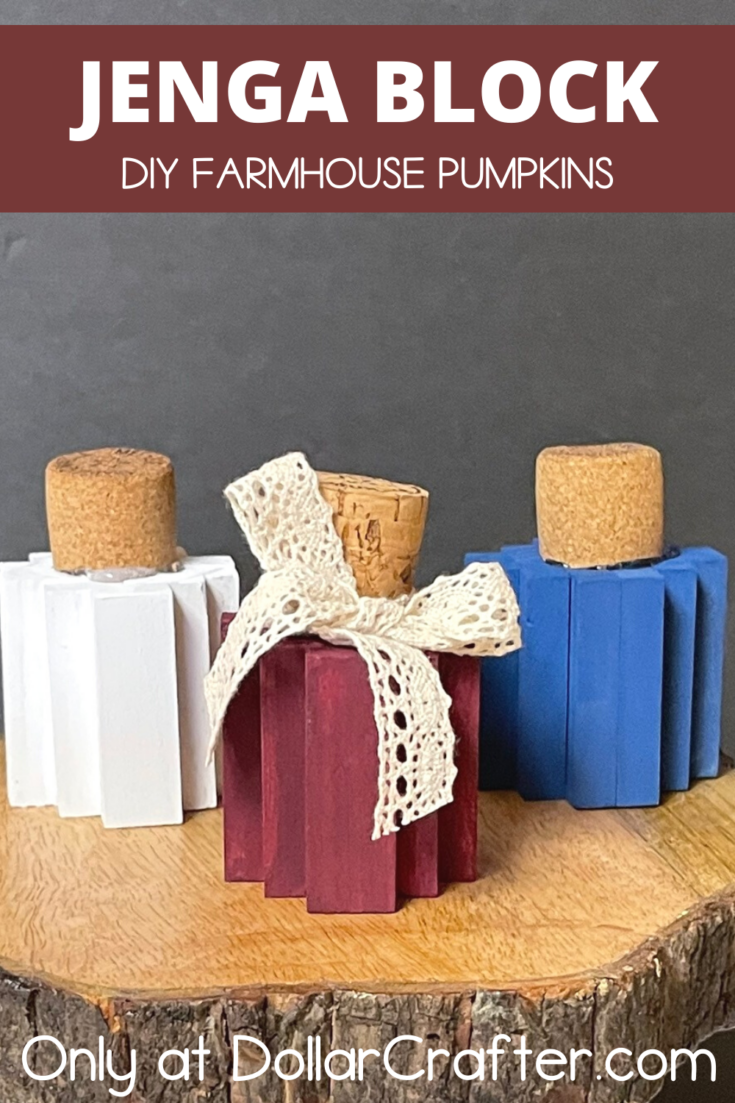
Jenga Block Pumpkins
Materials
- Wood Glue, Dollar Tree
- Tumbling Tower Game, Dollar Tree
- 3 Champagne Corks
- Lace Ribbon, Dollar Tree
- Waverly White, Ocean, and Merlot Chalk Paint
Tools
- Hot Glue Gun and Glue
- Scissors
- Paintbrush
Instructions
- Take out 36 jenga block pieces.
- Start by gluing together with the wood glue 6 (sets of 3) and 6 (sets of 2).
- Allow them to dry for about 30 minutes.
- Next using the scissors or an x-acto knife, cut off the top portion of the champagne cork.
- Next using the wood glue, glue together 2 sections of 3 blocks, then on either side glue one section of the 2 blocks and then a single block. I stood them up to dry and to straighten them a little to make sure they were level on the top.
- Repeat this for the other 2 pumpkins.
- Next using the White, Merlot, and Ocean chalk paint, paint each pumpkin. Allow to fully dry, and add another layer or paint if needed.
- Next using the hot glue gun, add the champagne corks to the top of the pumpkins. Trim a piece of ribbon and tie around the top of one of the pumpkins.
- Place your pumpkins out on display!
Notes
For more fun Thanksgiving Crafts visit DollarCrafter.com
Please Save This to Pinterest
Your shares are how this site grows, and I am sincerely grateful. Know a friend who’d like this? Please share it on Facebook or save it to your favorite crafts board on Pinterest.