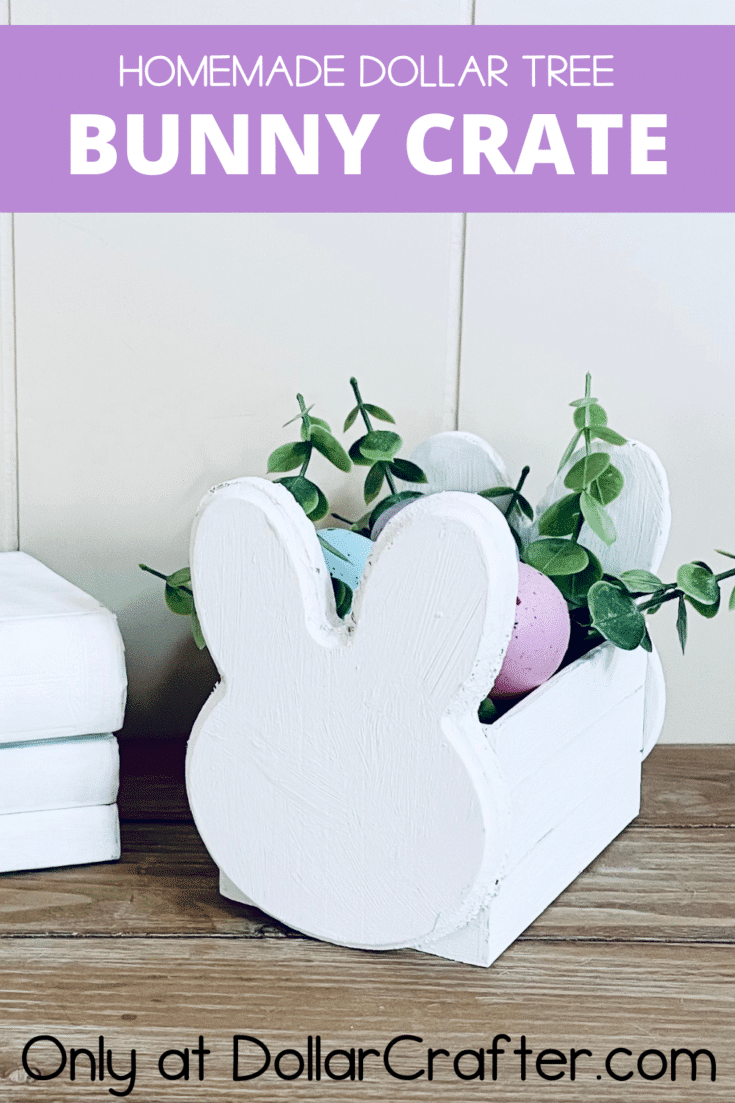
Looking to spruce up your Easter decor without breaking the bank? Look no further than Dollar Tree! With a little creativity and a few inexpensive supplies, you can transform a plain wooden crate into a charming farmhouse bunny crate that will make a delightful addition to your spring decor.
We have been having a blast creating Dollar Tree Easter crafts this last month, make sure to swing by and check them all out for more inspiration!
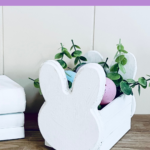
Easy Easter Bunny Crate Craft
This adorable bunny crate is perfect for displaying flowers, Easter eggs, or other festive accents. So grab your paintbrush and let’s get started on this fun and easy DIY project!
Supplies Needed:
- Wooden Crate from Dollar Tree – I got the one that didn’t have the opening between the slats
- 2 Dollar Tree Wooden Bunny Head Plaques
- Waverly White Chalk Paint
- Paintbrush
- Hot Glue Gun/ Glue Sticks
Tips for Making a Farmhouse Bunny Crate
If you’re planning to create your own Dollar Tree Farmhouse Bunny Crate, here are some tips that will help you get the best results. First, choose a crate without an opening between the slats. This will make it easier to attach the bunny plaques securely without them falling through the gaps.

You will want to use a hot glue gun to attach the bunny plaques to the crate. Hot glue dries quickly and securely, making it the perfect adhesive for this project. To make it easier to glue the bunny plaques to the crate, only paint the front of the bunnies before attaching to the crate, you will paint the back of the bunnies once the glue is dried. When painting two coats of paint will ensure even coverage, and if you’re using acrylic paint instead of chalk paint, you may need more than two coats.
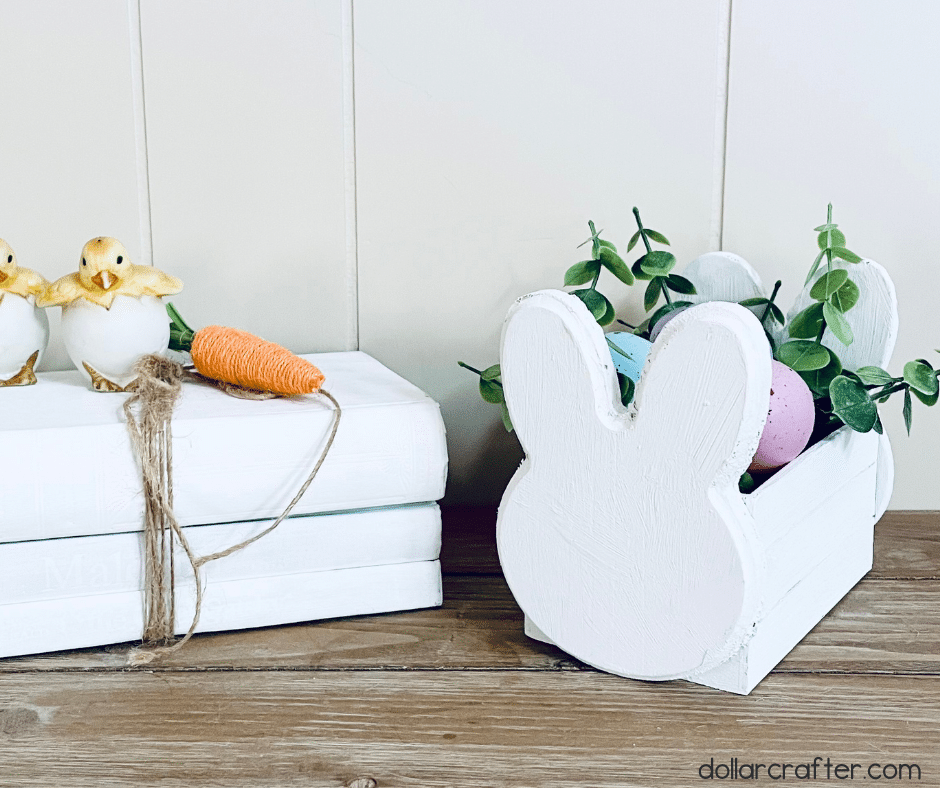
To finish up your bunny decor add some faux greenery or flowers to the crate to give it some extra dimension and color. With these tips, you’re sure to create a charming and unique bunny crate that will impress your guests and add a festive touch to your home decor. So don’t be afraid to get creative and have fun!
How to Make an Easter Bunny Crate
Ready to get crafting? You will find the full tutorial below!
Easter Bunny Crate
Materials
- Wooden Crate without Slats (Dollar Tree)
- 2 Wooden Bunny Head Plaques (Dollar Tree)
- Waverly White Chalk Paint
Tools
- Paintbrush
- Hot Glue Gun/ Glue Sticks
Instructions
- Gather your supplies.
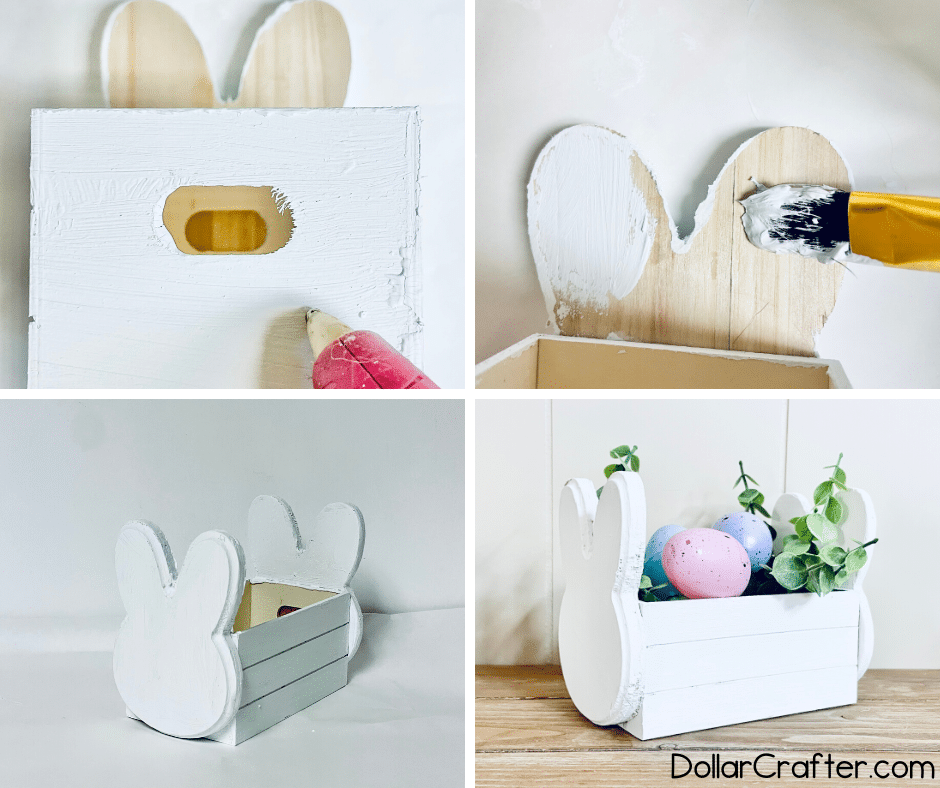
- Paint the crate and the front side of the bunny plaques.
- Once dried glue the bunny plaques to each side of the crate. Allow time to dry.
- After the glue has dried, paint any exposed wooden area such as the backside of the bunny plaques.
- Allow to dry and then set out on display!
Notes
For more fun Easter crafts visit DollarCrafter.com
Please Save This to Pinterest
Your shares are how this site grows and I am sincerely grateful. Know a friend who’d like this? Please share it on Facebook or save it to your favorite crafts board on Pinterest.