
‘Tis the season for DIY crafts! If you’re looking for a fun and unique way to spruce up your home for the holidays, look no further than this Jenga block Christmas tree DIY. With just a few supplies and a little bit of time, you can create a festive and eye-catching holiday decoration that is sure to be a conversation starter. So, what are you waiting for? Gather your supplies and let’s get started!
Find all our DIY Christmas Crafts and Ornaments here!
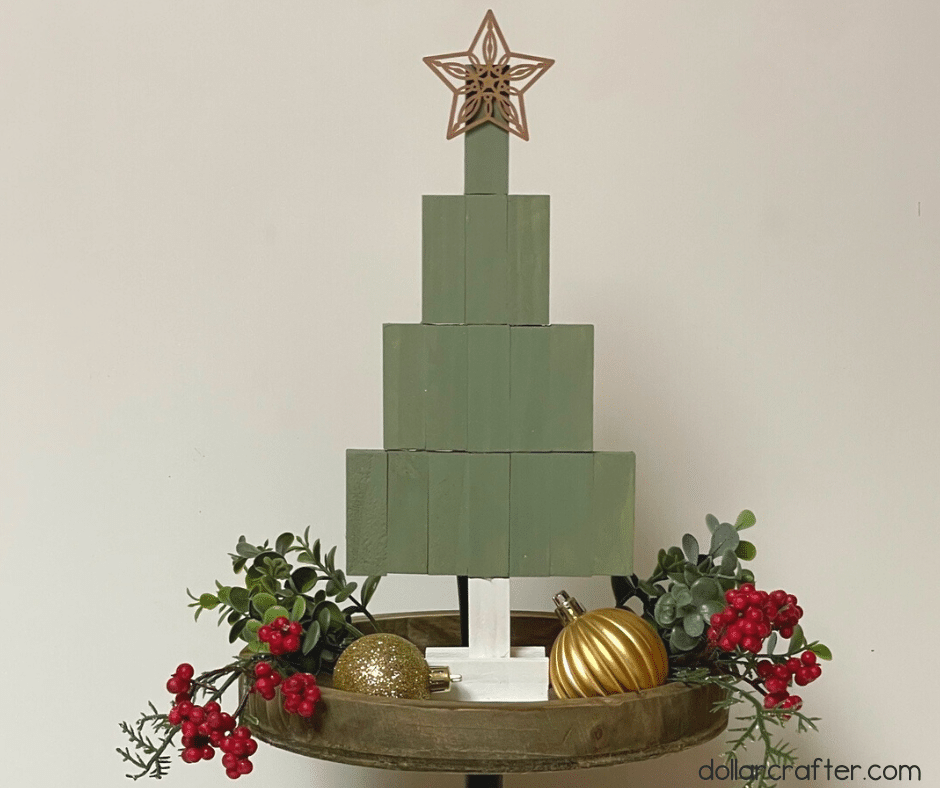
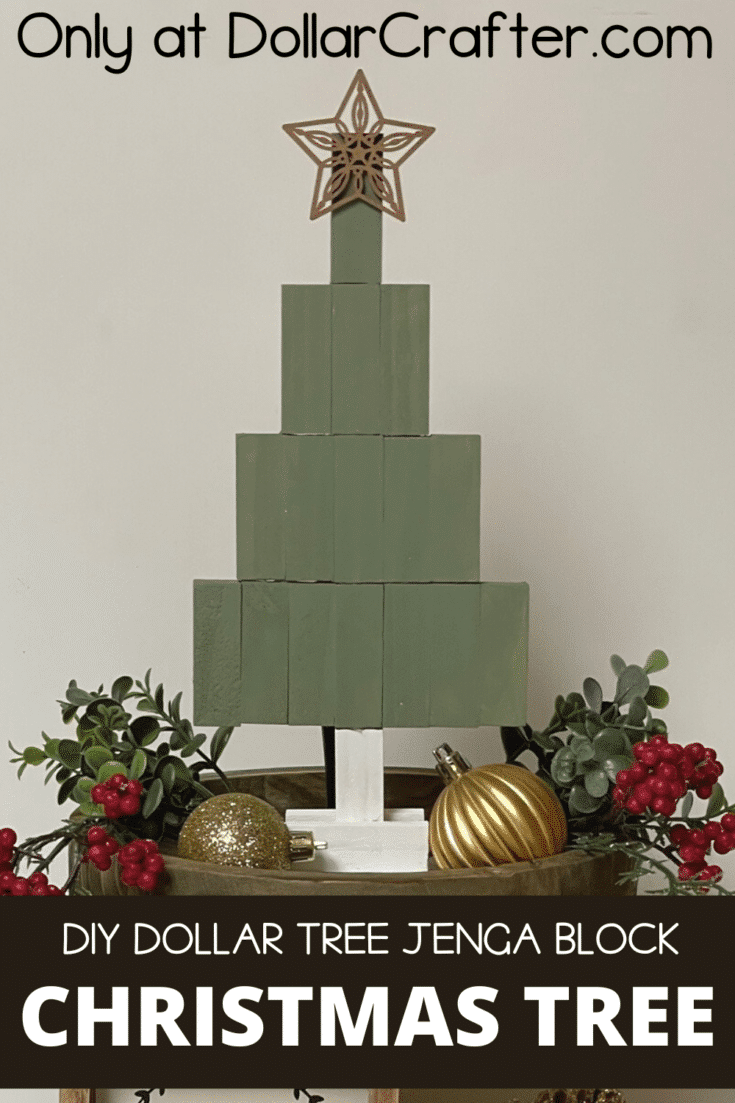
Dollar Tree Jenga Block Christmas Tree
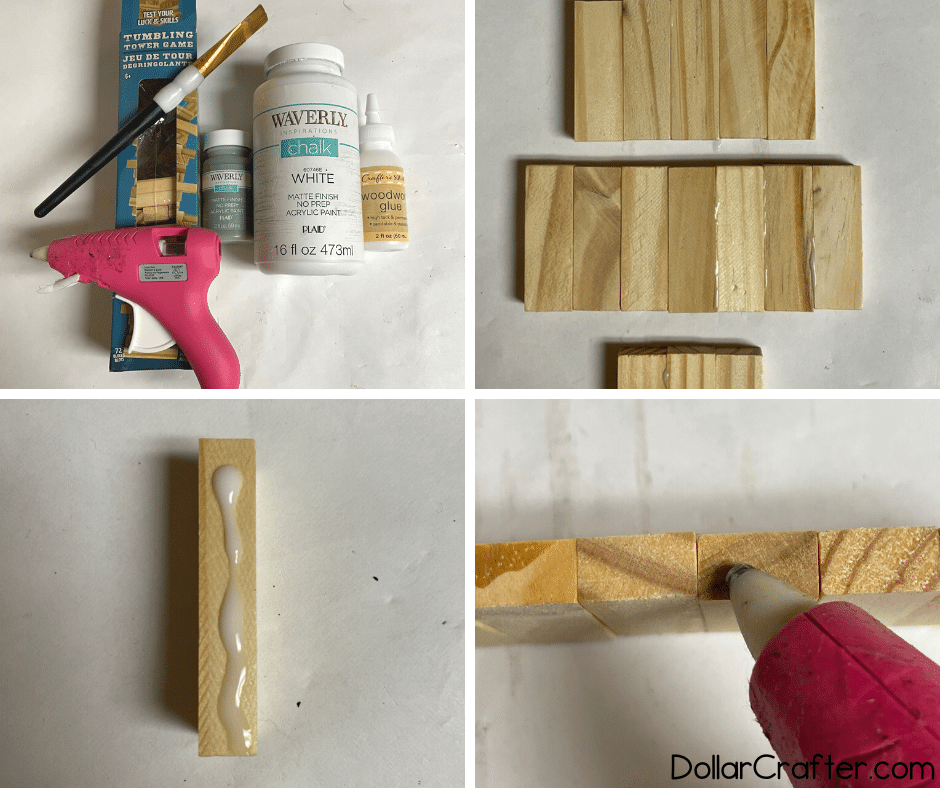
Supplies:
- 22 Jenga Blocks (Dollar Tree)
- Paint Brush
- Hot Glue and Hot Glue Gun
- Wood Glue (Dollar Tree)
- Waverly White and Green Chalk Paint (Dollar Tree)
- Wooden Star Embellishment, optional (Dollar Tree)
Tips for Making This Jenga Christmas Tree
This DIY small Christmas tree is perfect for tiered trays or to display on your table top with your holiday spread. And it is ridiculously easy to make!
When making this Jenga Christmas tree we tried it with the Jenga blocks placed horizontally and vertically. This was easier to make and turned out way cuter with the Jenga blocks placed vertically. To create a similar sized tree you are going to need to create four vertical sections.
Two sections will be made up of three Jenga blocks glued together vertically.
Another section will be five Jenga blocks glued together vertically.
And the last section will be seven Jenga blocks glued together vertically.
You will also need one Jenga piece to create the tree trunk, and three additional Jenga pieces to create the base.
I suggest using a mixture of hot glue and wood glue for creating this tree and would also suggest gluing all of your wood glue items together at the same time so they are dried and ready to be put together all at once.
This craft does take some time due to the drying times so make sure to have some great Christmas movies playing while you craft!
How to Make a Jenga Christmas Tree at Home
Let’s get crafting! Below is our written tutorial.
Jenga Block Christmas Tree
Materials
- 22 Jenga Blocks
- Green Waverly Chalk Paint
- White Waverly Chalk Paint
- Wood Glue
- Hot Glue
- Wooden Star Embellishment
Tools
- Paint Brush
- Hot Glue Gun
Instructions
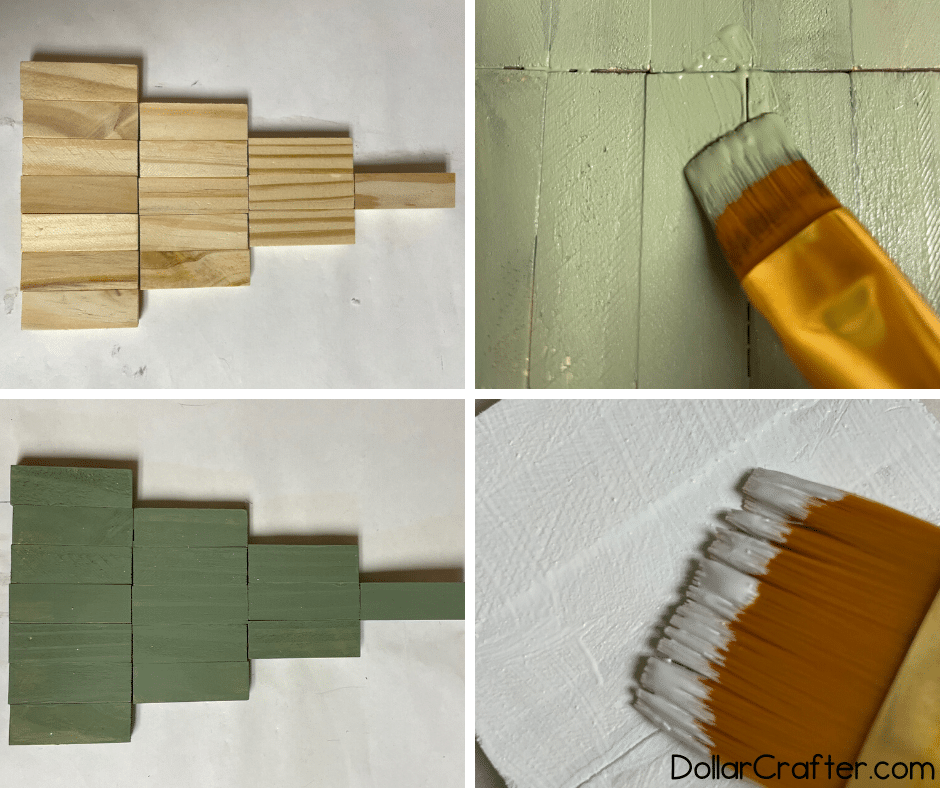
Gather your supplies and lay out the design of your Christmas tree body. We laid out our Jenga blocks vertically and used seven Jenga blocks for the bottom of the tree, five for the second lowest layer, three for the third layer, and a single Jenga block for the top.
Use wood glue to glue together your section pieces. You will want to glue together another section of three Jenga blocks placed vertically side by side for the base section. Do not glue the sections to each other to form the actual tree yet.
Let your Jenga block sections and wood glue dry for at least an hour.
Once each section is dried together glue the tree together. You can use wood glue or hot glue for this.
Allow more time for this to dry and check for sturdiness once dried.
While your Christmas tree is drying, you can paint the Jenga block base white as well as painting three singular Jenga blocks white. Allow these to dry.
Once your Christmas tree glue is dried, paint your Christmas tree green.
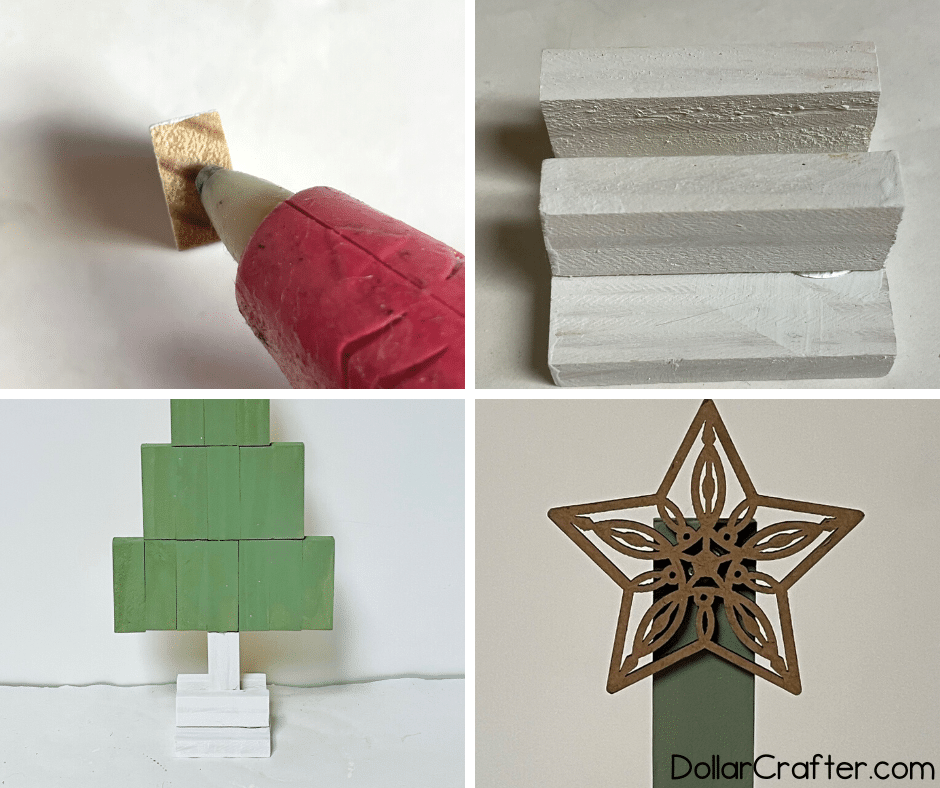
Once everything is dried (base and Christmas tree) it is time to assemble it all together. At the bottom of your Christmas tree attach the tree trunk using hot glue or wood glue.
Use the other two white Jenga block pieces on either side of the bottom of the tree trunk horizontally to form a secure base to the three piece white Jenga block section.
Glue it all together really good and allow it time to dry.
Attach your star embellishment to the top of your tree using hot glue.
Once everything is dried and sturdy, set it out for display and enjoy!
Notes
For more Christmas crafts visit DollarCrafter.com
Please Save This to Pinterest
Your shares are how this site grows, and I am sincerely grateful. Know a friend who’d like this? Please share it on Facebook or save it to your favorite crafts board on Pinterest.