
This gnome ornament is so stinkin’ cute, and it’s really easy to make! I found all of the supplies I needed at my local Dollar Tree store. Keep reading to find out how!
Find all our DIY Christmas Crafts and Ornaments here!
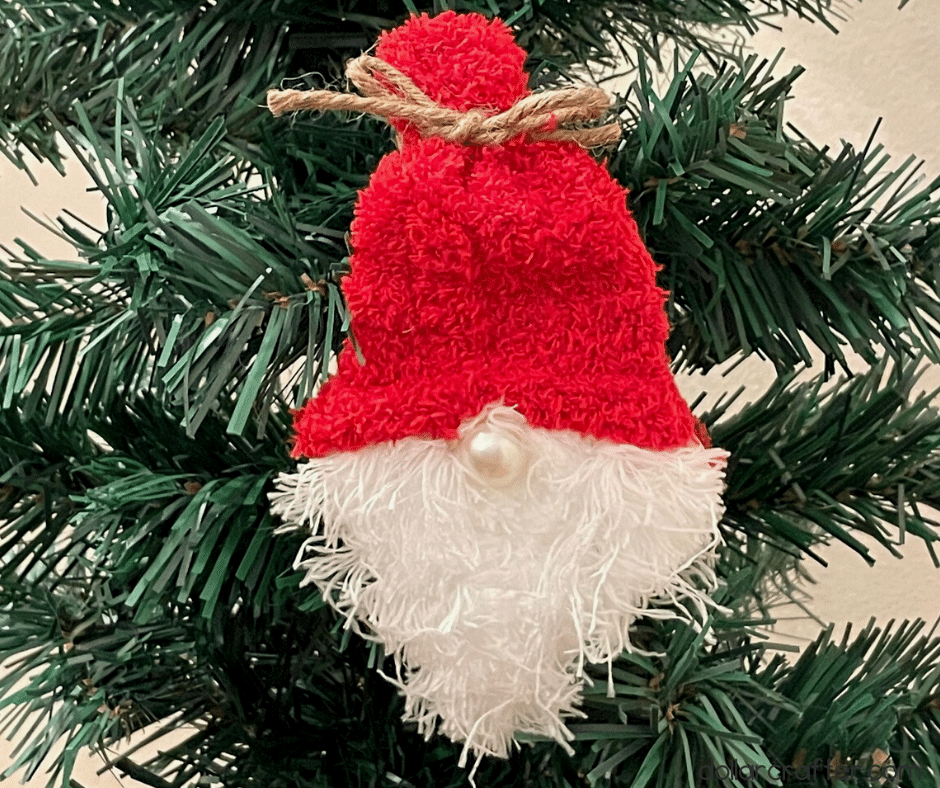
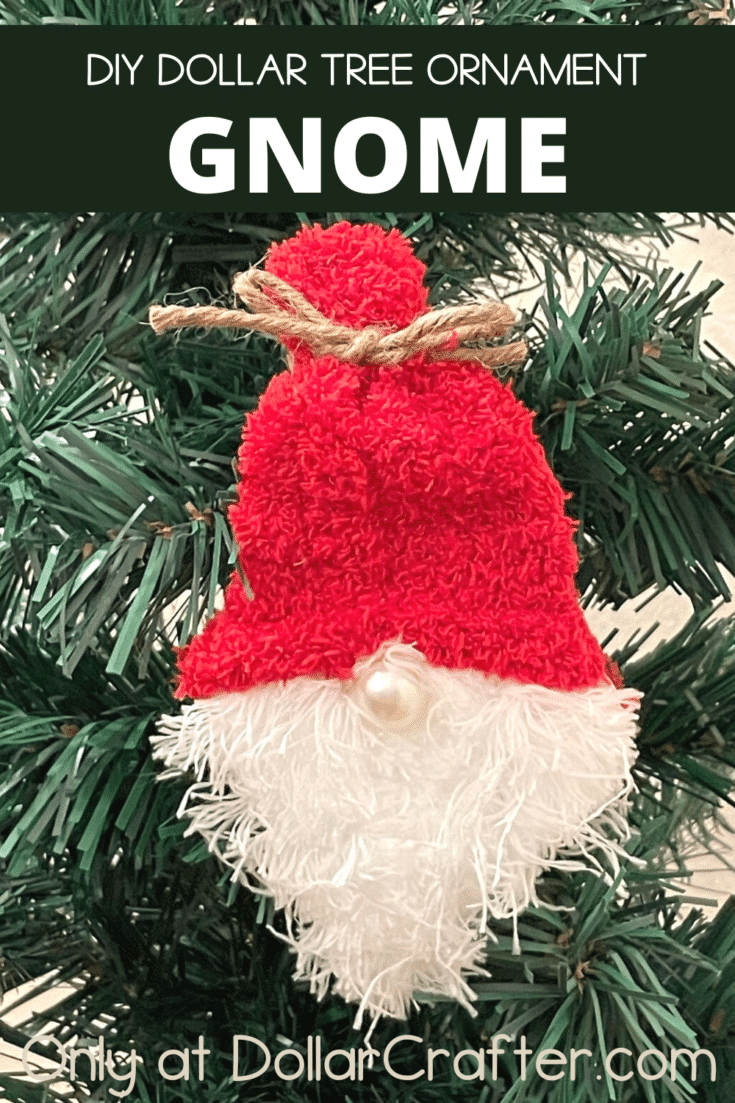
Easy DIY Gnome Ornament
Supplies:
- Duster Cloth (Dollar Tree)
- Scissors
- Red Child’s Mittens (Dollar Tree)
- Hot Glue Gun
- Jute Twine (Dollar Tree)
- Wooden Halloween Ghost Ornament (Dollar Tree)
- Large Pearl Bead (Dollar Tree)
Tips for Making a DIY Gnome Christmas Ornament
Making this Christmas gnome ornament is ridiculously easy. Simply cut and glue!
I absolutely adore the way the duster cloth from Dollar Tree turned out for our gnome, but you could also use a faux fur pillow or anything fuzzy that you could find. I personally think our gnome looks a tad like Santa!
If you want to do this craft with kids and avoid using the hot glue gun, you could also use something such as tacky glue or craft bond.
Just make sure to still have an adult pull out the hot glue gun for creating the loop to hang your gnome from the tree!
How to Make a Gnome Ornament at Home
Let’s get crafting! Below is our written tutorial.
Dollar Tree Gnome Christmas Ornament
Materials
- Duster Cloth (Dollar Tree)
- Red Child's Mitten (Dollar Tree)
- Jute Twine (Dollar Tree)
- Wooden Halloween Ghost Ornament (Dollar Tree)
- Large Pearl Bead (Dollar Tree)
Tools
- Scissor
- Hot Glue and Hot Glue Gun
Instructions
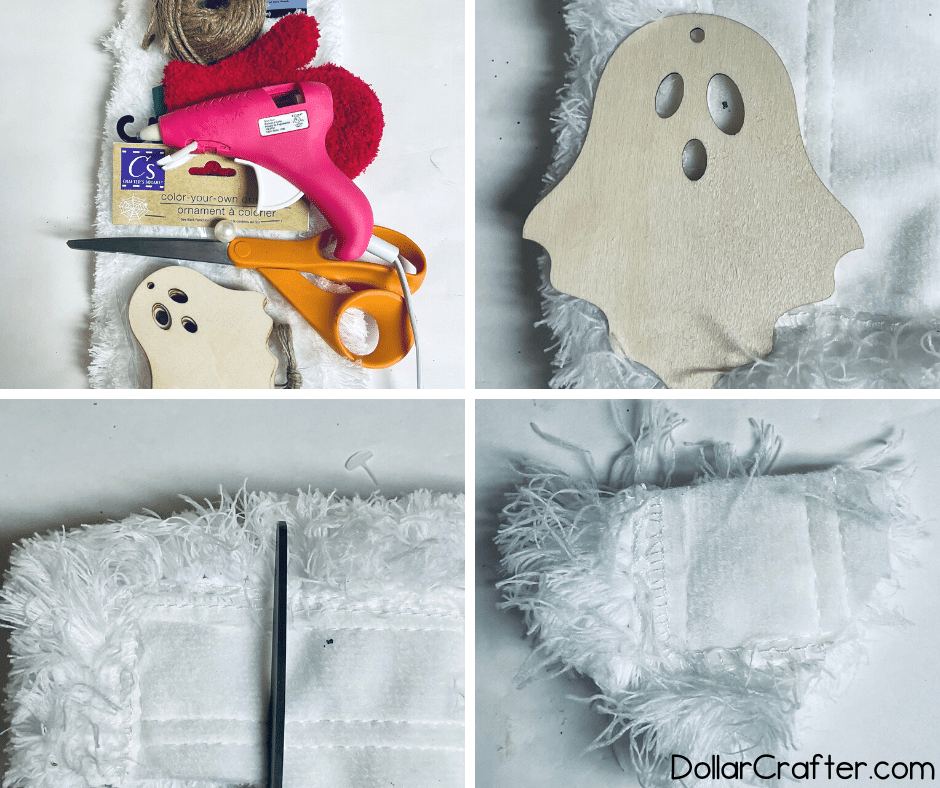
- Gather your supplies.
- Take the wooden ghost ornament and place it on the backside of the duster cloth.
- Cut the duster cloth slightly outside the shape of the wooden ghost shape (approx. 2 inches by 2 inches) into a beard shape.
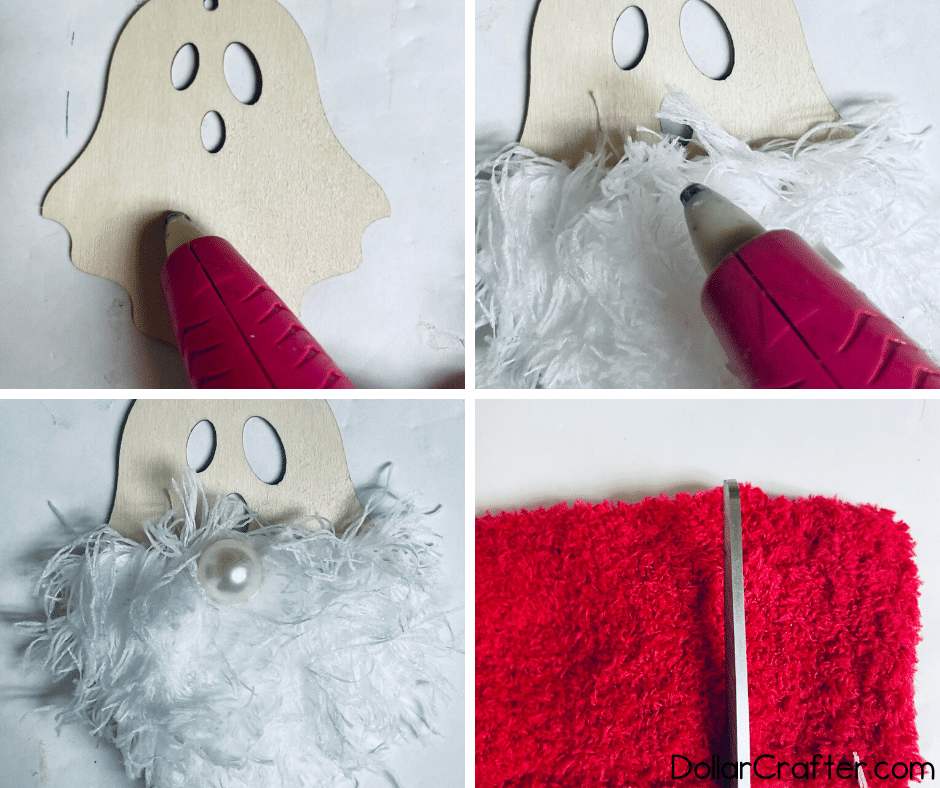
- Hot glue the duster cloth onto the bottom of the wooden ghost shape and allow to dry.
- Add a dab of glue to the large wooden pearl and attach to your gnome ornament where you would like the nose to be.
- Cut the bottom section of the child's mitten where the thumb is. The tip of the thumb will create the top of your gnome hat.
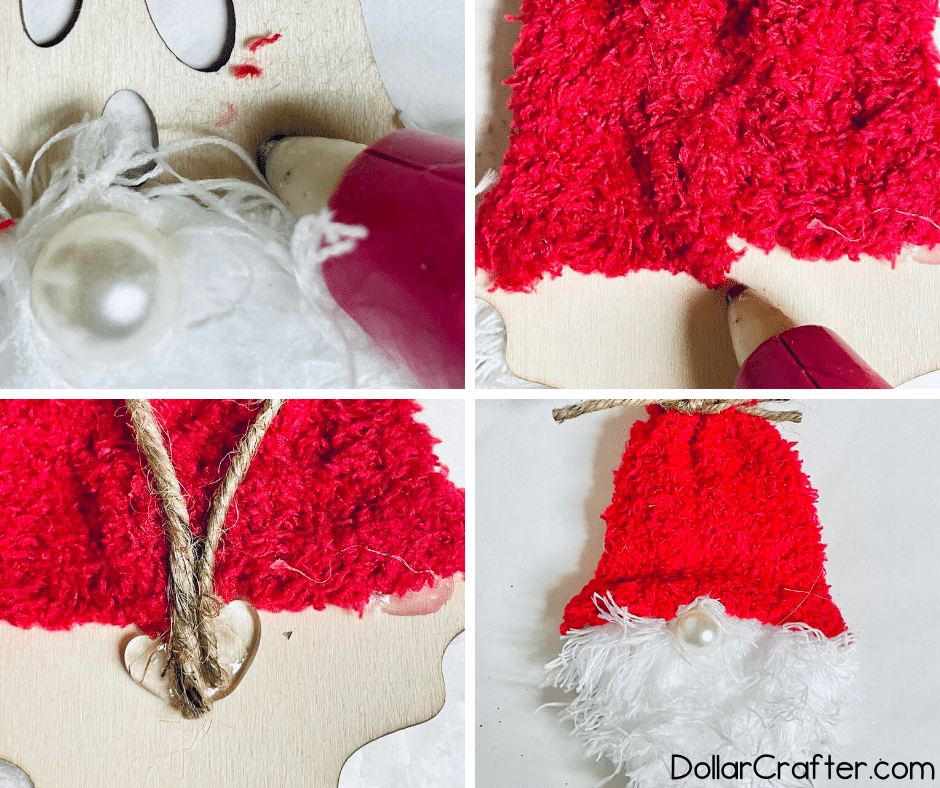
- Add a thin line of hot glue right above the beard and slide the red glove on like a hat.
- Cut a section of the jute twine (about 5-6 inches) to create a bow on the gnome hat.
- Tie the twine towards the top of the hat and secure with hot glue if necessary.
- Use another section of jute twine to create a loop that is attached to the back of the gnome ornament to hang your gnome from your Christmas tree. Secure with hot glue.
- Allow everything to dry and then hang your Christmas gnome ornament on your tree and enjoy!
Notes
For more Christmas crafts visit DollarCrafter.com
Please Save This to Pinterest
Your shares are how this site grows, and I am sincerely grateful. Know a friend who’d like this? Please share it on Facebook or save it to your favorite crafts board on Pinterest.