Are you ready to craft something extra cute for spring and Easter? If so, this DIY Dollar Tree Bunny Wreath is the perfect project for you! Not only is it easy to make, but it requires very little in terms of supplies – all of which can be found at your local Dollar Tree store.
We have been having a blast creating Dollar Tree Easter crafts this last month, make sure to swing by and check them all out for more inspiration!
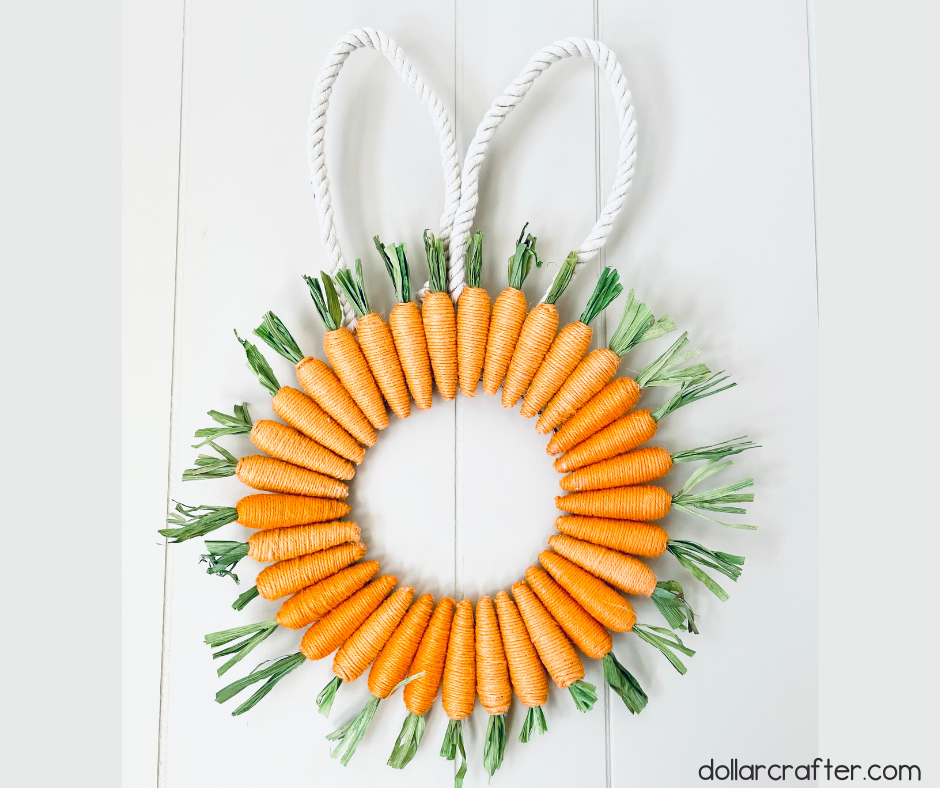
DIY Easter Bunny Wreath
Supplies Needed:
- Bunny Wreath Form (Dollar Tree)
- 5 Bags of Craft Carrots (Dollar Tree)
- 1 Nautical Rope (Dollar Tree)
- Scissors
- Hot Glue Gun and Glue Sticks
Tips for Making a Dollar Tree Easter Bunny Wreath
In the past we have made a DIY farmhouse carrot wreath that was a massive hit with ya’ll! This wreath follows the same concept with a fun Easter Bunny twist!
While this wreath is pretty straight forward, just go slow and use hot glue, there is one main tip to make sure your wreath turns out perfect. When using the bunny wreath form from Dollar Tree you want to make sure that you are gluing your carrots on to the flat side of the wreath form. This will make sure that your carrots are firmly secured.
Also, if you cannot find the bunny wreath form at your local Dollar Tree, you could make one by using metal wire (from something such as a wire hanger) to stabilize the bunny ears. If you take this route, make sure to secure the wire bunny ear shapes to your wreath form before glueing down the carrots.
How to Make a Dollar Tree Bunny Wreath
Ready to get crafting? You will find the full tutorial below!
Dollar Tree Easter Bunny Wreath
Materials
- 1 Bunny Wreath Form (Dollar Tree)
- 5 Bags Craft Carrots, 30 carrots total (Dollar Tree)
- 1 Nautical Rope (Dollar Tree)
Tools
- Scissors
- Hot Glue Gun and Hot Glue
Instructions
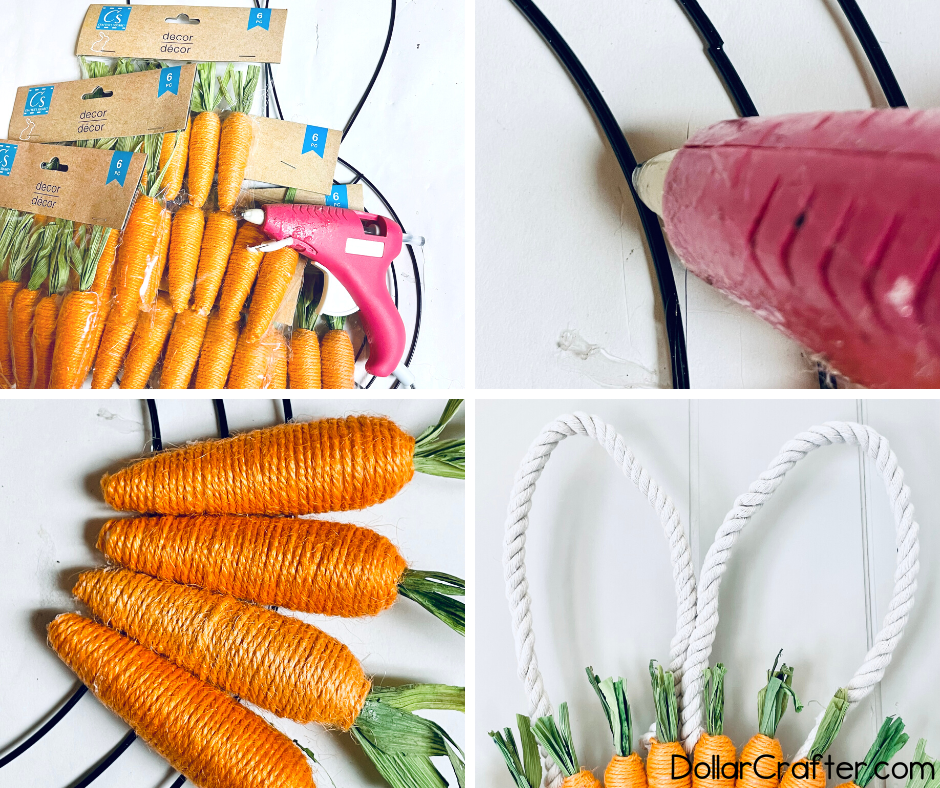
- Gather your supplies.
- Start by turning the wreath form on the backside, so that you are working with the flat side of the wreath form.
- Add a line of glue to the backside of the carrot and then press firmly onto the wreath form. Repeat this until the entire circle section of the wreath is covered. Make sure to have the carrots right next to each other and no space in between them.
- After all the carrots are added and the glue is dried, add a line of glue to the ear section of the wreath form and quickly add the nautical rope on top. Repeat this around each ear and trim at the end.
- Allow glue to dry and hang up to display!
Notes
For more fun Easter crafts visit DollarCrafter.com
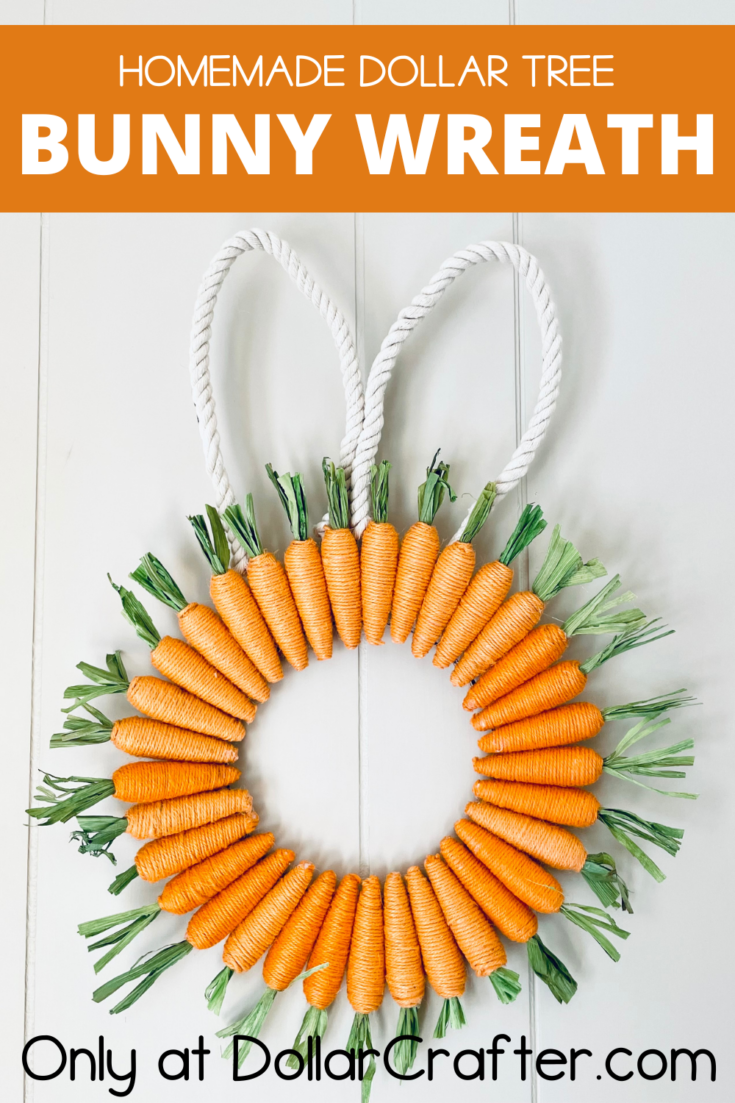
Please Save This to Pinterest
Your shares are how this site grows and I am sincerely grateful. Know a friend who’d like this? Please share it on Facebook or save it to your favorite crafts board on Pinterest.
Do you mind if I use a photo in my round-up?
Hi Shasta –
Definitely! We allow one photo with link back for use in round-ups. Thanks for asking!