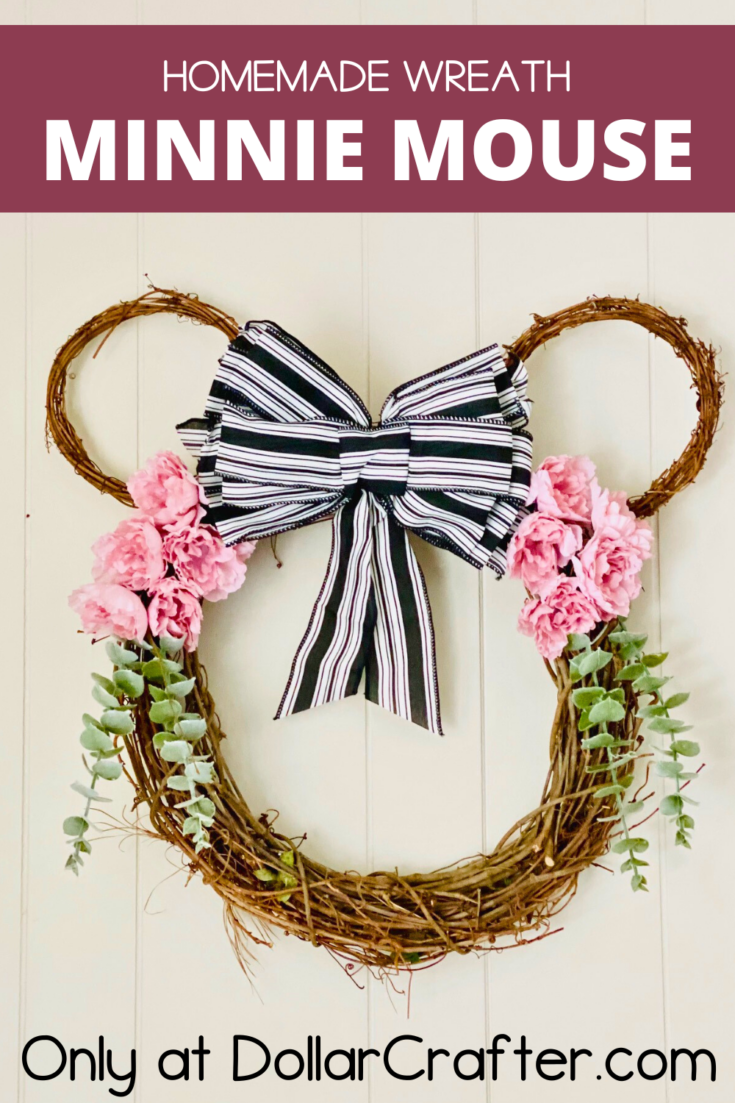
Are you a Disney fanatic looking for a new way to add some magic to your home decor? Or perhaps you’re just on the hunt for a fun and budget-friendly DIY project? Either way, we’ve got you covered with this delightful Farmhouse Minnie Mouse Wreath tutorial!
With a few simple supplies and a little bit of creativity, you’ll have a charming Minnie Mouse wreath adorning your front door in no time. So, grab your wire cutters, floral wire, and hot glue gun, and let’s get crafting!
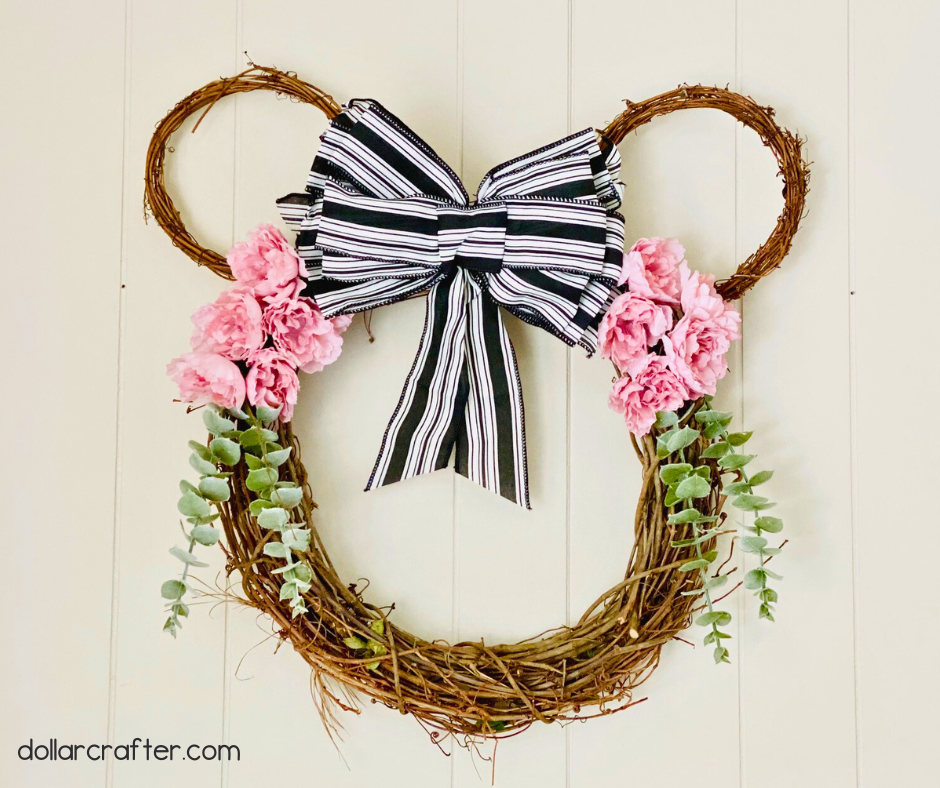
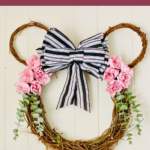
DIY Minnie Mouse Grapevine Wreath
But before we dive into the step-by-step instructions, let’s go over the supplies you’ll need to make this Farmhouse Minnie Mouse Wreath. Don’t worry, these items are easy to find and won’t break the bank!
Supplies Needed:
- 18-inch grapevine wreath
- 2 8-inch grapevine wreaths
- 1 eucalyptus stem
- 2 blush-colored flowers
- Floral wire
- Hot glue gun
- Gemstones (optional)
- Black and white pre-made bow
- Wire cutters
- Scissors
Tips for Making This Minnie Mouse Wreath
Now that we’ve gone over the supplies, it’s time to start crafting your very own Farmhouse Minnie Mouse Wreath! But don’t worry, you don’t need to be a crafting expert to make this adorable wreath. With a little bit of patience and creativity, anyone can create a beautiful Minnie Mouse wreath to add some Disney magic to their home.
One thing to keep in mind is that you can always add your own personal touches to the wreath. Maybe you want to use different colored flowers or add some extra gemstones for a little sparkle. The possibilities are endless, so feel free to get creative and make the wreath your own.
If you’re using a pre-made bow, be sure to trim it to the appropriate length before adding it to the wreath. You don’t want it to be too long or too short!
When weaving the flowers and eucalyptus into the grapevine wreath, make sure to secure them in place with floral wire or hot glue. This will help them stay in place and prevent them from falling off over time.
And don’t forget, taking your time with each step is key to ensuring that the wreath comes together properly. Rushing through the process could lead to mistakes or a less-than-perfect finished product. So, take a deep breath, relax, and let’s get started on this fun and budget-friendly DIY project!
How to Make a Minnie Mouse Grapevine Wreath
Ready to get crafting? You will find the full tutorial below!
Minnie Mouse Grapevine Wreath
Materials
- 18-inch grapevine wreath
- 2 8-inch grapevine wreaths
- 1 eucalyptus stem
- 2 blush-colored flowers
- Floral wire
- Black and white pre-made bow
- Gemstones (optional)
Tools
- Hot glue gun and glue
- Wire cutters
- Scissors
Instructions
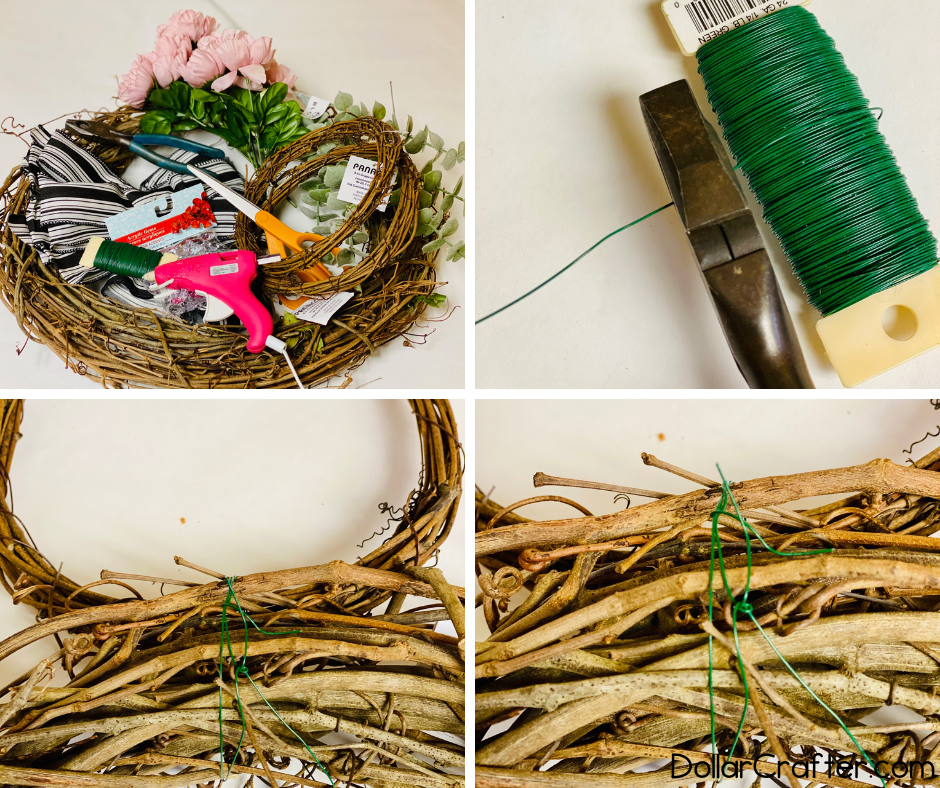
- Gather your supplies.
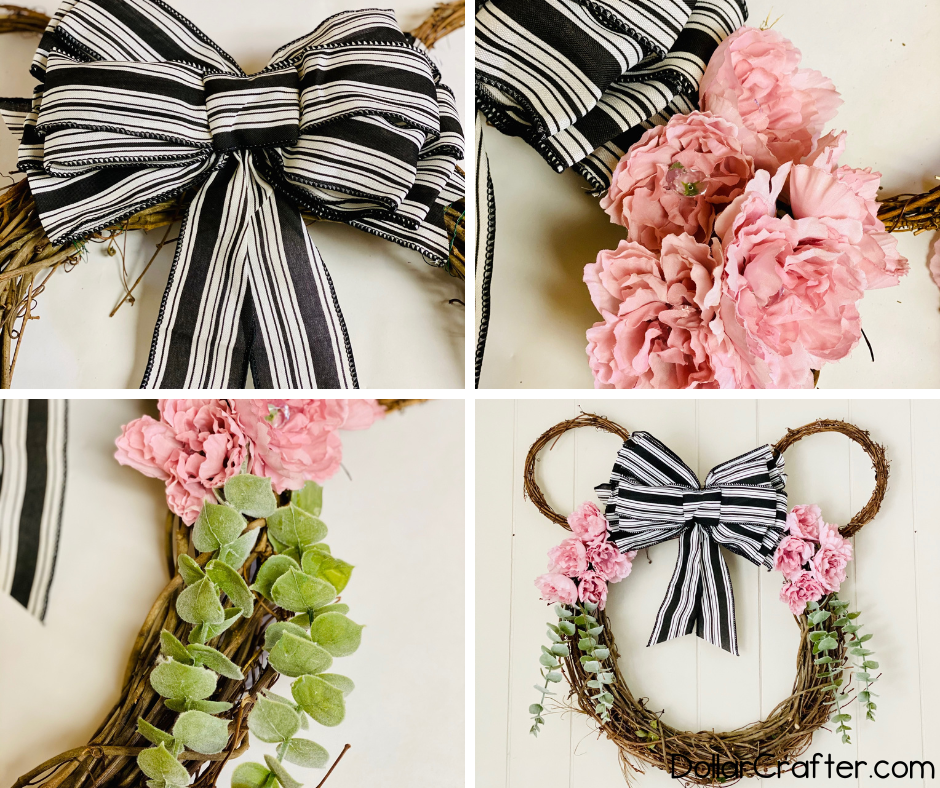
- Begin by cutting about two 2-foot lengths of floral wire. Then, wrap one length of the wire around one of the 8-inch grapevine wreaths and the 18-inch grapevine wreath to create one ear. Repeat this step on the other side to create the second ear.
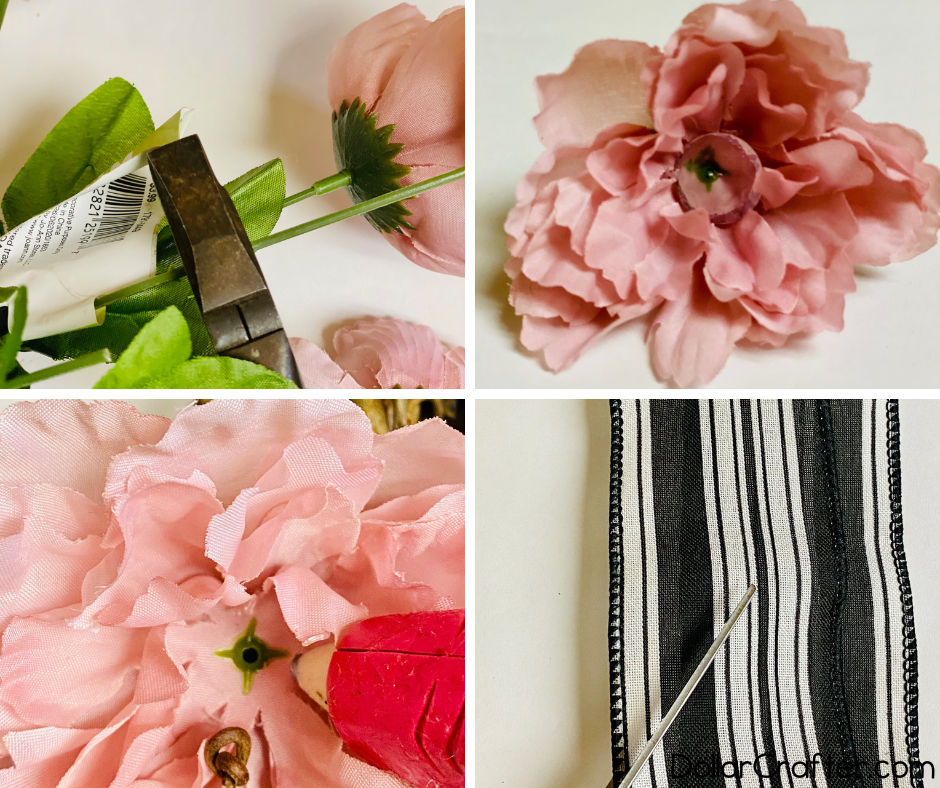
- Using wire cutters, trim the ends of the blush flowers so that they are about 3-4 inches long.
- Cut the eucalyptus stem into pieces using the wire cutters.
- Using a hot glue gun, add the floral gems inside the flowers (this step is optional since the gems won't be very visible).
- If you're using a pre-made bow, trim it to the appropriate length. Then, add the bow to the middle of the grapevine wreath between the ears. If your bow comes with a twist tie on the back, you can simply twist tie it onto the back of the wreath.
- Next, add the blush flowers to the wreath on either side of the bow. Weave them into the grapevines, but depending on where you live, you may want to add some hot glue to make sure they stay in place.
- Finally, add the eucalyptus stems. Tuck them underneath the blush flowers and weave them into the grapevine stems.
- Then put your new Minnie Mouse wreath on display and enjoy!
Notes
For more fun crafts visit DollarCrafter.com
Please Save This to Pinterest
Your shares are how this site grows and I am sincerely grateful. Know a friend who’d like this? Please share it on Facebook or save it to your favorite crafts board on Pinterest.