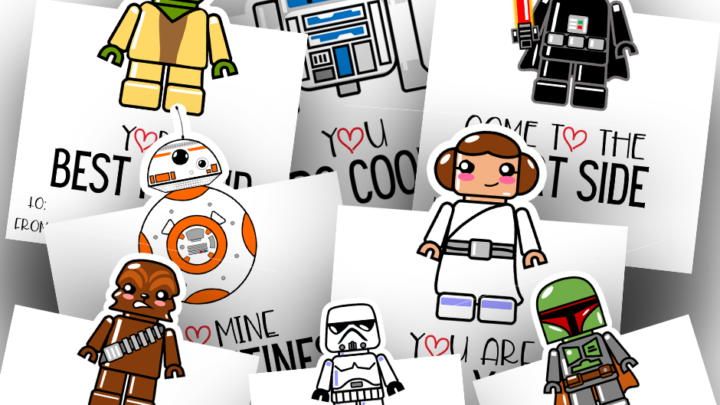
Surprise your kids with this fun set of Printable Harry Potter Valentines Day cards!

Valentine’s Day is almost here and we’ve been sharing some of our favorite (and free!) printables that your kids can use for classroom parties.
Harry Potter Printable Valentines Day Cards for Kids
Your kids will LOVE these Harry Potter Valentines Day cards. The 10 characters included in this freebie are:
- Harry Potter
- Hedwig
- Dobby
- Draco Lucius Malfoy
- Rubeus Hagrid
- Hermione Granger
- Ron Weasley
- Severus Snape
- Albus Dumbledore
- Sorting Hat
Materials Needed for These Harry Potter Valentines Day Printable Cards
Included in this Harry Potter packet are SVG, PNG, and PDF craft files. You can you these with a crafting machine such as Cricut or simply use the PDF file to print and cut yourself with scissors 🙂
Tips for Print and Cut Cricut Projects
Print then Cut is a Cricut Maker or Cricut Explore option that allows you to print your designs and then cut around them. When you have an element or design set to print then cut; Design Space will send it to your home printer first, and then it will cut it.
Before using this feature, you need to keep in mind the design size. The elements you are printing cannot be larger than 9.25″x6.75″ and the paper size needs to be 8.5″x11″. You cannot change these settings.
You can print then cut any type of image as long as it fits into these dimensions.
After you upload your designs to Design Space and get the sizing correct, you will need to tell Design Space that this is a print then cut project. If you are using the PNG files that are already prearranged to print nicely, Design Space will assume that this is a print then cut project. However, if you are using the SVG files you are going to have to let Design Space know that you want to print before you cut.
NOTE: You cannot print these and then upload the designs to Design Space and cut. You NEED to print from Design Space.
To tell Design Space that you want to print and then cut you need to switch the line type to cut and the fill to print. You will also need to flatten all of your layers. Then you are ready to move on to “Make It”.
Once you click “Make It” you will be taken to a print preview screen. This preview shows you how the print should look and lay. After you print you need to make sure that you lay your paper on the mat exactly as it is shown on this preview.
Then move on to print. Before you press print make sure that “add bleed” is turned off. Bleeding is useful for projects that require you to cut very close to the lines so that your color goes all the way to the cut. However, for these cards, we have a chunky white outline around them so it is not needed.
You will want to print these on a heavy card stock ideally.
When your project prints you will see a big bold black line around your project. Don’t freak out and try and figure out where that black square came from, it is supposed to be there. The big black lines are what your machine uses to reference where it needs to cut.
After you have printed, return to your Cricut machine and select the material that you printed on, double-check that your paper matches the print preview you saw at the beginning, make sure you have the correct blade and mat for your material choice, and then you are ready to cut!
Then sit back, watch the magic happen, and remove your project from the machine once Cricut tells you it is done cutting. Super simple and fun!
More Fun Printable Valentines Day Card Ideas
Please Save This to Pinterest
Your shares are how this site grows and I am sincerely grateful. Know a friend who’d like this? Please share it on Facebook or save it to your favorite homemade beauty board on Pinterest.


