
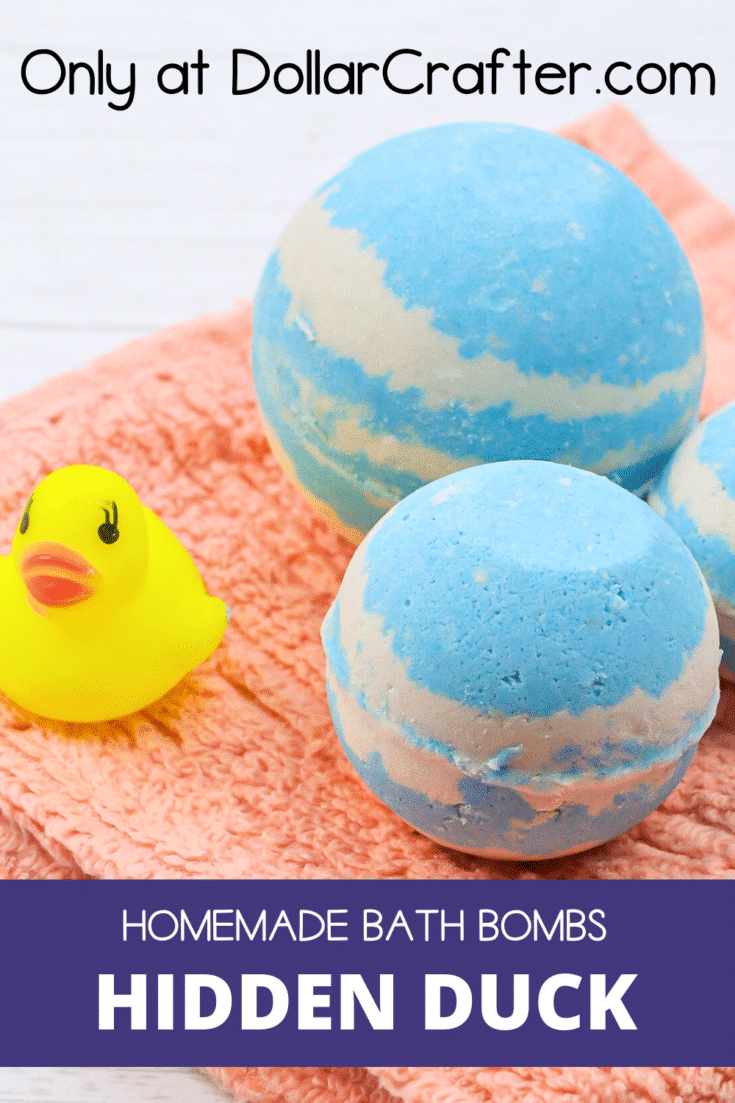
Are you looking for a fun and unique way to level up your bath time routine? Look no further than these DIY Layered Hidden Duck Bath Bombs! Not only do they smell amazing and leave your skin feeling soft and moisturized, but they also feature a surprise hidden inside – a cute little rubber duck!

Homemade Hidden Duck Bath Bombs
Making these bath bombs is easier than you might think, and the layered design adds an extra element of fun to the process. Get ready to make a splash in the tub with these adorable and relaxing bath bombs!
We use affiliate links so you can easily find the items we recommend.
Supplies:
- 2 cups Baking Soda
- 1 cup Citric Acid
- 1/4 cup Cornstarch
- 1/4 cup White Bentonite Clay
- 1 tablespoon Avocado Butter
- 1/3 cup Coconut Oil
- 1 teaspoon Polysorbate 80
- White Mica Colorant
- Blue Mica Colorant
- Scented Oil
- Mini Rubber Ducks for Larger Molds or Mini Resin Ducks for Smaller Molds
- Bath Bomb Molds
- Spray Bottle Filled with Rubbing Alcohol
- 1 Large, 2 Medium and 1 Small Mixing Bowl
Tips for Making Hidden Duck Bath Bombs
The success of your hidden duck bath bombs largely depends on the quality of the ingredients you use. Use high-quality baking soda, citric acid, and oils to ensure that your bath bombs are effective and luxurious.
Once you add the wet ingredients to the dry ingredients, the mixture will start to react and fizz. Work quickly to avoid the mixture hardening before you’ve had a chance to mold it into shape.
The recipe calls for molds of various sizes, which will help you create the layered design. Be sure to choose ducks that are the right size for your bath bomb molds, so that you can achieve the desired effect.
To ensure that the bath bombs hold their shape and don’t crumble, pack the mixture tightly into the molds. This will also help the hidden duck stay in place.
If you are making these bath bombs for children please make sure to consult with a trusted source to know which essential/scented oils are safe for their use.
And lastly, it’s important to let the bath bombs dry completely before using them. This can take up to 48 hours, depending on the humidity in your environment. Be patient and resist the urge to use them too soon, or they may crumble in the bath.
How to Make Hidden Duck Bath Bombs
Ready to get crafting? You will find the full tutorial below!
Hidden Duck Bath Bombs
Materials
- 2 cups Baking Soda
- 1 cup Citric Acid
- 1/4 cup Cornstarch
- 1/4 cup White Bentonite Clay
- 1 tablespoon Avocado Butter
- 1/3 cup Coconut Oil
- 1 teaspoon Polysorbate 80
- White Mica Colorant
- Blue Mica Colorant
- Scented Oil
- Mini Rubber Ducks for Larger Molds or Mini Resin Ducks for Smaller Molds
Tools
- Bath Bomb Molds
- Spray Bottle Filled with Rubbing Alcohol
- 1 Large Mixing Bowl
- 2 Medium Mixing Bowl
- 1 Small Mixing Bowl
- Spatula
Instructions
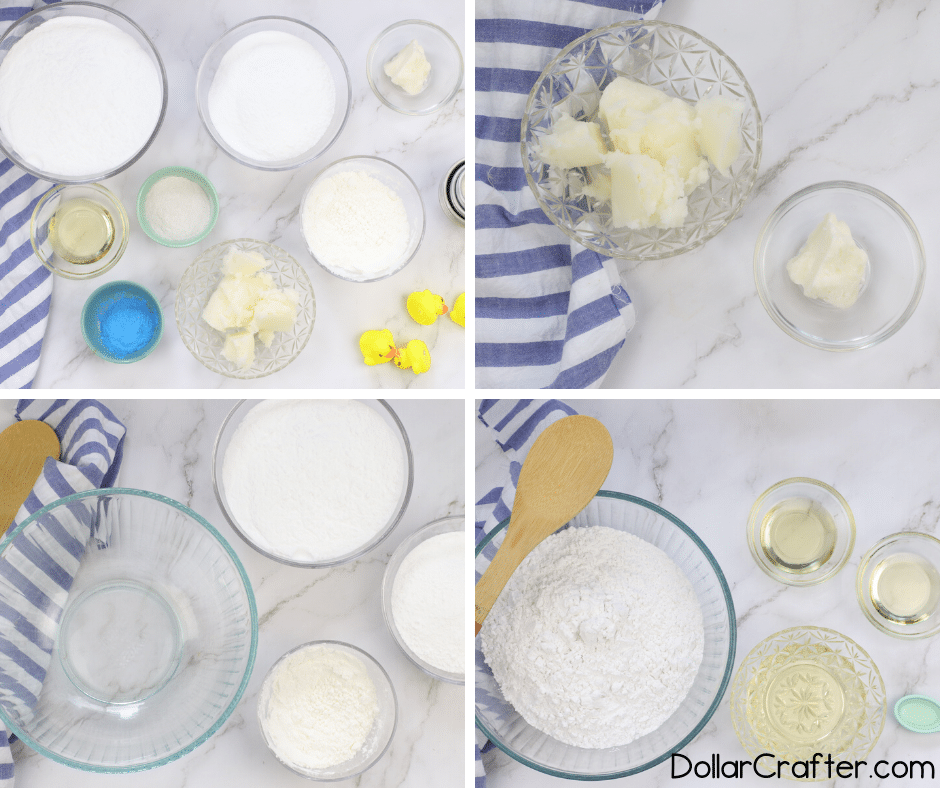
- Melt any solid oils (coconut, shea, avocado, etc.) in a microwave safe container in 30 second bursts. Stir in between each. Continue until completely melted.
- In a large mixing bowl, add the baking soda, citric acid, kaolin clay and cornstarch. Whisk dry ingredients together. (If desired, sift dry ingredients to rid the mixture of any clumps or hard pieces).
- Add the coconut oil and avocado butter. The coconut oil binds all the ingredients together, so your bath bombs don’t crumble when you touch them, and the avocado butter adds additional stability and helps moisturize and soften your skin. Add the polysorbate 80. This helps the coconut oil disperse more evenly in your bath water, makes the bath bombs bubbly, and prevents the mica from sticking to the side of the tub.
- Mix wet ingredients in well. You may need to use your hands to break down any lumps and make sure everything is mixed in. The mixture is perfect when it holds together when you press it into your hands and feels like wet sand.
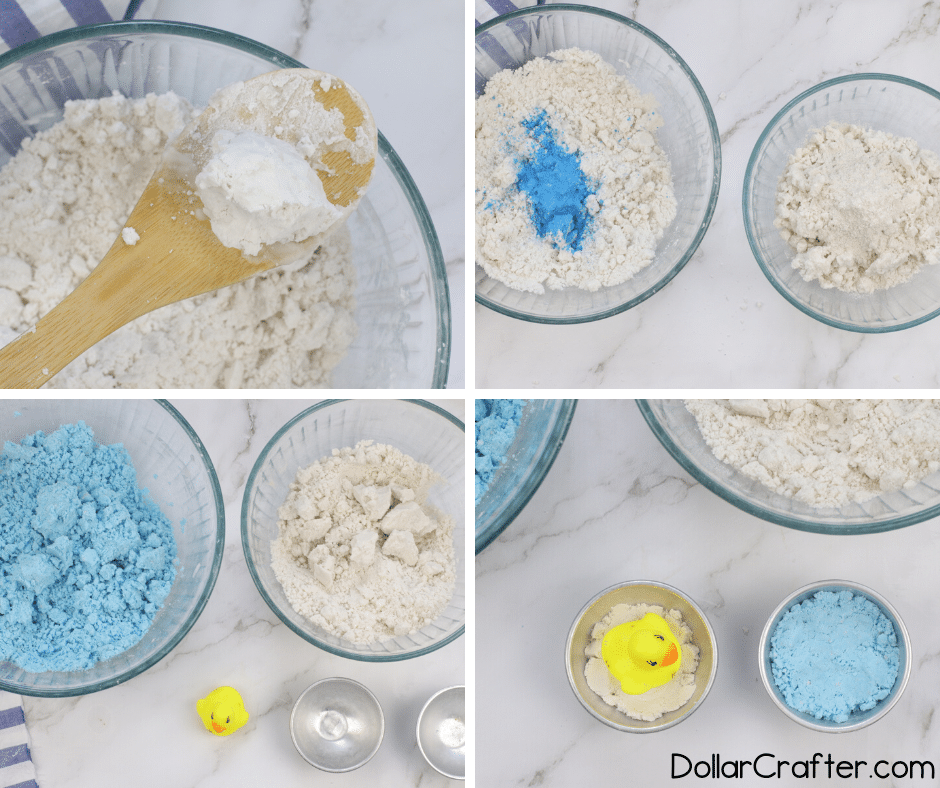
- Divide the mixture into 2 bowls. Add 1-2 teaspoons of the blue mica to one and the same amount of the white to the other bowl. Continue to add a bit of mica until you achieve the color you desire. Add the scented oil. Mix well.
- Add a bit of one color to one of the bath bomb molds. Add your duck. Gently layer the bath bomb mixture, alternating colors, to each side of the bath bomb mold until slightly overflowing.
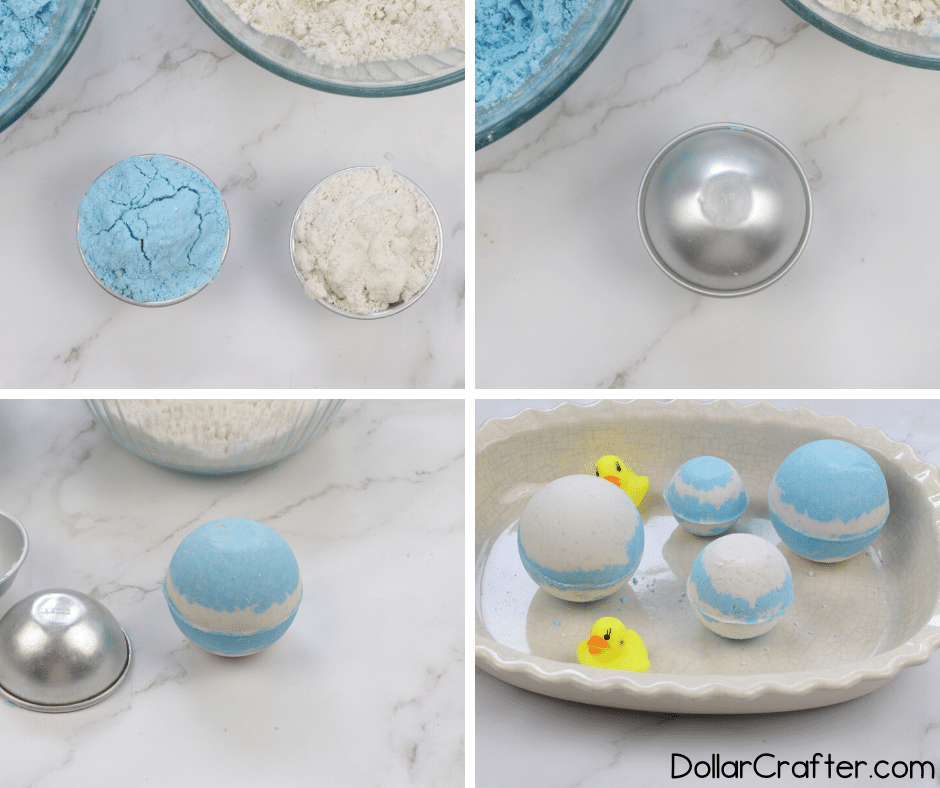
- Over the smaller, empty bowl, press molds together and gently but firmly grind to remove any excess mixture. Gently tap mold to release the bombs.
- Allow to dry a minimum of 24 hours. If your climate is wet or cold, allow an additional 24 hours. My rule of thumb is that when it is hard to the touch, they are ready for the tub! Store in an airtight container for up to 6 months until ready for use.
Notes
For more fun crafts visit DollarCrafter.com
Please Save This to Pinterest
Your shares are how this site grows and I am sincerely grateful. Know a friend who’d like this? Please share it on Facebook or save it to your favorite crafts board on Pinterest.