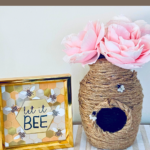
Are you ready to add some buzz-worthy decor to your home without spending a fortune? You’re in luck because we have a fun and easy craft tutorial for you! Today we’ll be showing you how to create a charming Beehive vase using just a few simple supplies from the Dollar Tree.

DIY Beehive Vase
It’s a perfect DIY project for anyone who loves to decorate their home on a budget. So, whether you’re a seasoned crafter or just starting out, let’s get ready to roll up our sleeves and create a beautiful vase that will be the envy of all your friends!
Supplies:
- Scissors
- Paintbrush
- Waverly Ink Chalk Paint
- Hot Glue Gun and Glue
- Nautical Rope
- Wooden Bees or Bee Charms
- Glass Vase
Tips for Making a Beehive Vase
One of the most important tips to keep in mind when creating a Beehive vase is to unravel the nautical rope slowly and carefully. This will make it easier to work with and prevent it from tangling.
If you don’t have Waverly Ink Chalk Paint, any black paint will work just fine, and you can even use other colors if you prefer a different look!
When applying the hot glue to the vase, work in small sections around the vase to ensure a secure hold and prevent the rope from sliding around.
When painting the center of the Beehive circle, be patient and use light strokes to avoid smudging the paint. Remember to wait for each layer to dry completely before adding more. If you make a mistake or want to change something, don’t worry! Hot glue can be removed with a hairdryer and a little bit of patience.
And finally, don’t be afraid to get creative with your Beehive vase! You can experiment with different rope thicknesses, colors, and vase shapes to create a truly unique piece of decor.
How to Make a Beehive Vase
Ready to get crafting? You will find the full tutorial below!
Beehive Vase

Materials
- Wooden Bees or Bee Charms
- Nautical Rope
- Glass Vase
- Waverly Ink Chalk Paint
Tools
- Paint Brush
- Scissors
- Hot Glue Gun and Glue
Instructions
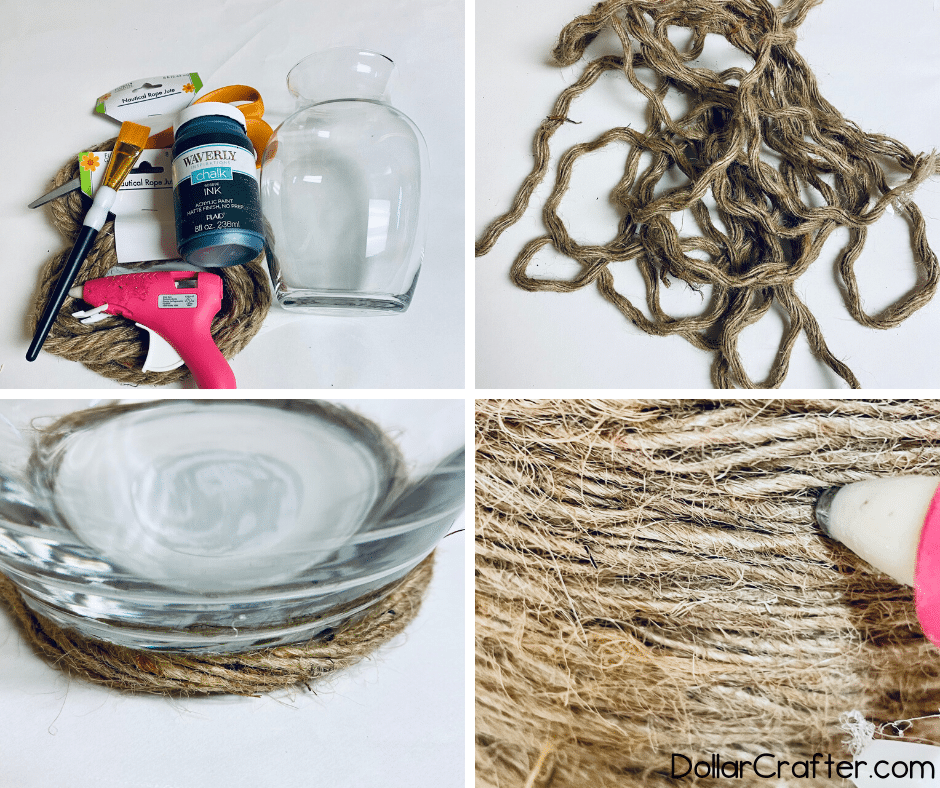
- Gather your supplies
- Start by unraveling the nautical rope into several strands.
- Add a line of hot glue to the bottom of the vase and add the nautical rope on top. Repeat this process until you have completely covered the vase with the rope.
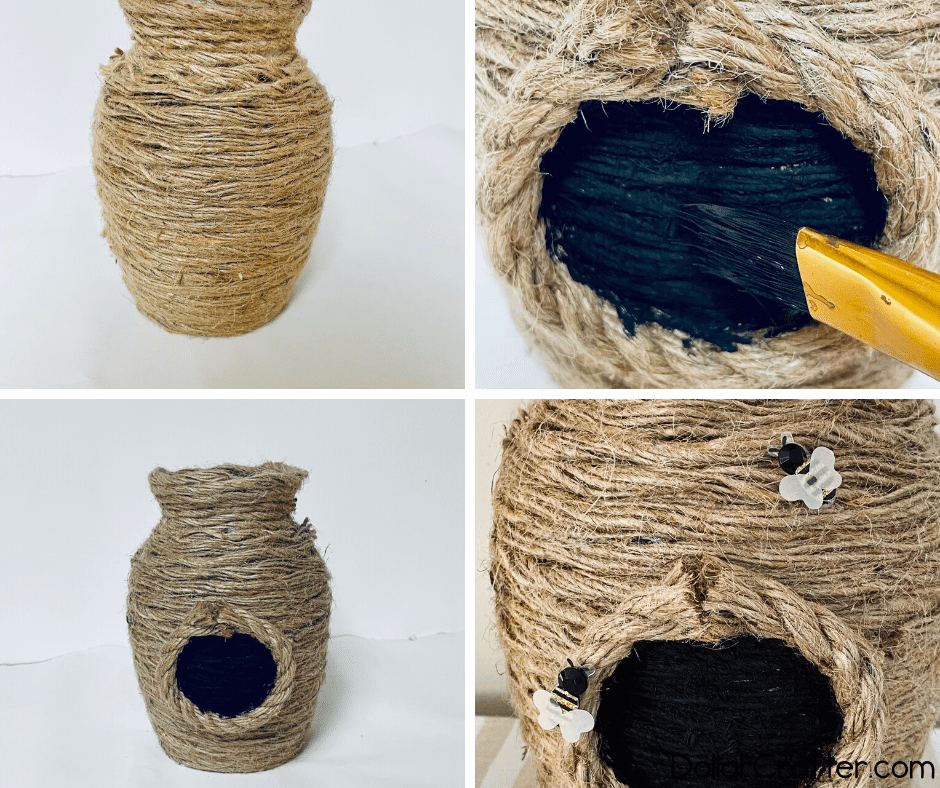
- Cut a 5-inch section of the nautical rope and use the hot glue to attach it to make a circle on the front of the vase.
- Using the paintbrush and the black paint, paint the center of the circle. Be patient and use light strokes to avoid smudging the paint.
- Allow the paint to dry completely before adding another layer.
- Repeat step 4 and 5 until the circle is fully painted and you are satisfied with the opacity.
- Use hot glue to attach your bees to the vase.
- Finally, style your Beehive vase and enjoy your beautiful new piece of decor!
Notes
For more fun crafts visit DollarCrafter.com
Please Save This to Pinterest
Your shares are how this site grows and I am sincerely grateful. Know a friend who’d like this? Please share it on Facebook or save it to your favorite crafts board on Pinterest.