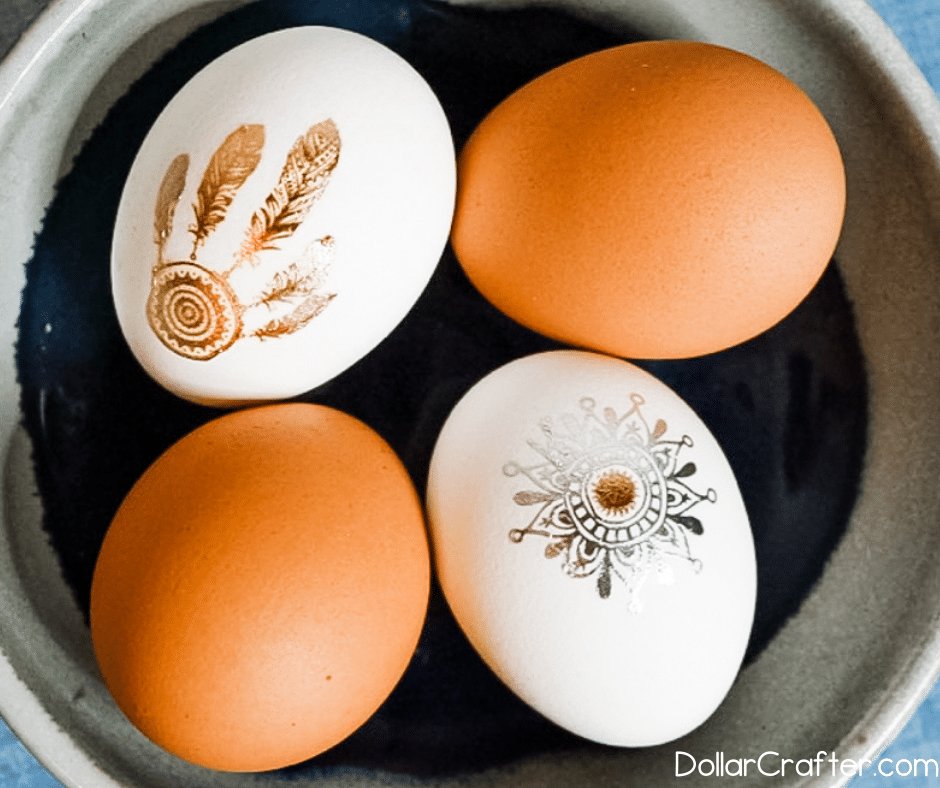
Looking for a unique and edgy twist on traditional Easter egg decorating? Try creating tattoo printed Easter eggs! This trendy and fun craft project is easier than you might think, and the results are sure to impress.
How to Make Tattoo Printed Easter Eggs
You will need:
- Hard-boiled eggs
- Metallic tattoos (non-toxic and safe for use)
- Scissors
- A sponge or washcloth
- A small bowl of water
- Paper towels
Preparing Your Hard-Boiled Eggs for Decorating
Before you begin decorating, make sure your hard-boiled eggs are cooled completely and dry.
If your eggs are still damp, gently pat them with a paper towel to remove any excess moisture. This will ensure that the metallic tattoos adhere properly.
There’s nothing more frustrating than rushing the process and the tattoos sliding off… trust me, you want to be patient with this one! 😉
Creative Design Ideas for Your Metallic Tattoo Easter Eggs
Mix and match different metallic colors, like gold, silver, and copper, for a stunning, multi-toned effect.
Combine multiple smaller tattoos to create a unique, larger design.
Use geometric patterns or abstract shapes for a modern, minimalist look.
Create themed eggs with matching tattoos, such as flowers, animals, or celestial designs.
Can I Use Any Type of Metallic Tattoos for This Project?
Yes, you can use any type of metallic tattoos for this project, as long as they are safe and non-toxic.
Do I Need to Use Hard-Boiled Eggs for This Project, or Can I Use Blown-Out Eggs?
While hard-boiled eggs are recommended for their sturdiness, you can also use blown-out eggs if you prefer but it’s way more difficult! Be extra gentle when applying the tattoos to avoid cracking the fragile shells.
Can I Use Regular Temporary Tattoos Instead of Metallic Ones?
Yes, you can use regular temporary tattoos for this project. The process will be the same, but the final result will have a different look.
Choose tattoos with bold colors and designs for the best effect. The metallic ones are better because they’re shiny and pretty, but totally use whatever is easiest! 😉
How Long Will the Metallic Tattoos Last on the Eggs?
The metallic tattoos should last on the eggs for as long as the eggs themselves. However, be cautious when handling the eggs, as the tattoos may be prone to scratching or peeling if not treated gently.
Are Metallic Tattoo Easter Eggs Safe to Eat?
As long as you use non-toxic, food-safe metallic tattoos and store the eggs properly, they should be safe to eat.
On a side note, how did we ever survive the 80s?! I know I definitely ate some metallic stuff that was not food-grade LOL
How Should I Store my Metallic Tattoo Easter Eggs?
Store your metallic tattoo Easter eggs in a covered container in the refrigerator. They should last up to a week.
Tattoo Printed Easter Eggs

A ridiculously easy hack to creating beautiful Easter Eggs!
Materials
- Hard boiled eggs
- Sponge
- Metallic tattoos
Instructions
- Make sure your hard-boiled eggs are completely dry and at room temperature.
- Peel the clear plastic layer off the front of the metallic tattoo.
- Position the tattoo (design side down) onto the egg, holding it in place with your fingers.
- Dip your sponge or washcloth in the bowl of water, and gently press it onto the back of the tattoo, making sure to cover the entire surface.
- Hold the wet sponge on the tattoo for 1-2 minutes, ensuring that the design is fully saturated.
- Carefully slide the paper backing off the tattoo, revealing the design on the egg.
- Gently smooth out any wrinkles or bubbles with your fingers or a dry sponge.
- Allow the egg to dry completely before handling.
Notes
For more fun Easter crafts visit DollarCrafter.com
Please Save This to Pinterest
Your shares are how this site grows and I am sincerely grateful. Know a friend who’d like this? Please share it on Facebook or save it to your favorite crafts board on Pinterest.