
Transform a classic Jenga game into a festive Christmas ornament with this easy DIY Snowman Hat Dollar Tree ornament! This fun craft project will have your home looking merry and bright in no time. With just a few supplies from Dollar Tree and a little bit of your time, you’ll be able to make a unique top hat Christmas ornament that your family will enjoy for years to come!
Find all our DIY Christmas Crafts and Ornaments here!
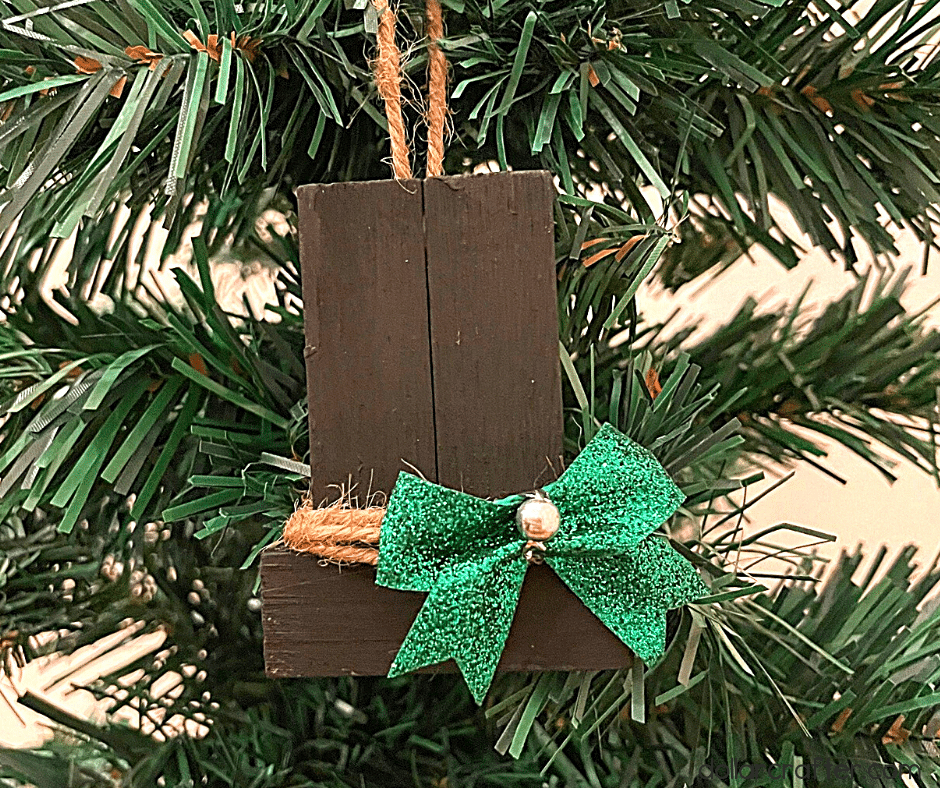
Dollar Tree Snowman Hat Christmas Ornament
Supplies:
- 3 Jenga Blocks (Dollar Tree)
- Waverly Ink Chalk Paint (Dollar Tree)
- Jute Twine (Dollar Tree)
- Red and Green Mini Bows (Dollar Tree)
- Paint Brush
- Scissors
- Hot Glue and Glue Gun
Tips for Making a Top Hat Christmas Ornament
Making these snowman hat ornaments only takes about 10 minutes! Just add some paint and glue and they are good to go!
We used hot glue when making our top hat ornaments for a quick hold (even lo-temp works), but if you want a longer lasting hold I would recommend using wood glue.
These top hat ornaments are also the perfect size to make into adorable gift tags!
How to Make a Snowman Hat Ornament Using Dollar Tree Supplies
Let’s get crafting! Below is our written tutorial.
Snowman Hat Ornament
Materials
- 3 Tumbling Tower Blocks, Dollar Tree
- Waverly Ink (Black) Chalk Paint, Dollar Tree
- Jute Twine, Dollar Tree
- Red and Green Mini Bows, Dollar Tree
Tools
- Scissors
- Hot Glue Gun
- Paint Brush
Instructions
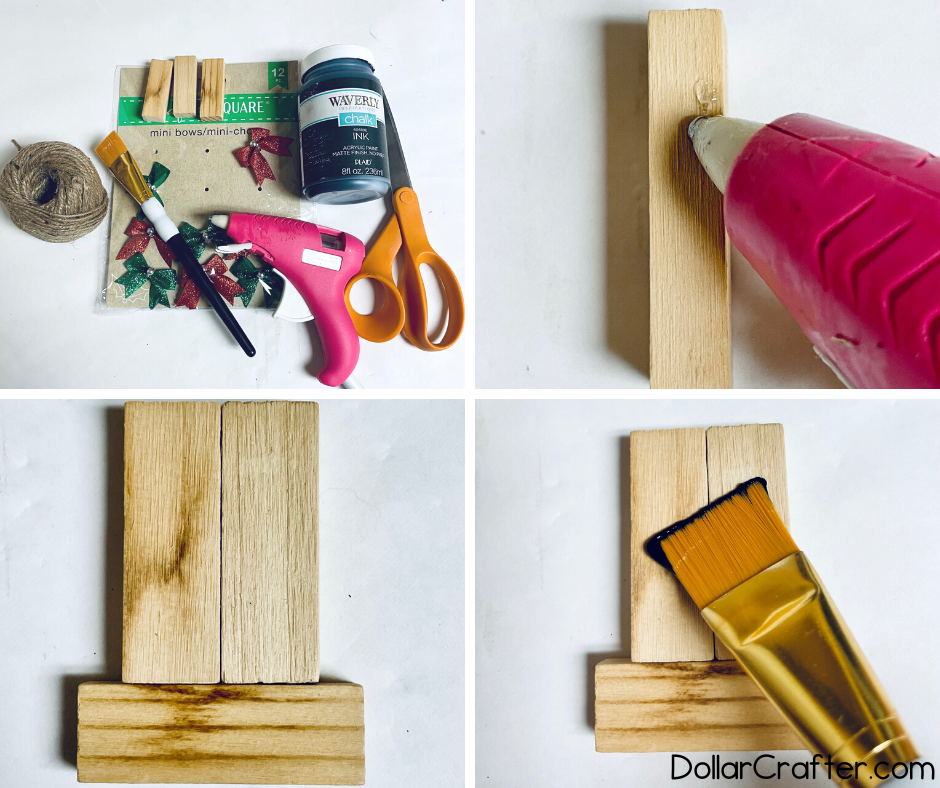
- Gather your supplies.
- Hot glue the three tumbling tower blocks together into the shape of a top hat. Two blocks side-by-side vertically with one Jenga block horizontally along the bottom.
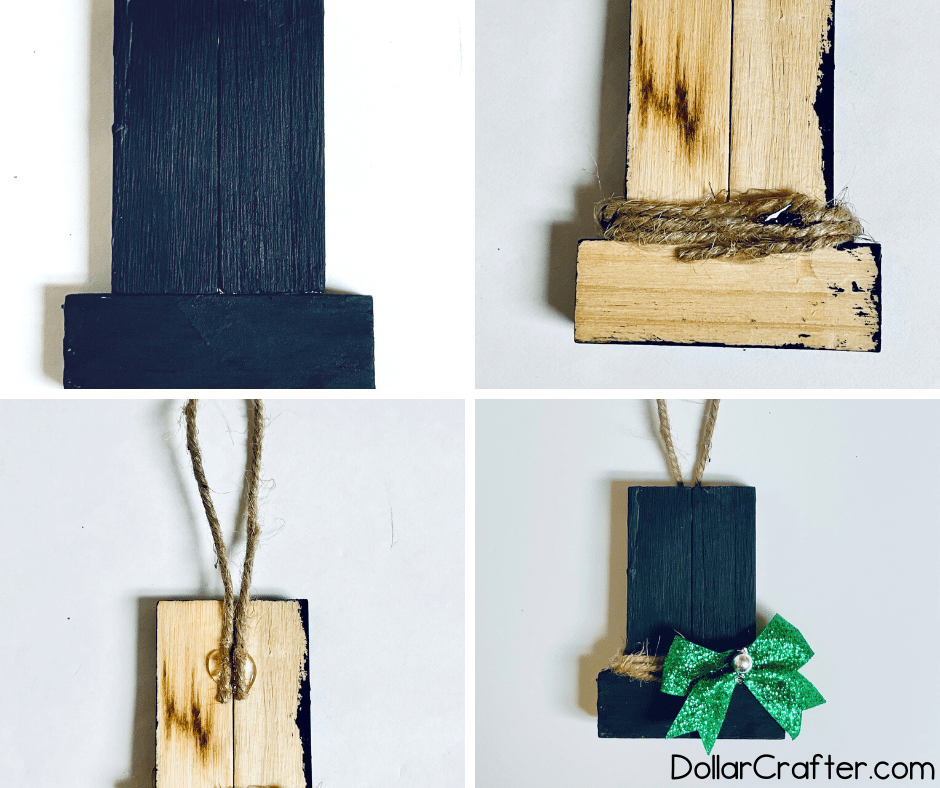
- Once the glue is dried, paint your top hat black. You do not need to paint the backside unless desired.
- Once the paint is dried add the jute twine. To do this you will add a dab of hot glue to the back of the top hat and wrap the jute twine 3-5 times. Then cut your twine and secure the end piece with with hot glue to the backside.
- Cut a 6 inch piece of jute twine to create a loop to hang your ornament from. Secure this on the backside of the top hat.
- Add a dab of hot glue to the front of the snowman hat where you would like the bow to be placed and attach the mini bow.
- Then hang up to display!
Notes
For more fun Christmas crafts visit DollarCrafter.com
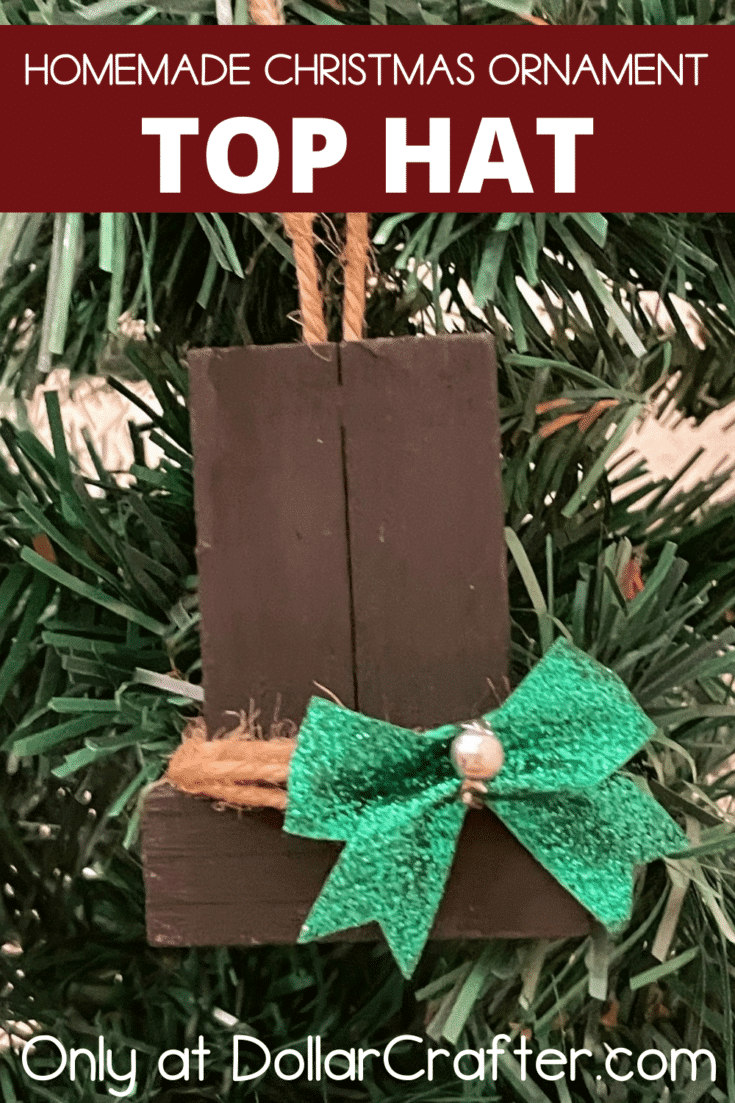
Please Save This to Pinterest
Your shares are how this site grows, and I am sincerely grateful. Know a friend who’d like this? Please share it on Facebook or save it to your favorite crafts board on Pinterest.