Homemade Mother’s Day gifts are the best ones to receive! I know it seems cliche, but as a Mom myself, the gifts I’ve cherished the most have been homemade. Especially as my kids enter their teenage years, it’s nice to hold onto these DIY gifts. 🙂

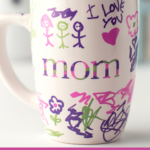
DIY Sharpie Mug – Mother’s Day Gift Idea
Supplies needed:
- Oracle 651 scrap vinyl
- blue light grip mat
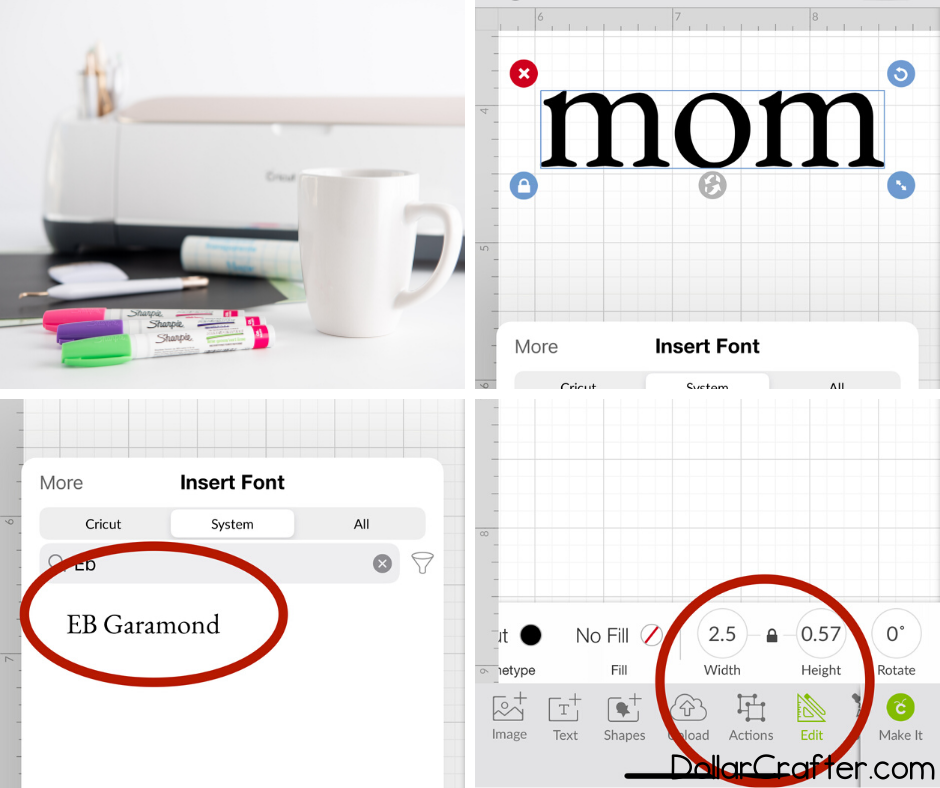
- EB Garamond font
- Plain white ceramic mug- Dollar Store
- Oil-based sharpies – it is important to use oil-based sharpie for the longevity of the mug for washing.
- Transfer tape
How to Make a Mother’s Day Mug
To make this mug for mom, in Design Space, you can use the text feature and choose a thicker, block-type font. I used EB Garamond for my word “mom.” This will work for other words and holidays as well, obviously.
Depending on what side of your mug is facing up (glossy or matte), change the size accordingly to make it big enough so that when wrapping around three-fourths of the cup in vinyl there are no gaps showing through from underneath. Adjust machine settings if needed as well with the material dial set at Vinyl – this will be permanent!
Load Oracle 651 onto the blue light grip mat before hitting “go”!
To make a basic stencil you need to weed off any areas of the design that are not meant to be cut.
To do this, start by making sure all parts of your design have been covered in transfer tape and then remove any vinyl from inside letters with an enclosed letter (ex., “a”), as we will use them for our stencil later on. Then peel back everything else until it is safe to scrape away at the backing without damaging our work underneath!
To transfer the vinyl onto a mug, first, flip your design face down and gently pull it off of its carrier sheet. Once you’re happy with where the design is on your mug, apply pressure to smooth over it using the scraper tool.
Once enough pressure had been applied slowly remove the transfer tape and very carefully and slowly rolling it away and off the mug. The vinyl stencil will remain on the surface.
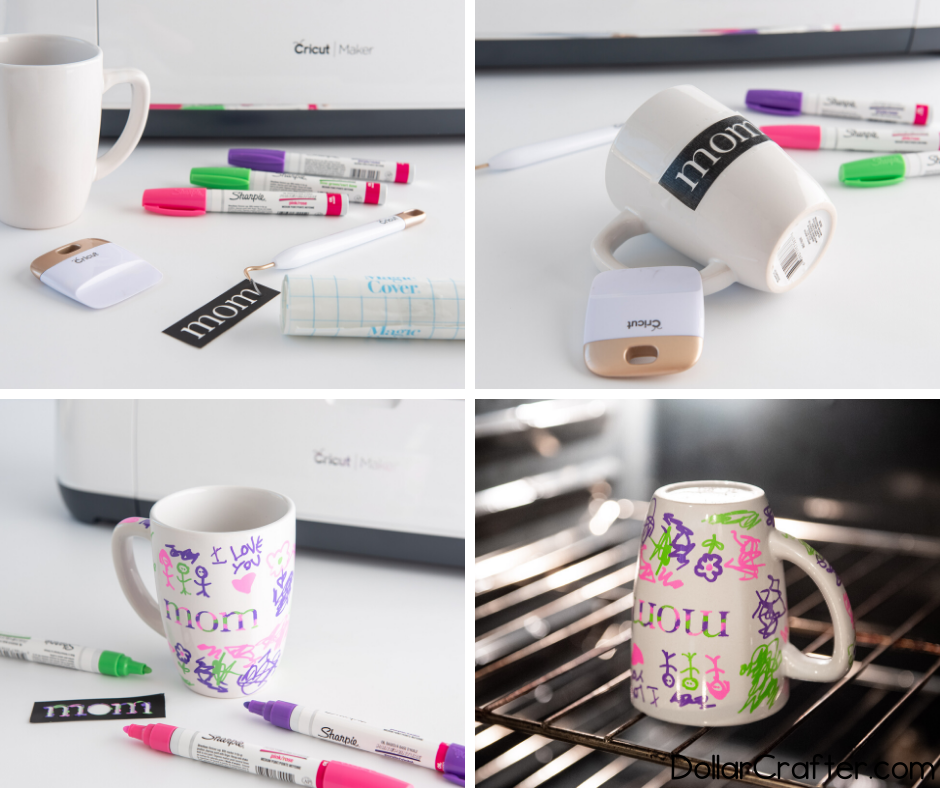
Use oil-based sharpies to let little ones create phrases or drawings on the mug. If using the stencil method, carefully fill that in without applying too much pressure on the sharpie to prevent bleeding.
Allow to sit for 24 hours to completely dry. Don’t forget to peel off the label off on the bottom before inserting it in the oven.
Once the marker has completely dried and had time to sit, insert your mug into an oven. Allow it to heat up with the oven for 30 minutes at 350 degrees. Turn off the stove while leaving in until both are cooled down enough not to worry about any temperature changes that might cause cracking on either surface or other than what you want as part of its design!
Once the marker is dry and has been sitting long enough, put your coffee cup or teapot inside a hot but turned-off oven (350°F/175C) with the door closed for two hours after preheating it first when necessary—increasing by 15 more minutes around 400°F if desired). Turn the oven off and do not remove the mug until both the oven and mug have completely cooled.
You can also add our Homemade Lavender Bath Bombs to your favorite moms’ gift basket.
How to Make a Homemade Sharpie Mug
Ready to get crafting? You will find the full tutorial below!
Mother's Day Sharpie Mug
Materials
- Plain white ceramic mug
- Oil based sharpies - it is important to use oil based sharpie for the longevity of the mug for washing.
- Transfer tape
- Scrap vinyl (using oracle 651 to create a stencil)
Tools
- Oven
- Cricut
- Standard grip map
- Wedding tool
- Scraper tool
Instructions
- In Design space, using the text feature choose a thicker, block San-serif type font. I used EB Garmound. Type a short word like “mom” and depending on the front surface of the mug, adjust size as needed.
- Adjust the machines setting or material dial to vinyl. Load the oracle 651 (this is permanent vinyl and you can use scraps) to your machine on the blue light grip mat and hit “go”.
- When the cut is complete begin to weed the vinyl off and away from the design using your weeding tool. Weed the letters and leave the small parts inside any letter that are enclosed (ex. a,e,o ) as we will be creating a stencil with the vinyl.
- After the design is completely weeded, use transfer tape the size of the vinyl and apply the transfer tape using pressure with the scraper tool. This is done in order to get the vinyl off it’s carrier sheet and onto the mugs surface.
- Turn the entire design face down and begin to gently apply pressure and pull the vinyl’s carrier sheet off and away from the transfer tape.
- Place the vinyl with the transfer tape to the middle the mug. Once 100% happy with the location of the design, apply pressure and smooth over the design using the scraper tool.
- Once enough pressure had been applied slowly remove the transfer tape and very carefully and slowly rolling it away and off the mug. The vinyl stencil will remain on the surface.
- Use oil-based sharpies to let little ones create phrases or drawings on the mug. If using the stencil method, carefully fill that in without applying too much pressure on the sharpie to prevent bleeding.
- Allow to sit for 24 hours to completely dry. Don’t forget to peel off the label off on the bottom before inserting in the oven.
- Once the marker has completely dried and had time to sit, insert the mug into the oven. Allow the mug to heat up with the oven. Turn the oven on to 350 degrees for 30 minutes, then increase the temperature to 400 degrees for 15 more minutes. Turn the oven off and do not remove the mug until both oven and mug have completely cooled.
Notes
For more fun crafts visit DollarCrafter.com
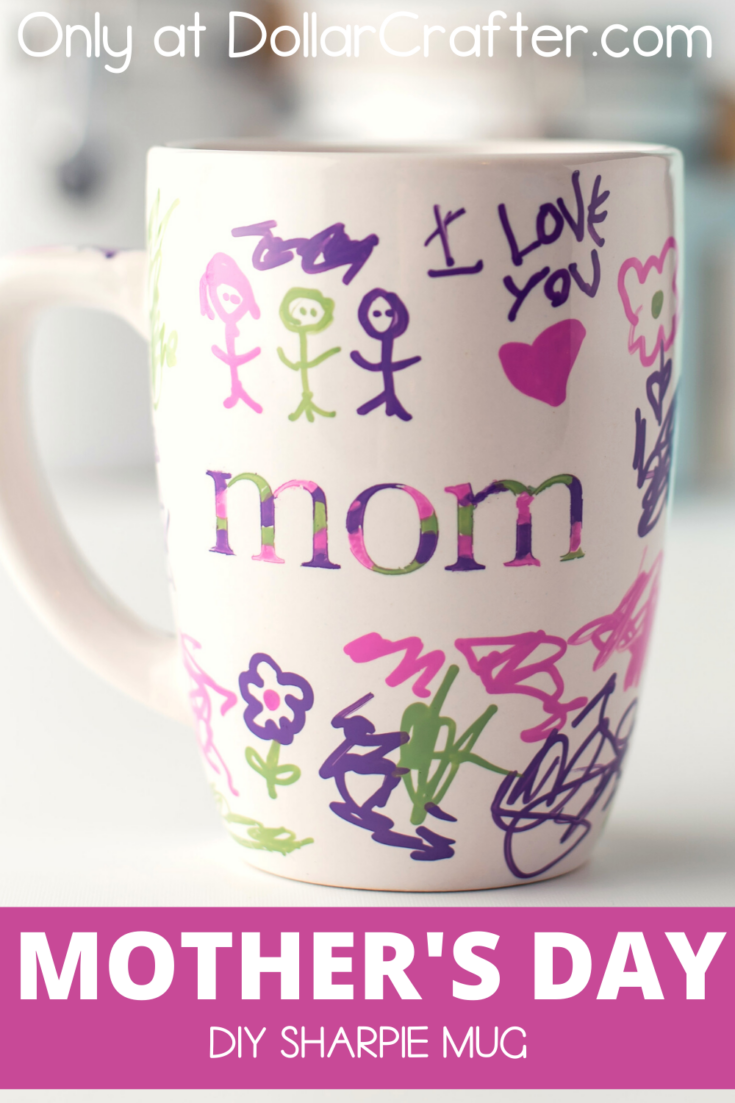
Please Save This to Pinterest
Your shares are how this site grows and I am sincerely grateful. Know a friend who’d like this? Please share it on Facebook or save it to your favorite crafts board on Pinterest.